
Free Crochet Rose Bouquet Pattern for Event Decor
Follow this free crochet rose bouquet pattern to create handmade flowers that make great gifts, fancy decor, or stylish accessories.
Roses have a way of adding charm and elegance to anything, and now you can make your own with this free crochet rose bouquet pattern. This project features delicate, tightly coiled petals that give the roses a realistic and timeless look, paired with textured green leaves that make the colors pop. Tied together with a dainty crocheted bow, this handmade bouquet is perfect as a keychain, a decorative gift topper, or even a keepsake for special occasions.
Free Crochet Rose Bouquet Pattern for Seasonal Wreaths
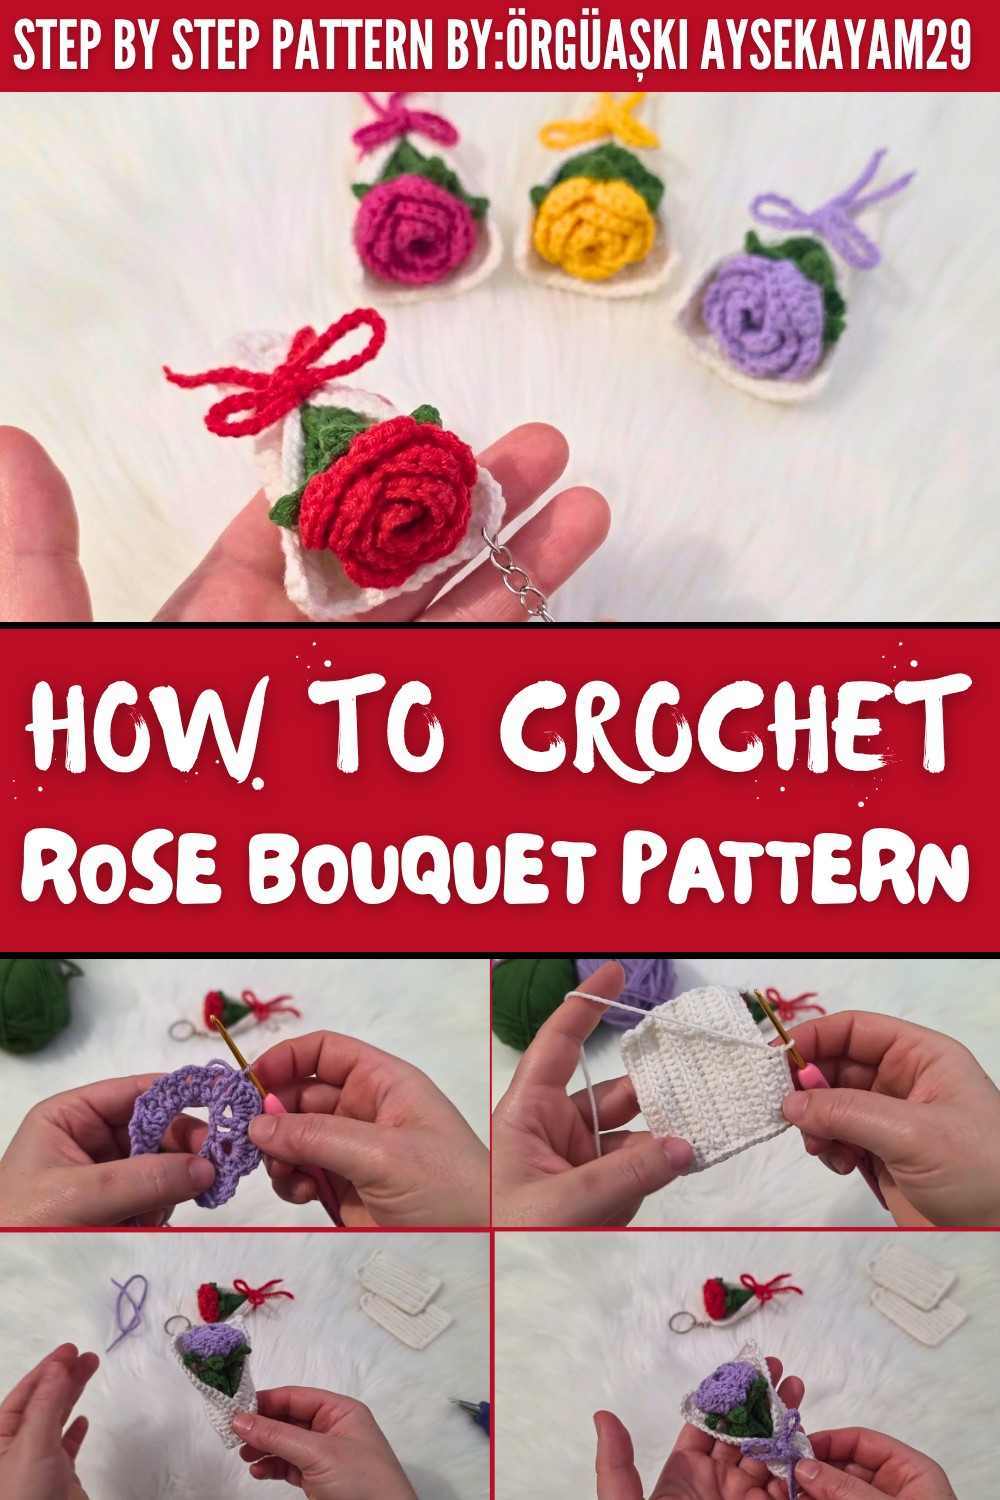
The compact yet eye catching design makes it a versatile project that suits beginners and seasoned crocheters alike. Each component of the bouquet, roses, leaves, and stem comes together with simple stitches like half double crochet and double crochet. The roses are worked in soft, smooth cotton yarn for sharp detail, but you can switch to plush yarns for a velvety, elegant finish.
The size and details of the bouquet can be easily adjusted. Stick with multiple small blooms for a charming miniature bouquet, or spice things up with oversized roses and extra leaves for a bolder look. Adding a metallic thread could give your bouquet a touch of sparkle, perfect for a personal touch.
Whether you choose subtle pastel roses or vibrant, bold shades, this project is one where your creativity can truly shine. A little patience, some yarn, and a willingness to experiment will have you holding your handmade bouquet in no time.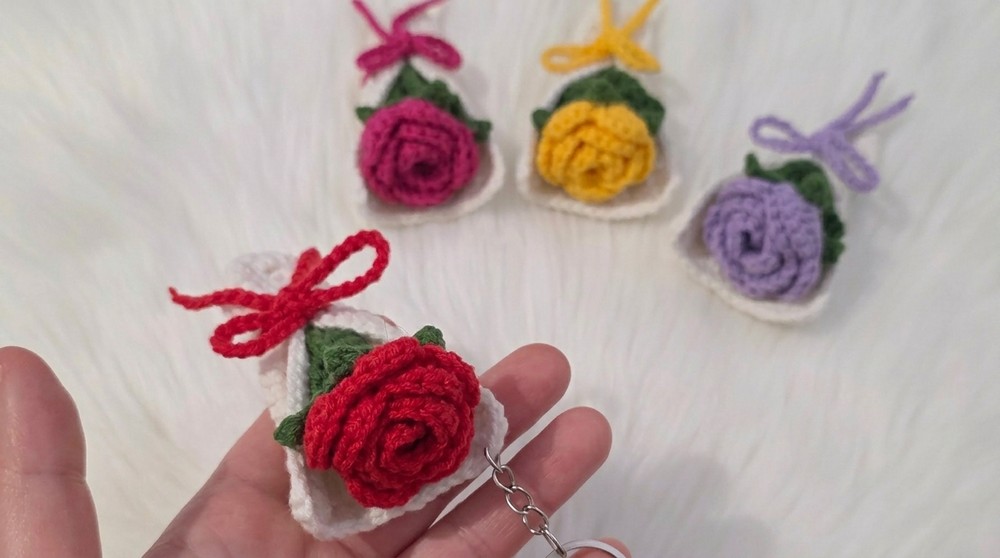
Crochet Rose Bouquet Keychain Pattern
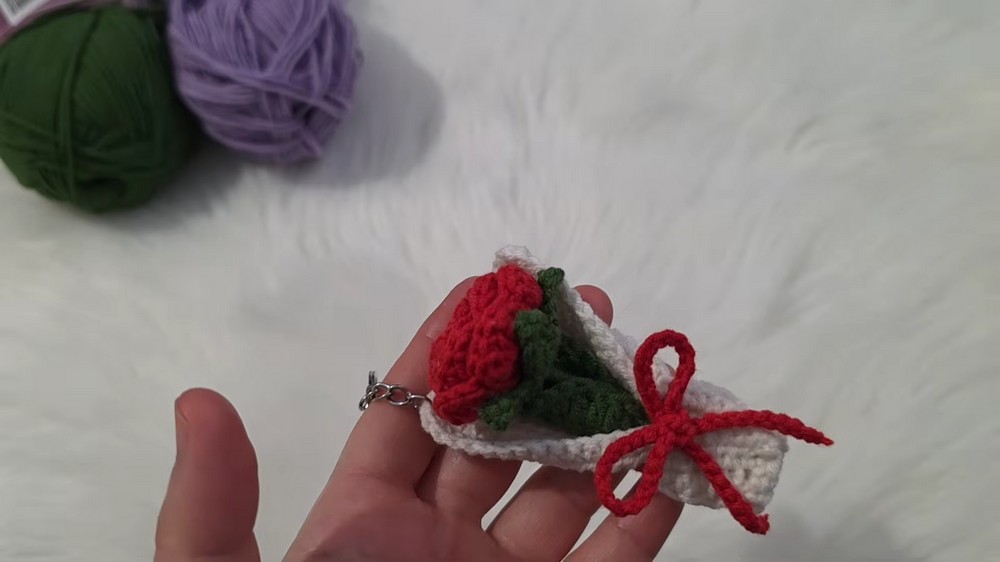
In this pattern, we will make a beautiful rose bouquet keychain with detailed step by step instructions. This handmade creation is perfect as a decorative item or a thoughtful gift for loved ones.
Quick Overview of Pattern
- Main Pieces:
- Base rectangle with cotton yarn.
- Rose petals with cotton yarn.
- Bouquet stem wrapped around a toothpick.
- Leaves shaped with cotton yarn.
- Assembly: Attach all the pieces using silicone.
Notes
- Experiment with colors for petals and leaves to create vibrant bouquets.
- Always work neatly and maintain tension for a polished look.
- Use silicone for stronger attachment while assembling the bouquet.
Skill Level
Beginner to Intermediate: Includes basic crochet stitches like chains, single crochet, half double crochet, double crochet, slip stitches, and basic assembly techniques. Special stitches like the "V stitch" are explained below.
Materials
- Cotton Yarn:
- Rose: Choose your preferred color (e.g., purple, red, pink, etc.).
- Leaves: Green yarn.
- Base rectangle: Ecru or off white yarn.
- Crochet Hook: 2.5 mm.
- Stitch marker (optional).
- Toothpick (for making bouquet stem).
- Hot glue gun or any strong adhesive.
- Scissors.
- Yarn needle.
- Silicone glue.
- Tape measure.
Measurements / Sizing
- Base rectangle: Approximately 2 in x 4 in (5 cm x 10 cm).
- Roses and leaves: Each rose measures about 1.5 in (4 cm) across; each leaf measures 1 in (2.5 cm) long, depending on yarn and hook size.
- Stem length: Approximately 2.5 in (6.5 cm).
Gauge
- Base rectangle: 19 half double crochets per 4 inches (10 cm).
- Rose petals: Not critical for gauge, but maintain uniform tension for consistency.
Abbreviations (US Terminology)
- ch: Chain
- sl st: Slip stitch
- sc: Single crochet
- hdc: Half double crochet
- dc: Double crochet
- V st: V stitch (explained in Special Stitches)
Special Stitches
V Stitch
To make a V stitch:
- Work 1 dc, ch 2, 1 dc into the same stitch or space.
The Crochet Pattern
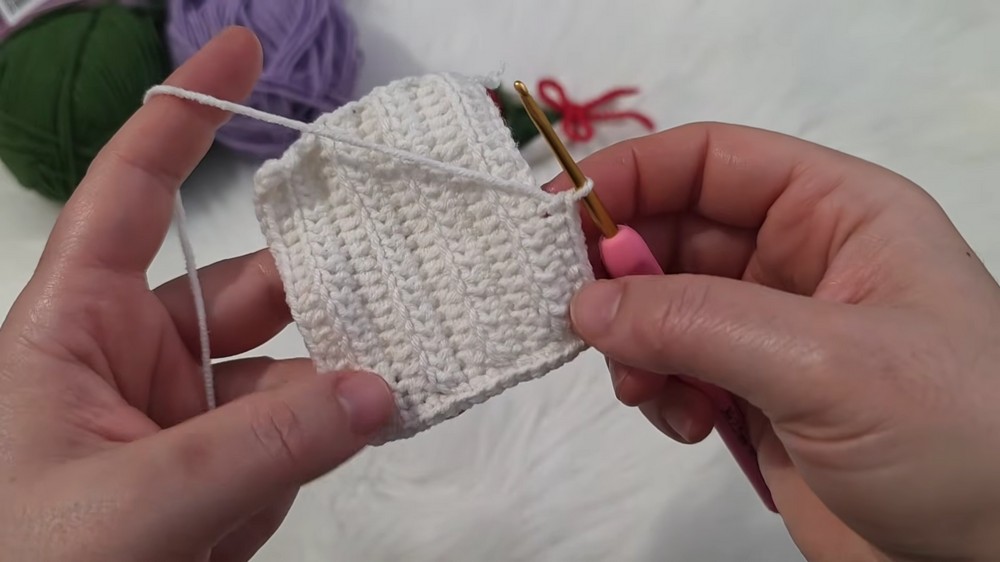
Step 1: Create the Base Rectangle
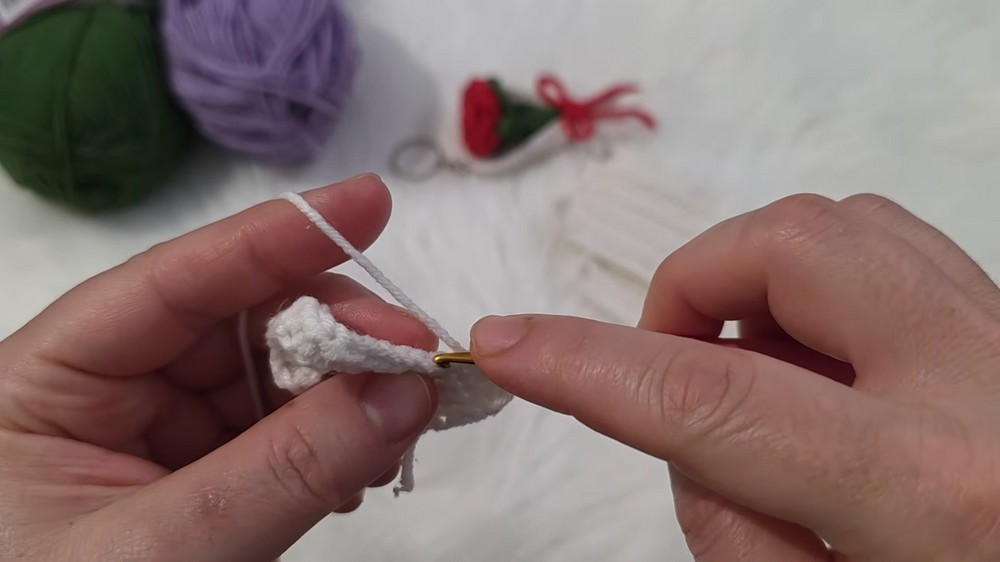
- Using ecru colored cotton yarn and a 2.5 mm crochet hook:
- Start with 20 ch.
- Place into the 19th ch, and work hdc across the chain.
Row 1: 19 hdc.
- Turn your work:
- Row 2: Ch 1. Work hdc into the back loop only across all 19 sts.
- Continue working hdc into the back loop only until you have 8 rows of stitches.
- Sl st to join.
- Once completed, work a single crochet border around the entire rectangle:
- In corners, make 3 sc into one stitch to turn smoothly.
- Finish the base rectangle and cut the yarn. Secure and weave ends.
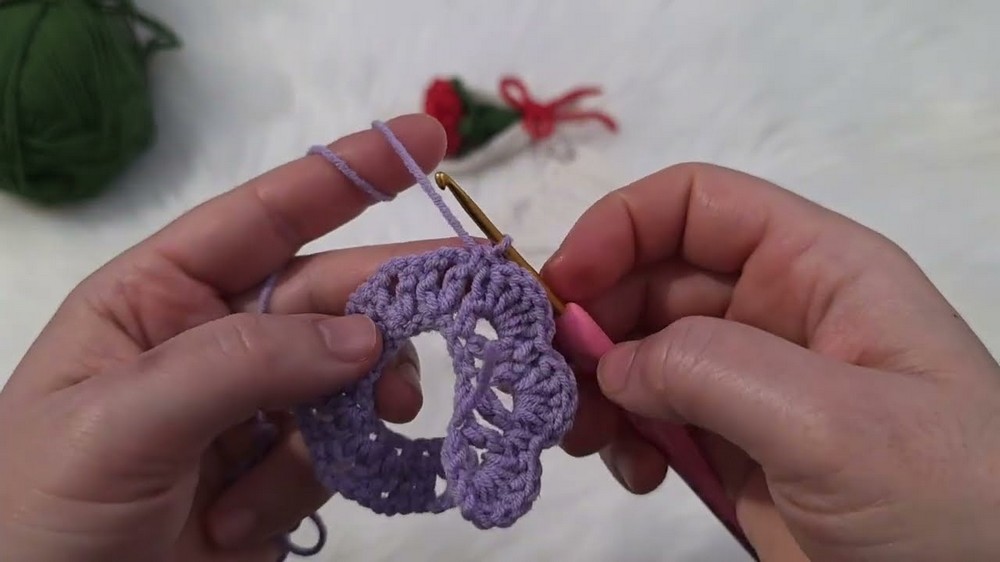
Step 2: Crochet the Rose Petals
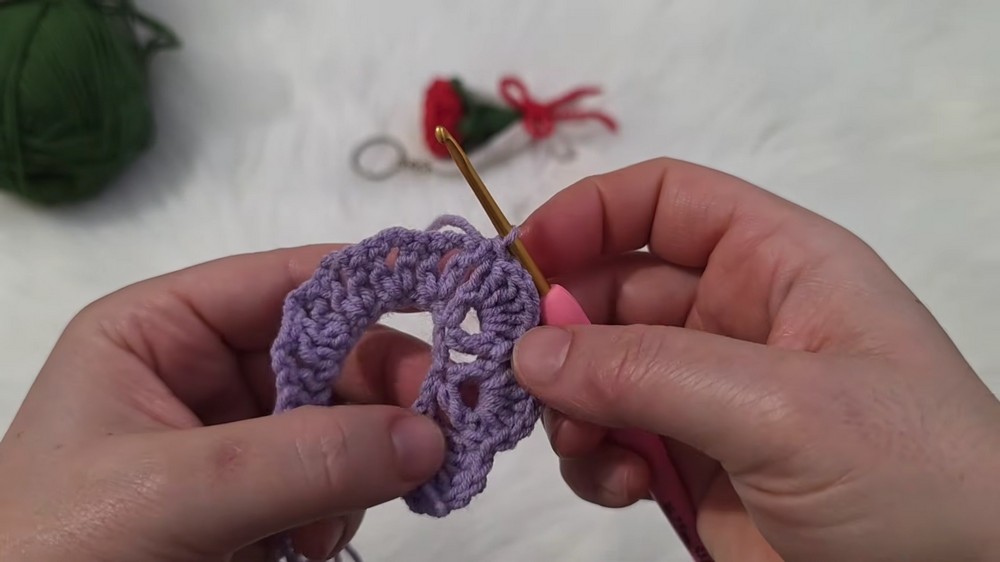
- Using rose-colored cotton yarn:
- Start by making 25 ch.
- Into the 5th ch: Work V-stitch (dc, ch 2, dc).
- Skip 2 ch, then repeat the V-stitch in the next chain. Continue creating V-stitches across until you have 11 V-stitches total.
- To shape the petals:
- Turn and work 5 dc into the chain spaces created by each V-stitch.
- After each petal, secure with sc into the next ch space.
- Continue making petals, ensuring that you work 5 dc per V-stitch.
- You should have 11 petals by the end of the row.
- At the last petal:
- Secure and leave a long tail for sewing.
- Use a yarn needle to sew the scarf into a rose shape. Adjust and tighten the petals as necessary. Knot well and trim excess.
Step 3: Create the Leaves
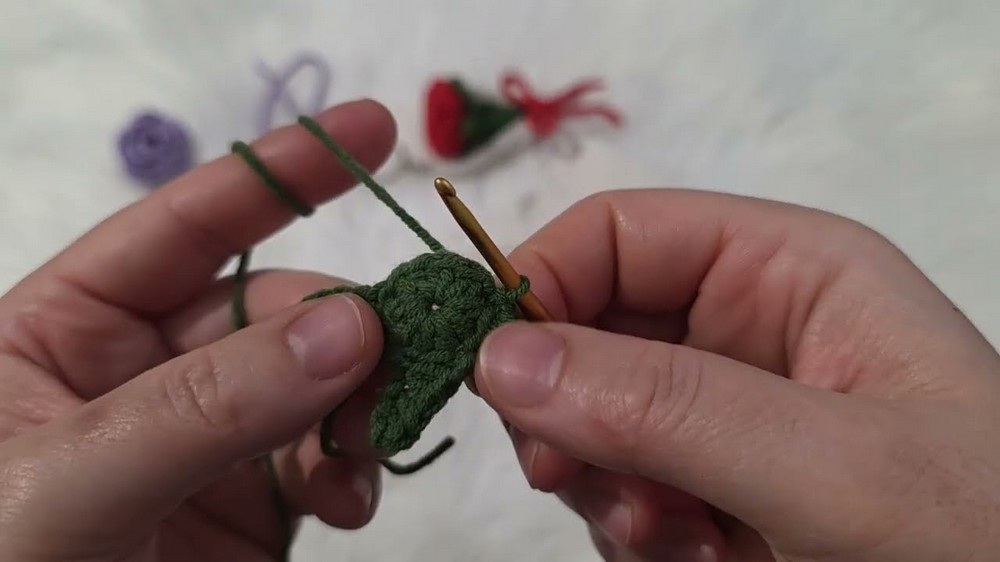
- Using green cotton yarn:
- Work a magic circle.
- Make 10 hdc into the circle and pull tight.
- Work 5 ch and sl st into the 4th ch.
- Work the following: 3 sc back into the chain.
- At the final ch space, work hdc into the circle.
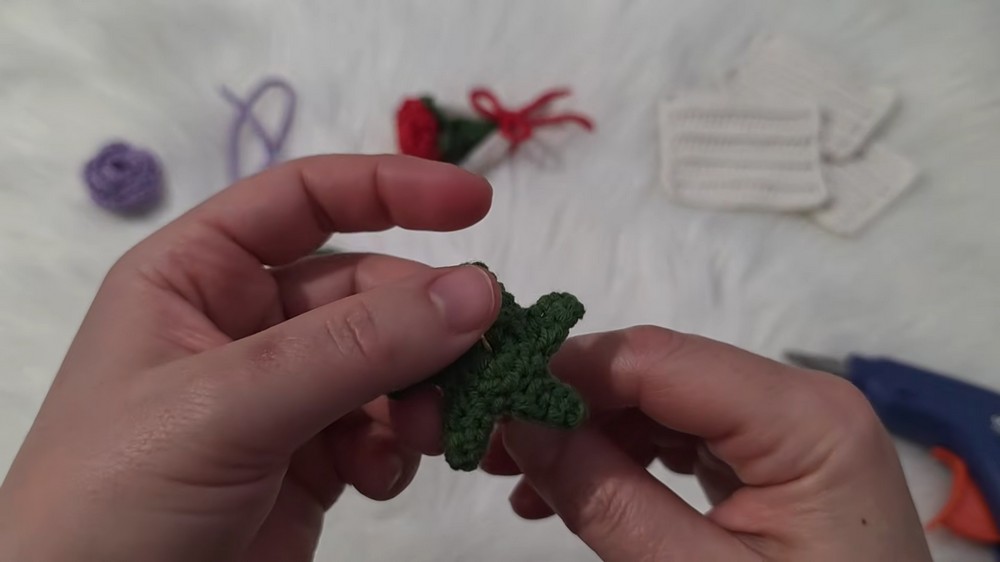
- Repeat the ch stitches and sl st sequences at equal intervals to create 5 leaves.
- Secure and weave ends.
- Optionally, crochet small leaves:
- Make 8 ch, then work in the following order: sc, hdc, 3 dc, hdc, sc.
- Repeat to make 2 large leaf attachments.
Step 4: Wrap the Stem
- Using a toothpick and green yarn:
- Add a drop of silicone glue to one end of the toothpick.
- Start wrapping the green yarn to completely cover the toothpick, securing it with more silicone glue as needed.
Assembly & Finishing
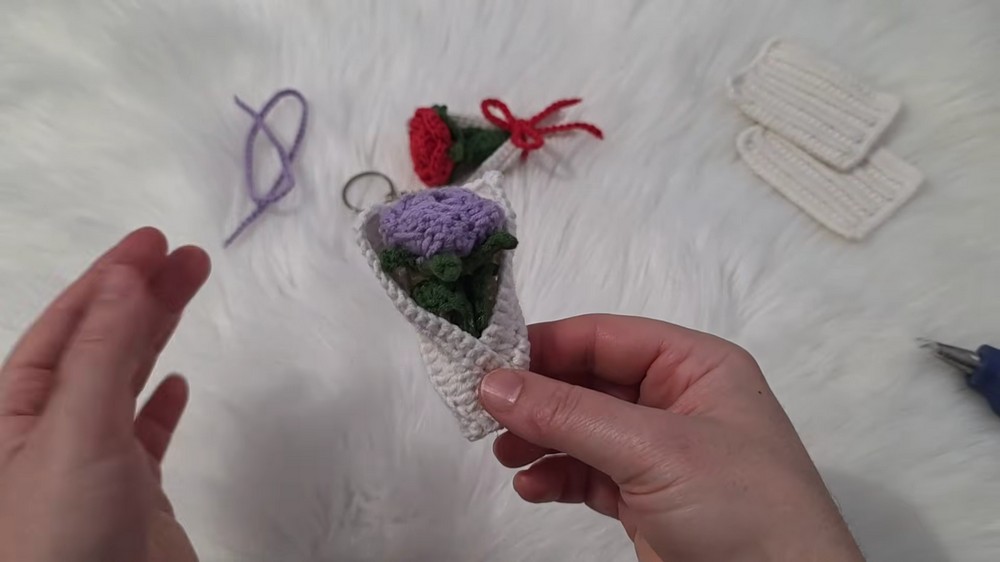
- Attach the green leaves by placing the five-leaf piece onto the base rectangle. Use silicone glue and gently press down the edges until secure.
- Position and attach the rose:
- Place the rose in the center of the leaves. Use silicone glue or sew it for added durability.
- Wrap the 75 ch strip created earlier around the bouquet's "waist" to create a tied effect.
- Attach small leaves at the bouquet sides with silicone glue for added detail.
- Secure the stem by attaching it beneath the rose base on the reverse side of the rectangle.
Finished Size
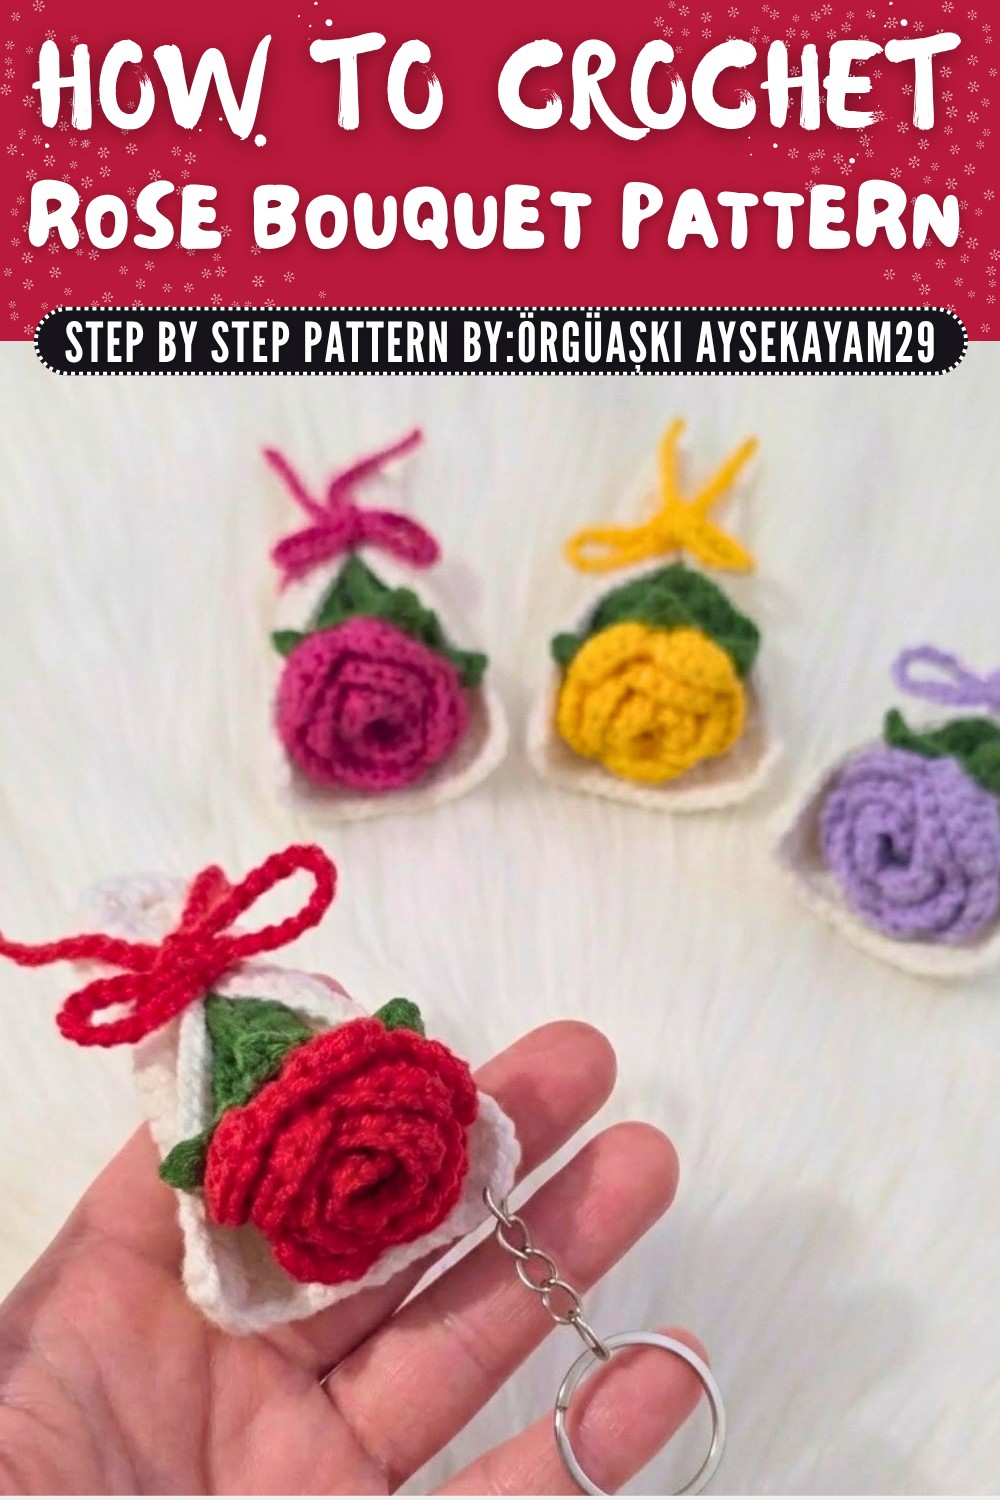
The completed rose bouquet keychain measures approximately 2 in x 4 in, with the rose and leaves slightly extending away from the base.
The compact design is perfect for hanging on a bag or keyring.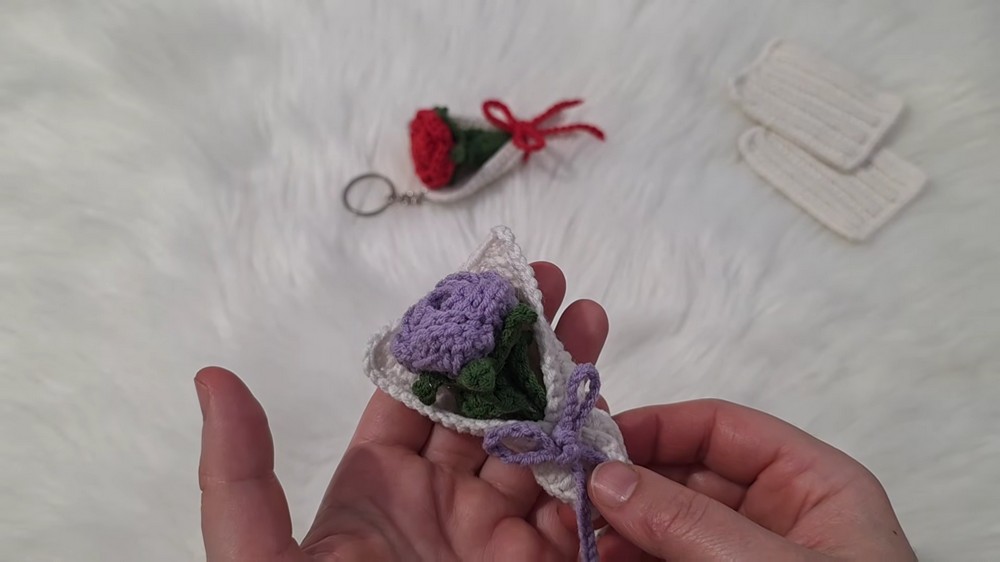
Conclusion
Your beautiful rose bouquet keychain is now complete. This versatile keychain is a charming way to express creativity or to brighten someone's day with a handmade gift. Experiment with different colors to create unique bouquets for every occasion.
Thank you for following this pattern step by step; I hope you enjoyed creating this lovely project. Please share your thoughts and feedback, and feel free to ask questions if anything is unclear.