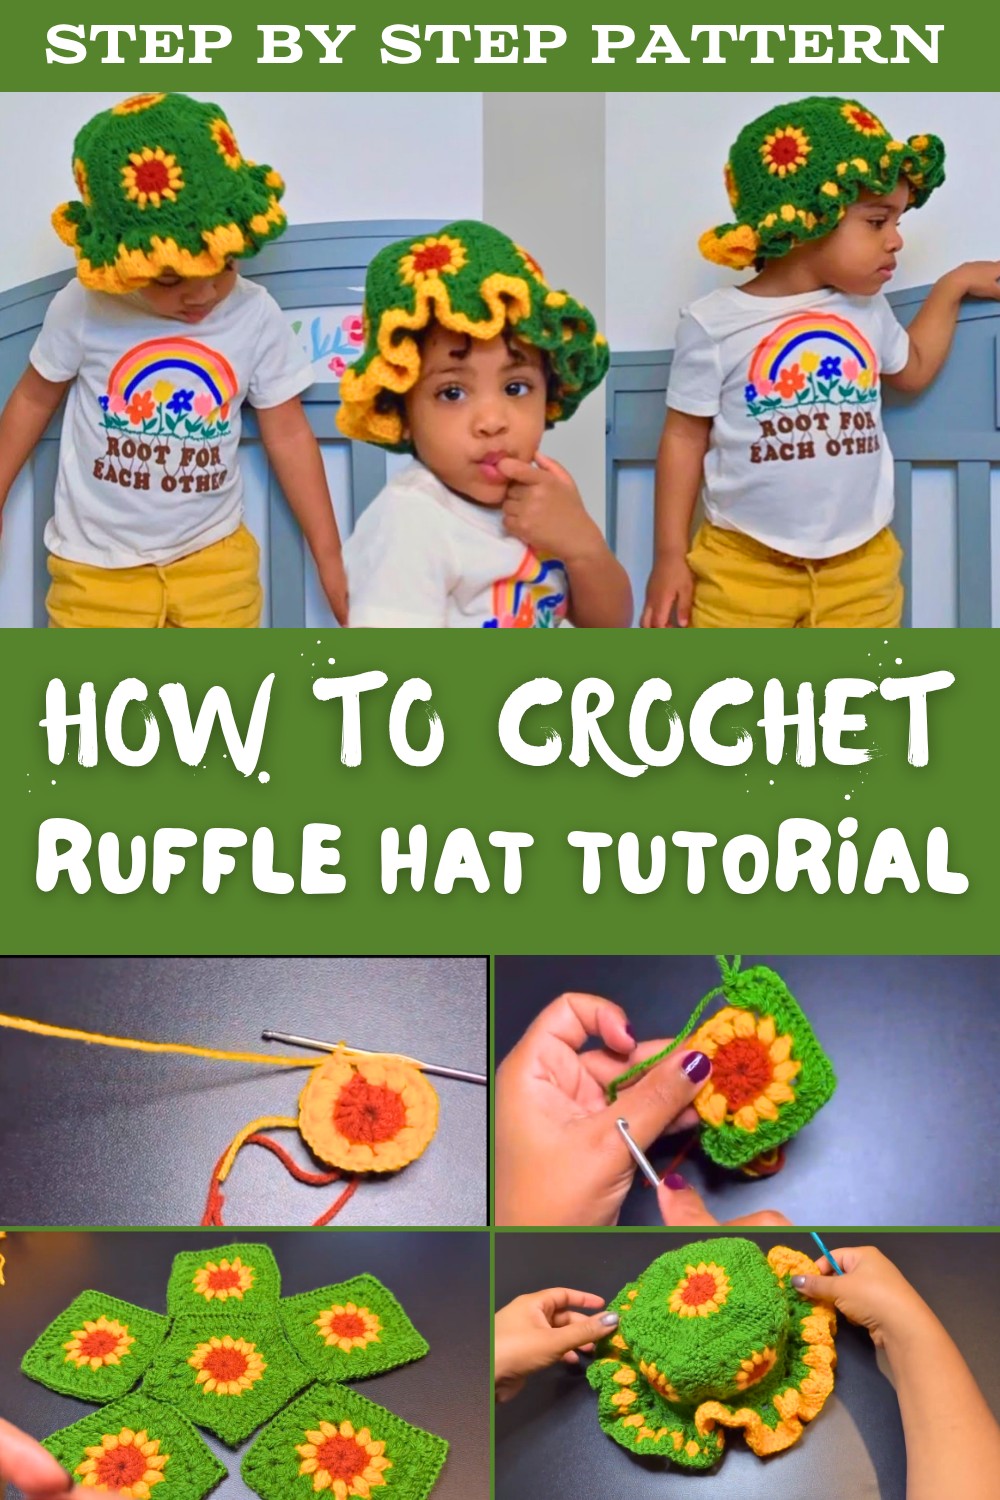
Chic Free Crochet Ruffle Hat Pattern for Any Style
Create a stylish and cozy accessory with this Free Crochet Ruffle Hat Pattern, perfect for beginners and pros to add charm, warmth, and personality to any outfit.
A crochet project can be more than just creating something—it’s a way to express your style and personality. The Free Crochet Ruffle Hat pattern is the perfect example of this. With its delicate ruffle edge, this hat adds a playful yet classy detail to any winter outfit.
Beginner-Friendly Free Crochet Ruffle Hat Pattern for Cozy Vibes
Whether you’re heading out for a brisk walk or meeting friends for coffee, this versatile design pairs effortlessly with oversized sweaters, long coats, or even a cozy scarf. It’s more than just a warm accessory, it’s a statement piece that can be customized with your favorite colors and yarn textures. Beginner-friendly with room for creativity, this project is not only fun to crochet but also makes a thoughtful handmade gift. Functional, stylish, and easy to make, it’s an ideal addition to your winter wardrobe.
Crochet Ruffled Hat Pattern Free
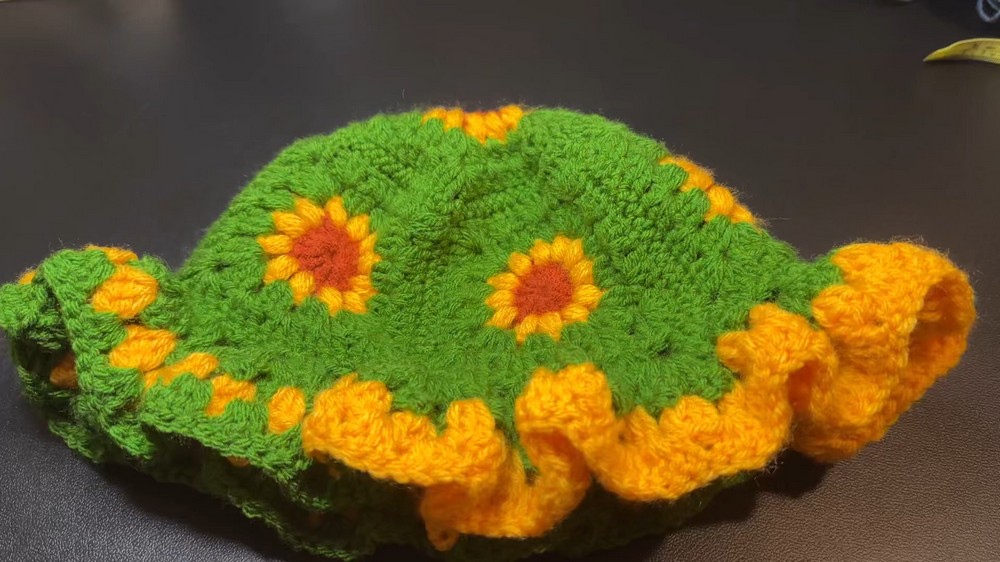
Finished Size
This hat is designed for a child’s size (2-year-old) and measures approximately:
- Crown Diameter: 6.5 inches.
- Height (from top to ruffles): 6 inches.
- Width of ruffles at base: Adjustable based on the number of rows.
This size can be adjusted for larger heads by adding additional rows to the pentagon and square motifs before joining.
Materials Needed
- Yarn:
- Big Twist Worsted Weight Yarn (100% acrylic, Category 4) or any worsted weight yarn.
- Use scrap yarn in different colors for an exciting multi-colored design.
- Hooks:
- 3.75 mm hook: For main body motifs.
- 5 mm hook: For creating the ruffled edge.
- Notions:
- Tape measure (to confirm size alignment).
- Darning needle for weaving in ends and joining motifs.
- Scissors for cutting yarn.
Gauge
Gauge is not critical for this pattern when working the motifs. To ensure the hat fits properly:
- Ribbing (clusters rows): Approximately 3 double crochet clusters = 2 inches when worked with 3.75 mm hook.
- Adjust by using a smaller or larger hook for a snug or loose fit.
Key Abbreviations (US Terminology)
- ch: chain
- sl st: slip stitch
- sc: single crochet
- dc: double crochet
- sp: space
- tog: together
- rep: repeat
Special Techniques
- Magic Ring:
- Create a loop with your yarn. Insert your hook into the loop, pull up the working yarn, and work stitches into the loop. Pull the tail tight to close the ring.
- Alternatively, chain 4, join with a slip stitch to form a loop, and work into the ring.
- Clusters (3-dc Together):
- Yarn over, insert hook into stitch, pull up a loop, yarn over, pull through 2 loops (leave the remaining loops on hook). Repeat 2 more times (for a total of 3 unfinished double crochets). Yarn over and pull through all loops on hook.
- Creating the Pentagon and Squares:
- These are fundamental motifs for the hat. Each piece is joined through single crochet from the wrong side of the work.
Pattern Instructions
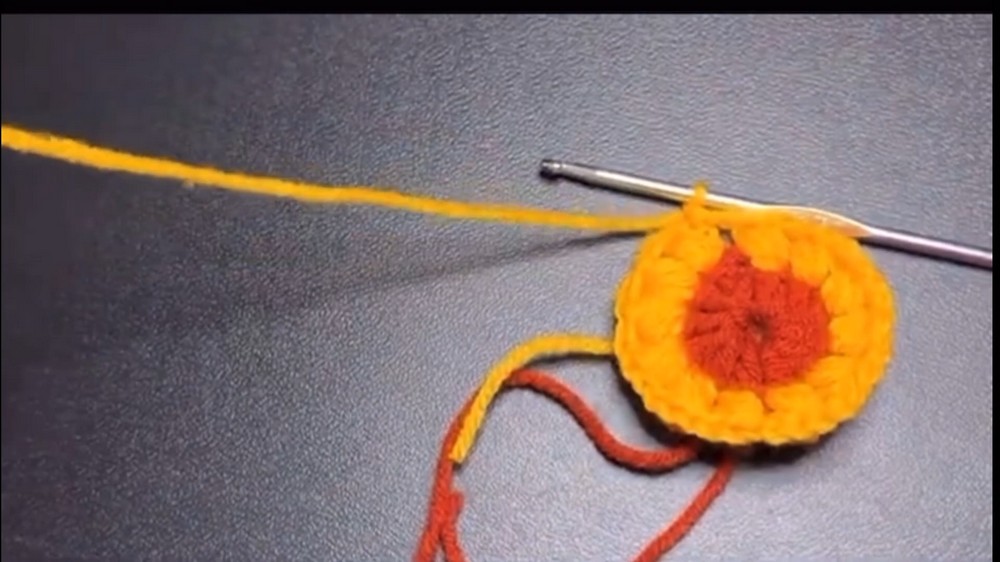
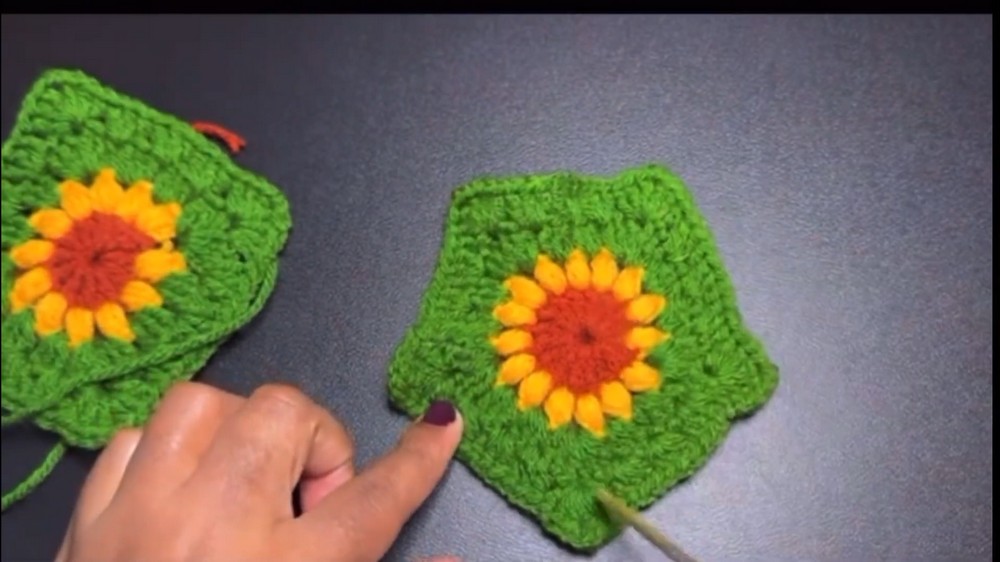
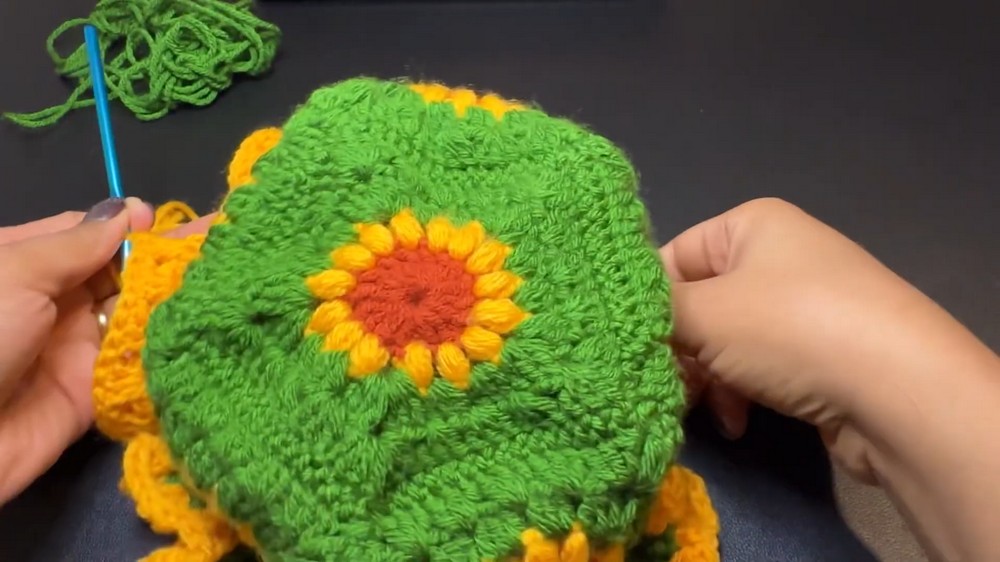
Step 1: Pentagon Motif (Top of Hat)
Row 1:
- Begin with a magic ring.
- Ch 3 (counts as 1st dc).
- Work 14 dc into the ring. (Total: 15 dc, including ch 3.)
- Pull the tail tight to close the ring.
- Join with sl st on top of the 1st ch 3.
- Fasten off and change color.
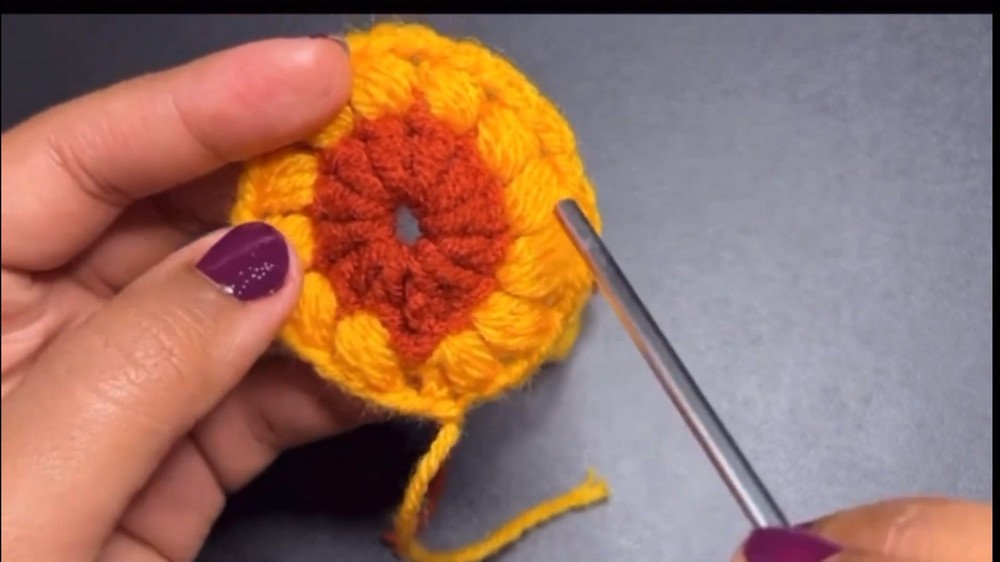
Row 2:
- Attach new color to any st from Row 1. Ch 3, then work a cluster (3-dc together in same st).
- Continue working 1 cluster into each st, separated by ch 2.
- At the end of the round, ensure you have a total of 15 clusters.
- Join to the 1st cluster with a slip stitch. Fasten off.
Row 3:
- Attach new color to any ch-2 sp. Work 3 dc, ch 2, 3 dc into the same space to form the first corner.
- In the next ch-2 sp, work 3 dc. Continue alternating:
- Corners: 3 dc, ch 2, 3 dc in the same sp.
- Sides: 3 dc.
- At the end of the row, join with a slip stitch on top of the starting chain.
For larger hat sizes, repeat Row 3 and increase the number of dc clusters between corners.
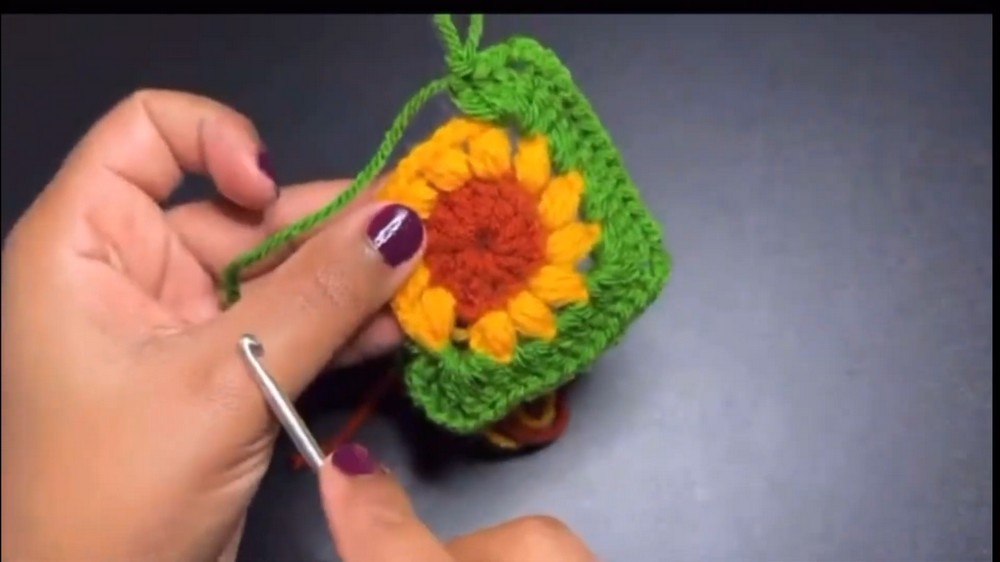
Step 2: Create the Squares
Each motif will be worked independently and attached later.
Row 1:
- Begin with a magic ring.
- Ch 3, work 11 dc into the ring. (Total: 12 dc, including ch 3.)
- Pull the tail tight to close the ring. Join to the top of the ch 3.
Row 2:
- Attach new color to any st.
- Work a cluster in each st, separated with ch 2. (Total: 12 clusters, each separated by ch 2.)
- Join and fasten off.
Row 3:
- Attach new color to any ch-2 sp. For the square:
- Work [3 dc, ch 2, 3 dc] into the first ch-2 sp to create the first corner.
- Work 3 dc in the next 2 ch-2 sps. Repeat this around, creating 4 corners and 4 sides (3 dc, ch 2, 3 dc per corner).
- Join with a slip stitch and fasten off.
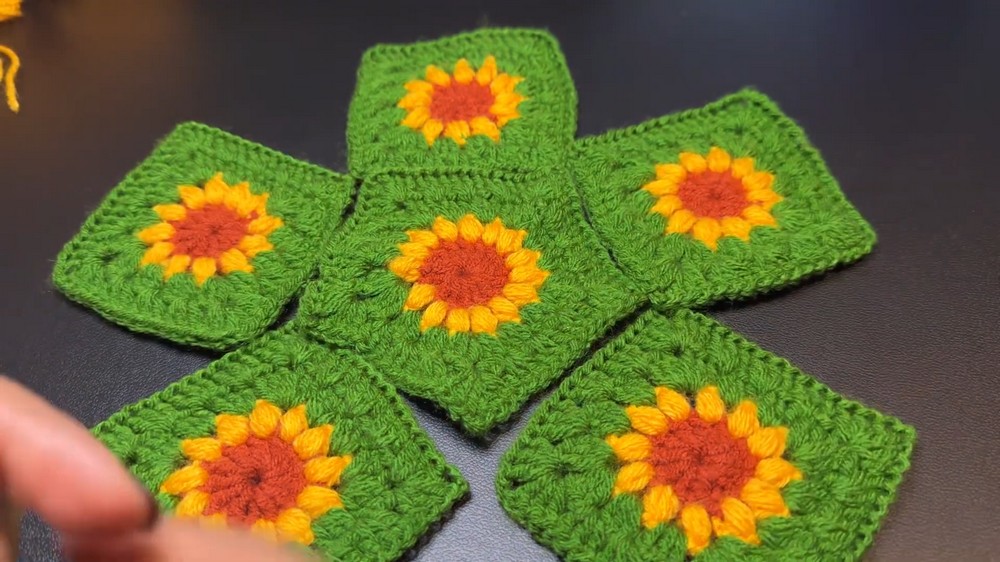
Step 3: Assembly
- Lay your Pentagon motif flat with the right side facing up.
- Use single crochet to join one square to each side of the pentagon. Ensure the right sides of the motifs face each other as you join.
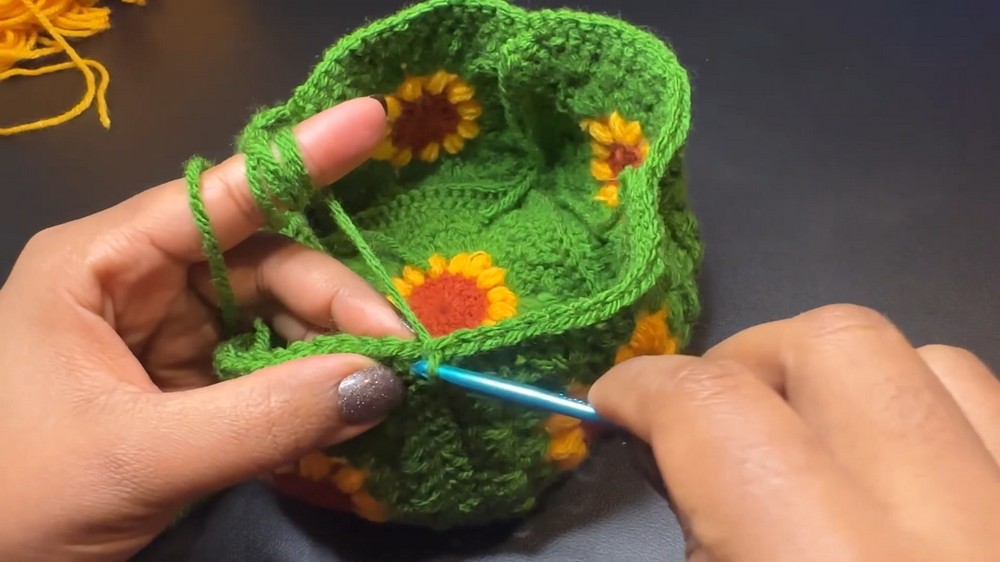
- Fold your work so that the squares meet, creating the shape of a hat.
- Join the sides of the squares together using single crochet, working through both motifs.
- Weave in all ends after joining.
Step 4: Single Crochet Edge
- With the right side facing out, attach yarn to the bottom edge (where the squares connect).
- Work 1 sc into each st around the bottom edge of the hat. Add extra sc to corners or gaps for smooth transitions.
- Join with a slip stitch to the 1st sc.
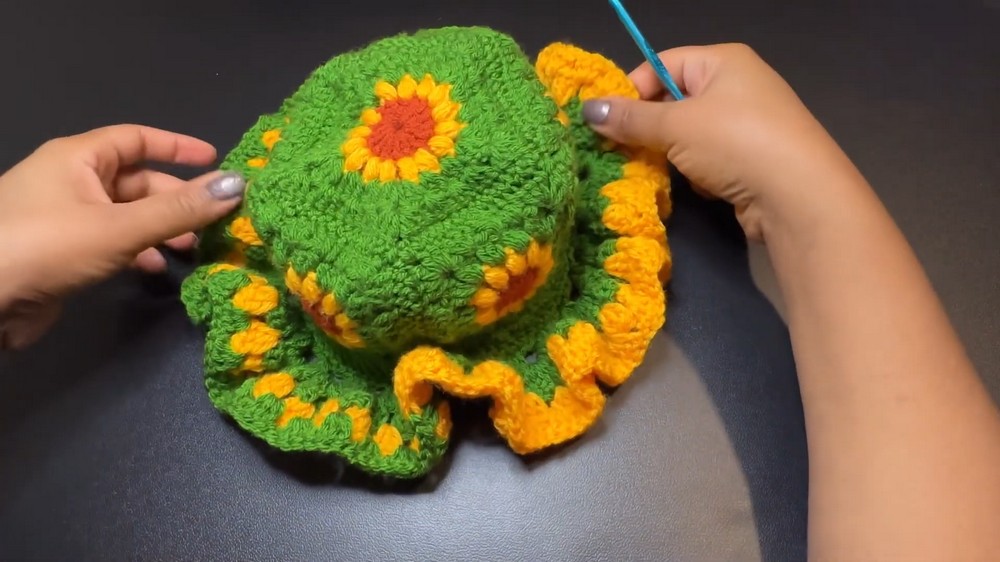
Step 5: Ruffles
Ruffle Row 1:
- Ch 2, and work 3 dc in each st around.
- Join with a sl st on the first dc.
Ruffle Row 2 (Ruffle Increase):
- Ch 2, turn your work.
- Into the 1st space of the row, work the following:
- 3 dc, ch 2, 3 dc, ch 2, 3 dc.
- Repeat this in every space across the row. This will create the ruffled edge.
Ruffle Row 3 (Optional):
- If desired, you can add additional ruffle rows by working [3 dc, ch 2, 3 dc] into each previous ch-2 sp.
Finishing
- Weaving in Ends: Neatly weave in all loose ends using a darning needle.
- Blocking (Optional): Lightly block the hat if you notice waviness or uneven stitches.
Customization Ideas
- Add more Ruffle Rows: Create a dramatic ruffled effect by continuing with more rows on the brim.
- Play with Colors: Use gradient or variegated yarns for unique patterns.
Conclusion
This ruffled hat is a versatile, playful project, perfect for using up scraps or exploring color combinations. Whether made for children, teens, or adults, it adapts seamlessly to any size or personal touches.