
Free Crochet Toddler Hat Pattern for Little Explorers
Turn ordinary days into unforgettable moments with a handmade toddler hat using this free crochet pattern packed with charm.
On a crisp, cool morning, there's something special about seeing your little one wrapped in comfort and warmth. This Free Toddler Hat Pattern brings beauty and usefulness together to create a hat perfect for everyday wear. Whether for family walks, outdoor play, or simply keeping cozy, this pattern helps you make a wonderful accessory your toddler will love. It's not just a hat-it's a touch of handmade care they can carry with them wherever they go.
Crochet Toddler Hat Free Pattern for Snuggle Days

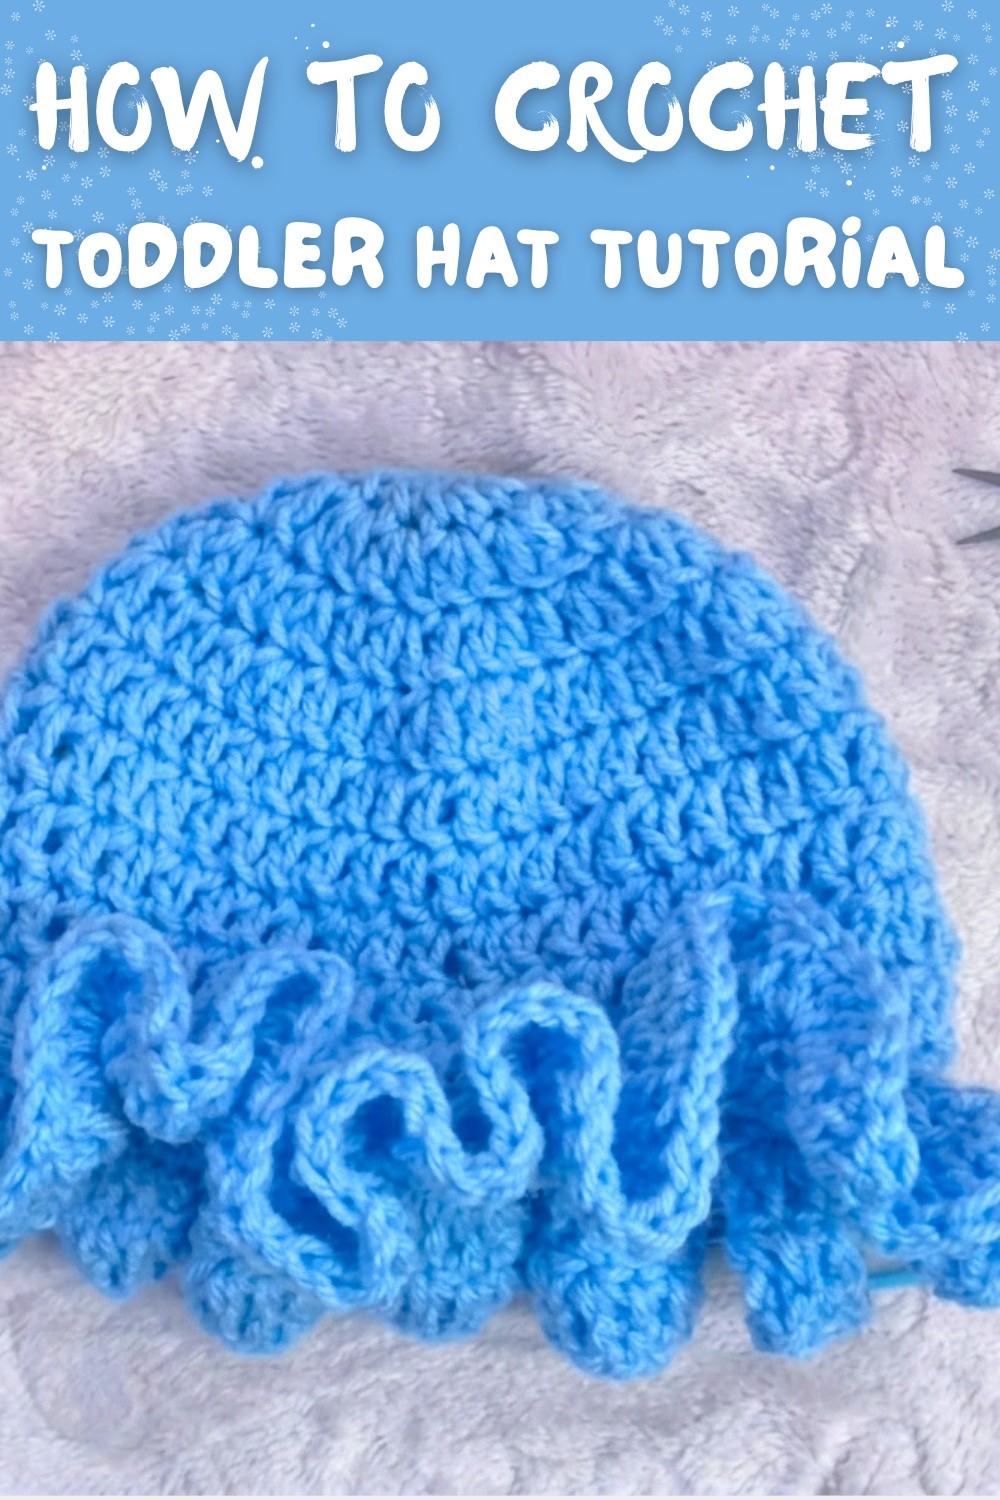
The hat has a unique wavy brim design, which makes it stand out and adds a playful touch. You can use any yarn color to match your toddler's outfits or personal preferences, allowing endless creative possibilities. The hat fits snugly and comfortably, ensuring your toddler stays warm while looking adorable. This makes it an ideal gift or a special handmade accessory for your little one.
Making the hat starts with a magic ring, followed by rows of double crochet stitches to form the top and sides. The pattern involves easy to follow sequences, making it straightforward for anyone to create the hat step by step. As the sides of the hat are built, it begins to curl naturally, giving it the perfect shape. A row of single crochet stitches is added to tighten the edge, ensuring a secure fit.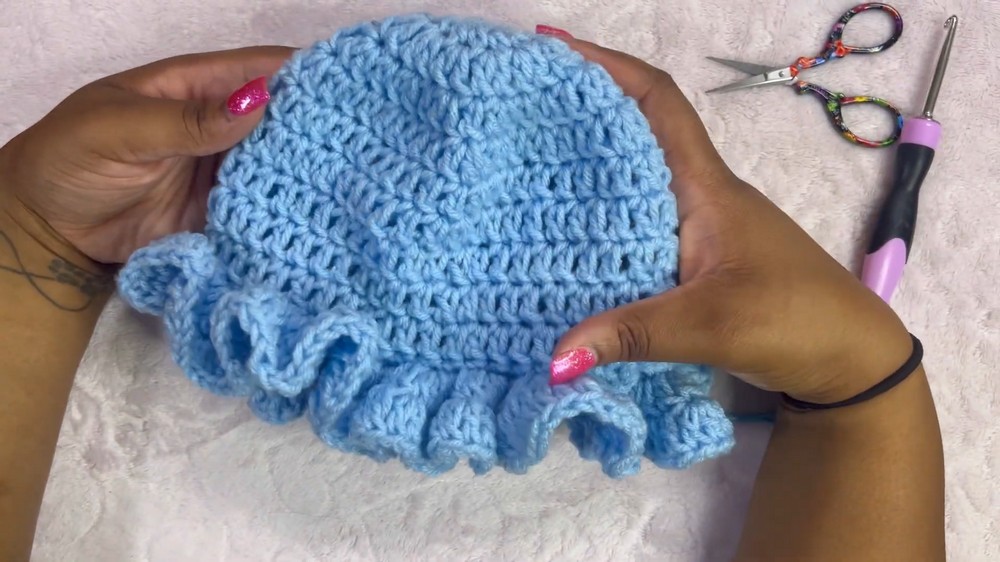
The finishing touch is the ruffle brim, crocheted with front loop double crochet stitches to give the hat its charming, wavy look. You can adjust the length and size depending on your toddler's head, allowing flexibility in the design. With its cozy feel and adorable appearance, this hat is both practical and stylish.
Crochet Toddler Hat Pattern
Materials Required
- Yarn:
- Any medium weight yarn (size 4) or worsted yarn. The yarn choice depends on personal preference; solid colors or colorful blends work great.
- Crochet Hook:
- 5 mm (H/8) crochet hook.
- Accessories:
- Threading needle for weaving in ends.
- Scissors.
Gauge
Gauge is not critical for this project since the hat's fit can be adjusted by adding or subtracting rows. However, if following this pattern exactly, 5 double crochets worked over 1 inch should approximate the intended measurements.
Finished Size
- Hat circumference: Fits toddler head sizes approximately 18-20 inches.
- Hat height: 7 inches from crown to brim.
If the hat needs resizing, adjust the number of rows or increases accordingly.
Pattern Overview
The hat is worked in rounds, starting from the crown and progressing outward. After completing the crown section with increases, the sides are created without increases to form the hat's vertical body. Finally, the wavy brim is added using a front loop only technique to create the ruffled effect.
Special Techniques Used
- Magic Ring (Magic Circle):
Creates a tight, gap free center when starting a project in rounds.- Wrap yarn around two fingers to create a loop. Insert the hook, pull up a loop, and chain 1 to secure. Continue working all stitches into the circle.
- Double Crochet (dc):
- Yarn over, insert hook into stitch, yarn over, pull up a loop (3 loops on hook). Yarn over, pull through 2 loops, yarn over, pull through final 2 loops.
- Slip Stitch (sl st):
- Insert the hook into stitch, yarn over, pull through the stitch and the loop on the hook.
- Front Loop Only (flo):
- Work stitches only into the front loop of the stitch, leaving the back loop unworked.
Pattern Instructions
Part 1: Hat Crown
Round 1: Foundation Round
- Begin with a magic ring.
- Chain 2 (does not count as a stitch).
- Work 12 double crochets (dc) into the ring.
- Pull the yarn tail to tighten the ring.
- Slip stitch into the top of the first dc to close the round.
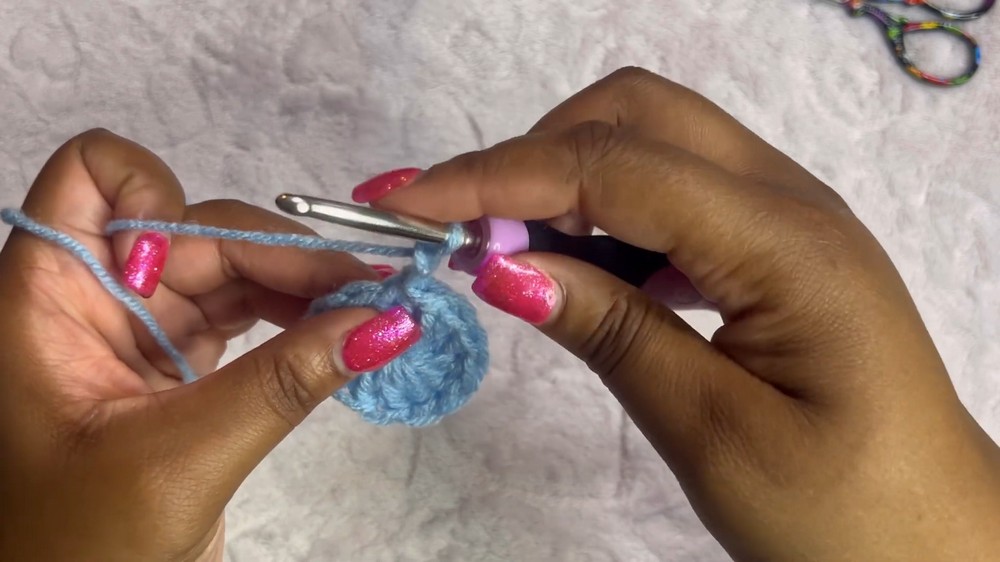
Stitch count for Round 1: 12 dc
Round 2: Increasing the Crown
- Chain 2 (does not count as a stitch).
- Work 2 dc into each stitch around.
- Slip stitch into the top of the first dc to close the round.
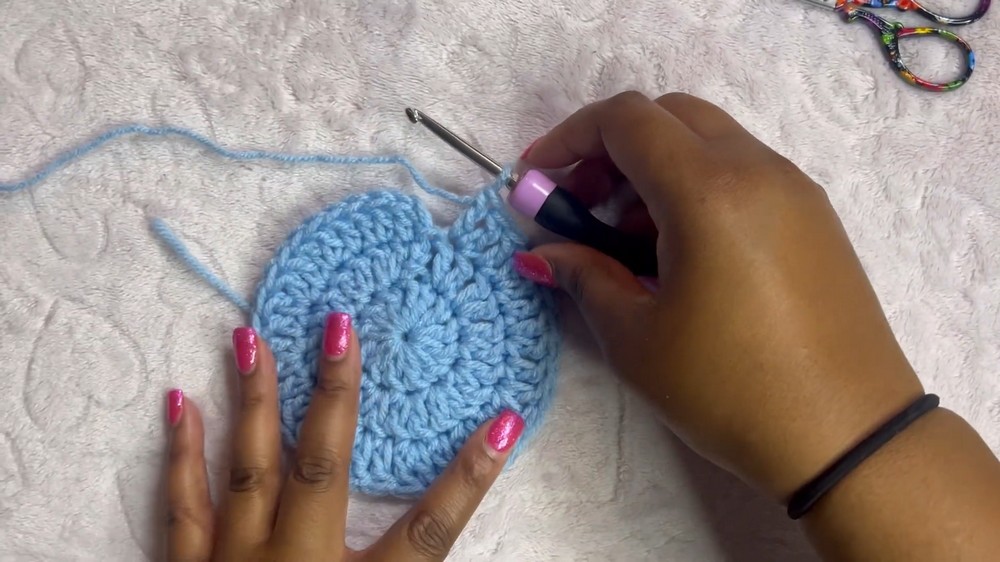
Stitch count for Round 2: 24 dc
Round 3: Alternating Increases
- Chain 2 (does not count as a stitch).
- Work 1 dc into the first stitch, followed by 2 dc into the next stitch. Repeat this sequence (1 dc, 2 dc) around.
- Slip stitch into the top of the first dc to close the round.
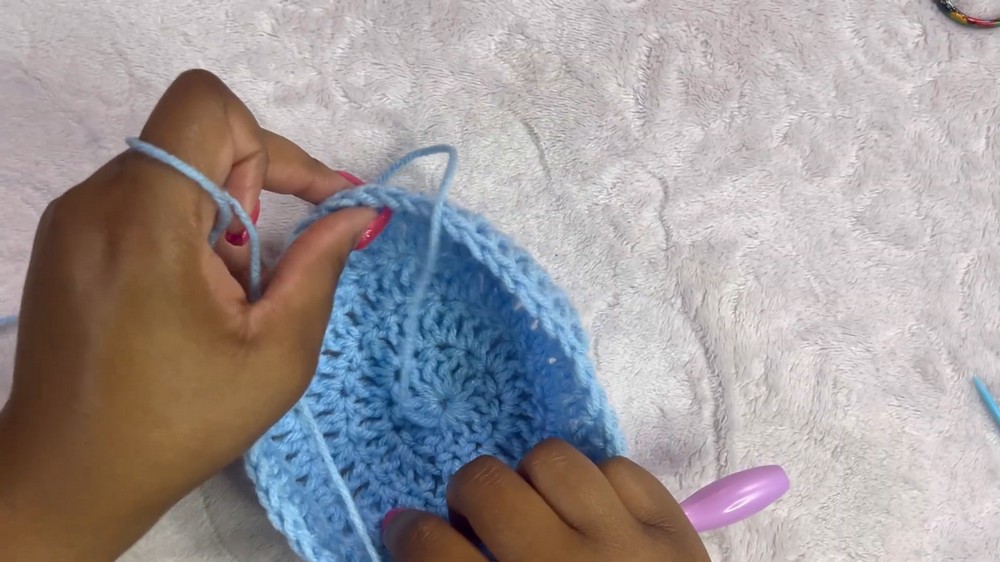
Stitch count for Round 3: 36 dc
Round 4: Wider Crown Expansion
- Chain 2 (does not count as a stitch).
- Work 1 dc into each of the first 3 stitches, followed by 2 dc into the next stitch. Repeat this sequence (3 dc, 2 dc) around.
- Slip stitch into the top of the first dc to close the round.
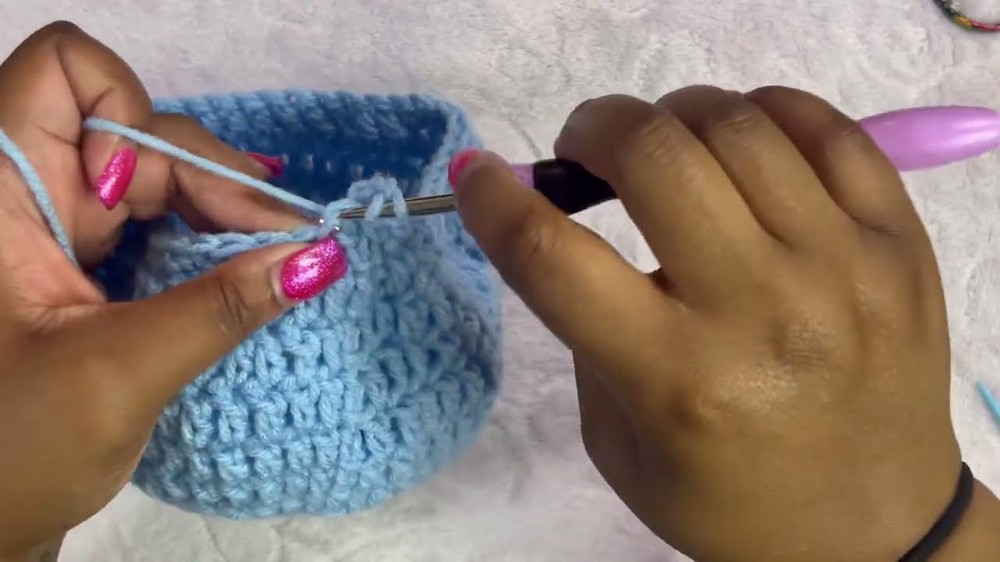
Stitch count for Round 4: 45 dc
Round 5: Final Increase Row
- Chain 2 (does not count as a stitch).
- Work 1 dc into each of the first 4 stitches, followed by 2 dc into the next stitch. Repeat this sequence (4 dc, 2 dc) around.
- Slip stitch into the top of the first dc to close the round.
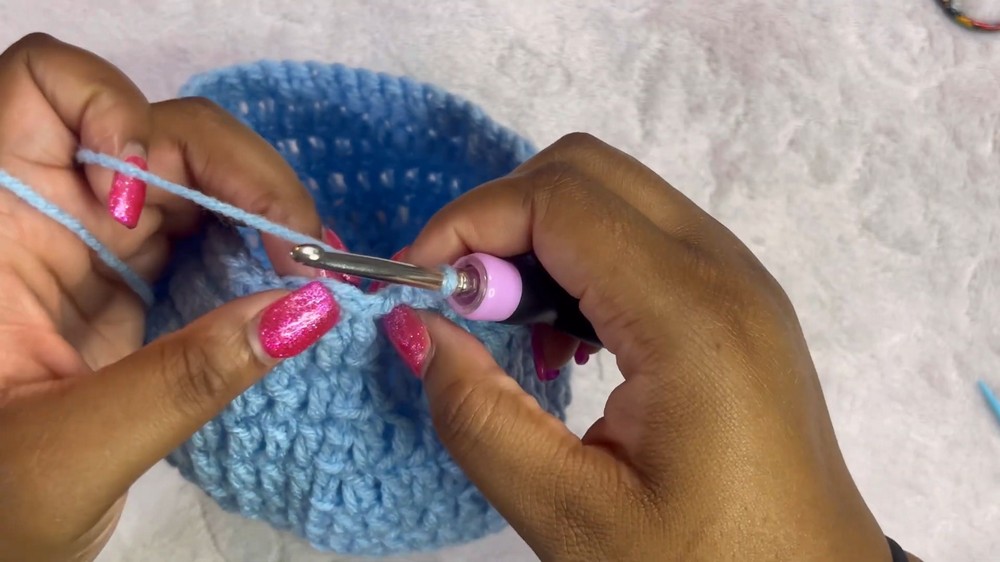
Stitch count for Round 5: 54 dc
Part 2: Hat Sides (Body Section)
Rounds 6-10: Forming the Hat Body
- Chain 2 (does not count as a stitch).
- Work 1 dc into each stitch around.
- Slip stitch into the top of the first dc to close the round.
Note: Repeat this for 5 rounds (adjust the row count if resizing). At the end of Round 10, the hat's sides will start curling upward naturally, shaping the hat.
Part 3: Tightening the Brim
Round 11: Single Crochet Edge
- Chain 1.
- Work 1 single crochet (sc) into each stitch around to tighten the brim slightly.
- Slip stitch into the first sc to close the round.
Stitch count for Round 11: 54 sc
Part 4: Wavy Brim
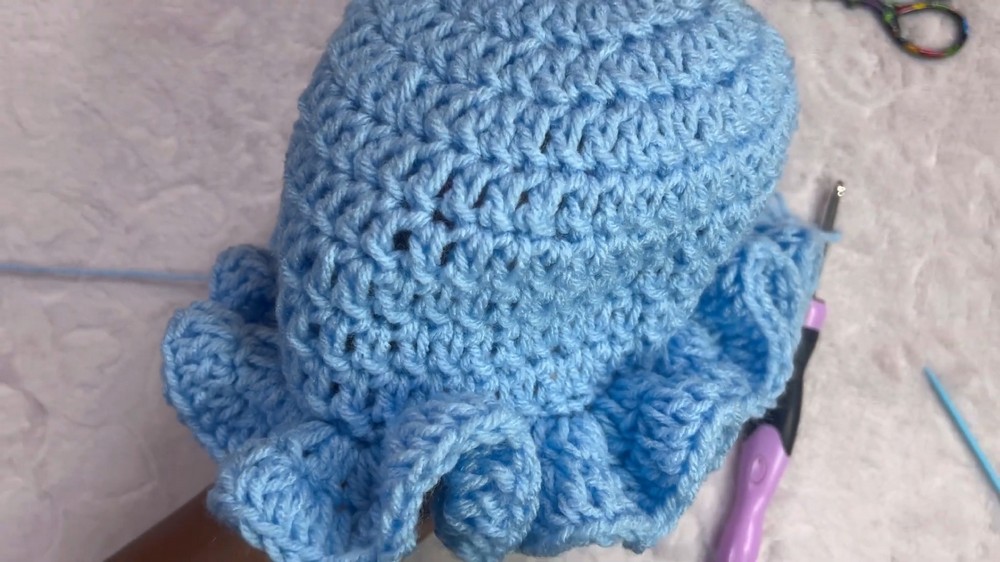
Round 12: Creating Front Loop Ruffles
- Chain 3.
- Work 3 double crochets (dc) into the front loop of each stitch across this round.
- Ensure only the front loop is worked, leaving the back loop untouched.
- Slip stitch into the top of the first dc to close the round.

Note: The ruffles will form as you work around.
Round 13: Adding Depth to Ruffles
- Chain 3.
- Work into the front loops again with the following sequence:
- 2 dc into the first stitch, 2 dc into the next stitch, 1 dc into the next stitch. Repeat (2 dc, 2 dc, 1 dc) around for a fuller brim.
- Slip stitch into the top of the first dc to close the round.
Finishing
- Cut and Secure Yarn: After completing the ruffles, cut the yarn and pull it through the last loop to tighten.
- Weave In Ends: Using the threading needle, weave in any loose yarn ends into the stitches to secure them.
- Shape the Hat: Adjust the ruffles, ensuring they are uniform and sit evenly around the brim.

Customization Ideas
- Colors: Experiment with different yarn colors or stripes for a playful look.
- Brim Size: Add an extra row of front loop stitches to make the brim even more dramatic.
- Appliques: Add flowers, bows, or buttons for extra decoration.
- Sizing: For larger or smaller toddler hats, adjust the crown expansion and the number of rows in the sides.
Tips for Success
- Gauge Adjustment: If using thinner or thicker yarn, adapt the hook size and row counts to maintain the desired hat dimensions.
- Even Ruffles: Consistently working into the front loops ensures that the ruffled brim looks neat and uniform.
- Stitch Counting: Double check stitch counts at every round to avoid uneven shaping or brim distortion.
Conclusion
This toddler wavy brim crochet hat is an elegant, playful design ideal for toddlers aged 2-4 years. The lightweight feel and ruffled brim make it perfect for sunny outings or as a stylish accessory. Personalize it with colors or embellishments to make it unique and enjoy the joy of crocheting a functional and appealing item.