
Cozy Handmade Free Crochet Cat Ears Beanie Pattern
Playful winter style shines with this Free Crochet Cat Ears Beanie Pattern, featuring soft texture cute ears and cozy warmth for fun days.
A cozy hat can do more than keep you warm-it can make you smile too. Surprisingly, a simple accessory like a Crochet Cat Ears Beanie pattern brings a fun twist to everyday winter wear. This beanie features soft yarn that feels gentle on your skin while stretching just right to fit comfortably. The little cat ear adds a playful charm that everyone notices and loves.
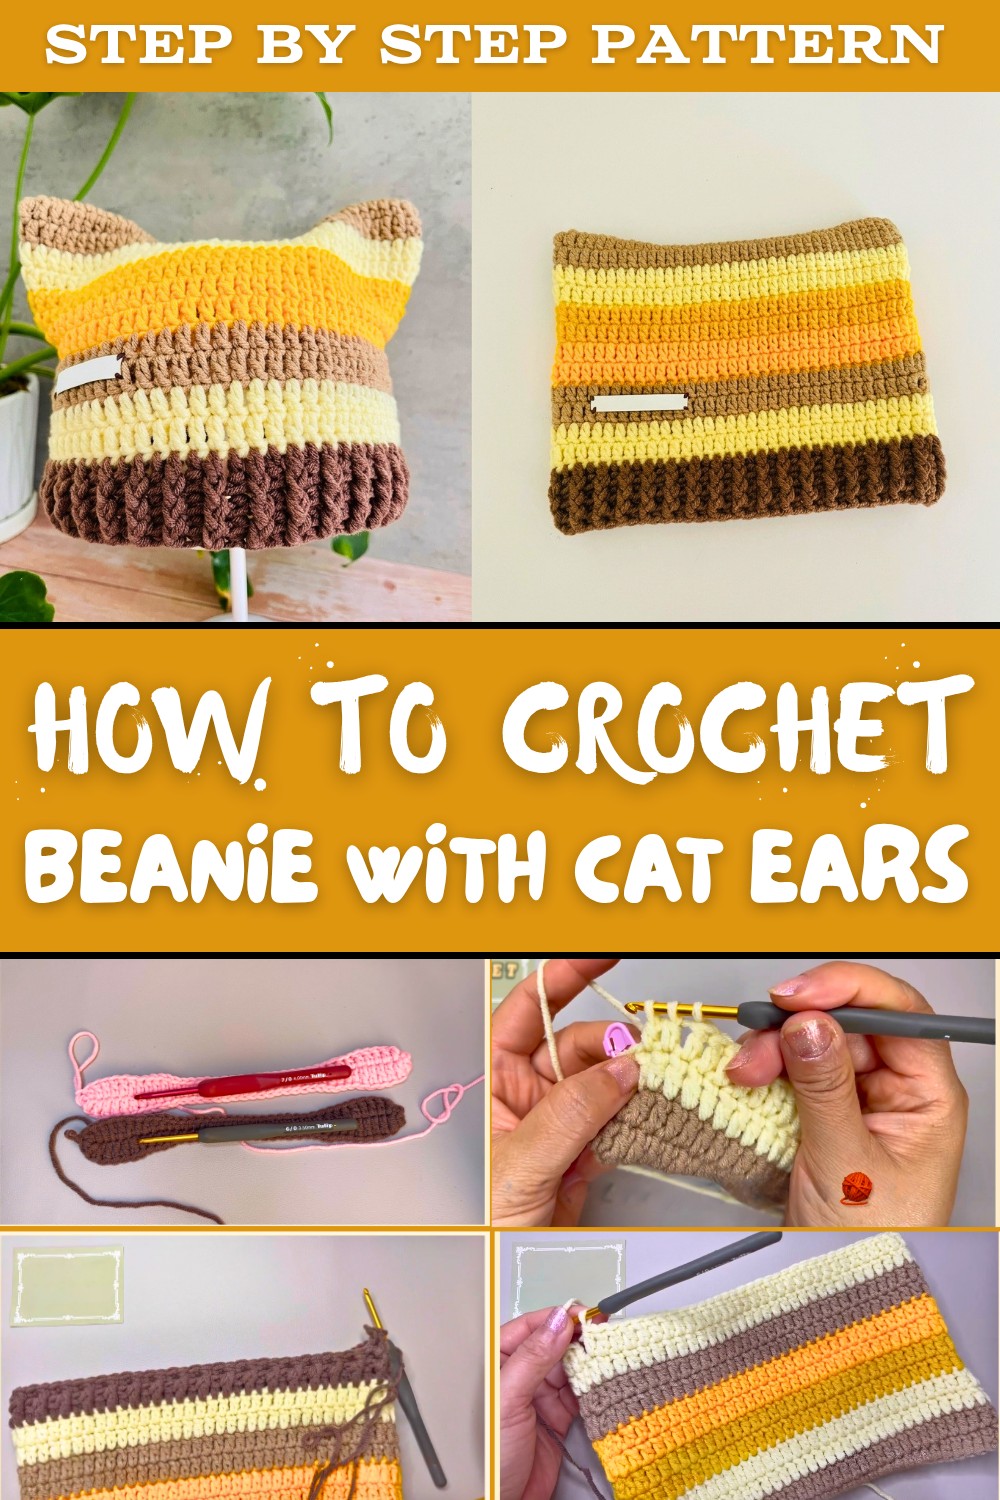
Free Crochet Cat Ears Beanie pattern for soft winter comfort
Not only does this beanie keep the cold at bay, but it also shows off your unique style. You can choose calm shades like gray or black for an understated look or go bold with bright colors that pop. Wearing it with matching scarves or mittens can complete an adorable winter outfit.
For those new to crocheting, this pattern is easy to follow and perfect for beginners. Making the beanie helps build skills while creating something both functional and cute. Whether you want a warm hat for yourself or a thoughtful handmade gift, this project fits the bill.
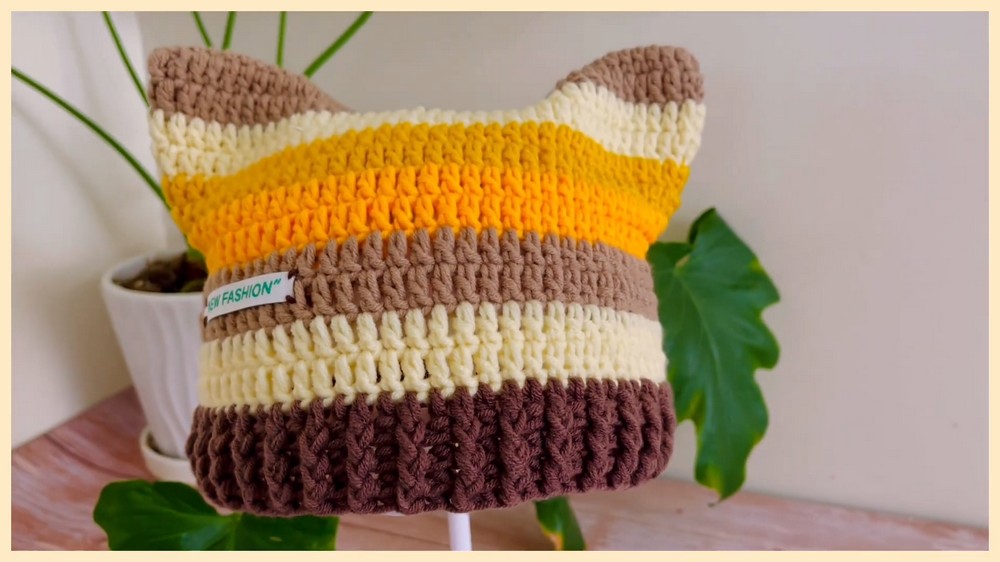
Surprisingly, such a small detail like cat ears can transform a simple hat into a favorite go-to piece. It blends creativity, comfort, and playfulness in a way that brightens cold days. With a Crochet Cat Ears Beanie pattern, you get more than just warmth-you get a cozy companion that brings joy every time you wear it.
Crochet Cat Ear Hat Pattern
A fun and quick project to make a stylish cat ear hat available in three sizes. This beginner-friendly pattern uses basic crochet stitches with options to customize needle size and yarn type for your perfect fit. Make a cozy handmade hat with charming details for yourself or as a thoughtful gift!
Before You Begin
- Choose your yarn: acrylic yarn works well; Cotton Milk yarn is a soft alternative suitable for smaller sizes
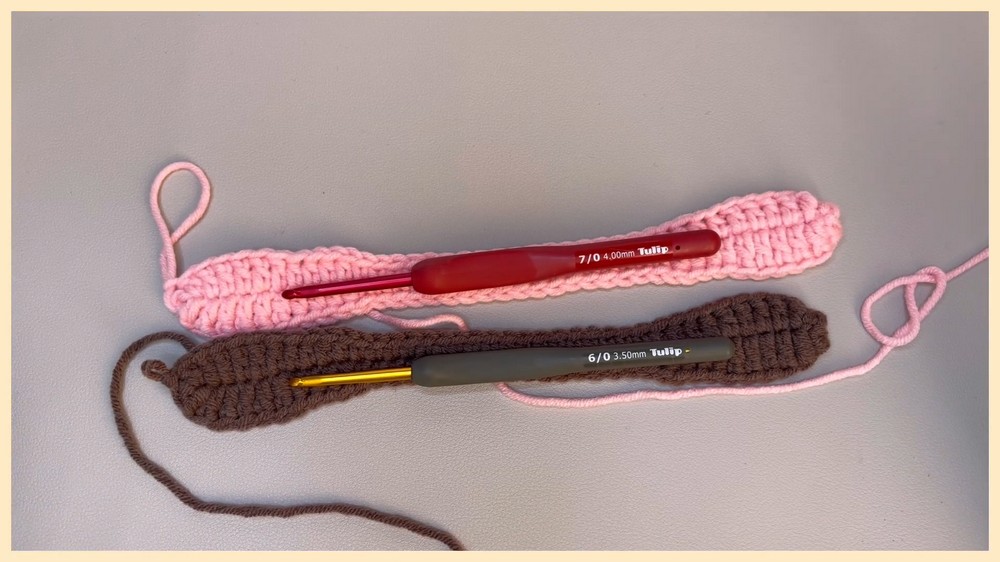
- Gather crochet hooks in 3.5 mm and 4 mm sizes (US E/4 and G/6 recommended)
- Keep a stitch marker handy to track rounds
- Have scissors, tapestry needle, and measuring tape ready
- Remember to crochet with relaxed tension for comfort and fit
- If new to double crochet or half double crochet stitches, consider practicing first
- The pattern is worked flat and then joined in the round
Important Pattern Details
- This hat includes three sizes: small (50-54 cm), medium (56-58 cm), large (59-62 cm) head circumference
- The pattern uses standard US crochet terminology
- Works from a foundation chain row, building up with double crochet (dc), half double crochet (hdc), and single crochet (sc)
- Includes stitch increases and color changes for shaping and style
- Cat ear shaping instructions are included as a finishing touch
- Pattern rounds are joined with slip stitches
- The hat is worked in rows and then joined to form a round shape
Construction Summary
- Chain foundation row followed by working main hat body with a combination of double crochet, half double crochet, and single crochet stitches
- Shape the crown by working specific stitch patterns and increases
- Work multiple rows to desired length based on size
- Add a ribbed border by alternating stitches and optionally changing colors
- Form cat ears separately or integrated with final rows
- Finish off with decorative serrated edges

Skill Level
Beginner to Easy - basic knowledge of crochet stitches required, suitable for those comfortable with chaining, double crochet (dc), half double crochet (hdc), single crochet (sc), and slip stitch (sl st).
Finished Dimensions
- Small: 50-54 cm (19.7-21.3 inches)
- Medium: 56-58 cm (22-22.8 inches)
- Large: 59-62 cm (23.2-24.4 inches)
Materials Required
- Acrylic yarn or Cotton Milk yarn (amount varies by size, approx. 100-150 grams)
- Crochet hooks: 3.5 mm and 4 mm (US E/4 and G/6)
- Tapestry needle for weaving ends
- Stitch markers
- Scissors
Size Guide
- Adjust needle size and yarn type per head circumference to achieve perfect fit
- Use 3.5 mm hook for small size, 4 mm for medium and large sizes
- Measure your head before starting for accurate sizing
Gauge
- Not critical for fit but recommended:
- 14 double crochet stitches and 8 rows = 10 cm (4 inches) in pattern using 3.5 mm hook and acrylic yarn
Abbreviations Used
- ch: chain
- st: stitch
- dc: double crochet
- hdc: half double crochet
- sc: single crochet
- sl st: slip stitch
- inc: increase (work two stitches into one stitch)
Special Techniques
- Double Crochet (dc): Yarn over, insert hook into stitch, yarn over and pull through, yarn over and pull through two loops twice
- Half Double Crochet (hdc): Yarn over, insert hook into stitch, yarn over and pull through, yarn over and pull through all three loops
- Slip Stitch (sl st): Insert hook into stitch, yarn over, pull through stitch and loop on hook in one motion
- Joining rounds: Use slip stitch to join last stitch of round to first stitch to maintain a round shape
- Color change: Cut yarn and join new color with a slip stitch in specified round
Pattern Breakdown
Foundation Chain
- Chain 38 + 3 chains to turn (total 41 chains) - foundation for the smallest size. Adjust for medium and large by changing hook/yarn as needed.
- Do not pull chain too tight; keep chains loose to prevent a tight edge.
Simple explanation: Begin by making 41 loose chains. This is your starting row and foundation for the hat size.
Row 1: Double Crochet (dc) Row
- Work dc starting from 4th chain from hook, dc in each chain across.
- Total: 38 dc stitches worked evenly.
- Turn work.
Simple explanation: Skip first three chains, then double crochet each chain across this row.
Row 2: Half Double Crochet (hdc)
- Ch 2 (counts as first hdc), hdc in each stitch across (38 stitches).
- Turn work.
Simple explanation: Chain two, then half double crochet every stitch to build up the hat.
Rows 3-5: Repeat dc and hdc alternately
- Alternate rows of dc and hdc to add texture and height.
- Maintain stitch count with no increases yet.
Simple explanation: Work double crochet row, then half double crochet row, and repeat to form the body of your hat.

Row 6: Cat Ear Shaping Begins
- Begin decreases or shaping as instructed to outline the cat ear points.
- Use decrease techniques (such as crocheting two stitches together) to form pointed ears.
Simple explanation: Start crocheting the cat ears by reducing stitches to shape the points.
Rows 7-10: Continue Cat Ear Formation
- Follow pattern for shaping ears.
- Work slip stitches to join rounds and maintain structure.
Simple explanation: Work rows carefully to shape the ears, ensuring smooth edges and pointed tips.
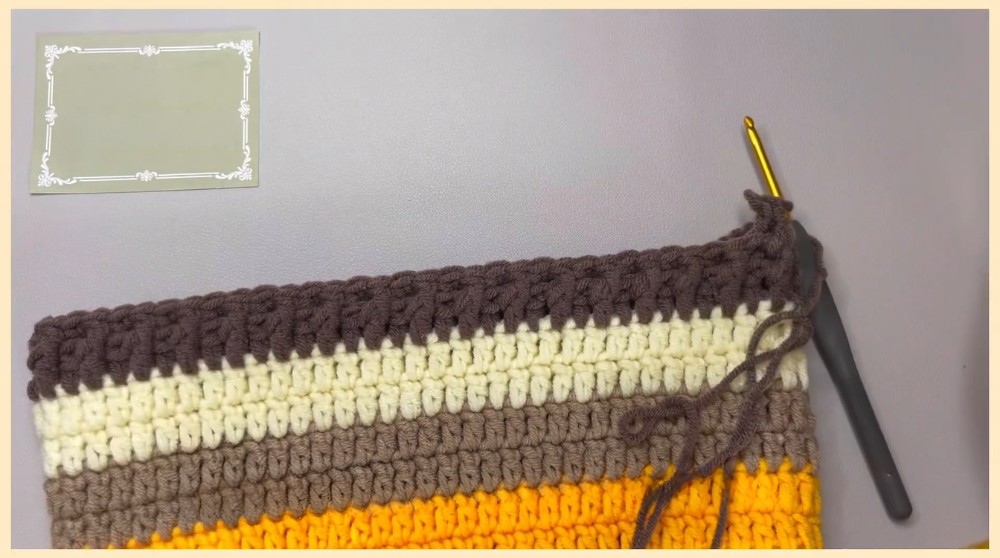
Ribbed Brim (Rows 11-16)
- Switch to a ribbed pattern by alternating front-post and back-post double crochet or by using half double crochet stitches in back loops only.
- Optionally change yarn color for contrast.
- Ribbing adds stretch and neat finish at the hat's opening.
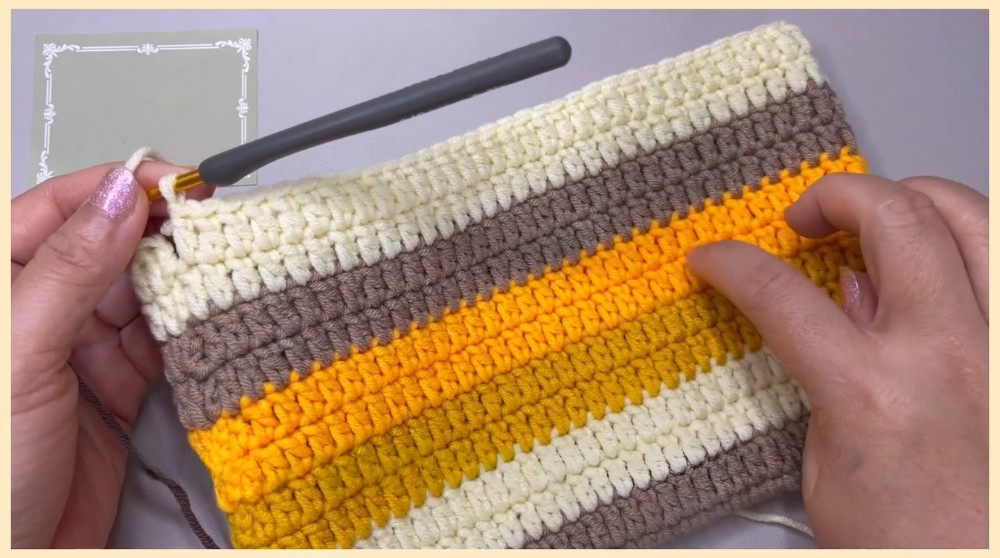
Simple explanation: Make the brim stretchy and neat by working special stitches up and down the post of previous stitches.
Finishing Edge: Serrated Detail
- Crochet a serrated or scalloped edge around brim for decorative finish.
- Use single crochet, chains, and slip stitches as needed.
Simple explanation: Add a pretty wavy edge at the bottom of the hat for decoration.

Beginner Tips after Each Section
- Always count your stitches at the end of each row to avoid mistakes.
- Keep your tension relaxed to ensure the hat fits comfortably.
- Don't worry if the shape looks odd during ear shaping - it will look perfect after assembly and blocking.
Assembly and Final Touches
- Weave in all yarn ends securely with tapestry needle.
- Block your hat by dampening and shaping flat or on a head form to smooth stitches and define cat ears.
- Sew or crochet a small seam inside cat ears if needed to make them stand upright.
- Double-check measurements and try on for fit before finishing.
Common Hurdles and Solutions
- Problem: Hat feels too tight or too small.
Solution: Loosen your tension or use a larger hook next time; double-check gauge. - Problem: Uneven cat ears or lopsided points.
Solution: Follow stitch counts precisely; use stitch markers to track shaping. - Problem: Edges curling or too tight.
Solution: Use a looser hook size or add an extra stitch in tricky areas for ease.
More Creative Ideas with This Pattern
- Use different color yarn stripes to create colorful cat ear hats
- Make matching ear warmers or fingerless gloves using similar stitches
- Add pom-poms or embroidered faces to create playful animal hats
- Customize ear shapes for different animals: bunny, fox, bear
- Turn the hat into a cozy Halloween costume accessory