
Free Crochet Teddy Bear Hat Pattern for Cute Vibes
Brighten your day with this fun and simple crochet teddy bear hat pattern, free for everyone to enjoy and make.
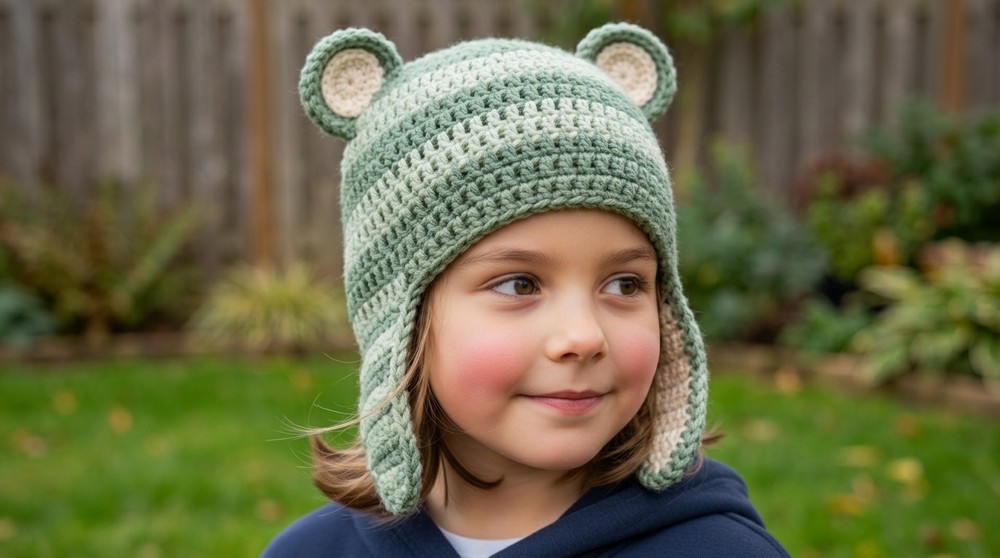
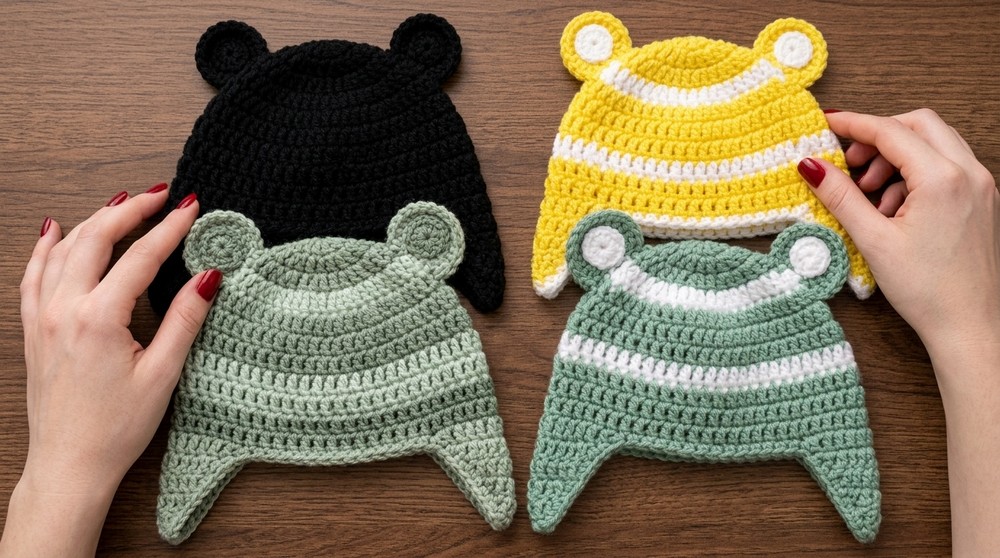
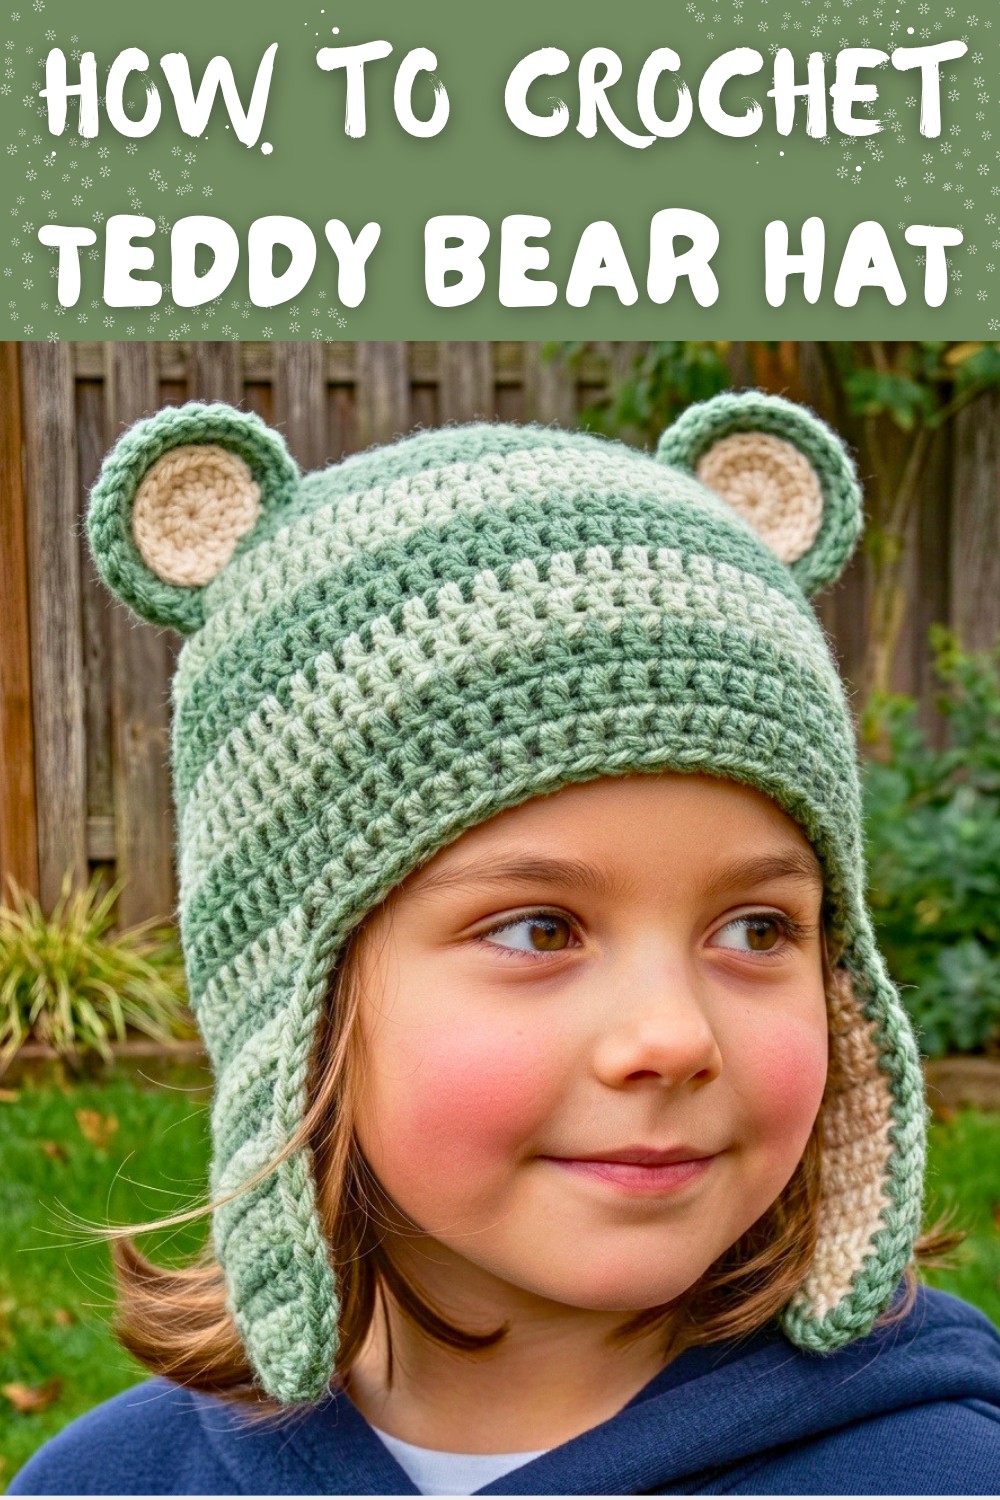
Perfect for cold days or as a thoughtful handmade gift, this hat is both practical and stylish. Featuring charming bear ears and snug ear flaps, it adds a playful touch to any winter outfit while keeping the wearer warm and comfortable. Whether it's crocheted in soft shades of brown for a classic teddy bear look, or vibrant colors for a unique flair, this hat effortlessly stands out with its cheerful appearance.
Its texture is wonderfully soft and snug, perfect for keeping wearers warm during chilly days. The ear flaps, which hug the sides of the head, are not only practical but give the hat a cozy and inviting vibe. This thoughtful addition ensures the hat provides full protection against the cold while looking effortlessly stylish. Its rounded shape fits comfortably and complements the contours of the face, adding an extra layer of charm.
Charming Crochet Teddy Bear Hat Pattern for Free
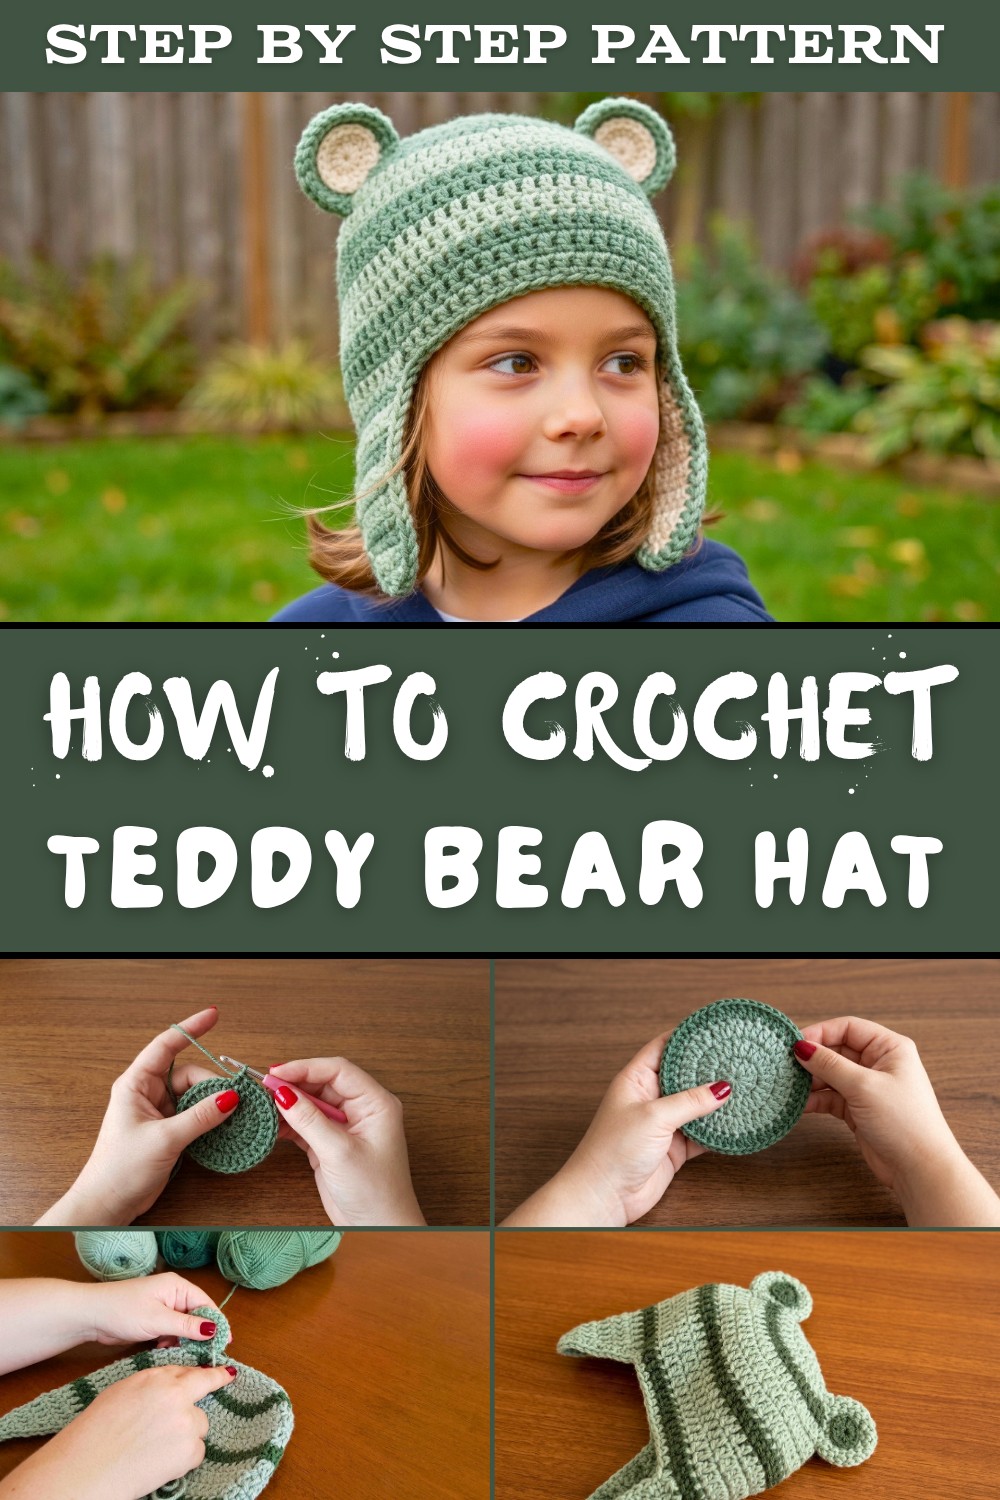
One of the standout elements is the ability to create this hat in different sizes, making it suitable for babies, toddlers, teenagers, and even adults. This adaptability adds to its uniqueness, as you can adjust its dimensions and colors to meet specific preferences or occasions. The hat's handmade nature also makes each piece one of a kind, showing the care and creativity involved in its creation.
This crochet teddy bear hat shines as a delightful fashion accessory. It can transform an ordinary winter outfit into something playful and heartwarming, perfect for family photos, special occasions, or everyday wear. Its lighthearted design sparks joy and adds a touch of fun wherever it's worn. Whether given as a precious handmade gift or created for personal use, this cozy teddy bear hat carries the charm of love, creativity, and warmth.
Crochet Teddy Bear Hat Pattern
Materials
- Yarn: Acrylic yarn with a tex of 500 (For best results, use two colors: one lighter and one darker, as demonstrated).
- Crochet hook: 3.5 mm (adjustable based on desired toque size).
- Scissors.
- Yarn needle for sewing and weaving ends.
- Stitch markers (optional for clearer counting).
Special Techniques
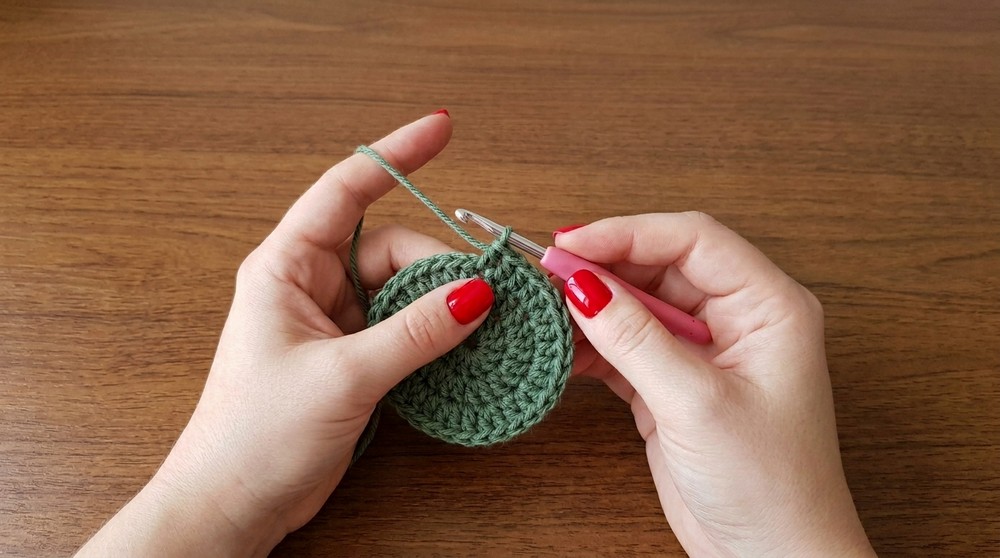
- Magic Ring: Used for creating a clean circular base.
- Point Distribution for Seamless Appearance: Focus on ensuring the toque doesn't end up too stiff (tight stitches) or loose (excessive stitches).
- Joining without visible gaps: Reduce large gaps when joining rows by ignoring initial chains and starting at the head of the stitches.
- Closed points for ear flap curvature: Reduces squareness in the ear flap.
Pattern Instructions
Section 1: Crown of the Toque
Foundation
- Start with 4 chains, join with a slip stitch to form a ring.
- Row 1:
- Chain 3 (counts as first stitch).
- Make 11 double crochets into the ring. (Including chain 3 = 12 stitches total).
- Close the row with a slip stitch on the chain 3 of the start.
- Row 2 (Increase Round):
- Chain 3 (counts as first double crochet).
- Add 1 more double crochet in the same space (first increase).
- Continue 2 double crochets in each stitch, completing 24 stitches total.
- Close with a slip stitch.
- Row 3 (Increase Round):
- Chain 3 (first stitch).
- Make 1 more double crochet in same stitch (increase).
- In the next stitch, make 1 double crochet only.
- Continue pattern: 1 double crochet, increase until completing 36 stitches.
- Close with slip stitch.
- Row 4 (Curvature Transition-Distributed Increases):
- Change yarn color to darker shade (optional).
- Chain 3.
- Add 2 double crochets at the same start point (increase).
- Make 6 individual double crochets, followed by an increase (2 double crochets in the same stitch).
- Repeat pattern 6 stitches, increase until reaching 48 stitches at the end.
- Transition to curvature design if needed for smaller sizes.

Height & Body
- Rows 5 onward:
- Begin working without increases. Chain 2 and start point over point (1 double crochet in each stitch).
- Adjust number of rows depending on desired toque height:
- Baby (6 months-2 years): 10 rows total.
- Toddler (2-4 years): 12 rows total.
Section 2: Ear Flaps
Ear Flaps Base
- Divide the toque in half to locate central front/back. For position:
- Count 6 stitches inward on each side (front and back).
- Mark where the ear flaps will begin.
- With the lighter yarn, start ear flaps directly on the marked stitch:
- Ear Flap Row 1:
- Chain 3 (counts as first stitch).
- Crochet 12 double crochets-distribute until reaching desired width.
- Ear Flap Row 2:
- Chain 2.
- Make 1 point decrease at start and end of row (join stitches into one)-use only front loops.
- Continue middle with individual stitches until reducing to 10 stitches.
- Continue with decrements for Rows 3-5, until ending with 4 stitches.
- Ear Flap Row 1:
Ear Flap Finishing
- Cut yarn, leaving a long tail for sewing.
- Repeat identical steps for the opposite ear flap.
- Once completed, attach ear flaps securely to the toque using the yarn needle.

Section 3: Edge Finish
- Using a lighter yarn, border the toque in single crochet stitches:
- Focus on distributing points to ensure seamless curves.
- Follow smooth transitions around ear flaps for a rounded finish.
Section 4: Optional Inner Ear Accent
- Create accent pieces for ear flaps using darker yarn:
- Follow Magic Ring method to start.
- Work 12 single crochets into the ring.
- Finish by sewing inner piece into the ear flaps.
Finishing
- Hide all loose threads by weaving ends securely into the toque using your yarn needle. Avoid leaving visible strings.
- Inspect to ensure both ear flaps and borders are evenly distributed.

Final Words & Tips
Final Product Presentation
The crocheted toque should have a snug fit around the crown and properly-placed ear flaps. Optional inner accent pieces may add extra charm.
Tips to Maintain the Pattern
- Sizing Flexibility: Use a thicker crochet hook for looser stitches and greater elasticity.
- Care for Yarn: Wash with mild detergent and air dry the toque to preserve its texture and avoid shrinking.
- Customization: Add decorative elements like buttons, appliqués, or embroidered initials for personalized designs.
By following the above steps, you'll create a well fitted, stylish toque with ear flaps suitable for various age groups. Enjoy your crocheting process.