
Free Crochet Waist Bag Pattern For Jogging and Park Use
Keep your essentials close with this free crochet waist bag pattern bringing easy carrying stylish looks and everyday comfort on the go.
It's a simple project that looks amazing and is useful for everyday life. This waist bag is designed with polyester yarn for strength, softness, and durability, while the clever use of a Tulip hook number 5 helps create neat and uniform stitches. Even if you're just learning crochet, this pattern is beginner friendly and can be followed step by step without any confusion. The waist bag has a beautiful and clean design that makes it stand out. Its smooth surface is made using single crochet (sc) stitches, which give the bag a tidy and polished appearance. One of its amazing features is the zippered pocket on the front, allowing you to store items like phones, keys, or money securely. Additionally, the bag has a fabric lining sewn inside, making it sturdy while adding an extra layer of elegance. This combination of crochet and sewing comes together to create something that feels unique and handmade.
Free Crochet Waist Bag Pattern for Sporty Chic Use

The waist bag is great for many uses. Whether you're going to school, walking in the park, traveling, or running errands, it keeps your things close to you and frees up your hands. The crocheted strap, which measures about 40 cm, fits comfortably around your waist and is sturdy yet lightweight.
What makes this project truly special is the attention to detail. Markers are used to ensure precise stitches and balanced sides, helping you stay organized as you crochet row by row. The pattern also involves manually sewing the zipper, handles, and fabric lining, blending different techniques to create a professional finish. This waist bag is not only useful-it's also a stylish and rewarding project anyone can enjoy creating.

Crochet Waist Bag Pattern
Materials Required
- Yarn: Polyester yarn (brand not specified). It can be sourced from local craft stores. Ensure the yarn is suitable for creating structured accessories.
- Hook: Tulip Hook, size 5 mm.
- Stitch Markers: To mark specific loops and seams.
- Zipper: To fit the finished waist bag. Make sure the zipper matches the color and length of the bag.
- Fabric Lining: A durable fabric to reinforce the interior of the pocket and bag.
- Sewing Kit: Needle and thread for sewing the zipper, pocket, and lining.
Abbreviations Used
- ch: Chain
- sc: Single Crochet
- sl st: Slip Stitch
- dec: Decrease (sc two stitches together)
Step by Step Instructions
1. Main Body of the Bag
- Foundation Chain:
- Make a slip knot.
- Create a foundation chain of 21 chains.
- Row 1:
- Work 1 sc into the 2nd back bump of the chain from the hook.
- Continue working 1 sc into the next 19 back bumps.
- This row will have a total of 20 sc.
- Row 2:
- Make 1 ch, turn your project.
- Count 10 loops from each side of the row and mark the loops using stitch markers. These marks indicate the middle of the project where increases will occur.
- Work 1 sc into each of the next 9 loops until you reach the marked loop.
- At the marked loop, remove the marker and work 2 sc. Replace the stitch marker at the last loop of the increase.
- Work 1 sc in each of the next 9 loops.
- This completes row 2.
- Row 3:
- Chain 1, turn your work.
- Work 1 sc into each of the next 10 loops.
- At the marked loop, remove the marker and work 2 sc. Replace the marker on the last loop of the increase.
- Continue with 1 sc in each of the 10 loops.
- Repeat the pattern of increasing at the middle loop for every row until you reach Row 18.


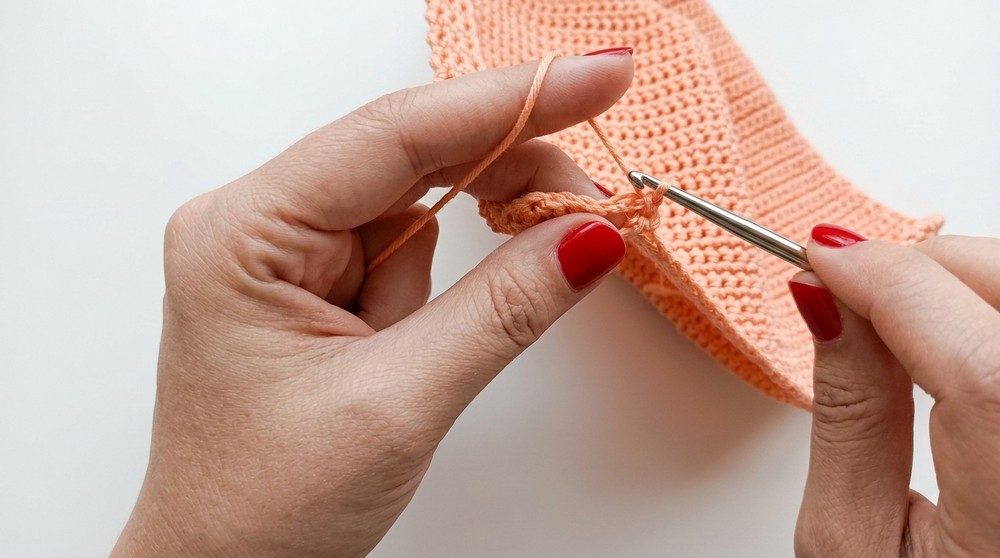
2. Expanding the Bag
- Row 19:
- Make 1 ch, turn the project.
- Work 1 sc into each of the 48 loops (no increases).
- Repeat this same pattern for Row 20.
- Continue repeating rows of 48 sc without increasing until you reach Row 57.

3. Joining the Bottom Edge
- Without cutting the yarn, make 1 sc around the edge of the bag, ensuring a clean and seamless edge.
4. Pocket
- Foundation Chain for the Pocket:
- Make a slip knot.
- Work a foundation chain of 27 chains.
- Pocket Rows:
- Row 1: Work 1 sc into the 2nd back bump from the hook. Continue working 1 sc across the next 25 back bumps (26 sc total).
- Row 2 to 18: Make 1 ch, turn the work, and continue working 1 sc across the 26 loops for a total of 18 rows.
- Edging the Pocket:
- Work 1 sc around the entire edge of the pocket. Add 2 sc into each corner for a neat edge.
- Sewing the Zipper and Pocket:
- Attach a zipper to the top edge of the pocket using a sewing needle.
- Place the pocket on the front side of the bag, centered in the middle. Sew the pocket to the main body manually.
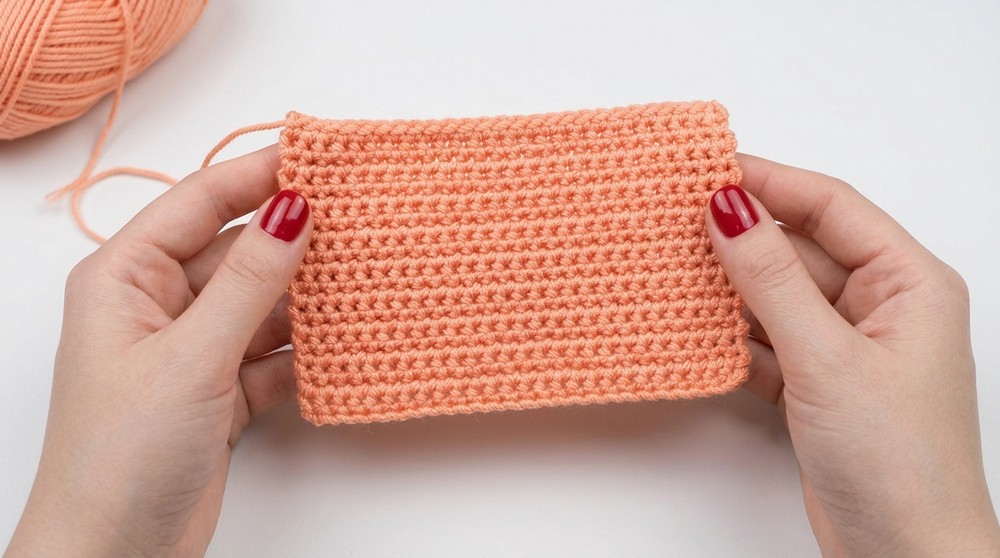
5. Attaching Fabric Lining
- Prepare the Lining:
- Turn the bag inside out so the wrong side faces up.
- Cut fabric to match the dimensions of the interior of the bag.
- Align the fabric correctly and sew it manually from the 8th row at both edges.
6. Handle or Straps
- Creating the Strap:
- Attach the yarn at one side of the bag's body.
- Work 9 sc along the edge.
- Chain 1, turn, and continue working 9 sc for the strap. Repeat this pattern until the strap measures approximately 40 cm.
- Attaching the Strap:
- Seamlessly sew or crochet the strap onto the opposite side of the bag.
Finishing the Waist Bag
- Tidy up all loose ends by weaving them securely into the stitches using a tapestry needle.
- Check all seams, edges, and the zipper to ensure durability and stability.

Final Words
Congratulations, you've successfully completed the crochet waist bag. This structured and stylish bag is perfect for casual outings and everyday use, combining utility with fashion.
Tips to Maintain the Pattern
- Washing: Handwash the bag gently with cold water and mild detergent to prevent damage to the fabric and yarn.
- Storage: When not in use, store the bag in a cool, dry place to preserve its shape.
- Use Reinforced Stitches: Multiple stitches at stress points (e.g., strap attachments) can help the bag last longer.
