
Free Crochet Strawberry Keychain Pattern That’s Too Sweet
Shape a delightful strawberry design with this free crochet strawberry keychain pattern that adds a charming touch to your keys and bags, making them look adorable.
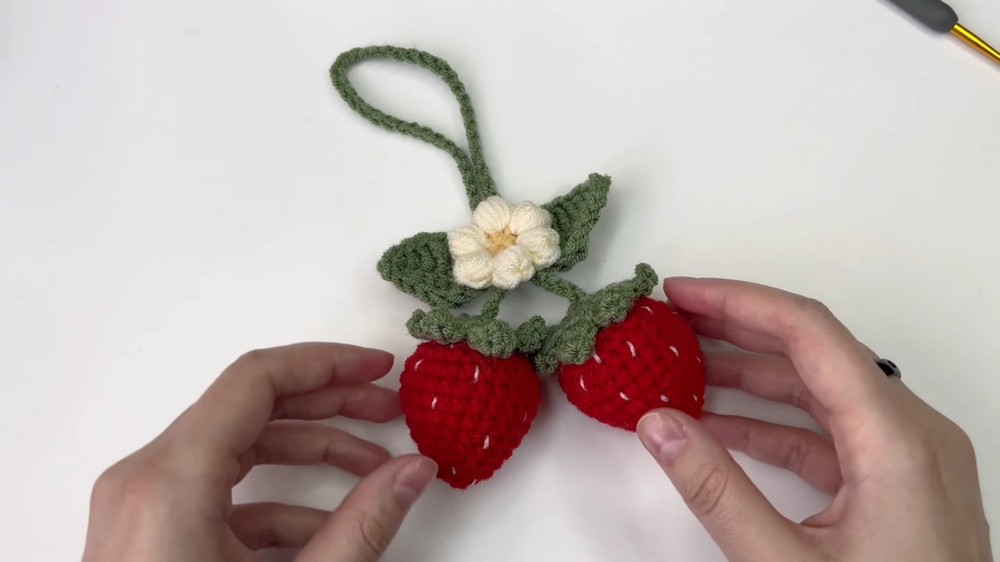
It is easy to make, looks super stylish, and is an ideal handmade accessory for daily use. Whether you want to use it as a tiny keychain or a cute bag charm, this strawberry Keychain pattern is sure to add a playful and vibrant touch to your belongings. The strawberry is made using red yarn that gives it a juicy and fresh look, while the green top and tiny seeds make it look even more realistic.
Crochet Strawberry Keychain - Fun Free Pattern
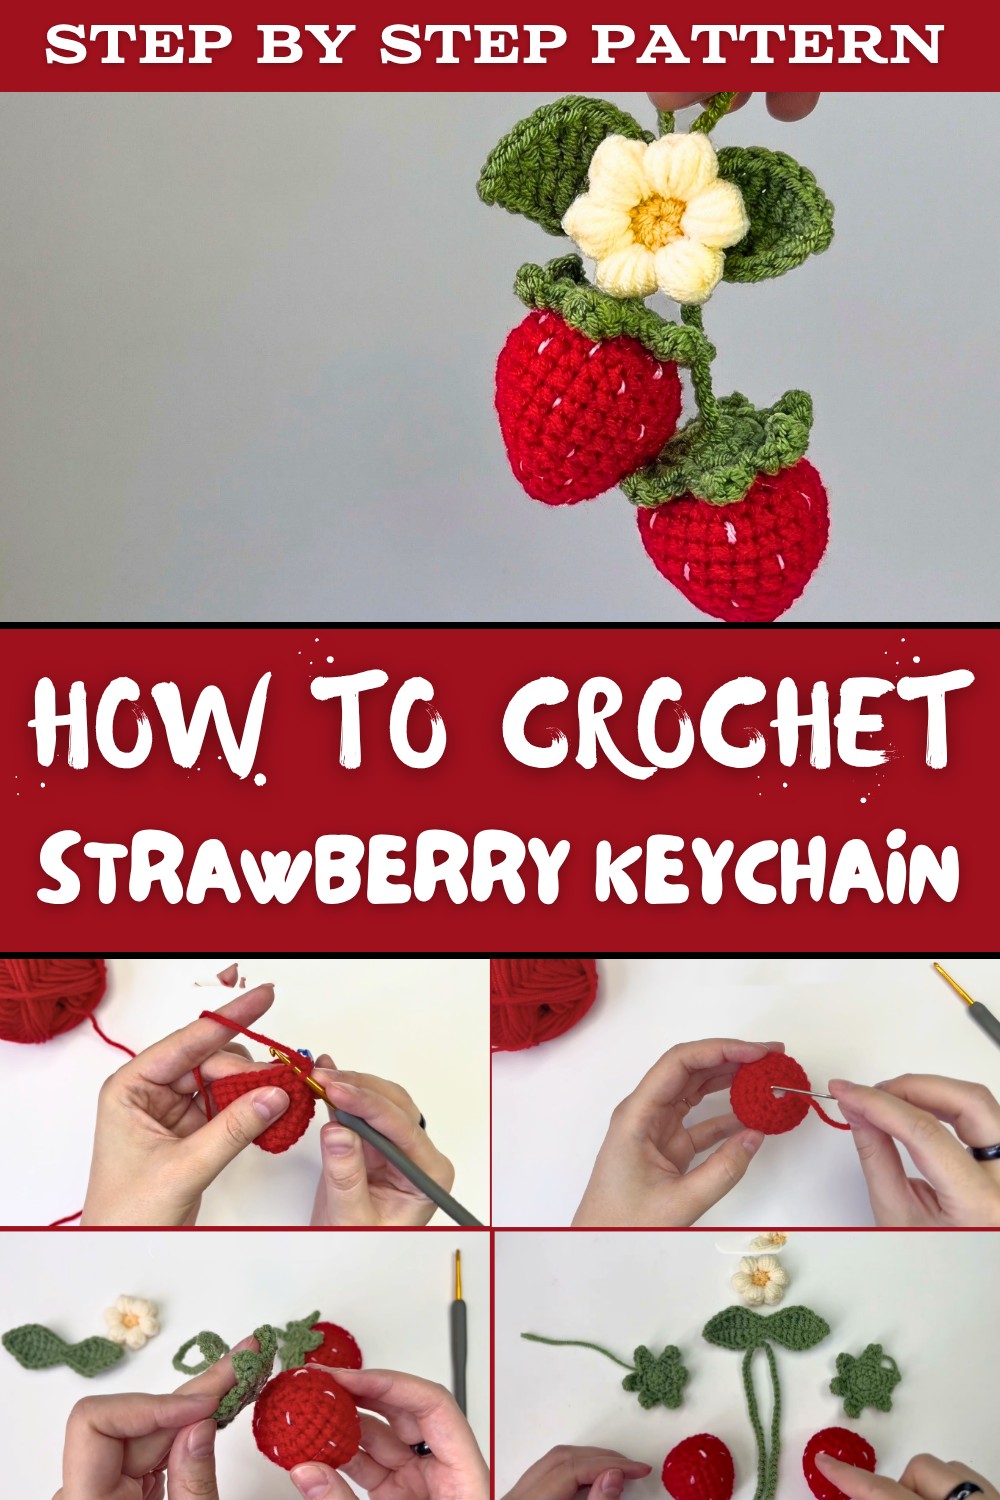
This crochet pattern is beginner friendly and involves easy steps to follow. From starting with a magic ring to adding adorable little details like seeds, this project lets you explore fun crochet techniques. The small size and quick construction also make it a perfect gift idea for friends and family. Its main beauty lies in the simple yet attractive appearance. The soft curved shape, colorful details, and the option to attach a small cord make it incredibly versatile. You can personalize the strawberry by using pastel yarns or adding beads for extra sparkle.
Crocheting this strawberry teaches basic stitches like single crochet, half double crochet, and treble crochet, making it an educational and fun activity for both beginners and seasoned crocheters. This tiny charm is not just cute but extremely practical and can be completed in just a few hours. Make your day brighter and crafty by crocheting this adorable strawberry keychain. It is fun, creative, and perfect for any age.
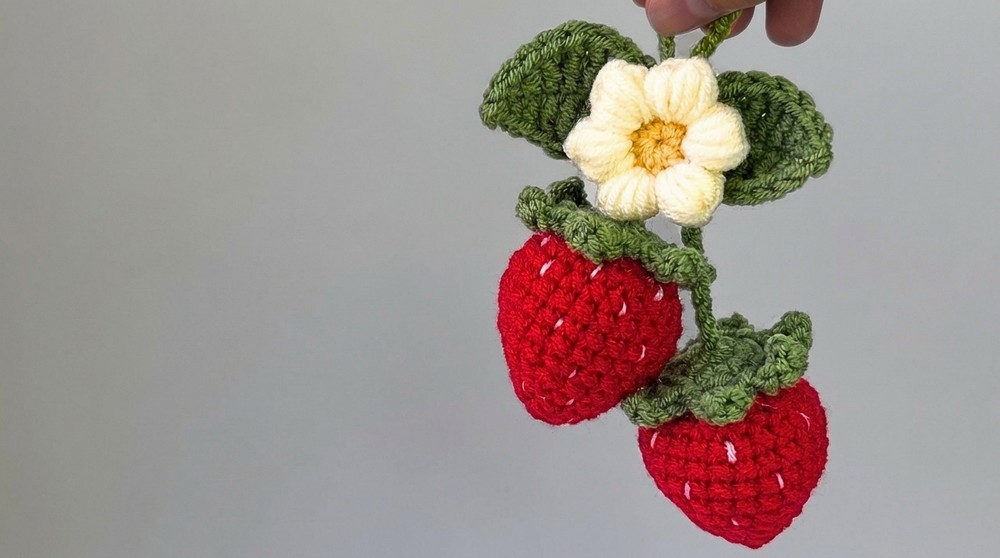
Crochet Strawberry Keychain Pattern
Materials Required
- Yarn:
- Red yarn (for the strawberry body)
- Green yarn (for the sepal and leaf)
- Optional: Yellow or white yarn or embroidery thread (for seeds)
- Hook Size:
- Hook appropriate for your yarn; typically 2.5 mm-3.5 mm for fine or medium-weight yarn.
- Stuffing:
- Polyester fiberfill for a firm, smooth shape.
- Tapestry needle:
- For sewing and embroidery.
- Stitch Marker:
- To track your rounds.
- Scissors
- Keyring or bag clip (optional)
Gauge
Gauge is not crucial for this project since it's a decorative item. Use a hook size that creates tight stitches to prevent stuffing from showing.
Finished Size
Approximately 2.5 inches tall (excluding the green leaf and cord) when using a 2.5 mm hook with fine yarn. Size may vary depending on materials used.
Pattern Instructions
Strawberry Body
1. Round One:
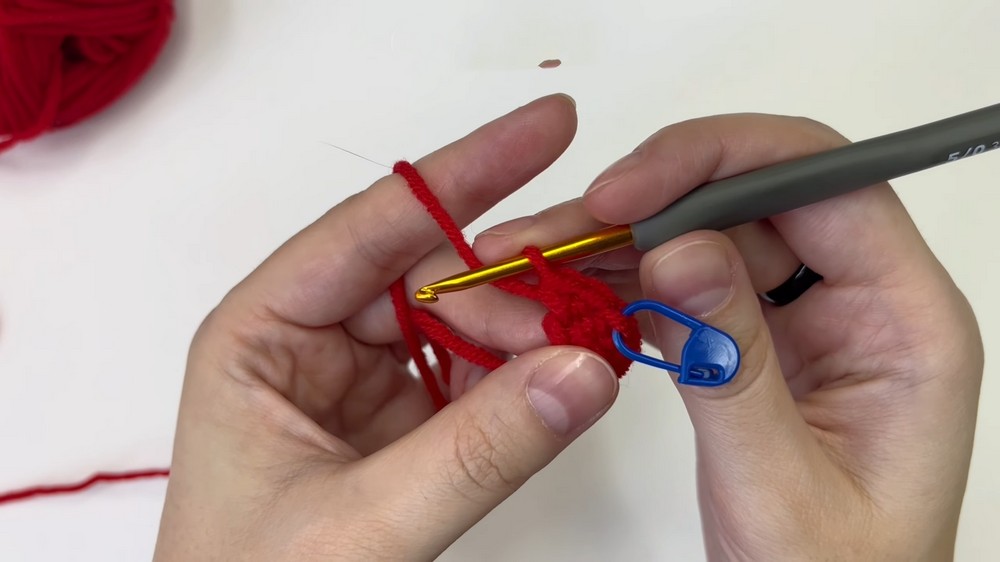
- Using the red yarn, create a magic ring.
- Crochet 6 single crochets (sc) into the ring. Pull the ring tightly closed. (6 stitches)
2. Round Two:
- Place a stitch marker in the last stitch to track your rounds.
- (Increase) Make 1 single crochet in the first stitch, then 2 single crochets in the next.
- Repeat this pattern 3 times. (9 stitches)
3. Round Three:
- (Increase) Make 2 single crochets in the first stitch, then 1 single crochet in the next 2 stitches.
- Repeat 3 times. (12 stitches)
4. Round Four:
- (Increase) Make 2 single crochets in one stitch, followed by 1 single crochet in the next 3 stitches.
- Repeat 3 times. (15 stitches)
5. Round Five:
- Alternate 2 single crochets, 1 increase (2 sc in the same stitch), and 2 single crochets.
- Repeat around. (18 stitches)
6. Round Six:
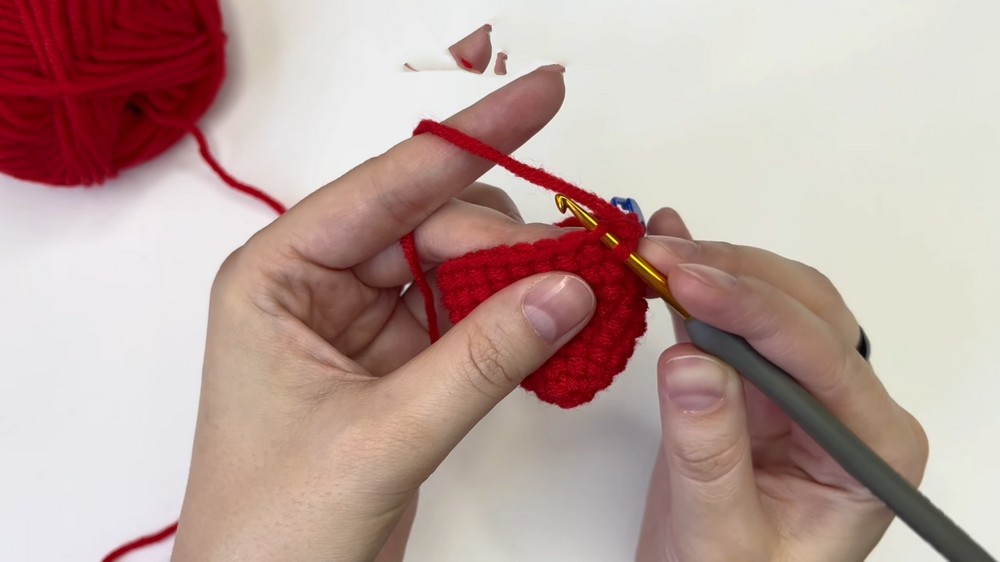
- (Increase) Make 2 single crochets in the first stitch, followed by 5 single crochets.
- Repeat 3 times. (21 stitches)
7. Round Seven:
- (Increase) Crochet 3 single crochets, 1 increase, and 3 single crochets.
- Repeat around. (24 stitches)
8. Rounds Eight to Ten:
- Make 1 single crochet in each stitch in continuous rounds to build the strawberry shape. (24 stitches)
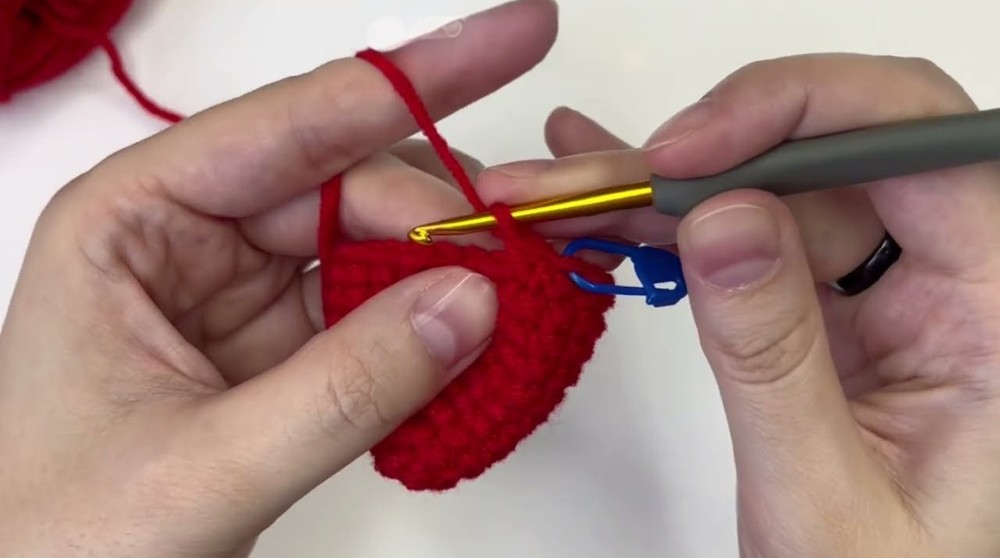
9. Round Eleven: (Start Decreasing)
- (Decrease) Make 1 decrease (sc2tog), followed by 2 single crochets.
- Repeat this pattern to complete the round. (18 stitches)
**10. **Stuff the Strawberry:
- Before continuing, firmly stuff the strawberry with fiberfill.
11. Round Twelve:
- (Decrease) Make 1 decrease, followed by 1 single crochet.
- Repeat the pattern all the way around. (12 stitches)
12. Round Thirteen:
- Make 6 decreases (sc2tog) around. (6 stitches)
13. Finish:
- End with a slip stitch. Leave a long tail, cut the yarn, and use your needle to sew the opening closed. Add more stuffing if needed before tightening completely. (Fasten off)

Strawberry Seeds (Optional)
- If desired, add tiny yellow or white seeds by making small embroidery stitches evenly spaced across the strawberry body. This adds a realistic charm to your project.
Strawberry Sepal (Green Top)
1. Round One:
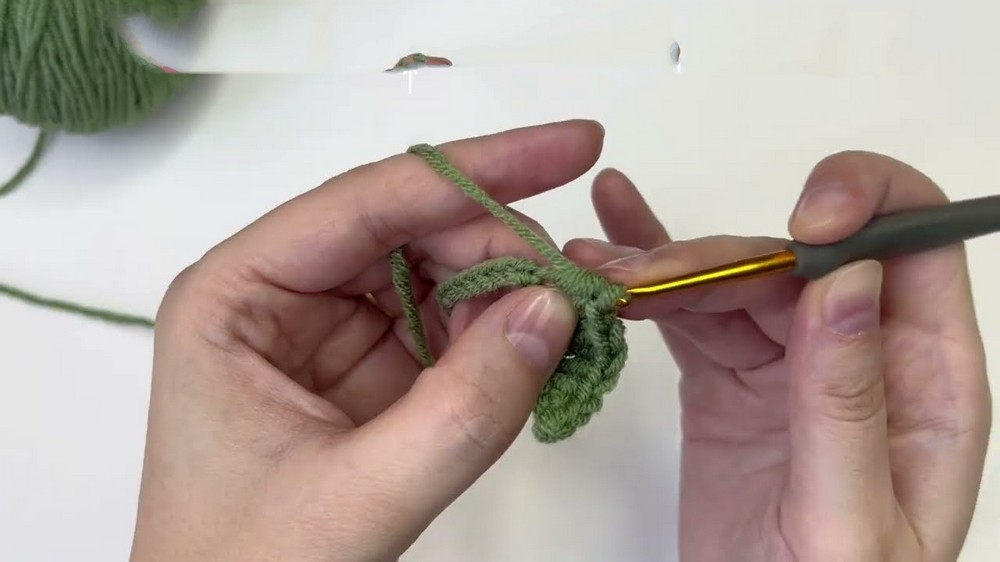
- Using green yarn, create a magic ring, and crochet 6 single crochets into the ring. Pull it tightly closed. (6 stitches)
2. Round Two:
- (Increase) Make 2 single crochets into each stitch around. (12 stitches)
3. Round Three (Leaf Points):
- To create the points of the sepal:
- Chain 4.
- (Skip the first chain) In the next chain, make 1 single crochet.
- In the next chain, make 1 half double crochet (hdc).
- In the last chain, make 1 double crochet (dc).
- Skip the next stitch on the base.
- Slip stitch into the next stitch.
- Repeat this pattern for all 6 stitches to create 6 points.
Leaf
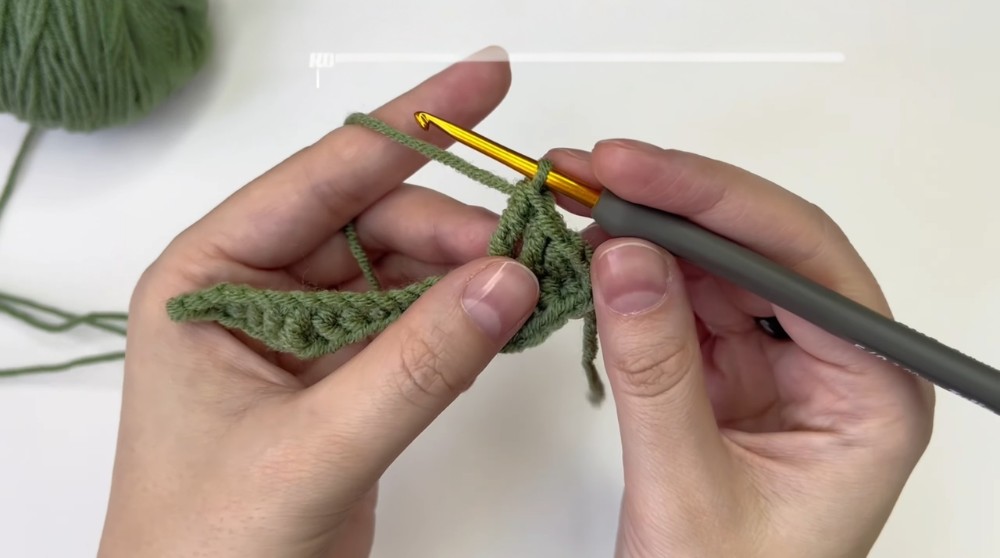
- Crochet two leaf sections for additional decoration.
1. Chain 20:
- Skip the first chain and start on the 2nd chain:
- Work the following stitches in order:
- Slip stitch (sl st)
- Single crochet (sc)
- Half double crochet (hdc)
- Double crochet (dc)
- Treble crochet (tr) into the next 2 stitches.
- Double crochet (dc)
- Half double crochet (hdc)
- Single crochet (sc)
- Slip stitch.
- Work the following stitches in order:
2. Work the Opposite Side of the Chain:
- Repeat the same stitch pattern along the other side of your foundation chain to complete the leaf. Fasten off and weave in the ends.
Cord
- For the cord, chain your desired length:
- Keychain version: ~30 chains.
- Bag Charm: ~50-60 chains.
- Fasten off and weave in the ends.
Flower (Optional)
To add a little flower to your charm, refer to a fluffy flower tutorial. Attach the finished flower to the strawberry.
Assembly
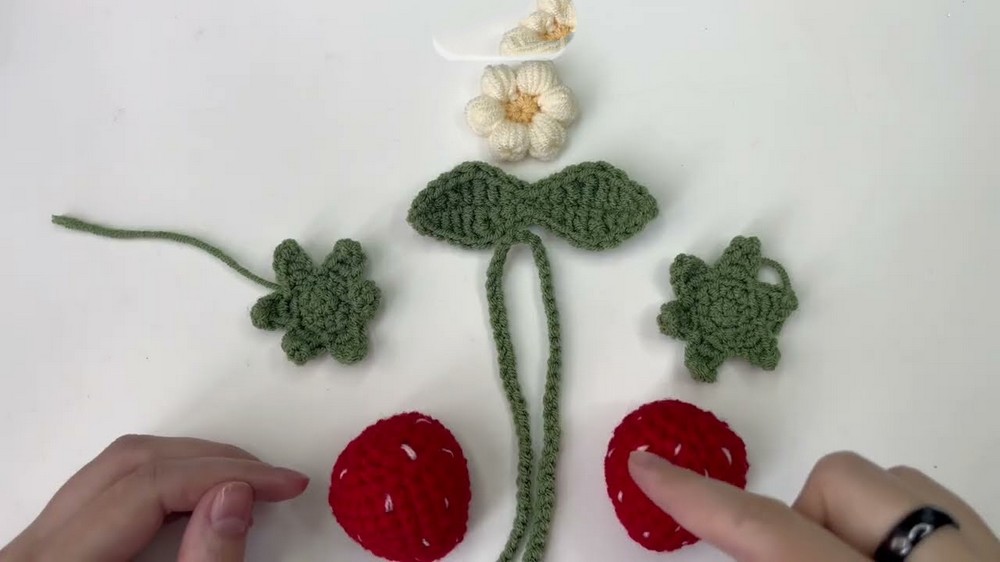
- Attach the Cord:
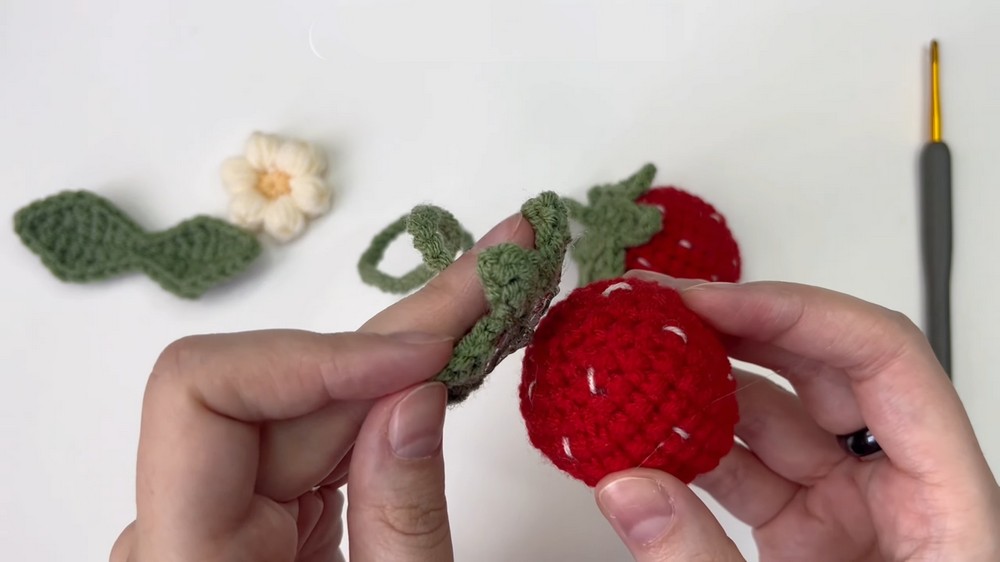
- Use your tapestry needle to sew the cord to the green sepal.
- Sew the Sepal to the Strawberry:
- Use a tapestry needle or glue to attach the sepal securely to the top of the strawberry.
- Add the Flower (Optional):
- Sew the fluffy flower to the leaf and secure it in place.
- Final Touches:
- Check that all pieces are securely attached. Trim any excess yarn.
Tips and Customization Ideas
- Color Variations: Experiment with different strawberry colors (e.g., pink or pastel shades) for a whimsical touch.
- Yarn Texture: Use cotton yarn for a firm, clean finish or try velvet yarn for a plush appearance.
- Embellishments: Add tiny beads, glitter thread, or a metallic keyring for added charm.
- Size Adjustment: Vary the hook size and yarn thickness to create smaller or larger strawberries.

Special Techniques
- Magic Ring: Essential for a neat, closed center at the start of your crochet.
- Invisible Decrease: Use this technique to create smooth, seamless decreases.
- Blocking (Optional): Lightly steam the finished charm to perfect its shape.

Conclusion
Congratulations, You've created a delightful crochet strawberry charm that's as versatile as it is adorable. Whether used as a bag charm or keychain, this project is sure to bring joy to your daily life. If you enjoyed making this, don't forget to explore similar patterns and customize your design for a unique twist.