
Simple Free Crochet Tissue Holder Pouches Pattern for Better Storage
Upgrade your tissue game with this Free Crochet Tissue Holder Pouches Pattern that's stylish, and easy to make for a touch of charm wherever you go.
A tissue holder doesn't have to be boring, and this Free Crochet Tissue Holder Pouches pattern proves it beautifully. With its delicate texture and soft, inviting look, it turns an everyday accessory into something charming and useful. Its compact size makes it perfect for keeping your tissues organized while also looking stylish on your dresser, in your bag, or even as a thoughtful gift for someone special.
Modern Free Crochet Tissue Holder Pouches Pattern for Daily Needs
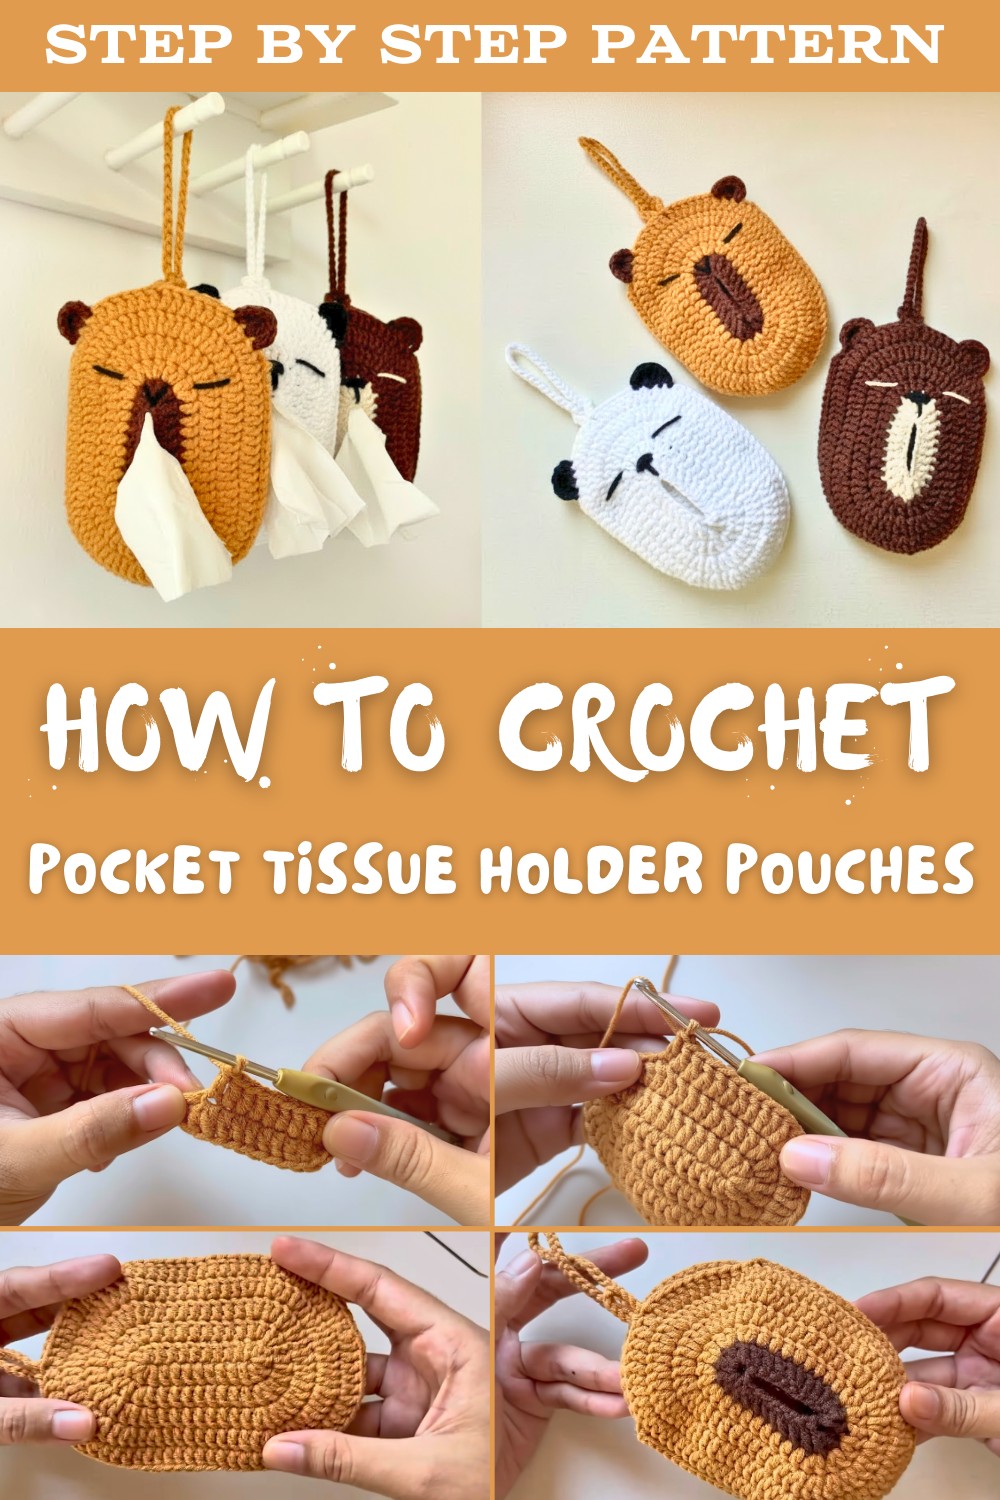
The pouch not only keeps tissues clean and within reach but also adds a unique touch to your belongings with its personal and handmade appearance. Available in countless colors and styles based on your preference, it's an accessory that combines function and beauty effortlessly. Whether placed on your bedside table, carried on the go, or displayed as decor, it brings elegance to small, practical moments in life. Everyone will appreciate its timeless charm and practical nature.
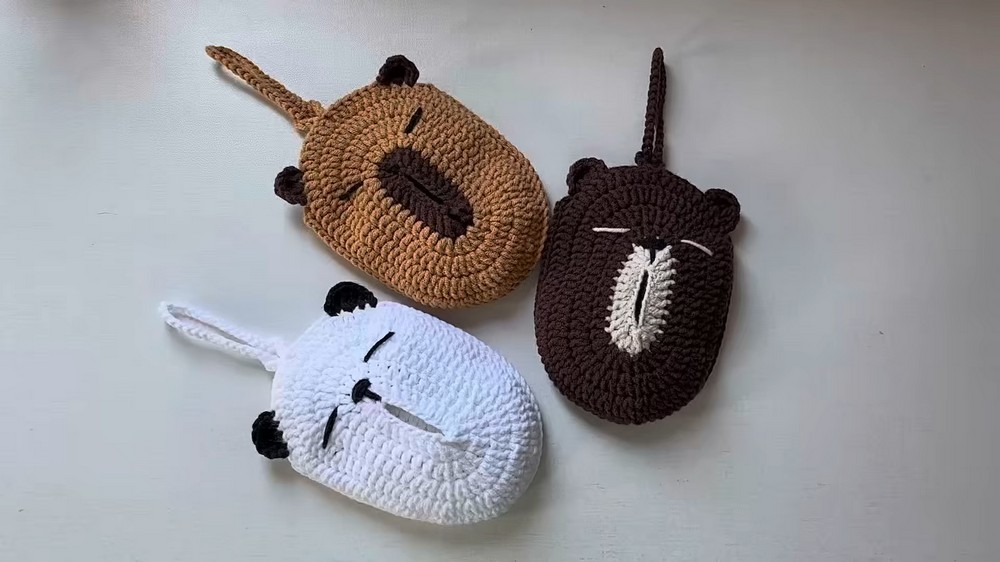
Crochet Pocket Tissue Holder Pouches Pattern
Skill Level
Intermediate: Some experience with crocheting in rounds, increasing, decreasing, slip stitches, and assembling parts is required.
Finished Size
- Approximately 5.5 inches (14 cm) wide x 3.5 inches (9 cm) tall.
This size can vary based on tension and yarn choices.
Gauge
- Gauge is not critical for this project.
- If using DK-weight yarn with a 3.5 mm crochet hook:
- 10 rows of double crochet x 8 stitches = 2 x 2 inches.
Materials Needed
- Yarn:
- Light Brown Yarn: Main color for the Cappybara body.
- Chocolate Brown Yarn: For Cappybara details and Bear body.
- White Yarn: For Bear and Panda.
- Pink Yarn: For the Bear's accent.
- Black Yarn: For eyes and details.
- Crochet Hook: 3.5 mm.
- Tapestry Needle: For sewing and weaving in ends.
- Scissors
- Stitch Markers (optional): For marking starting points in each row or round.
Stitch Terminology
US Crochet Terminology is used throughout.
- ch: Chain
- sc: Single crochet
- dc: Double crochet
- sl st: Slip stitch
- inc: Increase (2 stitches into the same stitch)
- blo: Back loop only
- flo: Front loop only
Special Techniques
- Working into Both Sides of the Foundation Chain: Essential for creating rounded edges in the back panel.
- Invisible Join: Seamlessly close rounds for a neat finish.
- Hiding Yarn Tails: Skip stitches while weaving in opposite directions for a strong, secure finish.
Pattern Instructions
Step 1: Back Panel
For All Animals - Color Variations:
- Light Brown: Cappybara.
- Chocolate Brown: Bear.
- White: Panda.
- Foundation Chain:
- Ch 12.
- Round 1:
- Starting from the 3rd chain from the hook, work 2 dc (first dc inc) into the same stitch.
- Continue working 1 dc in the next 8 chains.
- Into the last chain, work 5 dc to create the rounded edge.
- Work 1 dc in each of the next 8 chains along the other side of the foundation chain.
- Work 3 dc in the last chain space.
- Join to the first dc with sl st. (Total: 26 sts)
- Round 2:
- Ch 2, work 2 dc (dc inc) into the first stitch and the next.
- Work 1 dc into each of the next 8 stitches.
- Work 2 dc in each of the next 5 stitches.
- Work 1 dc in each of the next 8 stitches.
- Work 2 dc in each of the last 3 stitches.
- Join with sl st and chain 2. (Total: 36 sts)
- Round 3:
- Work around using the following pattern:
- (1 dc, 1 dc inc) for the first 4 sts (8 sts total).
- Continue 1 dc in each of the next 8 sts, then (1 dc, 1 dc inc) for 10 sts (20 sts total).
- Finish with 1 dc in each of the next 8 stitches, and (1 dc, 1 dc inc) for the last 6 sts (12 sts total).
- Join with sl st and chain 2. (Total: 48 sts)
- Work around using the following pattern:
- Round 4:
- Repeat a similar pattern, increasing evenly as follows:
- (1 dc, 1 dc inc) for 5 sets near ends.
- Add 10 chain stitches to later form the strap.
- Sl st to first stitch. Fasten off.
- Repeat a similar pattern, increasing evenly as follows:
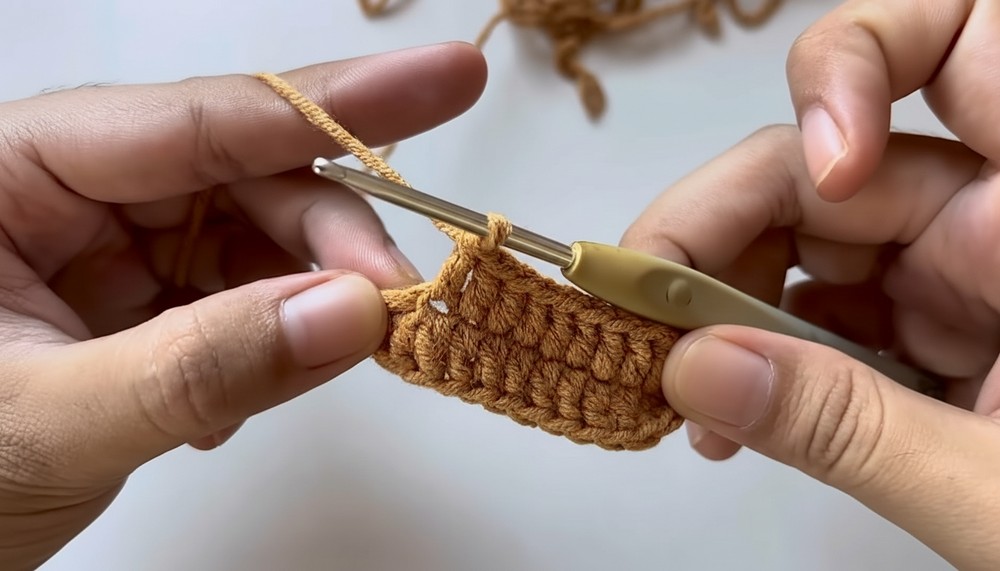

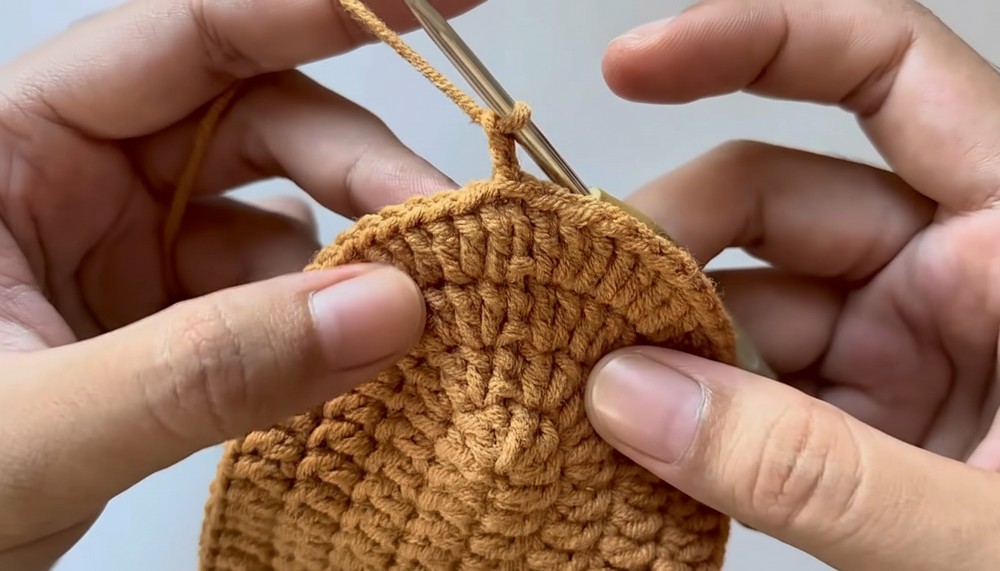
Step 2: Front Panel
- Perform all steps outlined in Back Panel.
- Adjust the strap section with 5 chain stitches instead of 10.
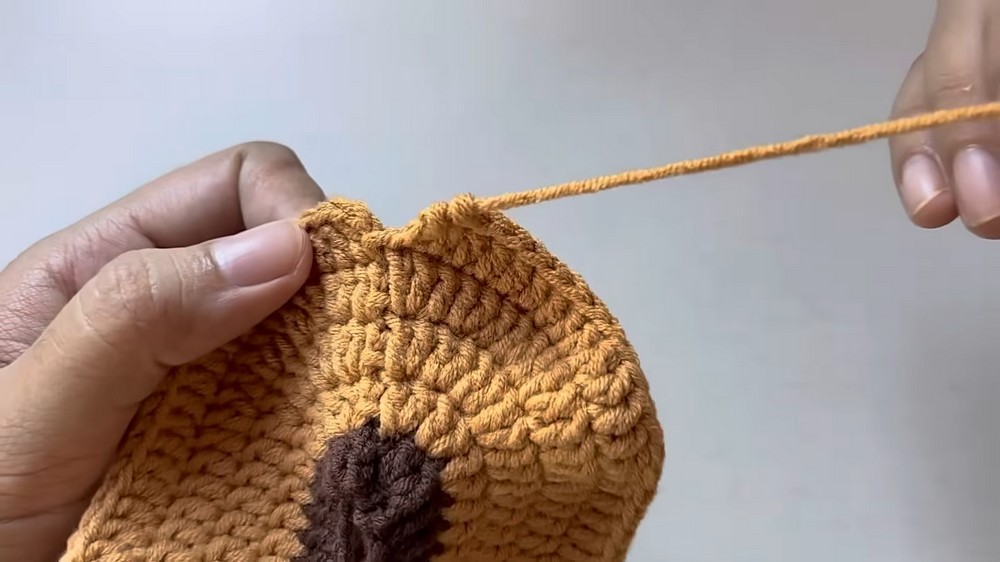
Attach Straps
- Lay both front and back panels wrong sides together. Use a slip stitch to join both panels along the edges and straps for seamless design.
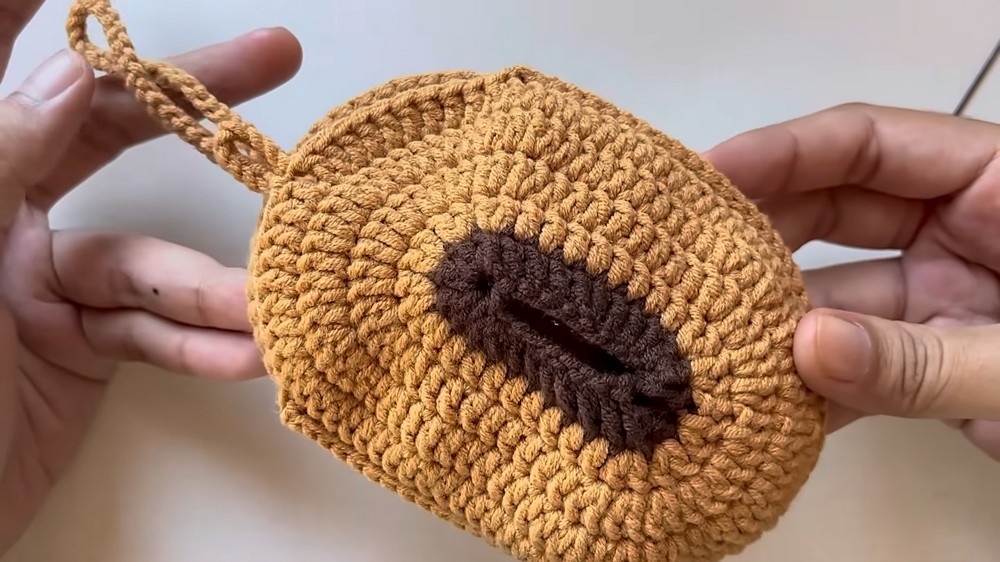
Step 3: Adding Animal Features
Cappybara Ears:
- Using Chocolate Brown Yarn:
- Start near the join.
- Chain 2 and work 1 double crochet followed by 2 treble crochets into a single stitch.
- Finish with 1 dc and secure with sl st.
Make 1 ear per side.
Bear & Panda Ears:
- Work the same ear pattern as above but use Black Yarn (Panda) or Chocolate Brown Yarn (Bear).
Eyes:
- Use black yarn to embroider eyes between Round 3 and 4 on both the front and back panels. Small "V" stitches can be used for a cute look.
- For Panda, create slightly larger circles of black yarn for the signature "spots."
Nose (All Animals):
- Using black yarn, embroider a triangular nose at the center of the front panel near the top. Add a vertical stitch connected below for the mouth.
Step 4: Assembly Instructions
- Once both panels are stitched together:
- Weave in all loose yarn ends securely to ensure a clean look.
- Flip the completed pouch to right-side out if necessary. The tissue opening should be centered.
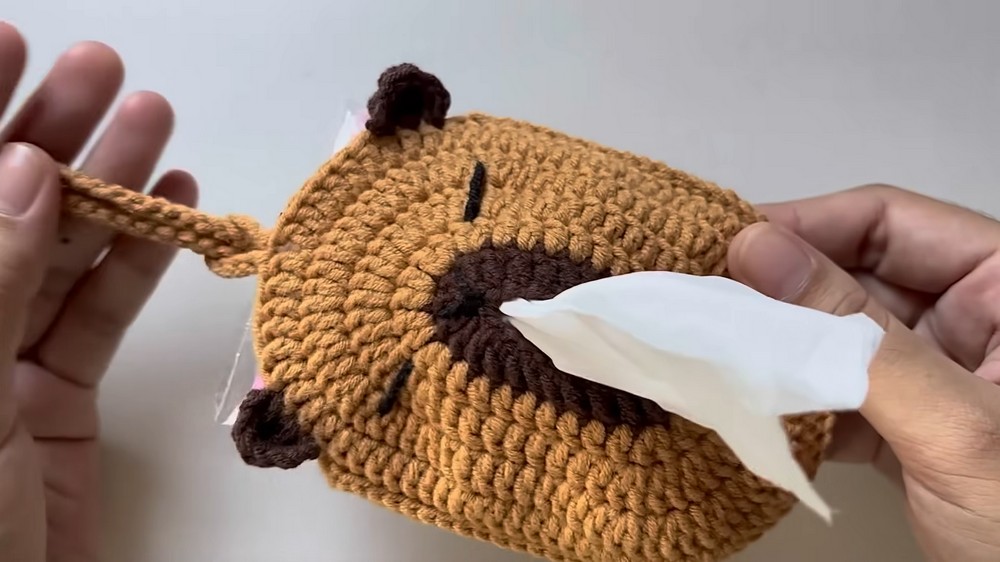
Finishing Touches
- Tissue Placement:
- Insert a standard packet of tissues into the pouch. The opening should easily allow tissues to be pulled out one at a time.
- Embroidery Add-ons:
- Add blush details or other small features using embroidery techniques for a more personalized touch.
- Customization Options:
- Experiment with different yarn colors to make other themed animals or seasonal designs.

Tips for Success
- Stitch Markers: Use them liberally to keep track of increases and decreases.
- Tension: Maintain an even tension throughout to ensure uniformity.
- Hiding Yarn Ends: Always use a tapestry needle to weave ends securely for durability.
Conclusion
Congratulations! You've successfully completed the Pocket Tissue Holder Pouches. These fun and functional crochet creations are perfect as thoughtful handmade gifts or personal accessories. Experiment with colors, details, and features to customize your animal designs further.