
Free Crochet T-shirt Yarn Laptop Sleeve Pattern You’ll Use for Years
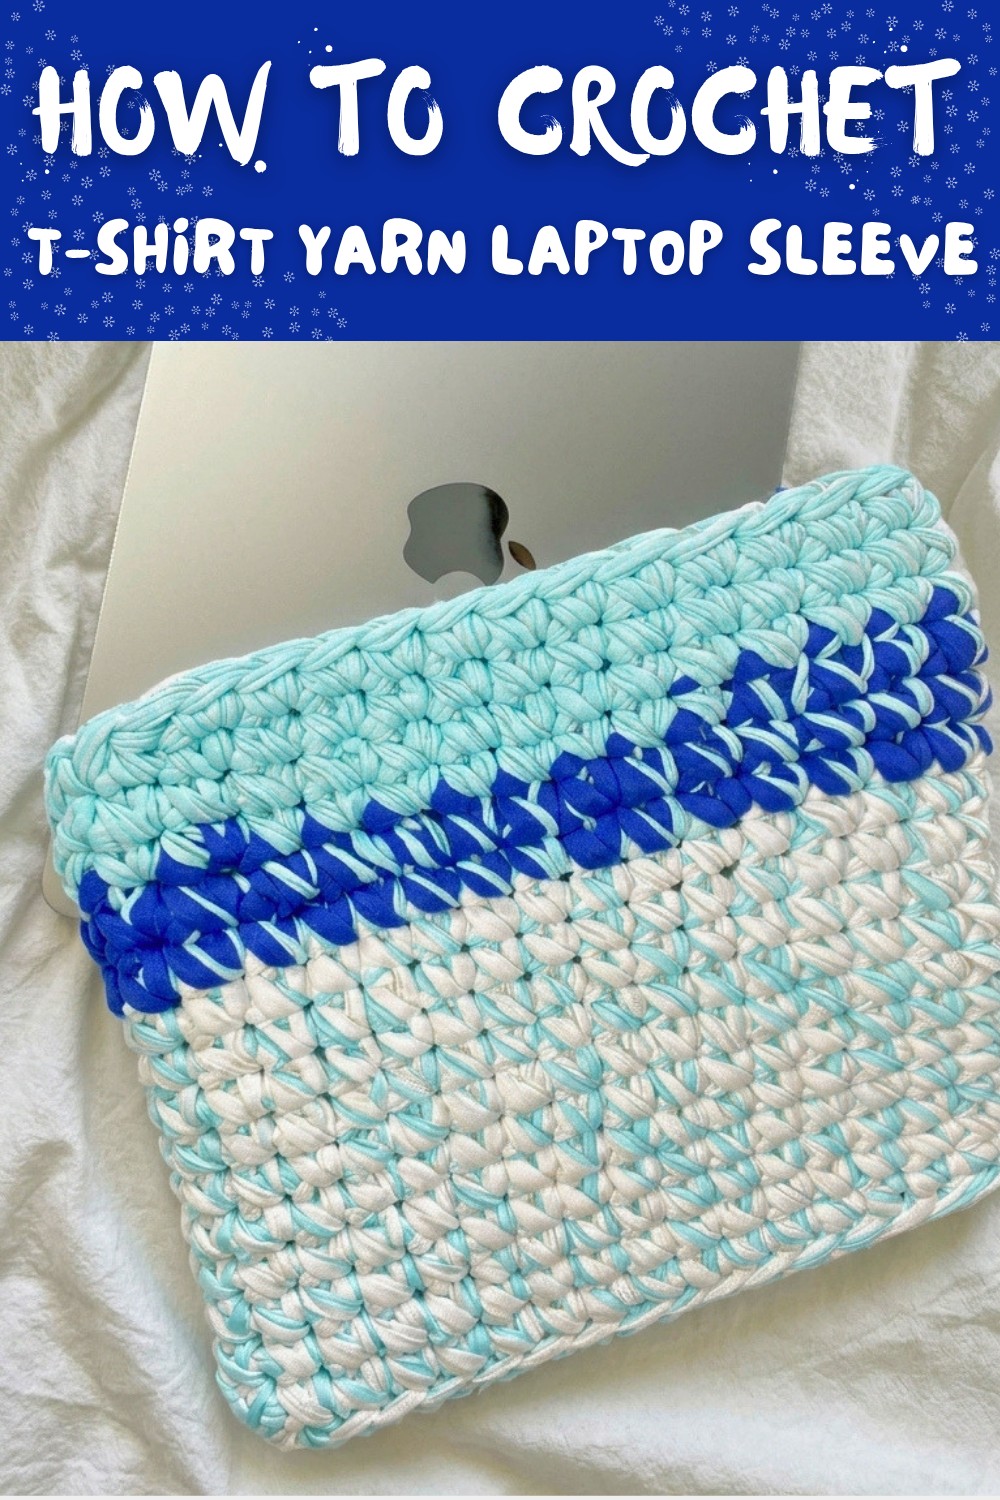
Secure your laptop with this free crochet T shirt yarn laptop sleeve pattern designed to keep it safe during travel and daily use.
Wouldn't it be amazing to make something simple yet eye catching that protects your favorite devices? The T Shirt Yarn Laptop Sleeve is a fun and simple project that anyone can enjoy. Whether you're new to crochet or looking for a creative way to protect your laptop, this easy pattern is perfect for you. Plus, you can customize it to fit any device like a tablet, laptop, or e reader. The beauty of this project lies in its simplicity and flexibility. You can use any type of yarn you have, but t shirt yarn works especially well because it is soft, durable, and stretchy.
Free Crochet T-shirt Yarn Laptop Sleeve Pattern for Office Use
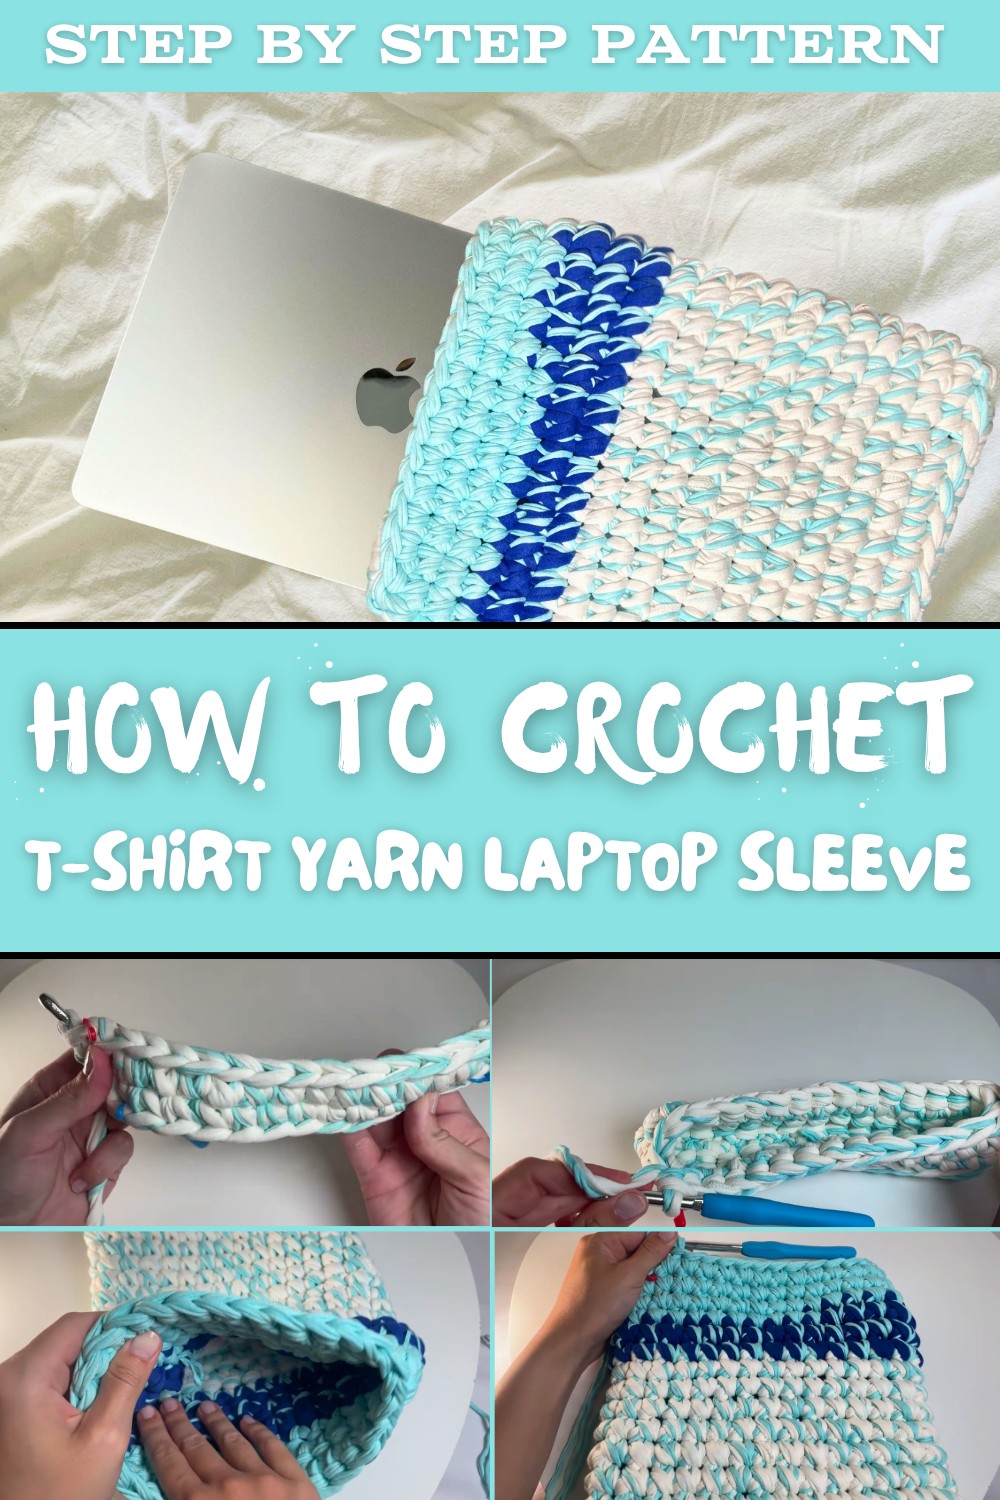
Want to make it extra unique? Try combining two colors or textures of yarn for a bold and fun design. The sleeve features clean lines, a snug fit, and a modern look that makes it ideal for everyday use at school, work, or on the go.
Creating this laptop sleeve is as easy as chaining and single crocheting, making it a great beginner project. The pattern starts with a stretchy oval base that wraps neatly around your device. Then, you build up the height, crocheting smooth stitches that curl upward to form the sleeve. The back loop stitches used in one row add a cool ridge effect that enhances the sleeve's appearance.
Another great feature is its adjustable size. You can make it fit perfectly for your device by simply adjusting the number of chains and rows. The seamless finish at the top gives it a professional look while hiding any yarn tails keeps the sleeve neat and well crocheted. This laptop sleeve pattern isn't just practical-it's a creative way to express yourself with colors and textures. It's lightweight, sturdy, and makes a thoughtful handmade gift for friends or family.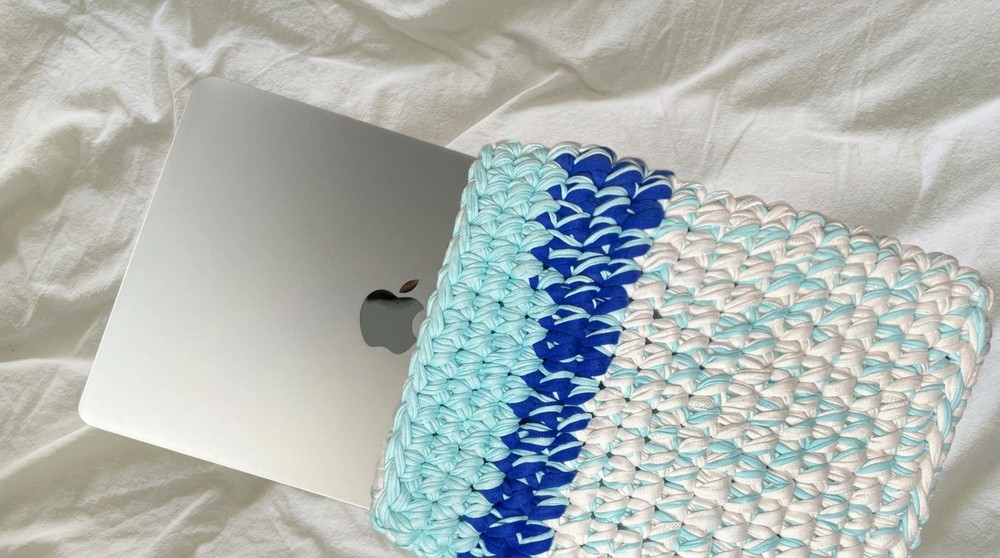
Crochet T-shirt Yarn Laptop Sleeve Pattern
Materials:
- Yarn:
- Any type of yarn works, but for this project, t shirt yarn was used.
- Two colors of t shirt yarn were combined (one thick and one thin) for a unique look. However, you can use a single color or yarn weight based on personal preference.
- T shirt yarn width used: approximately 4 cm wide.
- Hook:
- Size 10 mm crochet hook (adjust based on yarn choice).
- Additional Tools:
- Scissors
- Yarn needle
- Stitch markers
Abbreviations:
- sc: Single crochet
- ch: Chain
- st: Stitch
- sl st: Slip stitch
- rnd: Round
Notes:
- This pattern is highly adjustable for various devices (laptops, tablets, or e readers). Start by chaining to fit the width of your device, minus a small amount for a snug fit (as the yarn stretches slightly).
- When crocheting, try keeping a relaxed tension, especially in the foundation chain, to simplify working into the stitches later.
Instructions:
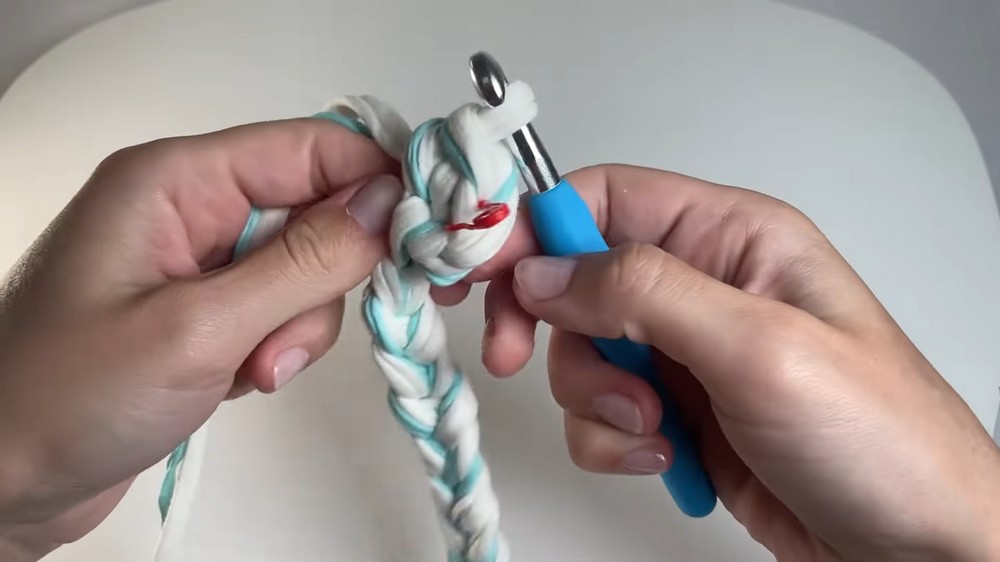
1. Foundation Chain
- Hold two strands of t shirt yarn together (or use a single strand).
- Create a slip knot:
- Loop the yarn, insert the hook, pull the working yarn through the loop, and tighten around the hook.
- Chain to match the width of your device:
- Yarn over, pull through the loop on the hook. Repeat until the desired length is reached.
- Example: For a laptop, 15 chains were made. Ensure the chain's length aligns with the device's width when stretched slightly.
2. Base Oval
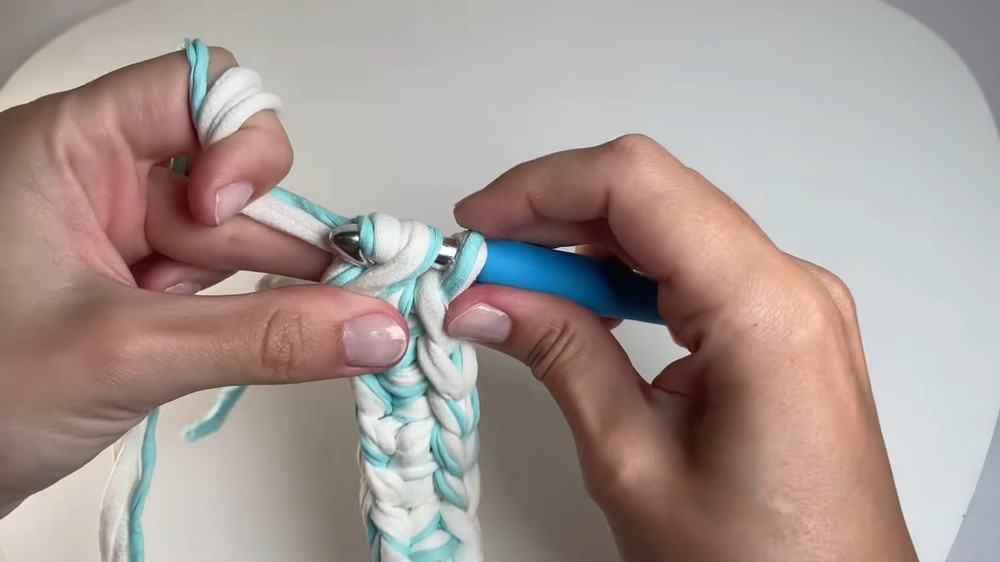
- First Row in Bumps:
- Turn the foundation chain and work into the back loops (bumps) of the chain:
- Skip the first bump.
- Insert the hook into the second bump, yarn over, pull up a loop, yarn over, pull through both loops (sc made).
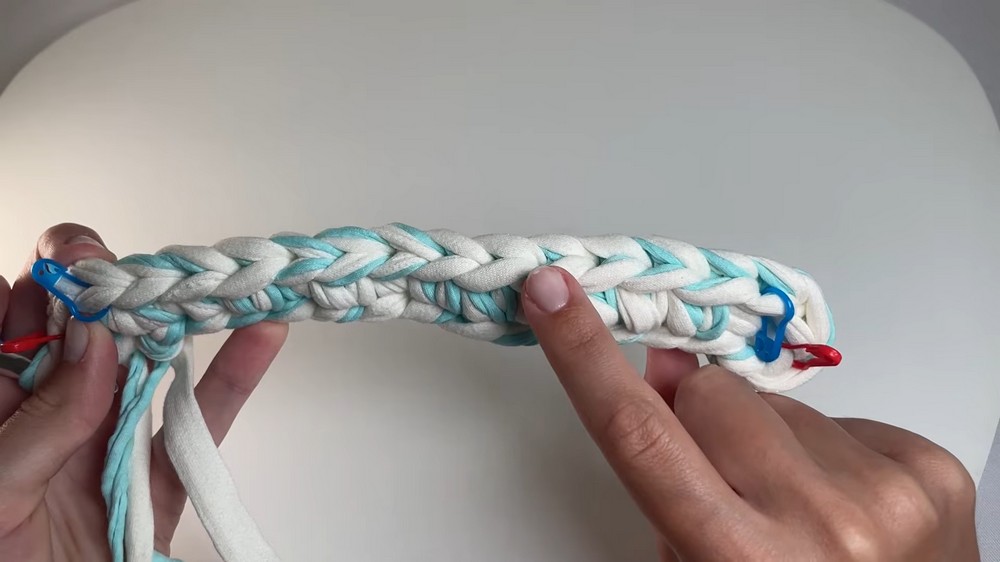
- Place 3 sc in that second bump (this creates a rounded edge for the base). Mark the first sc with a stitch marker.
- Continue placing 1 sc in each bump across until the last chain.
- In the last bump, work 3 sc (for the second rounded edge). Mark the first stitch of this set of 3.
- Turn the foundation chain and work into the back loops (bumps) of the chain:
- Return Row:
- Rotate the piece to work back along the other side of the foundation chain:
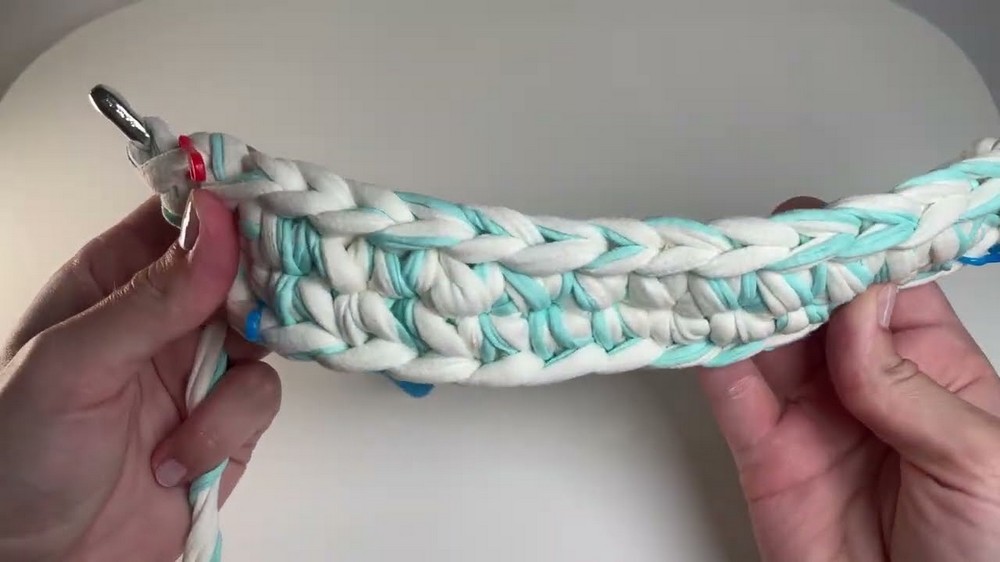
- Place 1 sc in each stitch along this side until reaching the starting point.
- Ensure to crochet over the tail (optional) for a neater finish and less work when weaving ends later.
- Rotate the piece to work back along the other side of the foundation chain:
- Finishing the Oval Base:
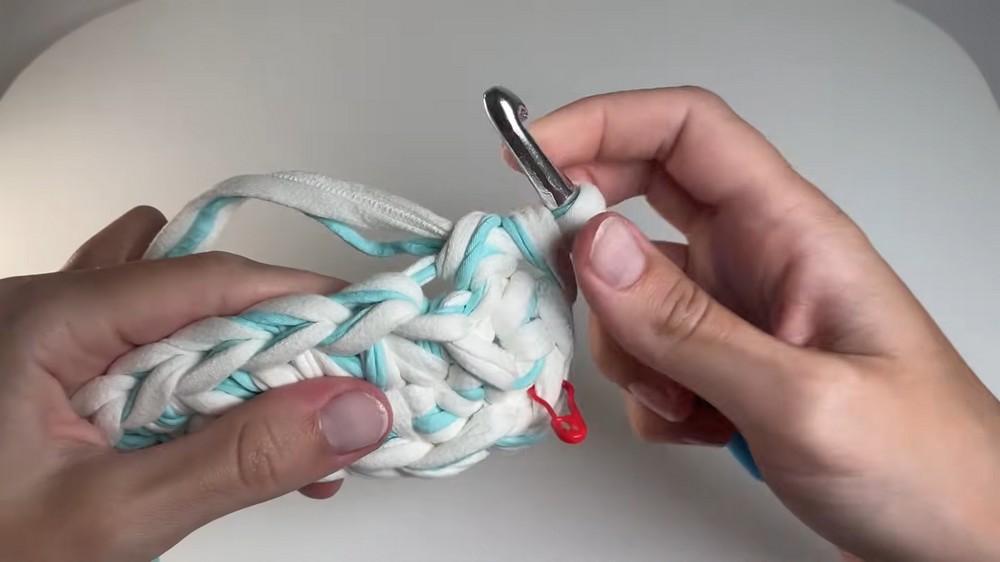
- Slip stitch into the first marked stitch.
- Count stitches to verify consistency on both sides (e.g., 3 sc for each rounded edge and 12 sc for the straight sides, totaling 30 stitches).
3. Building the Height
- First Round Back Loops Only:
- Chain 1 to begin the new row.
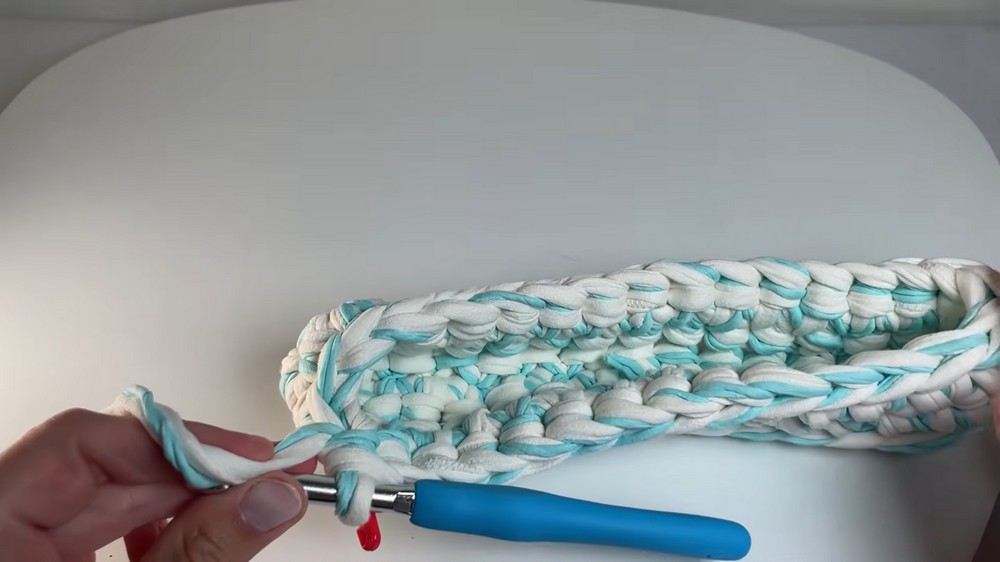
- Work 1 sc in each back loop only around to create a ridge effect.
- Mark the first stitch of the round.
- When complete, slip stitch to the first stitch and chain 1.
- Subsequent Rounds Full Stitches:
- From here, continue working in spirals (no slip stitches or chains):
- Start each round by making 1 sc in the first stitch, marking it as the first stitch of the row.
- Place 1 sc in each stitch around.
- Count your stitches at the end of each row to ensure consistency (e.g., 30 stitches in every row if you started with 30).
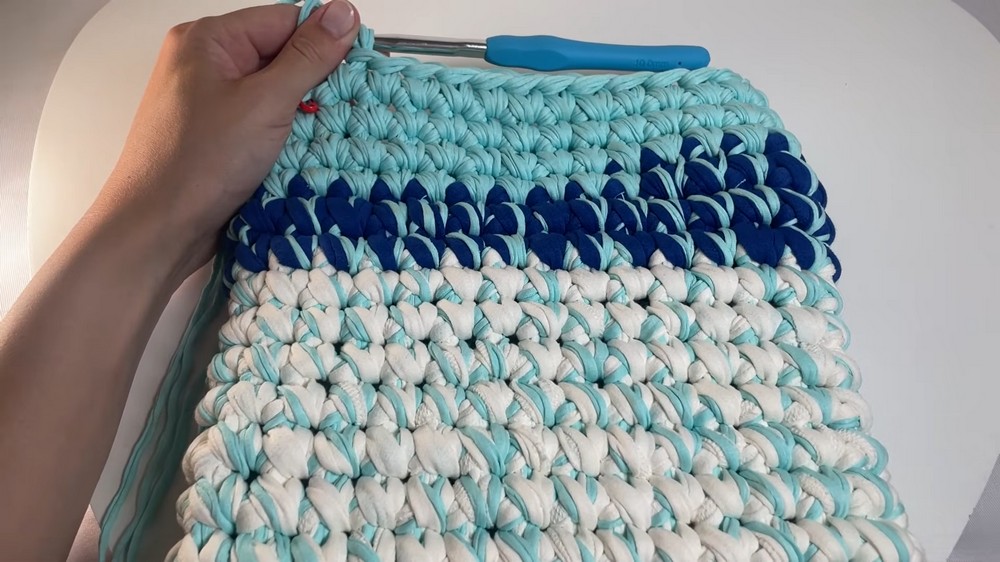
- Continue crocheting rows until the cover reaches the desired height. Example: 17 rows were made for a snug laptop fit.
- From here, continue working in spirals (no slip stitches or chains):
4. Finishing the Top
- Cut Yarn:
- Once the case reaches the desired height, cut the yarn, leaving a tail of 6 to 8 inches.
- Creating an Invisible Seam:
- Pull the yarn tail through the final loop on the hook to fasten off.
- Thread the yarn needle and create a seamless, invisible finish:
- Skip the first stitch and insert the needle under both loops of the second stitch. Pull the yarn through.
- Insert the needle back into the last stitch (from where the yarn comes out), going through the center of the stitch and catching the back bump. Pull tightly to close.
- This creates a seamless, fake stitch at the top edge.
5. Securing Yarn Ends
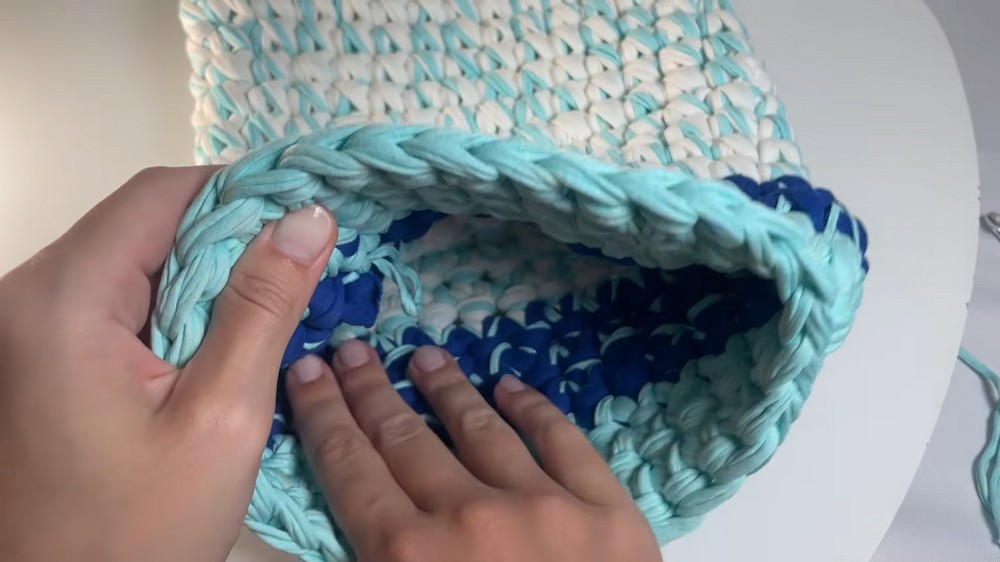
- Turn the case inside out.
- Use the yarn needle to weave in all loose ends securely through the back of the stitches.
- Trim excess yarn for a clean finish.
Final Steps:
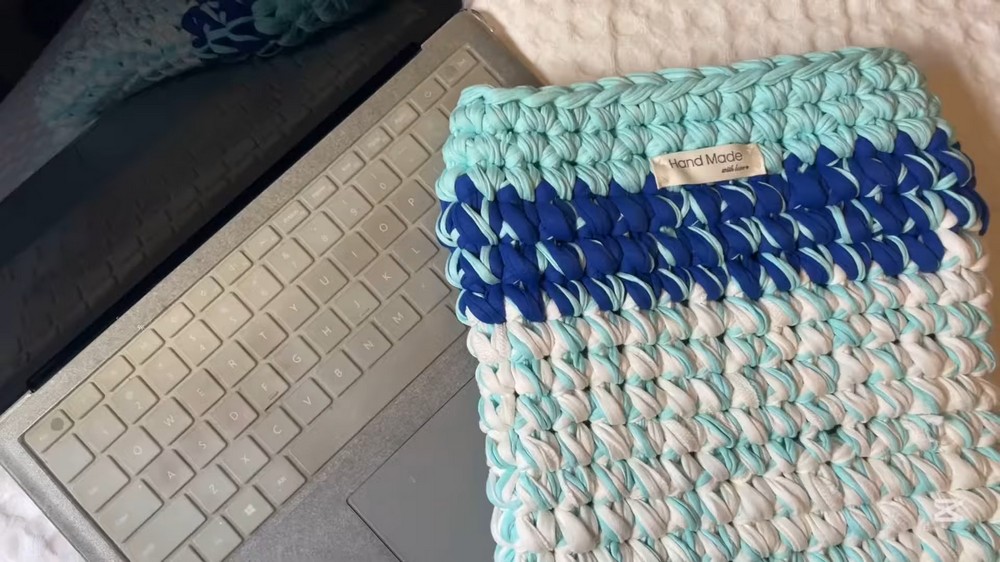
Your crochet laptop case is complete. Try it on your device and admire your handiwork. The project should fit snugly while maintaining flexibility due to the stretch of the t shirt yarn.
Tips for Success:
- Adjusting Size:
- Start with a chain length that corresponds to your device's width, minus some for stretch.
- Adjust the number of rows for height.
- Counting Stitches:
- Always count stitches to ensure consistent tension and dimensions. Mismatched stitch counts can lead to uneven shaping.
- Tension Control:
- Maintain a loose grip, especially in the foundation chain, to prevent tight or warped edges.
- Custom Design:
- Experiment with color changes or alternate yarns at various points for patterns or stripes. Just carry and secure tails neatly when switching.
- Cleaning and Maintenance:
- Gently handwash the cover in warm water with mild detergent, lay flat to dry, and avoid excessive stretching while wet.
Final Words:
Crocheting a laptop case is a delightful and rewarding project. With its easy to follow design, this pattern is beginner friendly and highly adaptable. Whether tailoring the case to your device or experimenting with colors and textures, this project offers endless creative possibilities. Always remember to enjoy the process, and don't hesitate to customize.