
Easy Crochet Scarf Pattern for a Quick Style Upgrade
Start your crochet journey with this simple scarf pattern-it's easy to follow and makes a cozy, charming scarf perfect for any time of year.
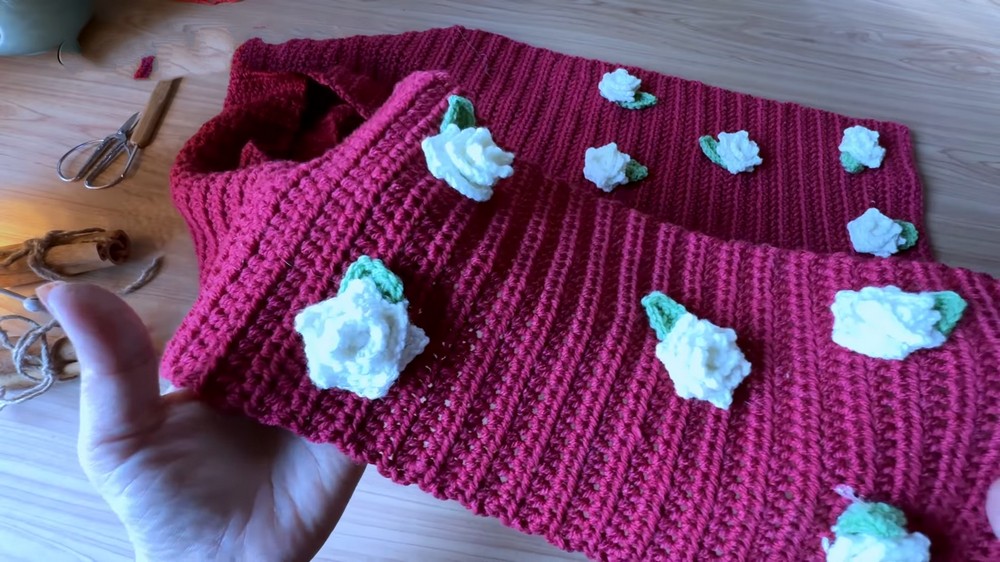
Wrapped in elegance and charm, this scarf is more than just an accessory-it's a blend of practicality and style. With its understated soft edges, and smooth texture, it becomes a wardrobe staple that's both cozy and versatile. What makes this scarf stand out is its adaptability. The default size-8 inches wide and about 53 inches long-offers just the right balance of coverage and flexibility, though it's easy to adjust the dimensions to suit your taste. Need something extra cozy for winter? Add more rows. Prefer a lighter look for breezy evenings? Make it shorter and pair it with lightweight yarn.
Lightweight Crochet Scarf for Spring Days or Breezy Nights

The real charm of this project is the stitchwork-it's simple and consistent, giving the scarf a polished, even texture. It works beautifully with soft acrylic yarn, offering durability and a gentle drape. For a natural touch, wool or cotton can also be a great alternative, each bringing its own personality to the stuff.
This scarf also lends itself to countless creative possibilities. Add a pop of color, mix in stripes, or enhance it with tassels or floral accents to match your mood. It's a thoughtful gift for friends and family or a lovely addition to your own closet that can complement any outfit. This project cuddles simplicity while giving you the freedom to make it uniquely yours-practical, stylish, and always timeless.

Step by Step Crochet Pattern: Mini Flower Scarf with Leaves
Finished Size
The design and size can be customized according to your preferences. Here are the standard dimensions mentioned:
- Length of Scarf: Approximately 53 inches
- Width of Scarf: 8 inches (can be adjusted by changing the number of chains)
- Flower Size: Mini rose flowers ~ 1 inch diameter
- Leaf Size: Mini leaves ~ 1.5 inches
Necessary Materials
To recreate this project, you will need:
- Yarn: Acrylic 4-ply yarn. (Two 80-gram skeins for the base scarf and additional yarn for flowers and leaves.)
- Base color yarn: Green or any color you prefer.
- Flower color yarn: White for roses or any preferred color.
- Crochet Hooks:
- Size 4.5mm hook for the base scarf.
- Size 3mm hook for flowers and leaves.
- Tapestry Needle: For weaving loose ends, sewing flowers, and attaching leaves.
- Scissors: For cutting yarn.
- Glue Gun (optional): For temporarily attaching flowers and leaves before sewing.
- Measuring Tape: To ensure the correct dimensions.
Gauge
Gauge ensures proper sizing. Follow the gauge measurement below:
- 8 inches width: Achieved with approximately 30 chains.
- Adjust the gauge based on your tension.
Pattern Instructions
Scarf Base
Step 1: Starting Chain
- Create a slip knot using the base color yarn and crochet 30 chains.
- Measure the length of the chain to match your desired width (standard is 8 inches).
- Skip 2 chains for turning.
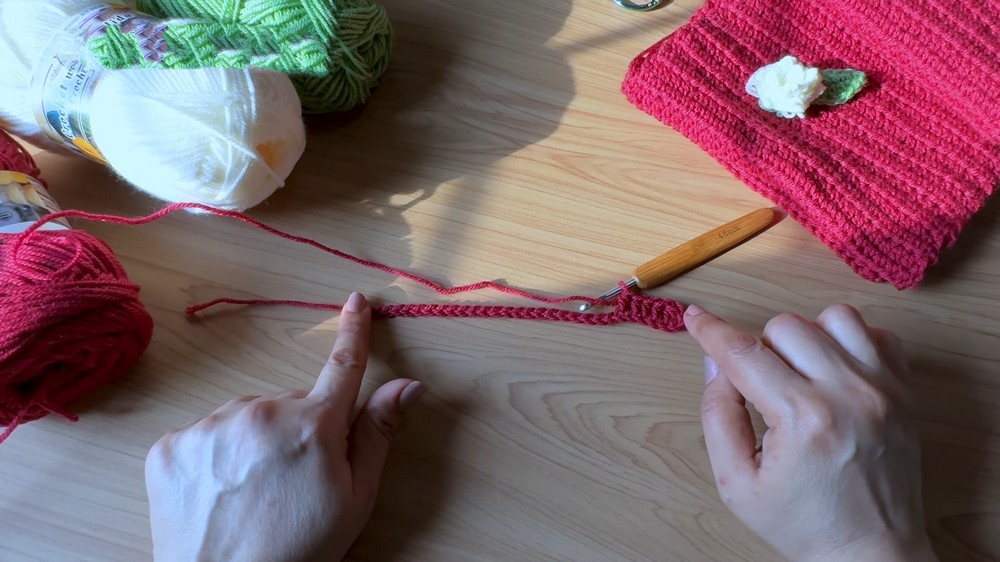
Step 2: First Row
- In the third chain from the hook, insert into the back loop and work a half-double crochet (hdc).
- Wrap the yarn over, insert into the back loop, pull up a loop, and pull through all three loops on the hook.
- Continue working hdc across all chains.
- At the end of the row, count all stitches to ensure you have 28 stitches.
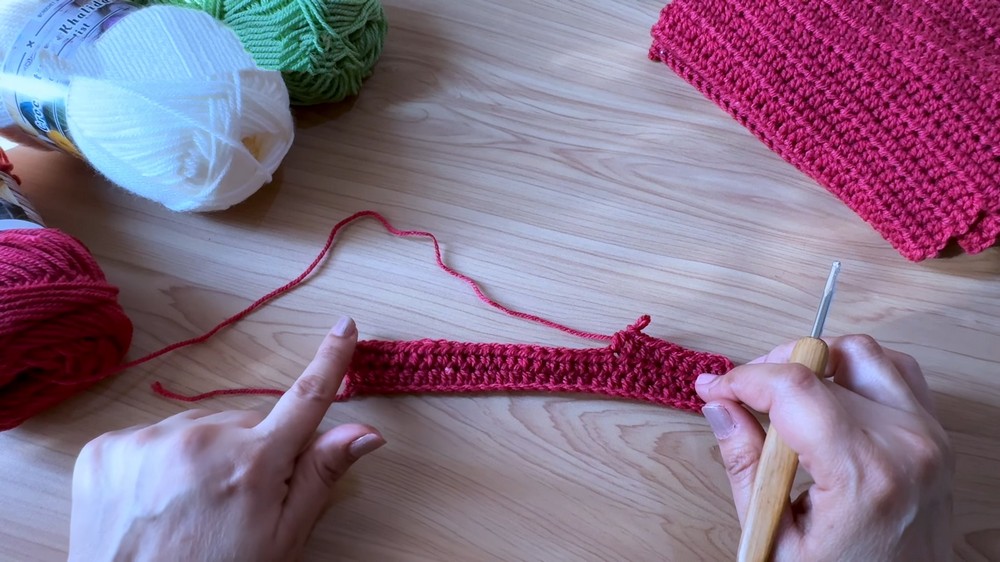

Step 3: Subsequent Rows
- Turn the work. Chain 2 for height (this is essential for keeping edges straight).
- Continue working hdc into both loops of each stitch across the row.
- Ensure you work into the last stitch to prevent uneven edges. Consider adding a stitch marker to the last stitch for ease.
- Repeat this process for additional rows until the scarf base reaches your desired length.

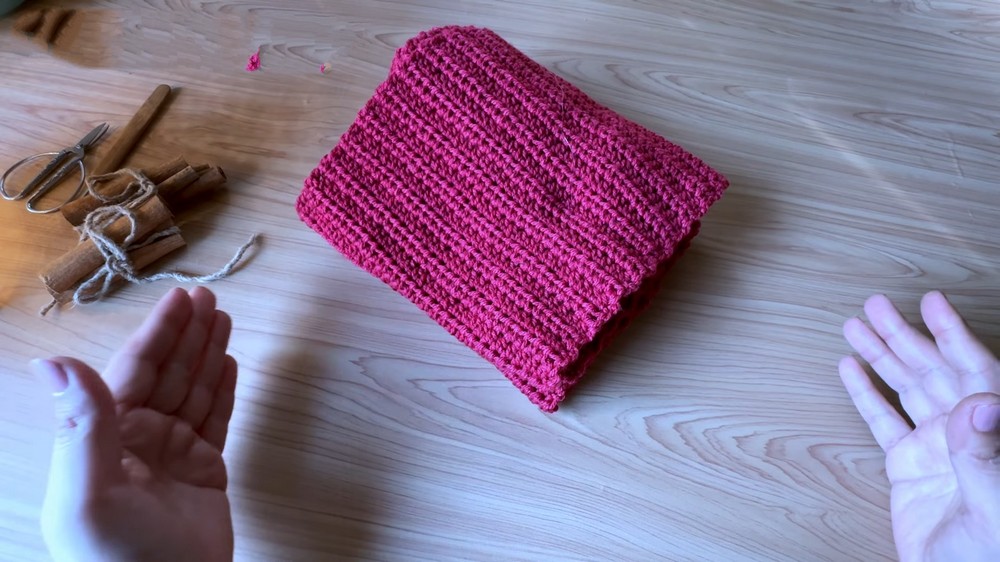
Step 4: Finalize Scarf Base
- When the desired length is achieved (standard is 53 inches for females, or increase to 60-65 inches for males), finish off by chaining 1 and cutting the yarn.
- Weave in all loose ends using the tapestry needle.
Flowers
Step 1: Chain Base for Flowers
- Switch to 3mm hook and the flower color yarn (white or preferred color). Create a slip knot and leave a long tail (~3 inches for sewing later).
- Crochet 18 chains for the mini flower base.
Step 2: Flower Petals
- Skip the first two chains.
- In the third chain from the hook, work 3 double crochets (dc) into the same stitch.
- Chain 2, then insert the hook into the top two loops of the last dc and create a single crochet (sc) to close the petal (this forms a picot).
- Continue this process in the next chain:
- Work 3 dc, then chain 2 and close with a sc in the top loops.
- Repeat until all chains are used, creating multiple petals.
Step 3: Shape the Flower
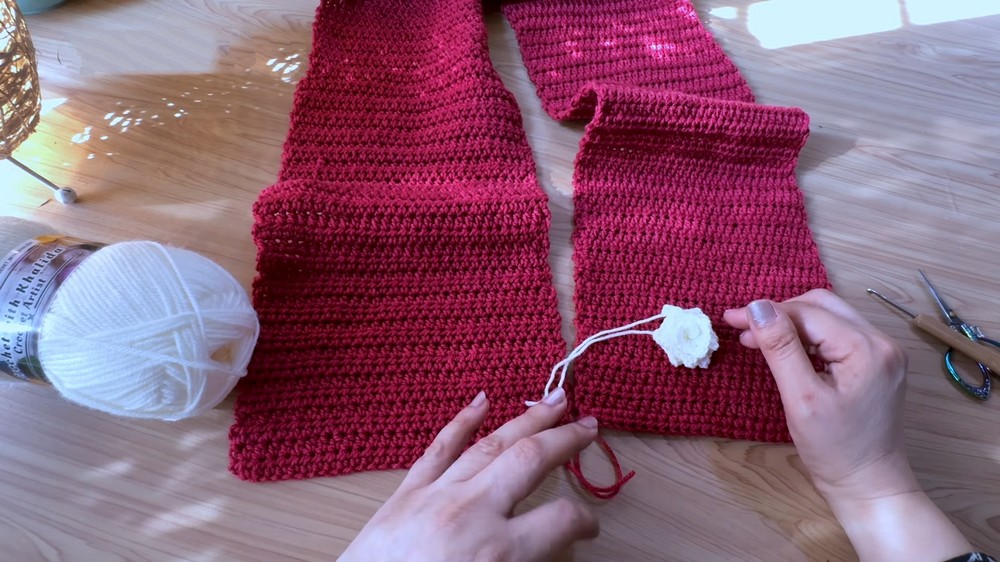
- Roll the petal strip into a flower shape, starting from one end.
- Use the long yarn tail left from the base chain to sew and secure the rolled flower using the tapestry needle.
- Arrange and position petals for a neat flower.
Leaves
Step 1: Chain Base for Leaves
- Using green yarn and a 3mm hook, create a slip knot and crochet 8 chains.
Step 2: Crochet the Leaf
- Skip the first chain.
- Work as follows:
- Single crochet (sc) into the next chain.
- Half double crochet (hdc) into the next chain.
- Double crochet (dc) twice into the next chain.
- Dc into the next chain.
- Hdc into the next.
- Sc into the last chain.
- Turn your work and repeat this process on the other side to complete the leaf shape.

Attaching Flowers and Leaves
Step 1: Positioning
- Arrange flowers and leaves along the sides of the scarf base.
- Standard placement: 5 flowers on each side with evenly spaced leaves.
- Temporarily glue flowers and leaves onto the scarf, or pin them in place.
Step 2: Sewing
- Using the tapestry needle, sew each flower and leaf securely onto the scarf.
- Ensure they are evenly spaced and securely attached to withstand washing.
Customization Ideas
- Colors: Experiment with different color combinations for flowers and leaves to match seasons or outfits.
- Length: Create shorter scarves for kids or longer wraps for adults.
- Embroidery: Add small embellishments like beads or decorative stitching for added flair.
- Edges: Finish the scarf edges with tassels or fringe for a bohemian look.
Special Techniques
- Picot Stitch: This helps create the flower petals' neat point.
- Two Loops Crochet: Use both loops of each stitch to maintain edges and prevent curling.
- Row Counting: Keep track of rows in the scarf base to avoid mismatched sides.

Conclusio
Congratulations, You've created a stunning scarf with mini flowers and leaves, combining simple stitches with customizable decor. This unique accessory is a perfect handmade gift or addition to your wardrobe.
Important Remarks
- Edge Finishing: Keep edges neat by consistently counting stitches and working into both loops.
- Durability: Secure all flowers and leaves with stitching to maintain their placement.
- Adjustability: Feel free to alter sizes, colors, or patterns based on your preferences.
Enjoy crocheting this scarf and show off your creativity.