
Free Crochet Two Color Beanie Pattern That’s Stylish
Stitch a splash of color with this free crochet two color beanie pattern that's quick, cozy, and perfect for upgrading your winter wardrobe.
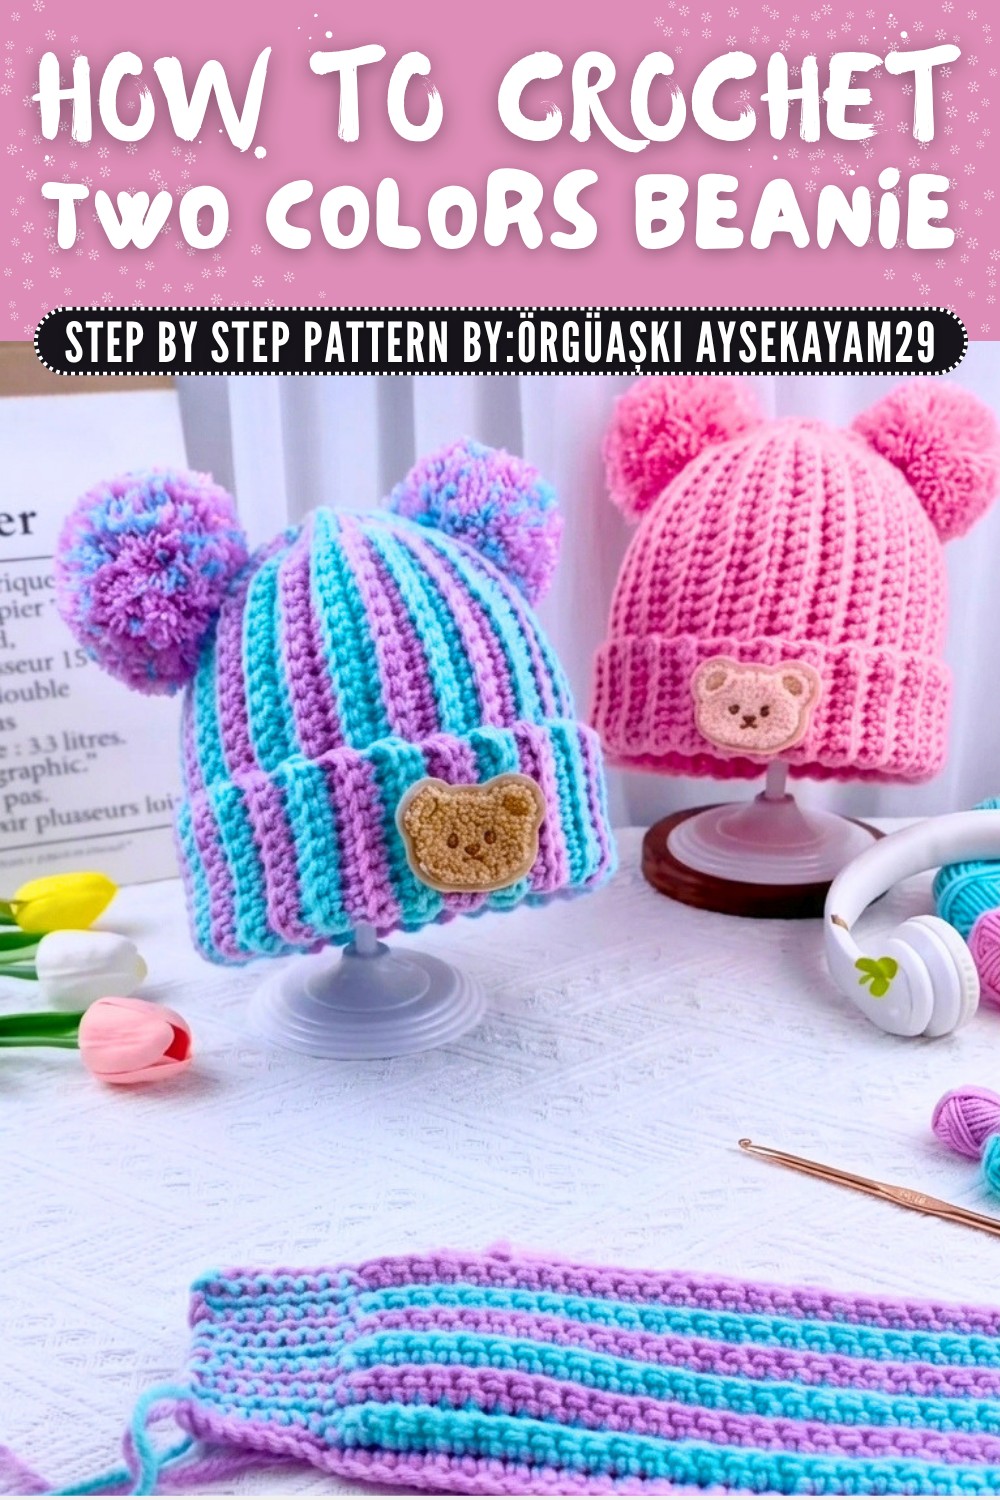
Say goodbye to plain hats and bring home the charm of this free crochet two colors beanie pattern - a cozy and stylish layer that always stands out. This pattern allows you to customize the hat with any two colors you like, making it unique and perfect for anyone who enjoys handmade items. The finished beanie has a neat and vibrant design thanks to the two color combination, giving it a trendy and modern look. It is suitable for both adults and kids, making it ideal as a gift or a cozy accessory for your wardrobe.
Free Crochet Two Color Beanie Pattern You'll Want to Use Daily

The pattern uses a wool blend yarn, which is soft and comfortable to wear. You can choose medium thickness yarn, which is widely available in stores. The beanie is worked using simple crochet stitches, such as chains, single crochet, and slip stitches. These stitches help give the hat a segmented texture that makes it look more detailed and professional. A 3mm crochet hook or slightly larger can be used, depending on your preference.
This beanie is not just beautiful in appearance but also practical. It can keep you warm in cold weather and fit comfortably due to its stretchy design. The standard adult size measurements for this hat are about 30cm in length and a head circumference of 54 to 57cm. You can also adjust the size to make it suitable for babies or toddlers.
One unique feature of this pattern is the option to add colorful pom poms to the top or sides of the hat, giving it an extra playful and fun touch. This makes it a versatile project for different occasions. With this easy to follow pattern, you can create a stylish and handmade beanie to love or share with loved ones. It's simple, creative, and perfect for any crochet enthusiast.
Crochet Two Color Beanie Pattern
Materials Needed
- Yarn: Medium thickness wool blend yarn in two colors of your choice (e.g., blue and white).
- Crochet Hook: 3mm. If unavailable, you may adapt to a 3.5mm or 4mm hook for slightly different tension.
- Tapestry Needle: To sew the seams.
- Scissors: For yarn trimming.
- Pom Pom Maker: Optional tool for making a decorative pom pom.
Gauge
Using a 3mm crochet hook:
- 10cm x 10cm = 15 rows x 12 single crochet (sc) stitches.
(Check your gauge before starting for a well fitting hat.)
Finished Size
- Adult sized beanie: 30-31cm in length (unfolded) and fits a head circumference of 54-57cm.
- Customizable for other age groups (refer to the customization section below).
Pattern Overview
This pattern involves making a flat rectangular panel, alternating slip stitches and single crochet stitches, switching colors as described. The panel is sewn into a cylindrical shape, and the top is cinched to form the crown of the hat. A pom pom can be added for embellishment.
Step by Step Instructions
1. Foundation Chain
- Create a slip knot on your hook.
- Chain 61 loosely (or adjust as per customization tips below). Avoid making the chains too tight or too loose.
2. First Row
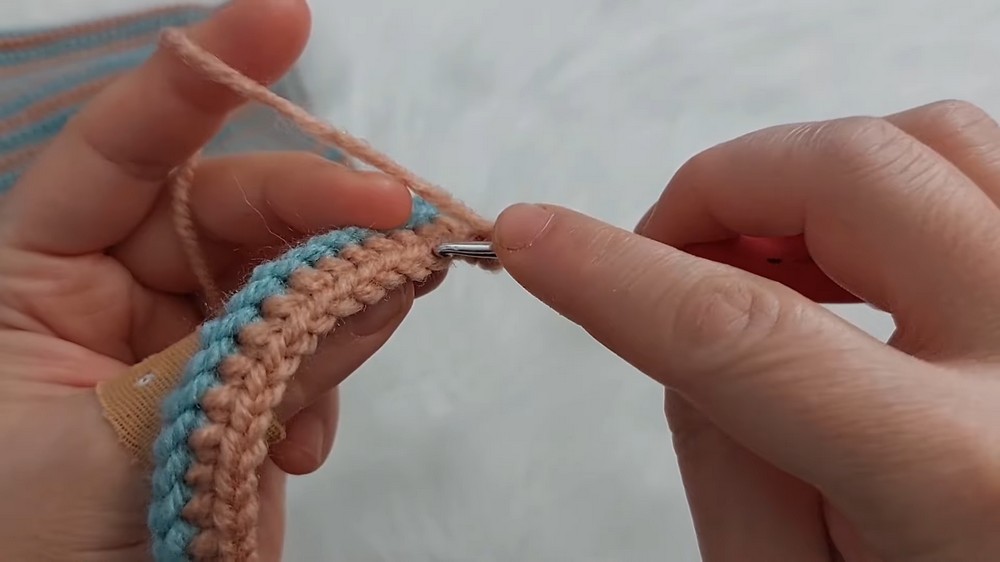
- Starting from the second chain from the hook, single crochet (sc) into each chain until there are 8 chains left.
- For the last 8 stitches, work slip stitches (sl st). Ensure you insert the hook into the back loop only of each stitch.
3. Switching Colors
- After completing 8 slip stitches, drop the current color (do not fasten off-you will reuse this yarn later).
- Take the second color, secure it by pulling it through the last slip stitch, and tighten slightly.
- Work 8 slip stitches with this new color across the same back loop of the stitches.

4. Second Row
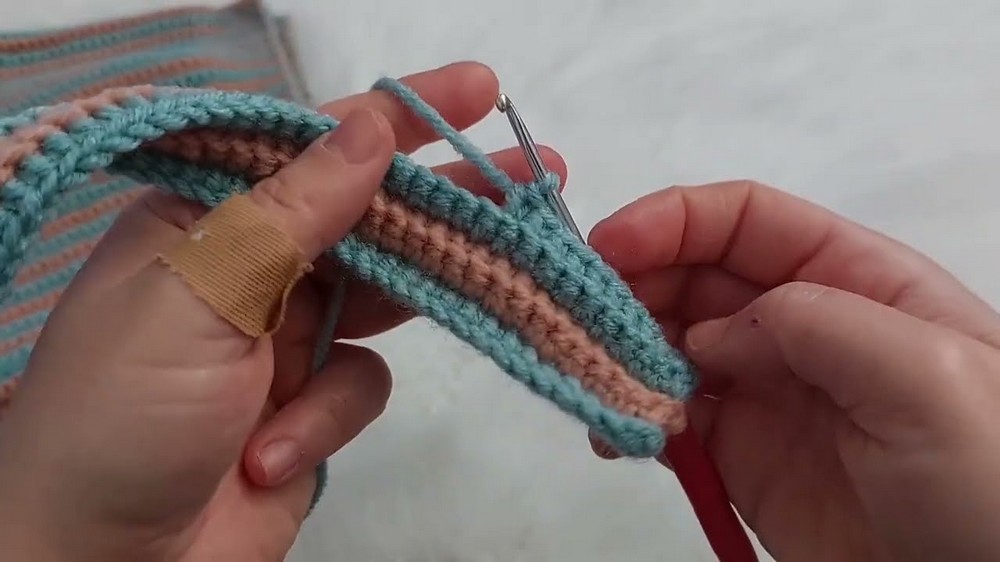
- After the 8 slip stitches, continue with single crochet (sc) into the back loop of each stitch for the remaining stitches. Work single crochets across the row.
- At the end of the row, chain 1, turn your work, and repeat.
5. Color Changes and Repeat
- Maintain the same sequence for the entire project:
- Work single crochet stitches until you reach the last 8 stitches, then switch to slip stitch for the remaining 8 stitches.
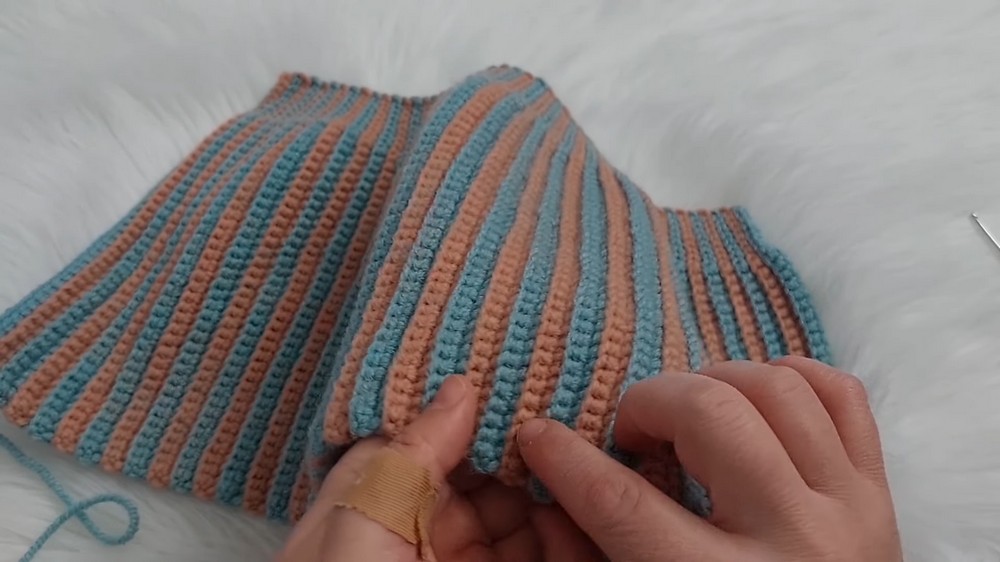
- Alternate colors after every two rows. Repeat this pattern until the hat measures 30-31 cm in height.
- The right side (front) of the fabric will have clean, visible ridges created by the slip stitches.
6. Measuring Progress
Once your panel is nearing completion:
- Measure the height to ensure it is around 30-31 cm (for an adult size).
- Measure the width periodically for consistency. For a standard size, it should fit a head circumference of 54-57 cm. Adjust accordingly for smaller or larger sizes.
7. Seaming the Sides
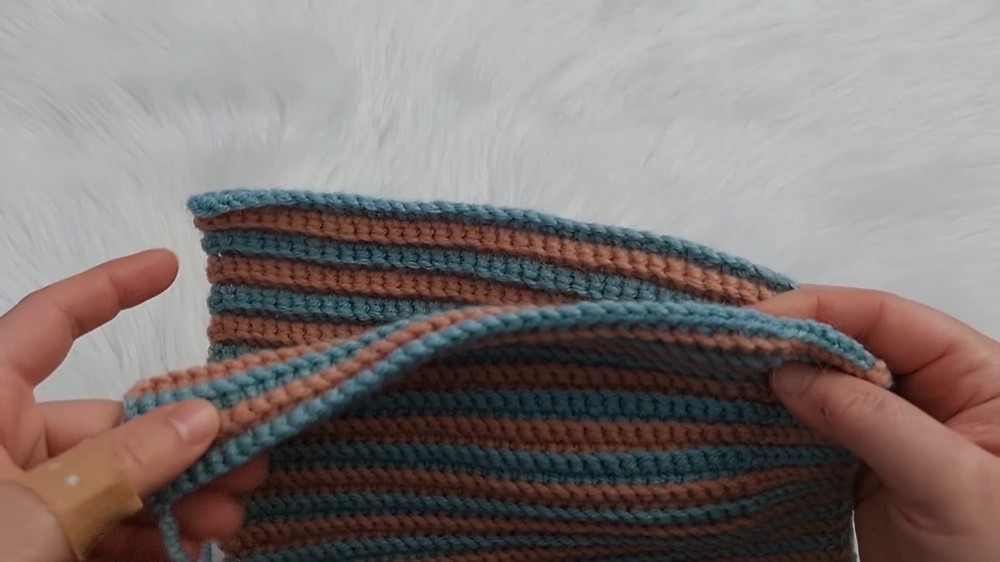
- Fold the panel in half, with the wrong sides facing outwards.
- Using the tapestry needle and the matching yarn, sew the long edges together using a simple whipstitch or mattress stitch, working through the back loops only of each stitch to create a seamless join.
8. Cinching the Top
- Thread a length of yarn through the needle and weave it through every second row or every two stitches along the top edge of the tube (now the crown of the hat).
- Pull the yarn tight to cinch the top closed. Secure with multiple knots to ensure durability.
- If desired, sew through the top edge a second time to reinforce.
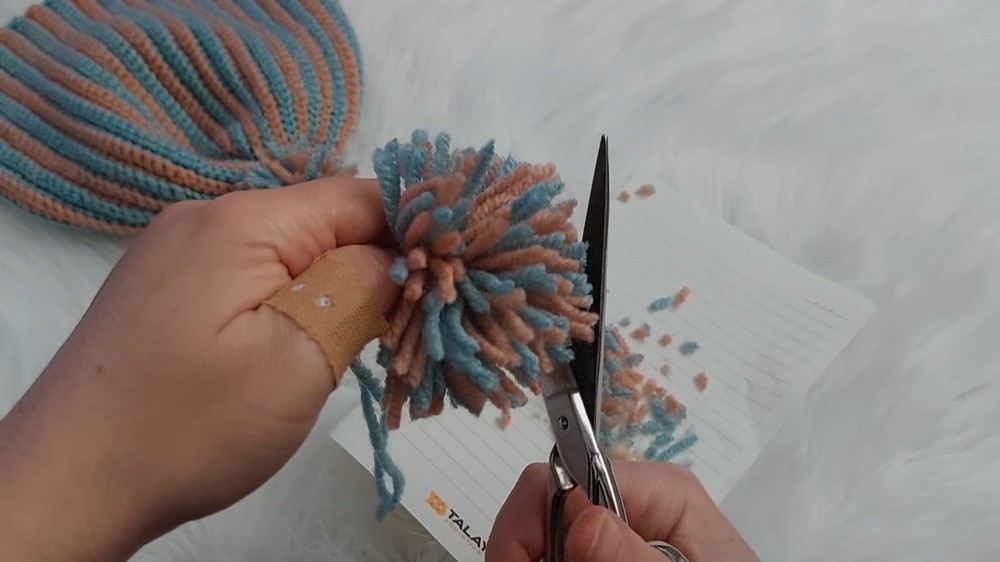
9. Adding a Decorative Pom-Pom (Optional)
- Use a pom-pom maker in your desired size or create one manually.
- If using a pom-pom maker, wind both colors of yarn together around the apparatus, trim it down the middle, and secure it tightly with yarn before fluffing.
- For a denser pom-pom, wrap the yarn 30-50 times around the device.
- Attach the pom-pom securely to the top of the hat by sewing it through the center base using a needle.

Customization Ideas
- Height: For smaller or larger sizes, adjust the height of the panel accordingly:
- Child (6-12 months): 16-18cm length.
- Child (2-5 years): 20-22 cm length.
- Adjust the stitch count proportionally for different head circumferences. (Example: For a baby-size hat, reduce the foundation chain to around 40-45 chains.)
- Color Variation: Experiment with more than two colors for a striped or gradient effect.
- Foldable Brim: If you plan to fold the bottom, add an additional 4-5 cm to the total height of the rectangular panel.

Special Techniques
- Back Loop Only Crochet: Insert the hook into only the back loop of the stitch instead of both loops. This technique is used throughout this pattern to create texture.
- Slip Stitch: This is smaller and tighter than a single crochet. Work these carefully to maintain an even gauge.
- Whipstitch for Seaming: Keep stitches close to ensure durability. Align stitches carefully along the seam for a neat join.
Key Tips
- Tension Control: The slip stitches can often become too tight. Relax your grip and keep the yarn loose for easier crocheting.
- Regular Measurements: Frequently check the panel length and width to ensure it aligns with the desired size.
- Weaving Ends Neatly: Tidy finishing touches enhance the durability and aesthetic of your hat.
- Practice Swatches: If this is your first time working with slip stitches or back loop-only techniques, practice with a small swatch before beginning the main project.
Conclusion
Congratulations on completing your Crochet Two Color Beanie Pattern. This lightweight yet cozy hat showcases a modern, textured design achieved using slip stitches and single crochets. Its versatile style is suitable for both casual and outdoor wear. Adding a pom-pom and experimenting with color combinations make this pattern ideal for personalization. Whether a gift or a personal project, this hat is sure to be a cherished addition to anyone's wardrobe.
Final Look
Your finished hat should exhibit:
- A neat, ribbed texture on the outside.
- A subtle gradient effect from the alternating colors.
- A snug, tailored fit with a cinched crown.
- Optional pom-pom adding a cheerful touch.