
Cozy Free Crochet Beanie Pattern with Easy Stitches
Stay warm in style through Free Crochet Beanie Pattern that's perfect for chilly days with cozy comfort and classic everyday fashion.
I've always enjoyed making hats-it's a simple project that brings warmth and style all at once. This is why the Free Crochet Beanie Pattern quickly became one of my favorites. With just a few small tweaks, like changing the yarn type or adding a little brim, you can easily turn this basic beanie into something different, such as a slouchy hat or a cozy ear warmer. It's a great starting point for anyone looking to make a versatile accessory.
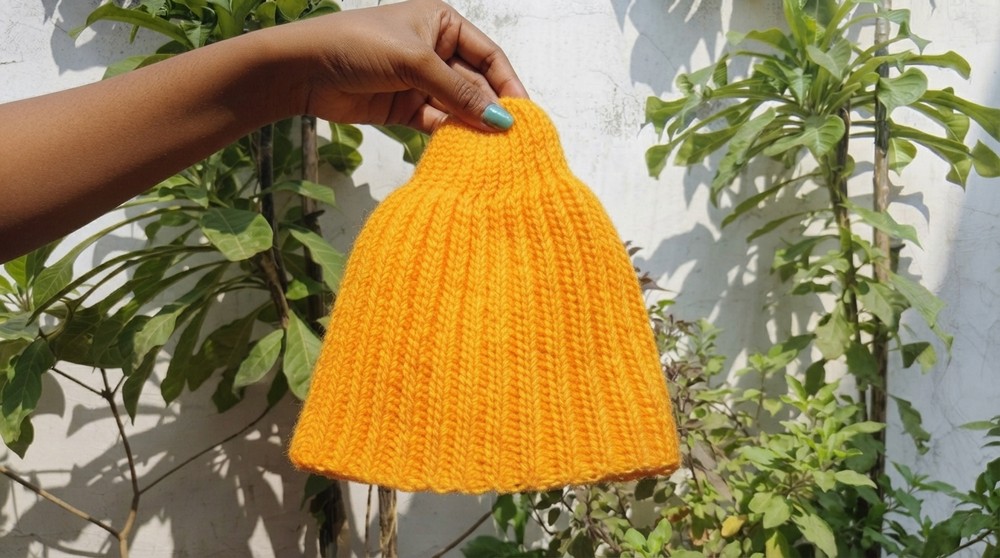
What makes this beanie special is its clean and timeless design. The shape gently fits the head with a smooth, rounded silhouette that's both comfortable and practical. The fabric has a soft, pleasant texture created by neat stitches, giving the hat a refined, yet cozy look. Its style is simple, making it easy to pair with a variety of outfits. A subtle stitch pattern adds just enough detail to keep things interesting without being too bold or busy.
Warm Crochet Beanie Free Pattern for Cold Days

You don't need to be an experienced crocheter to enjoy this project. It mostly involves basic stitches, making it approachable for beginners who want to try something more than scarves or simple squares. The instructions guide you clearly through each step, helping you build your confidence along the way.
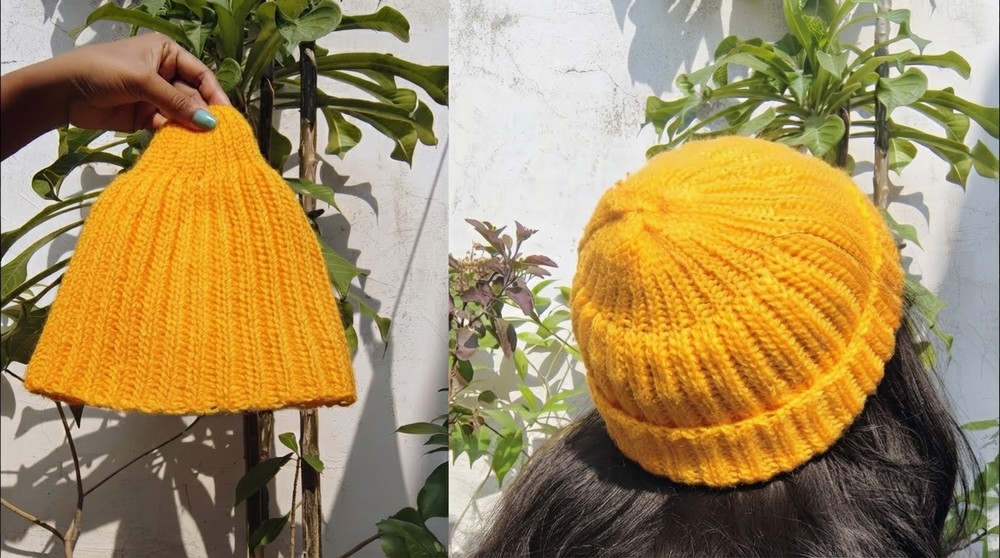
Finished beanies make wonderful gifts for loved ones and are perfect for adding a handmade touch to cold-weather wardrobes. They also look lovely displayed with other crocheted items or stored as part of a cozy collection. If you're after a project that's easy, practical, and a little bit charming, this Free Crochet Beanie Pattern is sure to be a good match for you.
Easy Crochet Beanie Pattern
This easy and quick crochet beanie is perfect for beginners and intermediate crocheters alike. Using simple stitches such as half double crochet and slip stitches worked primarily in the back loop, this beanie provides a beautiful textured finish and stretchable fit. It can be customized easily by adjusting the starting chain length according to your head size or desired height. Whether made for yourself or as a gift, this beanie will add style and warmth effortlessly.
Skill Level & Terminology
- Skill level: Beginner to Intermediate
- Terminology: US crochet terms
Materials & Tools
- 100% acrylic yarn (color of your choice)
- Crochet hook, 4 mm (G-6) or suit your yarn weight
- Stitch marker (optional but helpful)
- Scissors
- Yarn needle for weaving in ends
Gauge
- Aim for approximately 14 half double crochets (hdc) per 10 cm (4 inches) in width.
- Tension should be relaxed enough to keep fabric soft and stretchy but tight enough to maintain warmth.
Abbreviations List
- ch = chain
- hdc = half double crochet
- sl st = slip stitch
- st(s) = stitch(es)
- bl = back loop
- fl = front loop
Special Stitch Instructions
Half Double Crochet in Back Loop (bl hdc)
Insert your hook only into the back loop of the stitch below, yarn over and pull through, yarn over again and pull through all three loops of the hook.
Slip Stitch (sl st)
Insert hook in stitch, yarn over, pull through both loops on hook.
Pull-up Loop Foundation Chain (for stretchy foundation)
Make a slip knot, yarn over, pull loop through (do not tighten), then chain. Keep loops loose for a stretchy base.
Finished Size
- Adjustable depending on chain length.
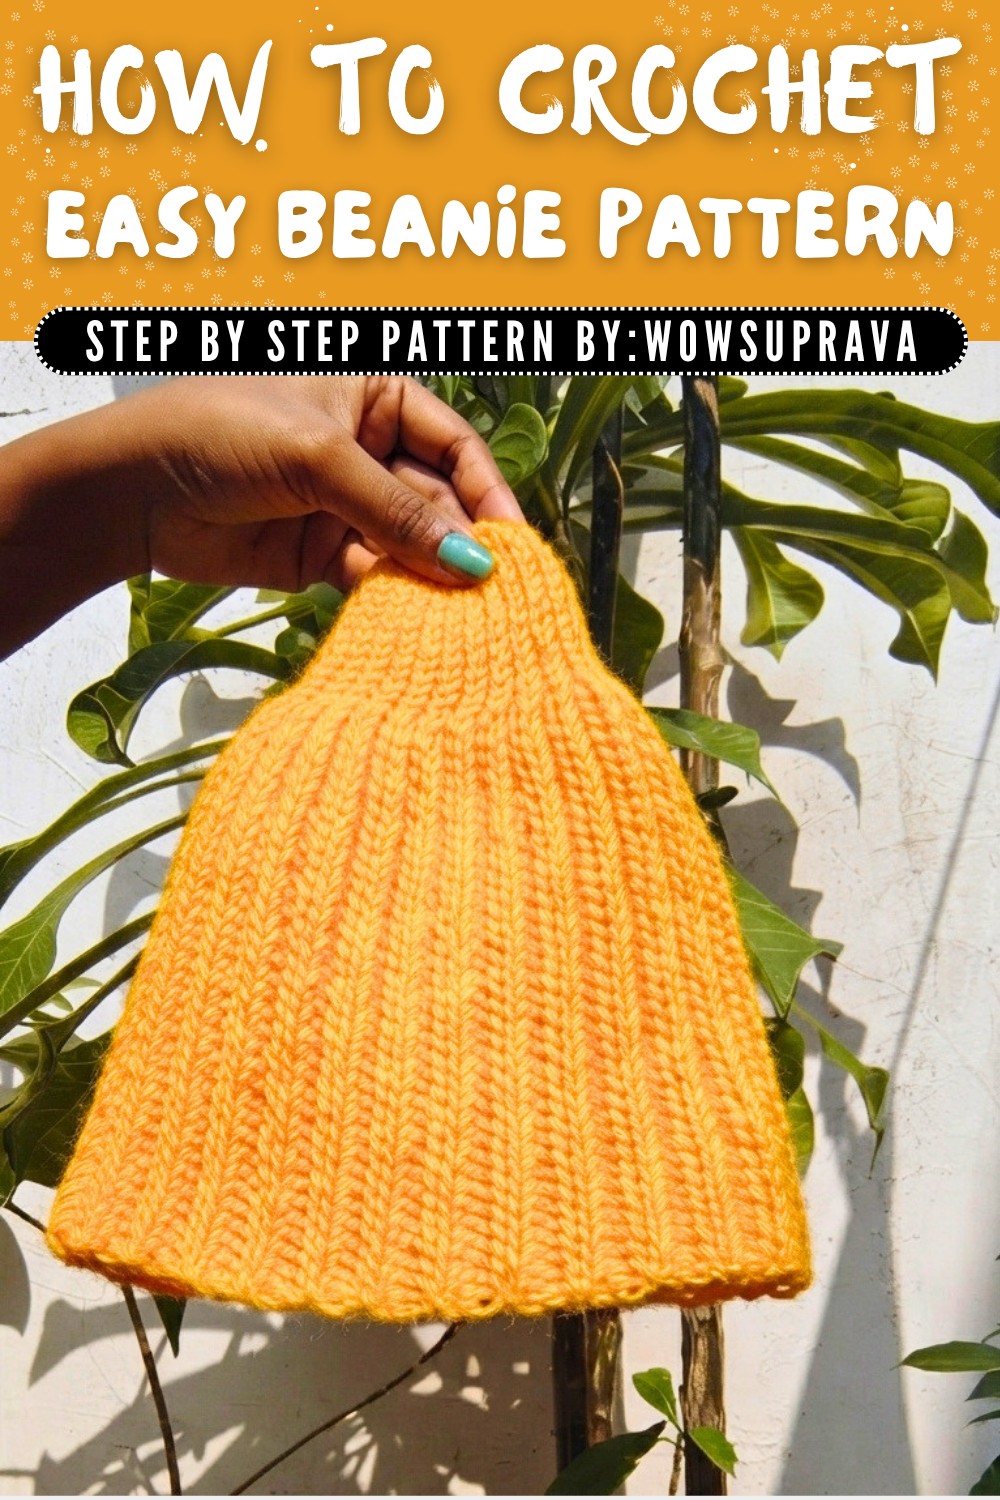
- This pattern describes a 54-chain foundation for an adult-sized beanie approximately 53 cm head circumference.
- Height is customizable by working rows until desired length is reached.
Pattern Overview and Stitches Used
Starting with a pull-up loop foundation chain, you will work in rows mainly using half double crochet stitches in the back loop only to build texture and elasticity. Slip stitches are used to turn and keep edges neat. The shaping and stitch count remain consistent to ensure a smooth, round beanie shape.
The Crochet Pattern!
Step 1: Foundation Chain
- Create a slip knot.
- Work 54 chains loosely using the pull-up loop technique to ensure stretchiness. For smaller sizes (child), chain 34.
- Make sure your chains are not too tight to maintain flexibility.
Completion note:
Your foundation chain forms the base circle of the beanie. Be sure to keep it loose but even to ensure a great fit.
Step 2: First Row of Half Double Crochet
- Skip the first chain.
- Insert hook into the second chain from the hook, yarn over, pull through (3 loops on hook), yarn over, pull through all loops - this is your first half double crochet (hdc).
- Continue working one hdc in each chain across the row.
- When you reach the last chain, chain 2 (for turning height).
- Before turning, make a slip stitch in the last stitch to complete the row edge.
Completion note:
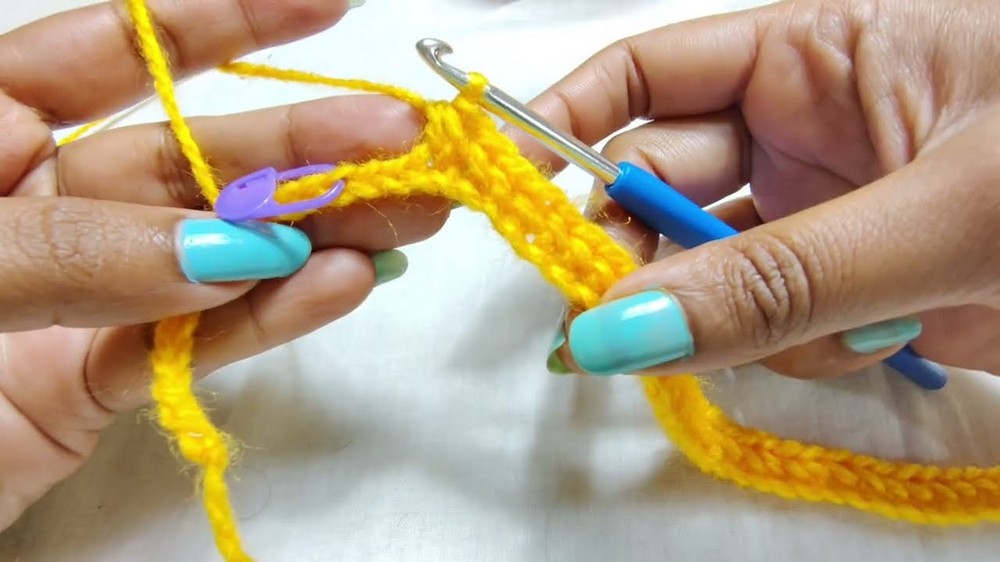
You have now formed a neat row of half double crochets creating the start of your fabric and a turning chain to maintain height.
Step 3: Working in the Back Loop Only (BLO Rows)
- Turn your work.
- Chain 1 to begin.
- Work half double crochet (hdc) in the back loop only (BLO) across the entire row.
- At the end of the row, chain 2 and use slip stitch to finish the edge neatly.
- Place or move your stitch marker at the turning point to keep track for consistent rows.
Completion note:
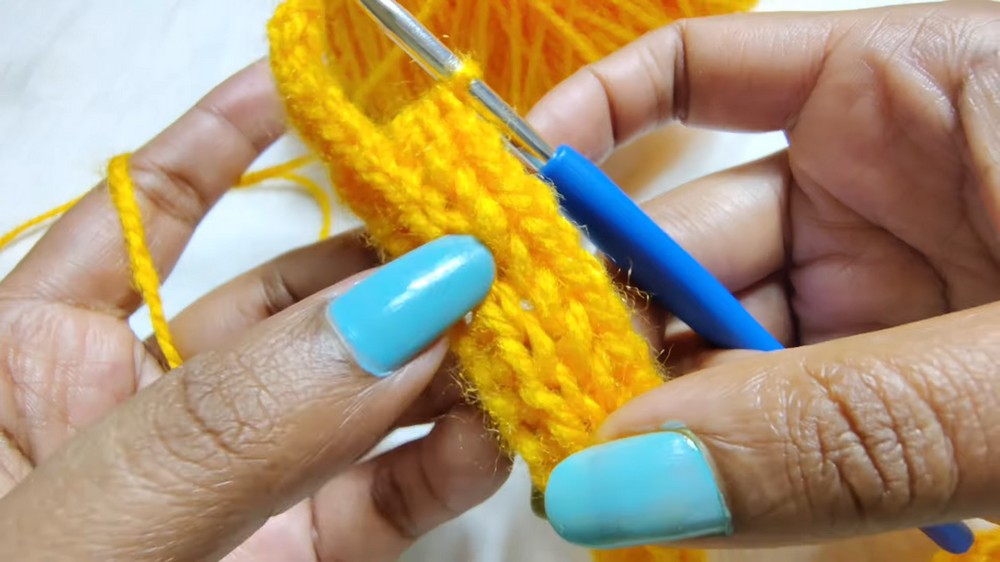
Working in the back loop only gives your beanie a beautiful textured ribbing effect, improving stretch and fit.
Step 4: Continue Repeating BLO Rows
- Repeat Step 3, working back loop only half double crochet rows, chaining 1 to start, chaining 2 to turn, and slip stitching to finish the row edge.
- Continue until your piece reaches approximately 53 cm in length or desired height.
- Remember to consistently place and remove your stitch marker for neat edges.
Completion note:
The fabric stretches and grows row by row with a wonderful ribbed texture - your beanie shape is starting to materialize.
Step 5: Finishing Your Work
- On your final row, after finishing the back loop half double crochet row, end with a slip stitch.
- Leave a long tail (about 15-20 cm) for closing the beanie.

Assembly & Finishing
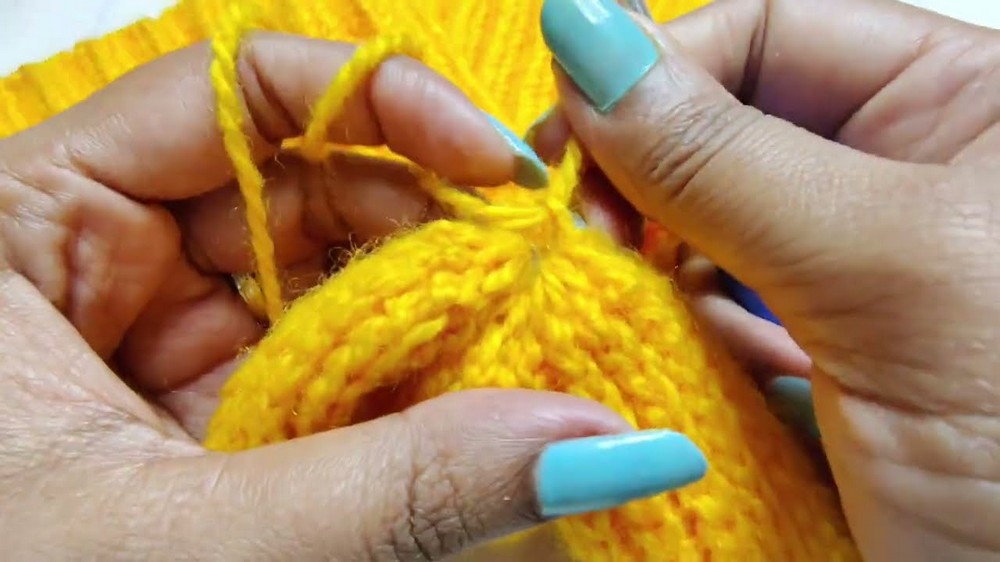
- Fold the fabric so the short edges meet, with front loops aligned to front loops, leaving the back loops free.
- Using the yarn needle and the tail left from Step 5, sew along the edges by inserting the needle through the front loops only of the stitches.
- Work evenly and firmly but without pulling too tight to maintain stretch. Sewing only the front loops keeps the seam unobtrusive and flexible.
- Once you reach the last stitch, tie off with a secure knot.
- Weave in all ends neatly.
- Gently stretch and shape your beanie.
Completion note:
Joining the edges creates the beanie shape. Using only front loops results in a smooth, comfortable seam that won't dig into the skin.
Usage Tips
- You can customize this beanie by choosing different yarn weights and hook sizes; adjust your starting chain length accordingly.
- Add a pom-pom or ear flaps for extra flair.
- Wash gently by hand or on delicate cycle to preserve stitches and elasticity.
Summary
- This beanie starts with a loose pull-up chain for stretch and comfort.
- Uses half double crochet stitches in back loops only (BLO hdc) for ribbed texture.
- Work in rows and slip stitch to keep edge neat.
- Finish by sewing edges together through front loops only for a clean seam.
- Adjustable size and customizable yarn choices.
Final Notes
This simple beanie is perfect for anyone starting their crochet journey or seeking a fast, practical project. The focus on back loop stitches and neat stitching methods provides both form and function.