
Free Crochet Ruffle Tank Top Pattern That Feels Chic
Create a chic and breezy summer look with this FREE Crochet Ruffle Tank Top Pattern, for beginners wanting stylish flair.
A sunny morning calls for something breezy and stylish to keep cool while running errands or enjoying a casual hangout. The Free Crochet Ruffle Tank Top pattern fits perfectly into this scene, featuring delicate ruffle details and lightweight yarn that drape beautifully over the shoulders. Ideal for summer days, it pairs effortlessly with jeans, shorts, or a flowy skirt, and layering with a light cardigan or denim jacket adds versatility for cooler evenings.
Free Crochet Ruffle Tank Top Pattern for a Fresh and Stylish Look
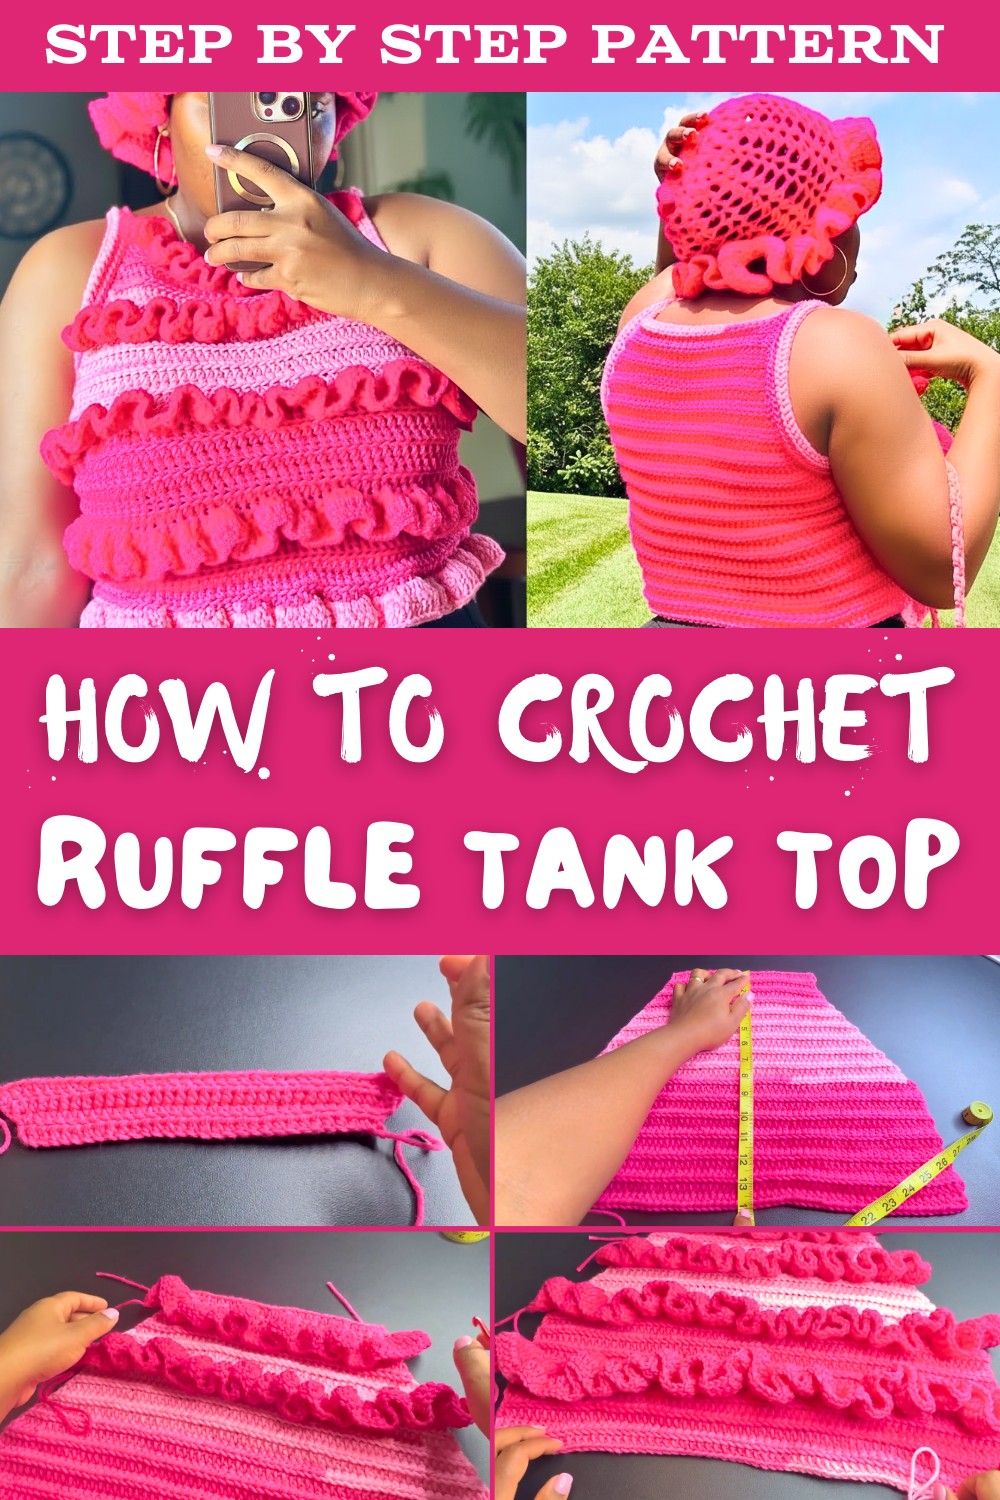
Beyond its playful style, this tank top offers comfort and breathability, making it perfect for beach trips, picnics, or casual outings. Following the pattern also helps improve crochet skills while giving a sense of accomplishment. The flattering fit, textured ruffles, and airy design make it a standout piece in any casual wardrobe, offering both charm and practicality for everyday wear.
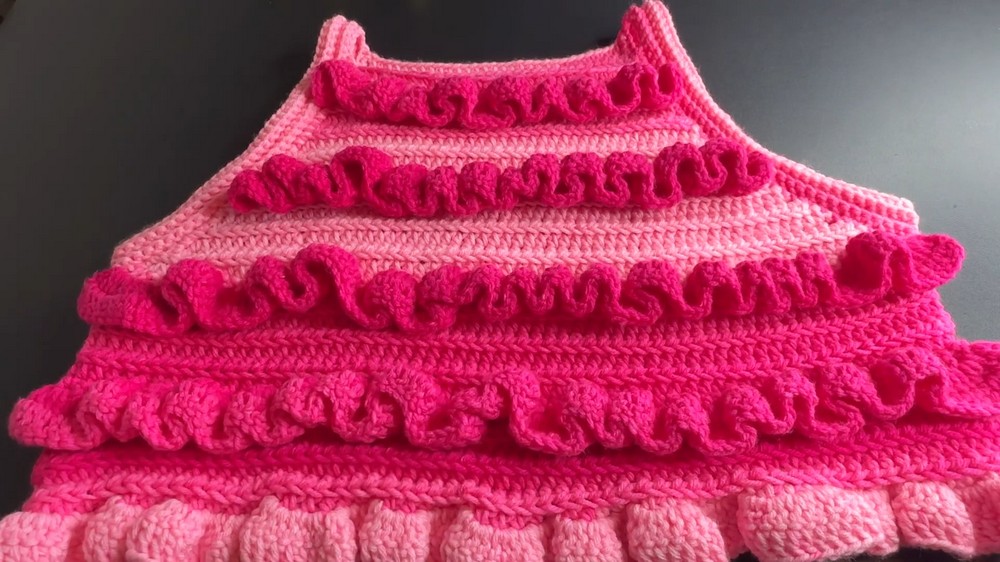
Crochet Ruffle Tank Top Pattern
Finished Size
- Fits Extra Large (Bust Measurement: 44 inches).
- Can be adjusted for smaller or larger sizes by following the measurements at various points in the pattern.
Materials
- Yarn:
- Weight: Medium (Category 4).
- Suggested yarn: Red Heart Super Saver Ombre Yarn - 2 skeins.
- Hook:
- Size 5.5 mm (I-9) crochet hook.
- Additional Tools:
- Yarn needle (for weaving ends).
- Scissors (to trim strands).
- Measuring tape (to measure bust and make adjustments).
Skill Level
Beginner to Intermediate - Familiarity with basic stitches, working in rows, increasing, and ribbing techniques is required.
Special Techniques
- Half Double Crochet (HDC):
- Yarn over, insert hook into stitch, pull through (3 loops on hook), yarn over, pull through all loops.
- Back Loop Only (BLO):
- Insert hook under the back loop of the stitch instead of working through both loops.
- Double Crochet (DC):
- Yarn over, insert hook into stitch, pull through (3 loops on hook), yarn over, pull through two loops, yarn over, pull through remaining two loops.
- Ruffling:
- Three double crochets made in specific V-stitches create a ruffled effect.
Pattern Instructions
Step 1: Bust Measurement
- Use a measuring tape to measure around your bust.
- Divide the measurement by 2 to determine the width of each panel (for this example: Bust = 44 inches; divide by 2 = 22 inches per panel).
Step 2: Foundation Chain
- Make a slip knot.
- Create a foundation chain of 30 stitches (adjust depending on your chest width; the chain should stretch between one collarbone to the other). Then add 2 chains for turning. (Chain Total: 32)
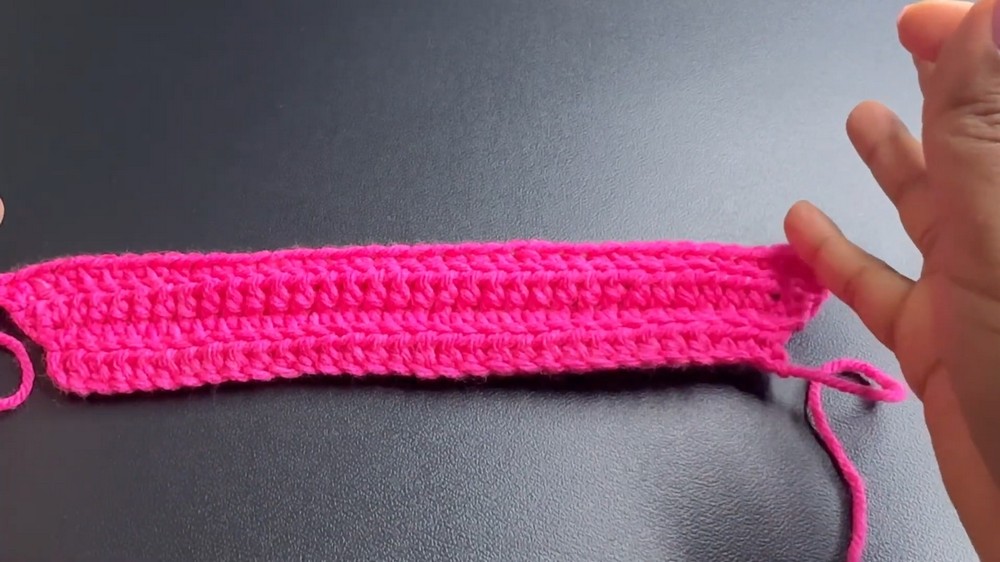
Row 1:
- Skip the first 2 chains (turning chains).
- Work 1 HDC into the third chain and into each chain across. (30 HDC)
- Turn your work.
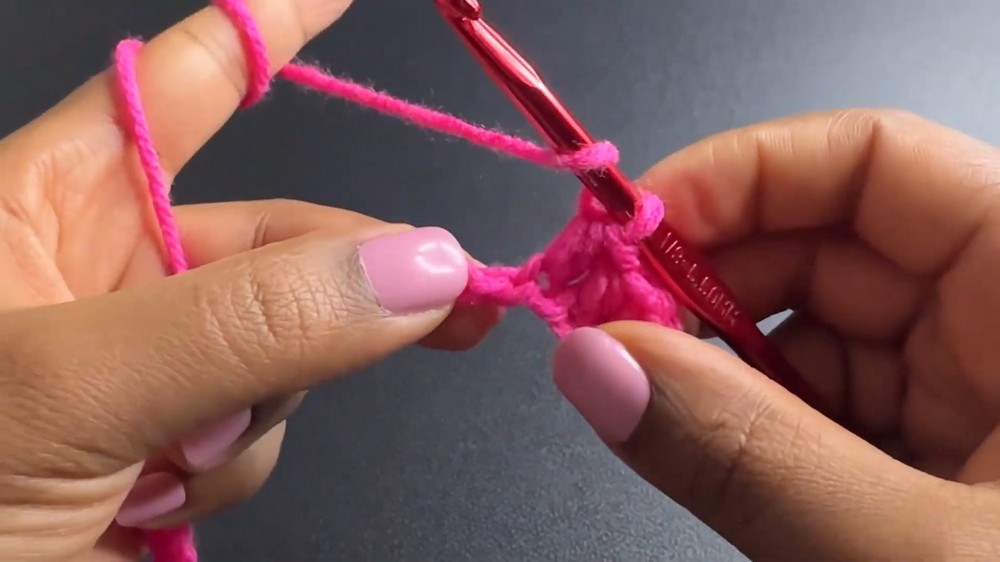
Step 3: Increasing Rows
From rows 2 to 20, follow the pattern below to increase width until it matches half of your bust measurement (22 inches) when slightly stretched.
Row 2:
- Chain 2 (does not count as a stitch).
- Work 2 HDC in the back loop only (BLO) of the first stitch (increase at the beginning).
- Work 1 HDC (BLO) in each stitch until one stitch remains.
- Work 2 HDC in last stitch (insert hook under both loops for the last stitch). (32 HDC)
Row 3:
Repeat Row 2, increasing by 2 stitches per row (1 increase at the beginning and 1 at the end).
Repeat rows until the panel stretches to half of your bust measurement. Verify periodically using your measuring tape.
Final width example: 22 inches stretched after completing 20 rows.
Step 4: Straight Rows
Stop increasing and continue working straight rows once the panel reaches the desired width.
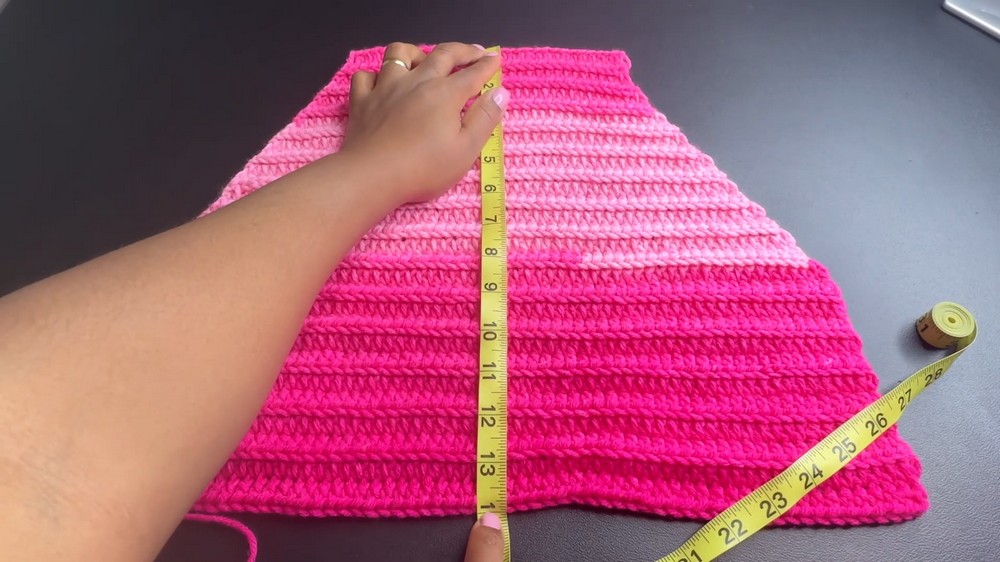
Straight Rows (Row 21-30):
- Chain 2, turn the work.
- Work 1 HDC (BLO) into each stitch across. No increases or decreases in these rows.

Final Length Example: 14 inches long (30 total rows).
Step 5: Adding Ruffles
Preparation for Ruffling: Stretch the completed panel to identify horizontal ridges between rows.
Ruffle Rows:
- In the first ridge of the panel, make a slip knot, attach yarn, and chain 3 (counts as first double crochet).
- Work 3 DC in the same ridge (V-stitch).
- Move to the next ridge and repeat:
- 3 DC in each ridge across the row.
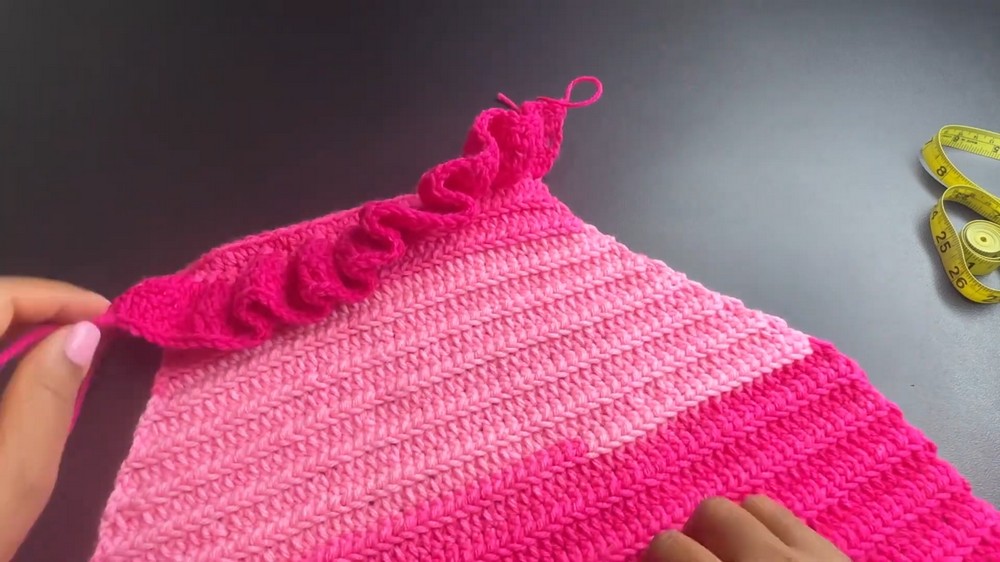
Second Ruffle Row:
- Chain 3, turn the work.
- Work 1 DC into each stitch across the row. End with a slip stitch.
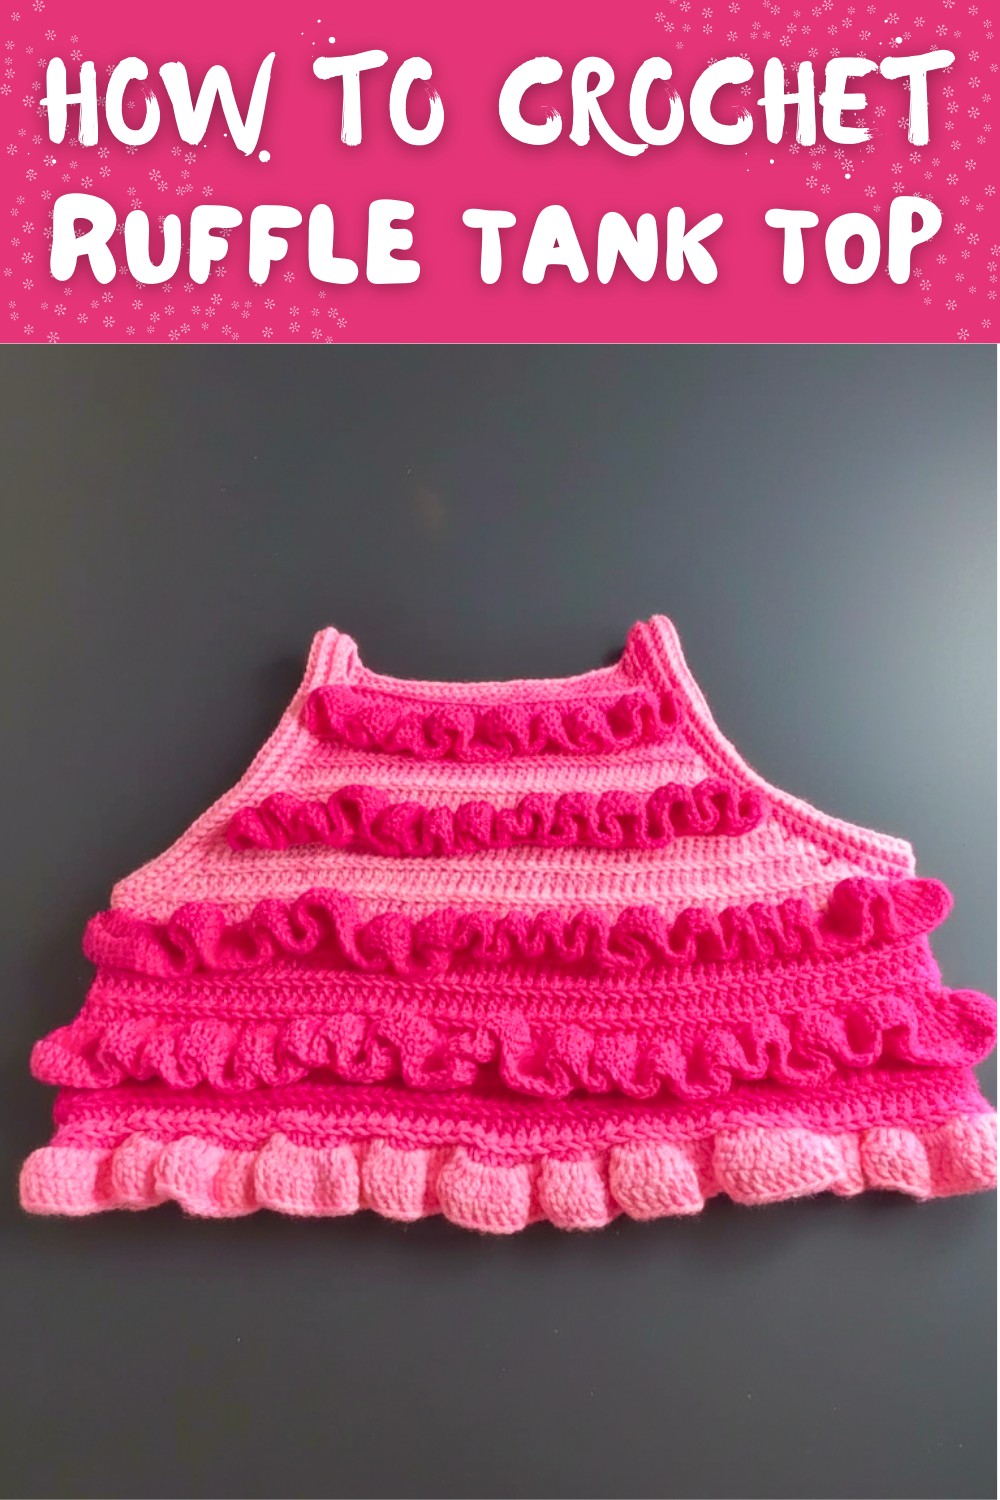
Repeat: Start the next ruffle row by skipping 3 ridges and repeating the above instructions. Make as many ruffles as desired, leaving gaps between groups for a cascading effect.

Step 6: Sleeve Ribbing
Joining Panels:
- Align the two panels with wrong sides facing.
- Attach yarn at the bottom edge of the panels and single crochet or use whip stitches to join edges, leaving sleeve openings.
Creating Sleeves:
- Attach yarn around the sleeve openings.
- Work rows of single crochet (BLO) around the sleeve edge.
- Repeat for a total of 4 rows for a ribbed cuff.

Finishing
- Weaving Ends: Use a yarn needle to weave in all loose ends securely into the wrong side of the top.
- Blocking: Lightly block the ruffles and ribbing to create a polished finish.
Final Notes
Congratulations on creating this Ombré Ruffle Top with Sleeves! The adjustable construction ensures it fits perfectly, while the ruffled details add a playful touch.
Tips for Maintenance
- Wash the top gently in cold water to protect the yarn and prevent color fading.
- Store the garment flat to preserve the ruffles and prevent stretching.
- Experiment with various color combinations or yarns for a more personalized look.