Crochet Cupcake Trinket Holder Free Amigurumi Pattern
Organize your tiny treasures in style with this Free Crochet Cupcake Trinket Holder Pattern that's for storing jewelry or keepsakes with a fun, playful twist.
A charming way to keep your small treasures organized, the Free Crochet Cupcake Trinket Holder Pattern offers both functionality and a whimsical touch. This delightful creation is perfect for storing rings, earrings, small buttons, or crafting supplies while doubling as an adorable decor piece. Its playful cupcake design can be styled by customizing the "frosting" and "sprinkles" in colors that brighten up your dresser, desk, or even a child's playroom.
Cupcake Trinket Holder Free Pattern : for Tiny Treasures

Beyond its purpose as a storage solution, this project allows you to repurpose leftover yarn, making it both fun and resourceful. Lightweight and compact, it can also serve as a heartfelt handmade gift for birthdays, holidays, or crochet fairs. Whether for personal use or gifting, this crochet trinket holder balances practicality with charm, making organization enjoyable and unique.

Crochet Cupcake Needle Holder Pattern
This adorable cupcake-shaped needle holder is a fun and practical crochet project for keeping your hooks, needles, scissors, and other tools organized! The project uses amigurumi yarn, basic crochet stitches, and decorative touches to create a functional and charming tool holder.
Materials Needed
- Yarn:
- Base and frosting: Amigurumi yarn in desired colors (e.g., cream for frosting, light pink for cupcake base, and brown for chocolate details).
- Decorative "syrup drips": Complementary colors for the decorative top (e.g., red for cherry, pink for strawberry, or white for glaze).
- Crochet Hook: Suggested size 2.5 mm or 3 mm (check your yarn for recommended size).
- Stuffing: Fiberfill or polyester stuffing to fill the holder.
- Fabric Glue: Optional for attaching decorative elements.
- Tapestry Needle: For sewing, weaving ends, and attaching decorative pieces.
- Scissors.
- Optional: Safety pins, stitch markers, or any tool to mark rounds.
Gauge
Gauge is not critical for this project as it is non-fitted. However, maintaining even stitches ensures a polished look.
Finished Size
- Height: ~10-12 cm (depending on the number of rows and stuffing).
- Diameter: Adjustable; suggested size is 8-10 cm.

Special Techniques
- Magic Ring: A circular foundation to begin working seamlessly in the round.
- Invisible Decreases: For avoiding visible gaps during reductions.
- Crocheting in Continuous Rounds: No joining or fastening at the end of rows; work in a spiral pattern.
Step-by-Step Instructions
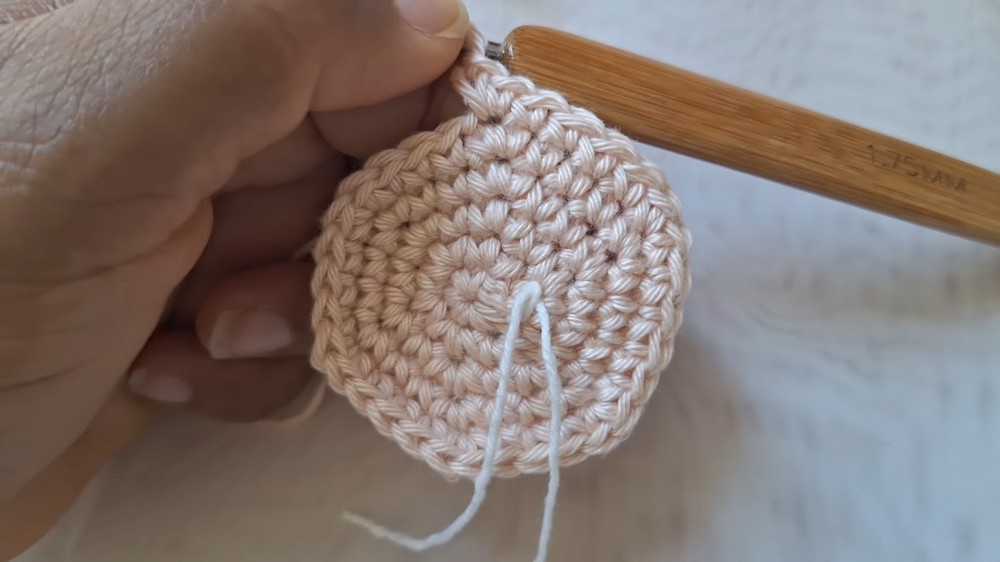
Base of the Cupcake
- Magic Ring (Round 1):
- Begin with a magic ring. Chain 2 (this does not count as a stitch).
- Crochet 5 single crochet (sc) into the ring. (Total: 5 stitches).
- Pull the ring tight to close, and join with a slip stitch.
- Round 2 (Increase Round):
- Chain 1. Work 2 single crochets into each stitch (increase in every stitch).
- Total: 10 stitches.
- Round 3:
- Begin placing the marker at the start of the round for easier tracking.
- Work 1 sc into the next stitch, 2 sc into the next stitch. Repeat around.
- Total: 15 stitches.
- Round 4:
- Work 1 sc into each of the next 2 stitches, 2 sc into the next stitch. Repeat around.
- Total: 20 stitches.
- Round 5:
- Work 1 sc into each of the next 3 stitches, 2 sc into the next stitch. Repeat around.
- Total: 25 stitches.
- Rounds 6-11:
- Continue following the increase pattern:
- Round 6: 4 sc, increase (30 stitches).
- Round 7: 5 sc, increase (36 stitches).
- Round 8: 6 sc, increase (42 stitches).
- Round 9: 7 sc, increase (48 stitches).
- Round 10: 8 sc, increase (54 stitches).
- Round 11: 9 sc, increase (60 stitches).
- Continue following the increase pattern:


Tip: Keep checking the size of your base as you go-larger bases can hold more items, while smaller ones are better for fewer tools.
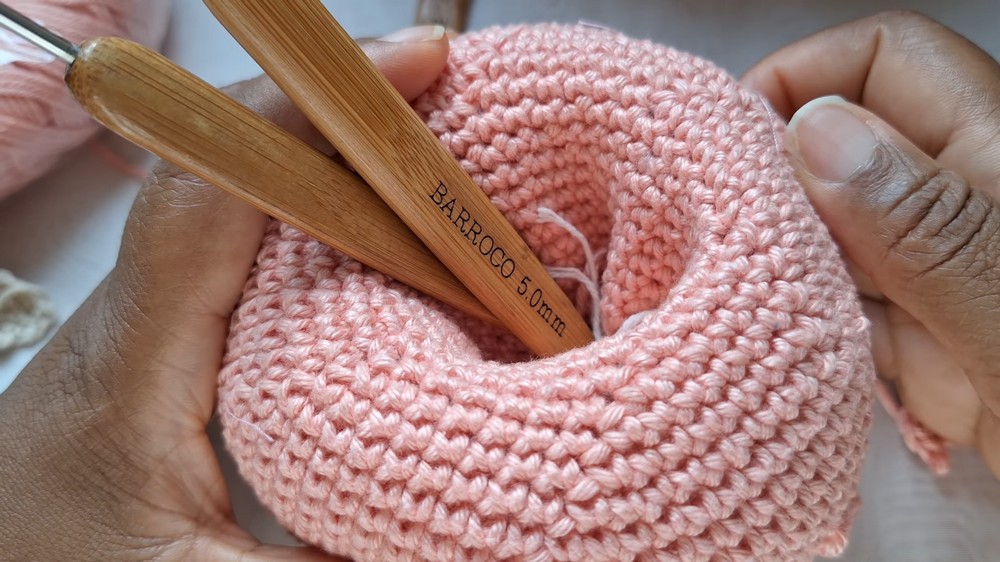
Body of the Cupcake
- Work 8 rows without increases or decreases (60 stitches per round).
- This creates the body of the cupcake.
- For extra firmness, use centered single crochet (aka split single crochet): insert the hook through the middle of the stitch below instead of the usual loops.
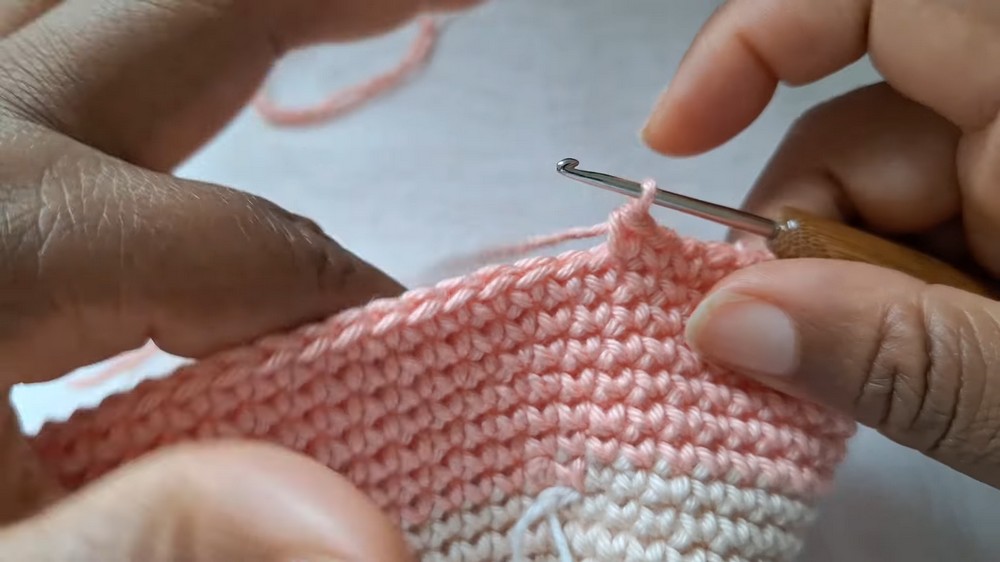
Adding the Frosting Colors
- Attach Frosting Color (optional):
- Change yarn to your preferred frosting color (e.g., pink, white, or brown).
- Continue working 6 rows of single crochet (sc) without increases or decreases (60 stitches per round).
Shaping the Top of the Cupcake
- Begin Decreasing the Top (Round 1):
- Work 10 sc, 1 decrease (skip 1 stitch). Repeat around.
- Total: 54 stitches.
- Round 2:
- Work 9 sc, 1 decrease. Repeat around.
- Total: 48 stitches.
- Rounds 3-5:
- Continue decreasing by 6 stitches per round, adjusting the number of single crochets as follows:
- Round 3: 8 sc, 1 decrease (42 stitches).
- Round 4: 7 sc, 1 decrease (36 stitches).
- Round 5: 6 sc, 1 decrease (30 stitches).
- Stop at 30 Stitches:
- Once you have 30 stitches, stop decreasing and make 6 more rounds without increases or decreases. This forms the cylindrical top of the holder.
- Closing the Top:
- Begin working 1 sc, skip 1 stitch (reduce by skipping stitches) until fully closed and snug.
Decorative Syrup Drips
- Syrup Drip Chains:
- Create chains for decorative drips in 3 lengths:
- Large drip: Chain 7; work back with single crochets.
- Medium drip: Chain 5; work back with single crochets.
- Small drip: Chain 3; work back with single crochets.
- Attachment:
- Use fabric glue or a tapestry needle to sew the drips around the frosting edge. Alternate sizes for a natural, fun effect.
Assembly and Finishing
- Stuffing:
- Firmly stuff the cupcake holder with fiberfill before completely closing the top.

- Weaving in Ends:
- Use the tapestry needle to tuck in all yarn tails for a clean finish.
- Final Touches:
- Add decorative elements (e.g., a crocheted cherry on top, fabric lining, or embroidery) for a polished look.

Tips and Suggestions
- For a cupcake set, crochet matching holders in various colors and sizes.
- If you prefer a lighter structure, omit stuffing and use as a simple container cover.
- Use contrasting yarn for "sprinkle" embroidery or add small beads for extra decoration.
Final Words
Congratulations on completing this cupcake-shaped crochet needle holder! Whether used as a gift or for yourself, it's a perfect blend of creativity and functionality.