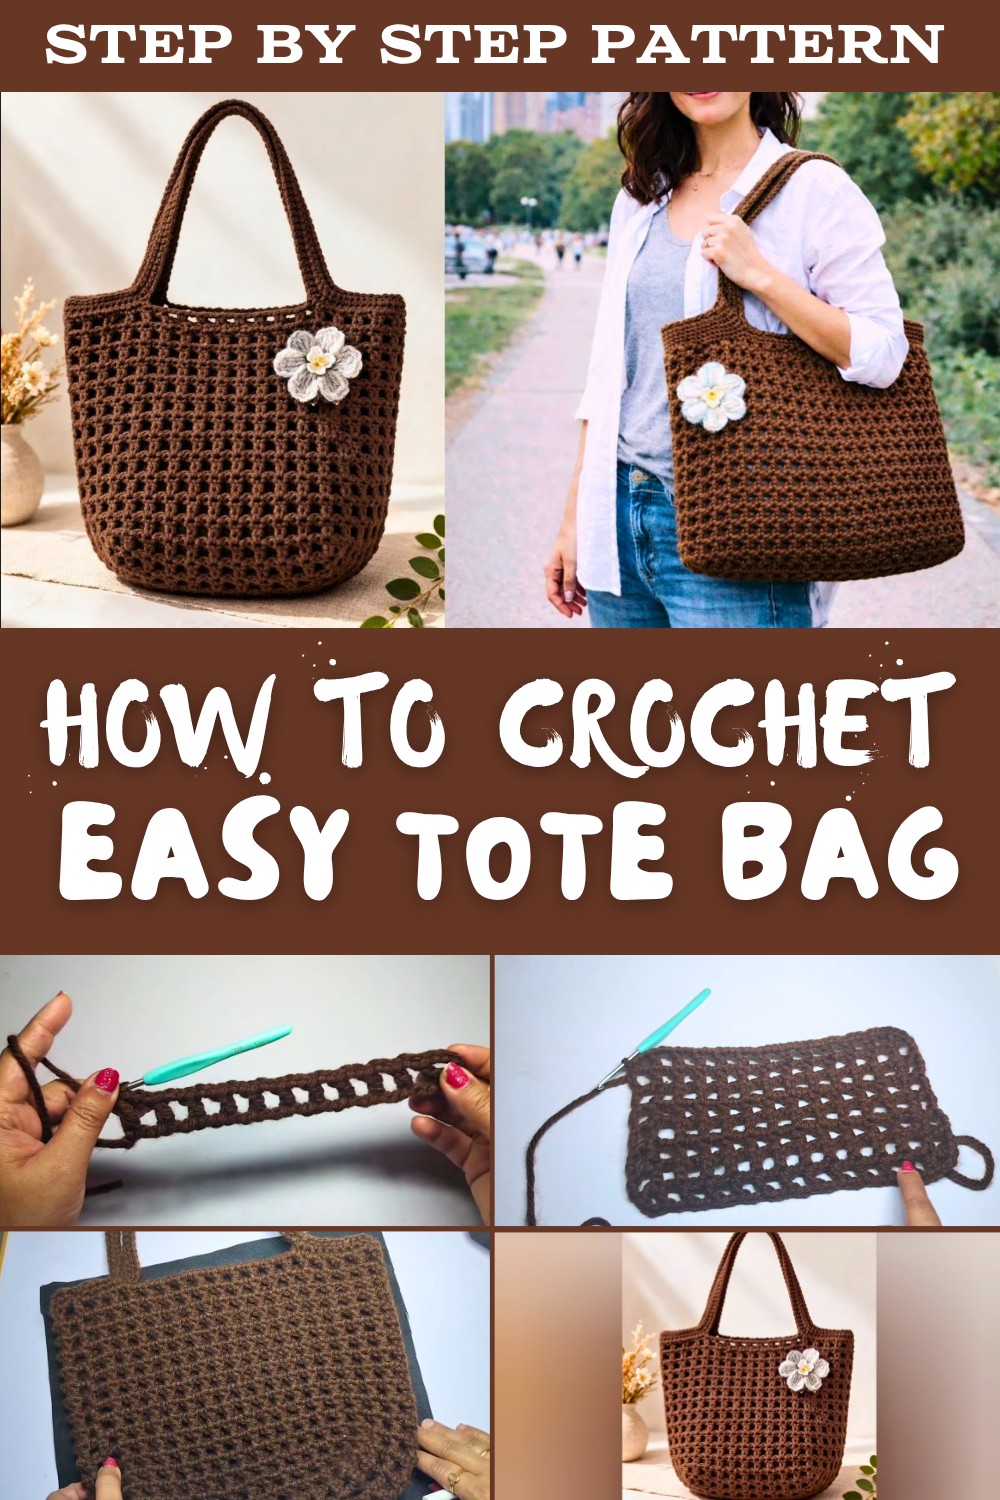
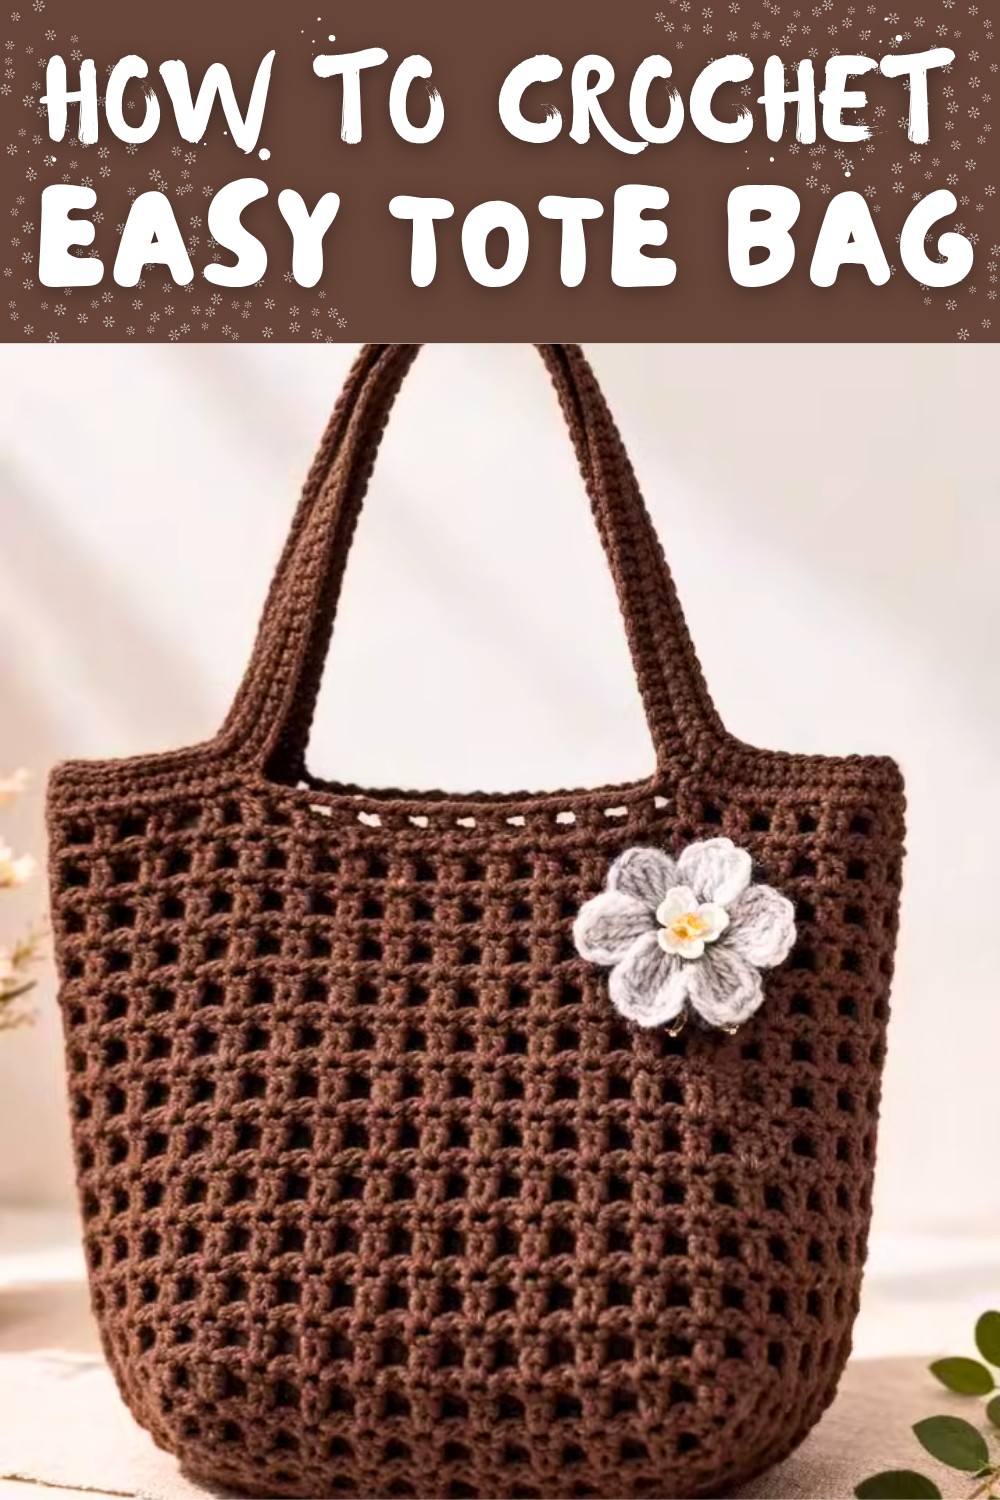
Crochet Tote Bag Free Pattern for Reusable Shopping Needs
Hold creativity with a crochet tote bag pattern that combines timeless charm and practicality, offering an eco-friendly and stylish accessory you'll love.
Bursting with character and versatility, granny square magic turns simple stitches into eye-catching handbag designs. This delightful project is a favorite among crocheters who enjoy merging style with functionality. Featuring bold color blocks or intricate textures, granny square bags can be customized to reflect your personality while serving countless purposes, from a reusable market tote to a stylish everyday companion.
Free Crochet Tote Bag Pattern for Everyday Style
The pattern offers endless creative possibilities, allowing you to experiment with hues, embellishments, and trendy shapes. It's more than just a crocheting activity; it's a chance to make something that's durable, eco-friendly, and irresistibly charming. With its timeless appeal and practical versatility, this fun crochet project is a true crowd-pleaser for anyone who loves handmade treasures.
Crochet Handbag Pattern
Materials
Required:
- Yarn: 200g thick cotton yarn, t-shirt yarn, or any durable bulky-weight yarn. If using thinner yarn, double or triple strands.
- Hook: 4.0 mm crochet hook
- Optional Items:
- Button or Velcro for closure
- Glue gun for attaching embellishments
- Fabric lining (matching size for bag interior)
- Decorative items such as pearls or buttons for embellishing the flower
Skill Level:
Intermediate to Advanced
This pattern includes techniques like working in multiples, creating bag corners, joining stitches seamlessly, and crocheting petals for embellishment.
Abbreviations (US Terminology)
- ch = chain
- dc = double crochet
- sc = single crochet
- sl st = slip stitch
- st(s) = stitch(es)
- rep = repeat
Special Notes
- Multiples of 3: The base of the bag is worked using foundation chains that must always be in multiples of 3 (e.g., 33, 36, 39 stitches). Adjust the chain count to create variations in size:
- Smaller bag: Subtract multiples of 3 from the base chain length.
- Larger bag: Add multiples of 3 to the base chain length.
- Handles: Adjustable based on preference (sling bag versus shoulder bag).
Pattern Instructions
Step 1: Base Foundation
Row 1: Foundation Chain
- Ch 39 (or multiples of 3 based on desired size).
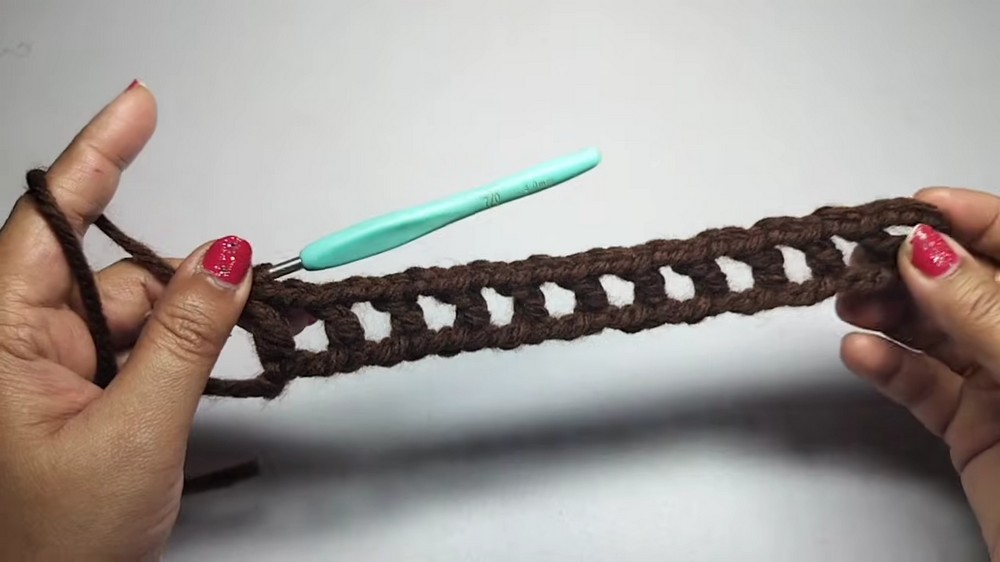
Row 2: Start Double Crochet Pattern
- Skip 8 chains, then work into the 9th chain.
- Dc into the back loop of the chain.
- This creates a clean, tight edge.
- Ch 2, skip 2 chains, then dc into the 3rd chain.
- Repeat: Ch 2, skip 2 chs, dc in the 3rd ch to the end of the row.
Tip: Ensure every dc stitch is worked into the back loop securely to avoid visible holes at the foundation edge.
Row 3: Turning and Repeating Pattern
- Ch 5 (turning chain), turn.
- Work dc into the next dc stitch.
- Ch 2, then work dc into the next dc stitch (skipping the chain spaces).
- Repeat the dc + ch 2 pattern across the row.
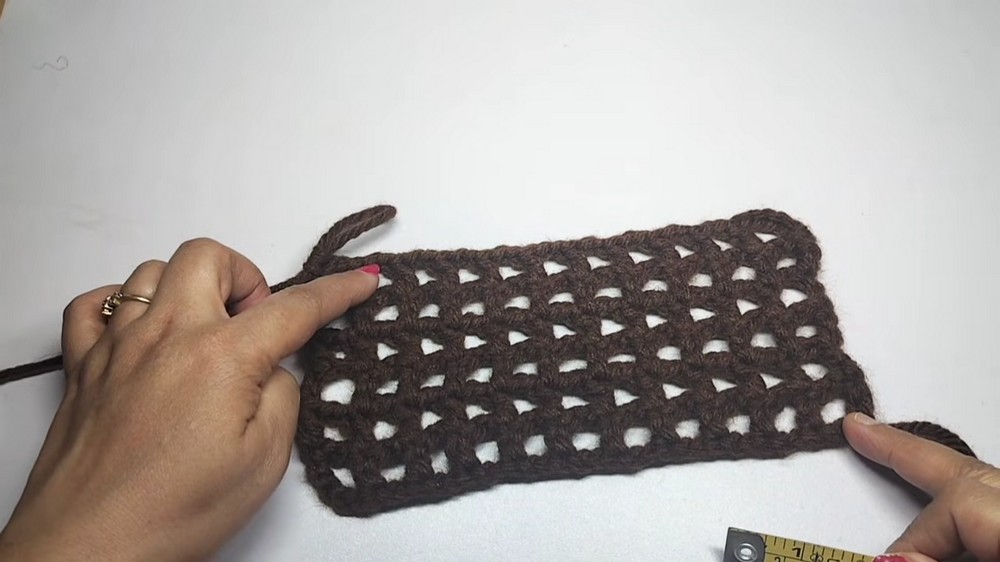
Step 2: Building Rows for Desired Length
- Continue repeating rows as described in the pattern, alternating ch 2 and dc stitches until the desired length is reached.
- Example from video: Total of 6 rows worked for the base, yielding approximately 22 cm in length.
- Adjust the width by changing the foundation chain.
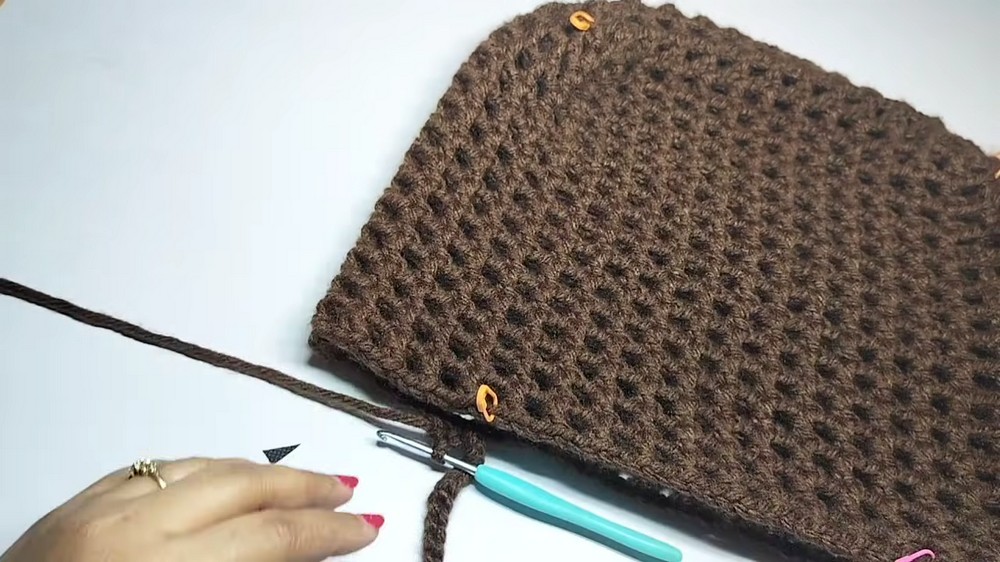
Step 3: Shaping the Corners and Bag Edges
Corner Formation
- To shape the bag corners:
- Crochet 5 chains in the corner space.
- Single crochet into the center chain space, creating the corner.
Working the Edges
- Dc + Ch 2: Repeat the same dc + ch 2 stitch pattern to work around the edges, ensuring:
- Tight loops: Pick up 2 loops when working into the edges so gaps do not form.
- For each corner, repeat the 5 chains and anchor with a single crochet into the center.
Note: The bag starts forming its shape when corners are properly defined around all edges.
Step 4: Creating Row Repeats and Building the Bag Height
Continue Row Repeats
- Repeat the corner-making and edge rows until you achieve the desired height.
- Example: 14 rows were completed to reach a height of 29 cm in the video.
- Use stitch markers to consistently position corners for symmetry.
Step 5: Adding Handles
Handle Chains
- Mark the top edges where handles will be positioned.
- Use a stitch marker to define starting and ending points.
- For sling or shoulder length, work a chain based on your preference:
- Example in video: 57 chains were made for each side to make the bag handles.
- Join Handles:
- Attach chains by single crocheting them to the opposite edge where the marker is placed.
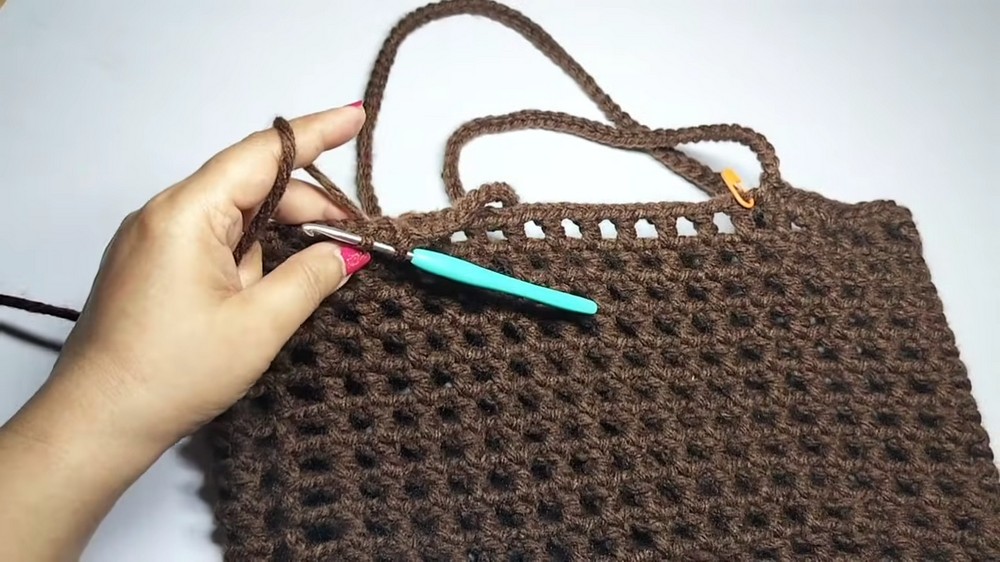
Reinforcing Handles
- Sc across the handles: Work single crochet stitches across each handle chain for increased durability and structure.
- Repeat a second row if needed.
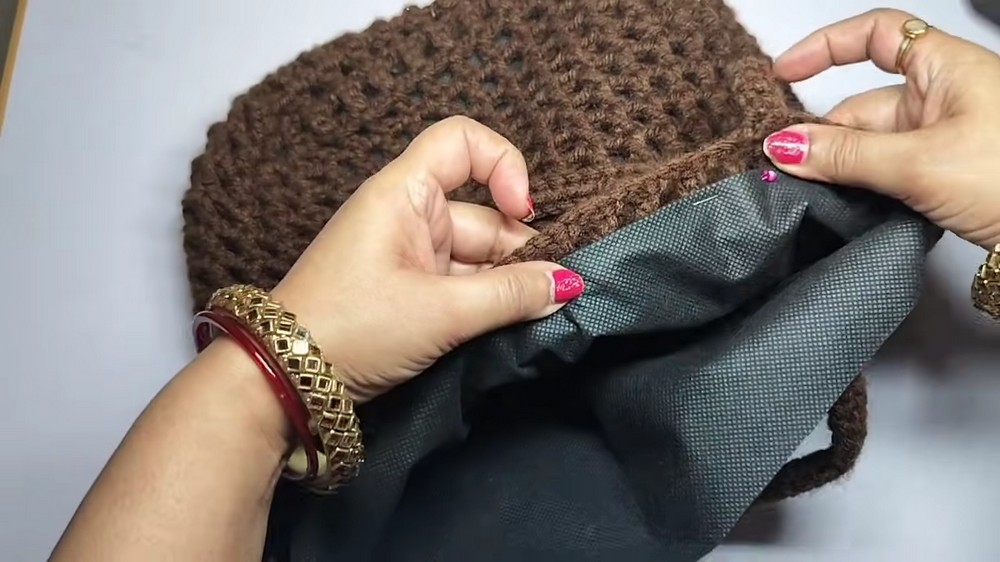
Step 6: Adding a Lining (Optional)
Creating the Plan Bag
- Measure fabric to match the final base shape and height of the crocheted bag.
- Fold and stitch around the edges to create a clean-lined interior.
Attaching the Lining
- Using matching thread, sew the lining securely inside the bag.
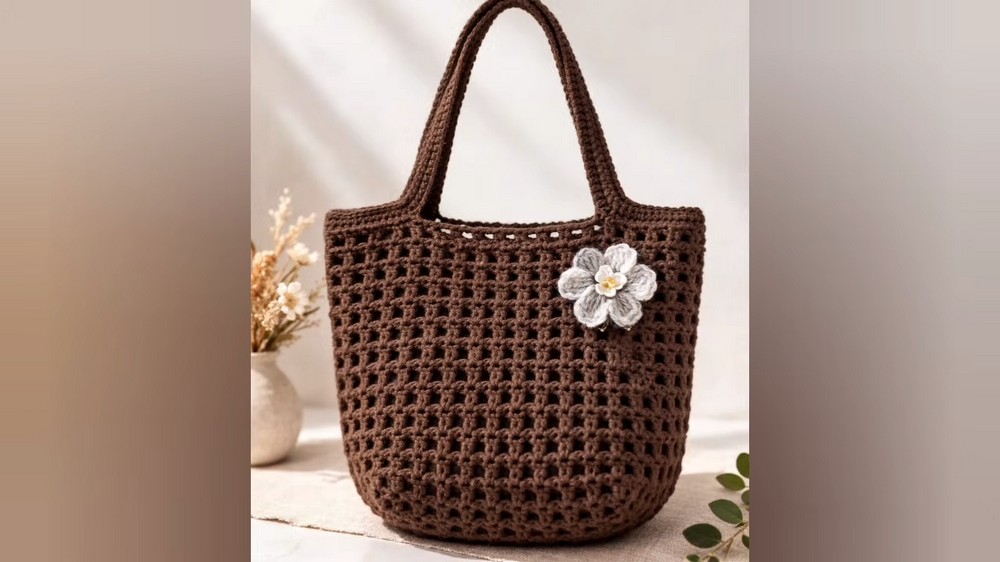
Step 7: Creating the Decorative Flower
Making the Flower Petals
- Magic Ring: Wrap the yarn into a ring and secure.
- 12 Single Crochets: Into the ring, work 12 sc. Join with a slip stitch to form the base of the flower.
Adding Petals
- For each petal:
- Start in one stitch: Ch 3, work 3 dc.
- Work 3 more dc in the next stitch (your loops increase with each addition).
- Pull all loops together and secure.
- Slip stitch into the next stitch to anchor the petal.
- Repeat petals around the base ring.
- Total petals = 6 petals.
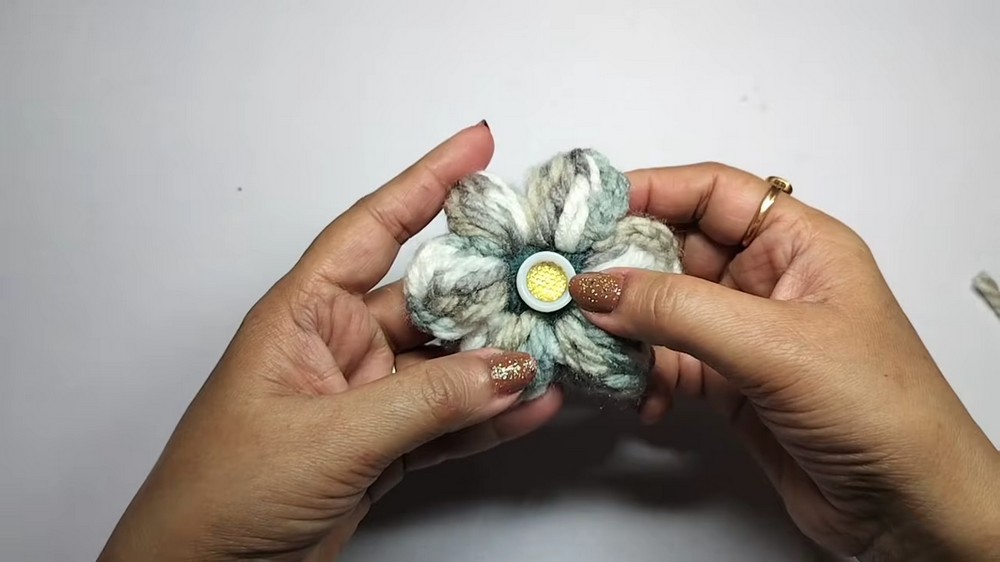
Finishing
- Tie off and secure the flower's edges neatly.
- Attach a button or glue pearl in the center for embellishment, using a glue gun or hand-stitching.
Step 8: Adding Closure
Secure the Bag Closure
- Attach Velcro or sew a button for a functional and stylish closure.
- If using a glue gun, securely fasten closure material inside the bag.
Conclusion
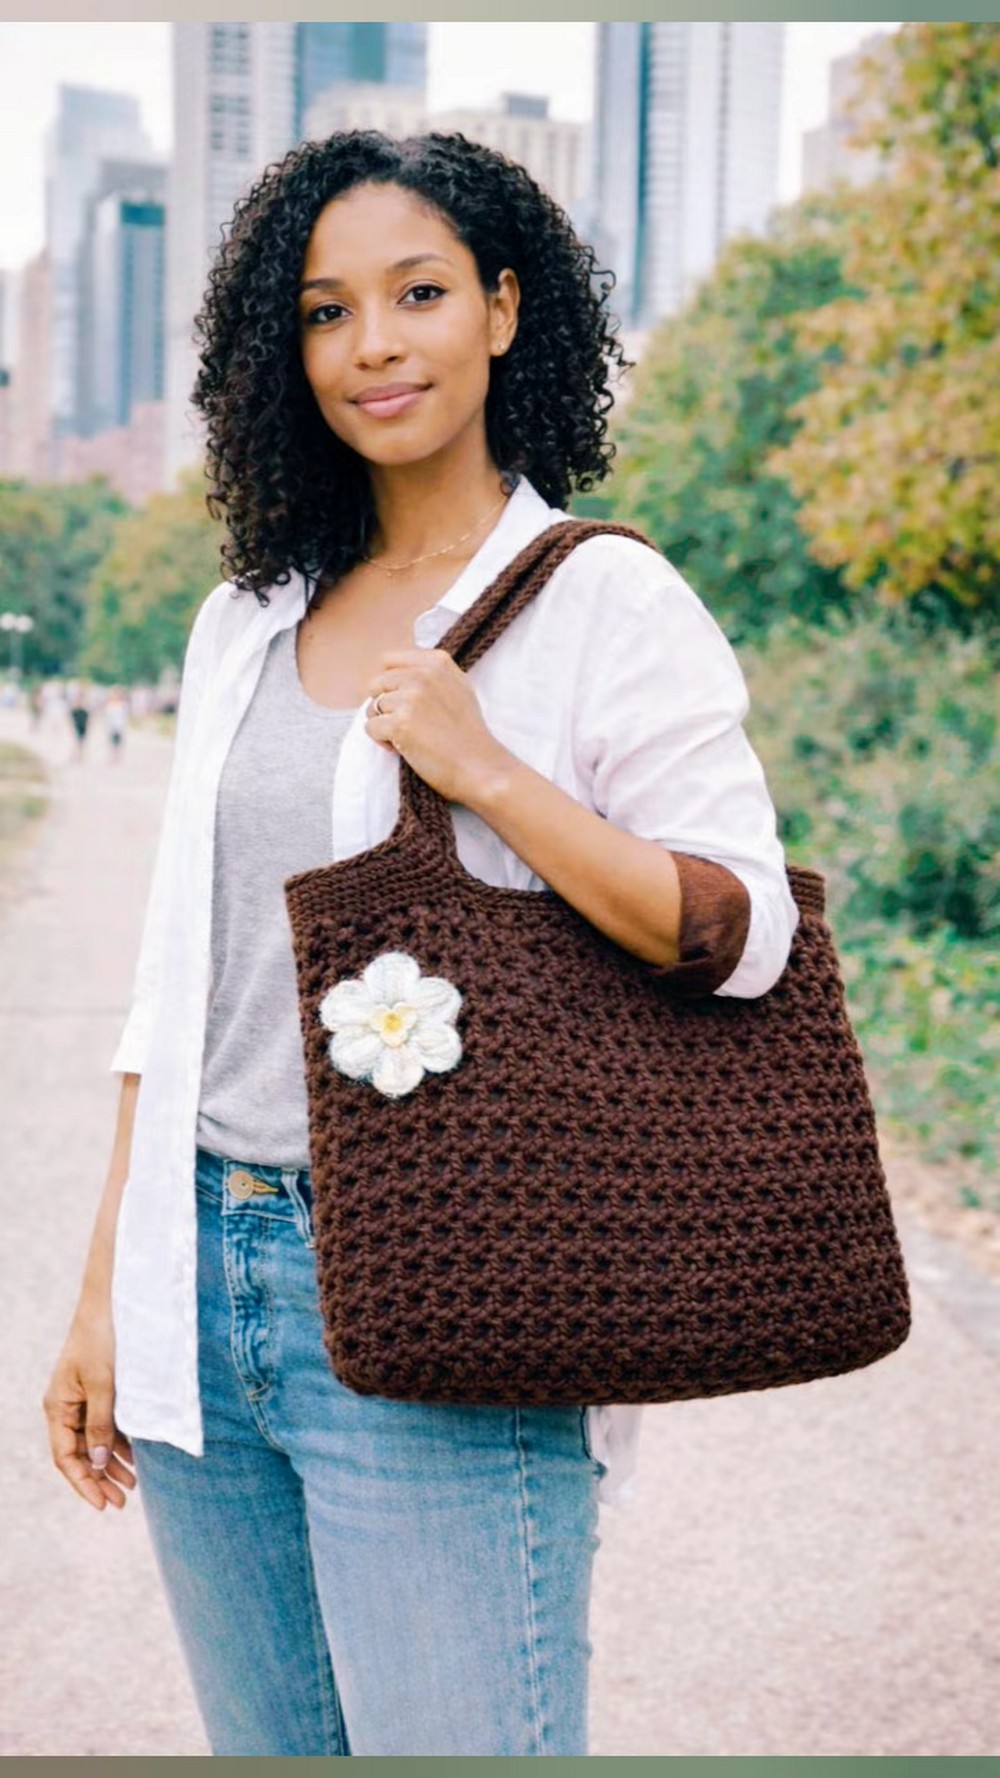
This beautiful crochet tote bag combines structure, decorative elements, and adjustable size options. It is perfect for casual outings or gifting, and its flexibility in shape and materials allows you to personalize it further.
Pattern Correction and Tips
- Pattern Correction: Ensure stitch counts align properly when placing corners. It is essential to check that corner markers are consistently spaced.
- Multiples of 3: Double-check foundation chains and adjust increments accurately when changing bag size.
Tip: Keep stitch tension consistent, especially with bulky yarns, to avoid uneven rows or gaps.