Free Crochet Tote Bag Pattern You’ll Want to Use Daily
Weave a stylish and functional crochet tote bag with this creative pattern and enjoy turning your favorite yarn into a one-of-a-kind everyday accessory.
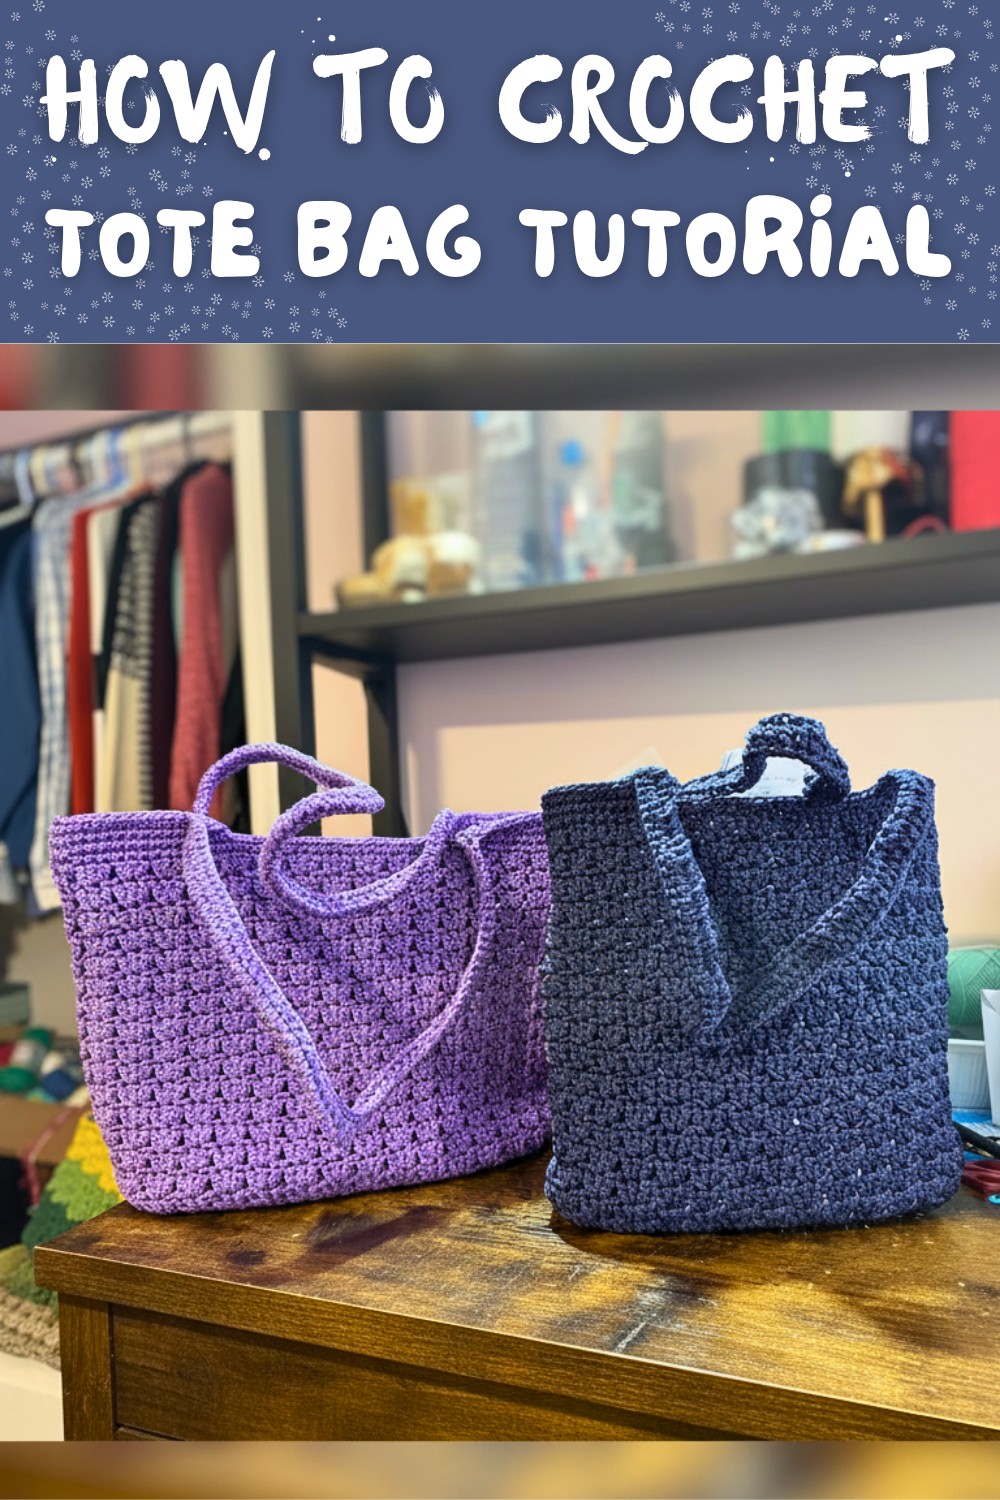
Who knew practical could look so charming? A crochet granny square bag pattern brings vintage vibes to modern functionality, blending timeless design with everyday usefulness. This bag is more than just a convenient carry-all; it's a canvas for creativity where granny squares come alive in vivid colors, quirky combinations, or elegant neutrals. With each square stitched together, you're not only piecing together a tote but weaving personality into your accessory.
Crochet Tote Bag Free Pattern for All Your Essentials
Whether used for farmer's markets, quick errands, or a fun day outing, it's compact yet roomy-ready to stash your essentials while turning heads with handmade flair.
Want a personal twist? Add a playful tassel, mismatched squares, or unique handles to make it one-of-a-kind. Plus, if you're new to crochet, it's a great way to sharpen your skills while creating something truly eye-catching and functional. Practical, stylish, and delightfully retro, this bag is the ultimate "carry it all" crochet project.

Crochet Bag Pattern
Materials
Required Materials:
- Yarn:
- Type: Polyester rope yarn or worsted weight yarn (any durable yarn).
- Quantity: Approximately 200-300 g (depending on bag size).
- Colors: Two suggested (main color + handle/accent).
- Hook:
- Bag body: 4.5 mm crochet hook for a slightly larger bag.
- Bag structure: 4.0 mm crochet hook (used for tighter finish).
- Optional Handles:
- Wooden handles, leather straps, or crochet handles (based on preference).
- Notions:
- Stitch markers
- Yarn needle (durable metal preferred for working with rope yarn)
- Scissors
Skill Level:
Intermediate
While the primary stitch is double crochet, this pattern involves shaping corners, working with increases, creating clusters, and forming handles. Knowledge of seamless joining and securing yarn ends is helpful.
Abbreviations (US Terminology)
- ch = chain
- dc = double crochet
- sc = single crochet
- sl st = slip stitch
- st(s) = stitch(es)
- rep = repeat
- sk = skip
Special Definitions:
- Cluster (3-dc cluster): Work 3 double crochets into the same stitch.
- Increasing in corners: Work multiple doubles in the same stitch to shape rounded ends.
Special Notes
- Hook Differences:
- A smaller hook (4.0 mm) creates tighter stitches for a more structured look. The 4.5 mm hook offers slightly looser tension, making the bag larger.
- Foundation Chain: Ensure chains are untwisted when joining into a round. Twist-free chains are critical for a balanced base.
- Handles: Customize with any preferred style. Wooden handles add elegance; crochet handles provide flexibility.
Pattern Instructions
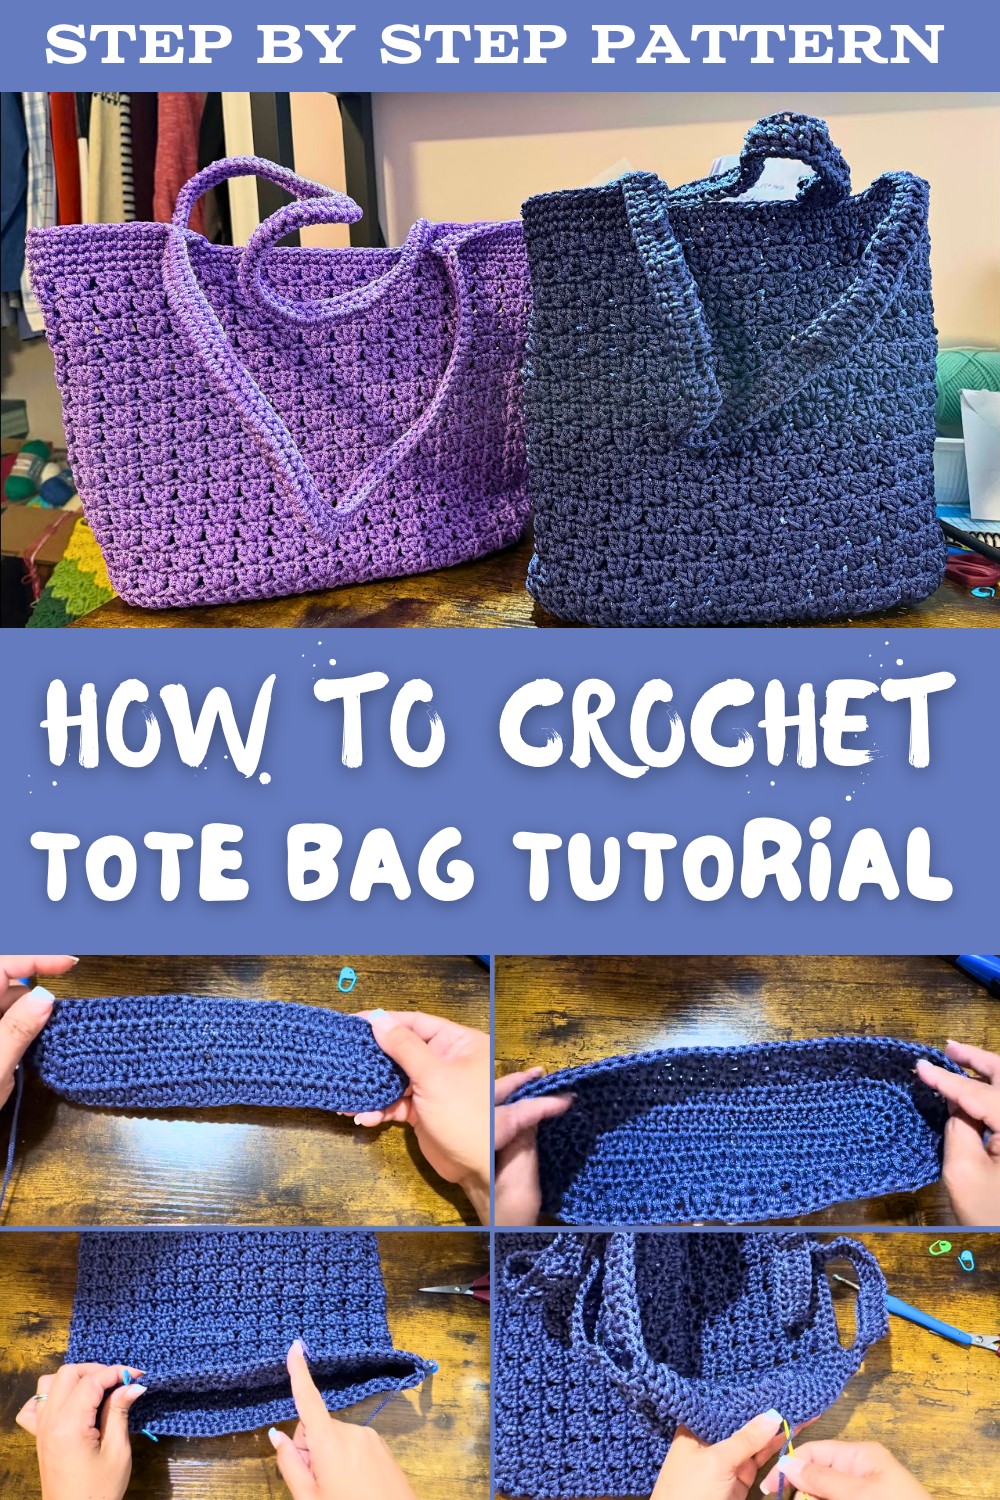
Step 1: Base Foundation (Round 1)
- Ch 29 (or adjust for size variations).
- Start in 3rd chain from hook:
- Place 3 dc in the same chain (the first corner cluster).
- Place a stitch marker in the 1st dc to track your starting point.
- Work 1 dc in each ch across the row until you reach the end.
- At the last chain:
- Work 6 dc in the same chain (second corner cluster).
- Continue on the other side of the foundation chain:
- Work 1 dc in each ch until you return to the starting corner.
- At the starting corner:
- Work 3 dc on the last chain (corner cluster) again to complete the round.
- Finish with a sl st into the first marked dc.
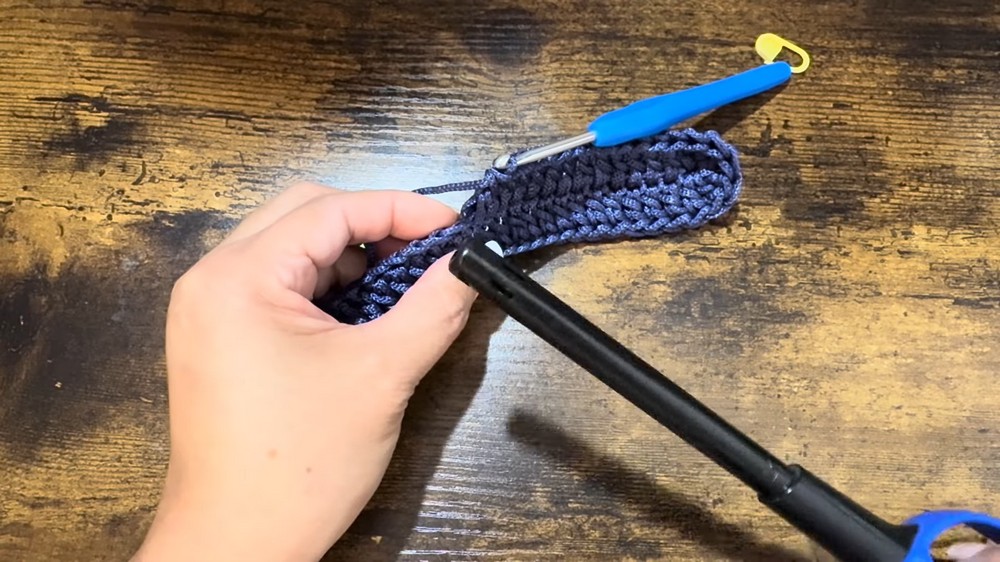
Step 2: Round 2 - Increasing the Base
- Ch 2 (counts as 1 dc), then work 1 dc into the same stitch. Replace the stitch marker into the first dc.
- Work 2 dc into each of the corner stitches (expanding the rounded ends).
- Work 1 dc into each of the stitches across the straight part of the base (no increases).
- At the rounded corner: Work 2 dc into each stitch for 6 sets of clusters (expansion for the second corner).
- Continue around the base, ending with 6 sets of 2 dc clusters in each corner section and single dc stitches along the straights.
- Finish with a sl st into the marked stitch to join.
Step 3: Round 3 - Further Expanding the Base
- Ch 2 (counts as 1 dc), work 1 dc into the same stitch. Replace the stitch marker into the first dc.
- Work 2 dc into the next three stitches (forming expanded clusters in the corners).
- Work 1 dc into each stitch along the straight part of the base, stopping at the opposite rounded corner.
- In the corner: Work 2 dc into the next eight stitches (expansion for corner shaping).
- Continue with 1 dc into each stitch along the straight edges and repeat the expanded corner pattern for uniform shaping.
- Join with a sl st into the marked stitch.
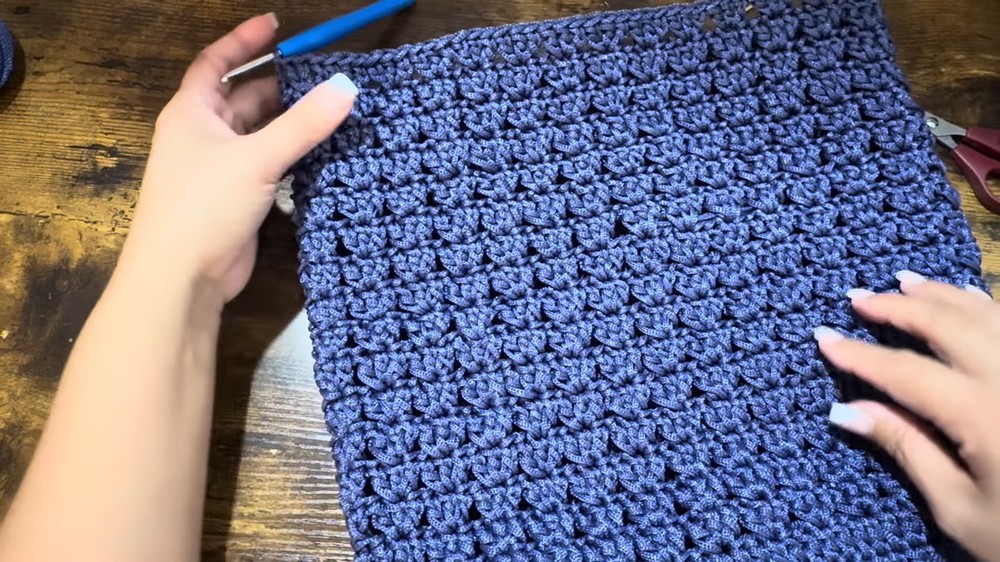
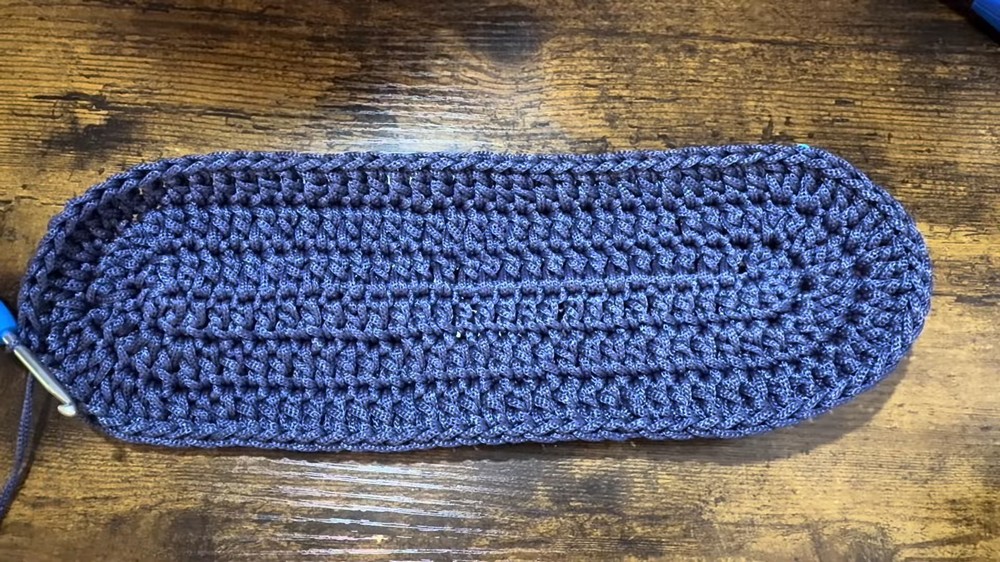
Step 4: Body Pattern with Clusters
- Ch 2 (counts as 1 dc), work 2 dc into the same stitch and replace the marker.
- Skip 2 stitches and work 3 dc into the next stitch (start of body cluster pattern).
- Continue around the bag:
- Skip 2 sts, work 3 dc into each third stitch.
- At the end of the round:
- Skip the last 2 stitches and sl st to join in the marked stitch.
Continue Body Repeats
- Repeat the cluster pattern for 16 total rounds.
- Measure as you go to confirm the height of the bag.
Step 5: Finishing the Rim
- After completing 16 rounds, work the brim with single crochet stitches.
- Brim Pattern:
- Ch 1, then place 1 sc into each stitch around.
- Repeat 2-3 rows of sc before moving to handle placement.
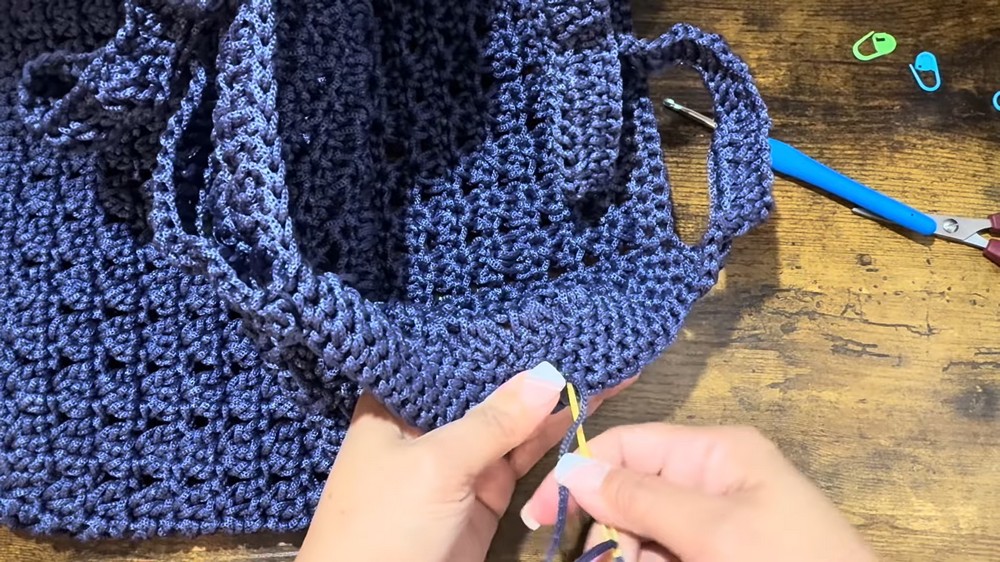
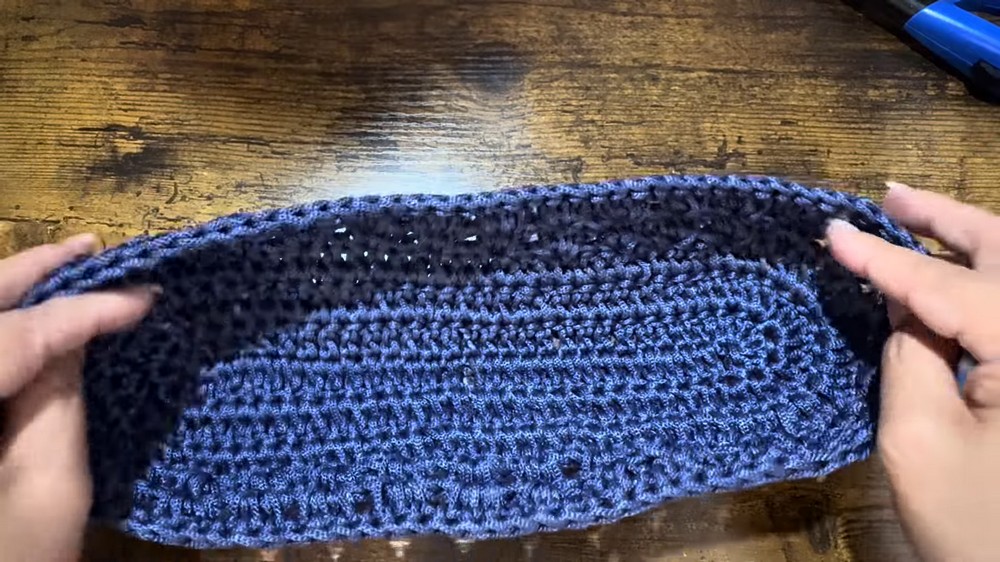
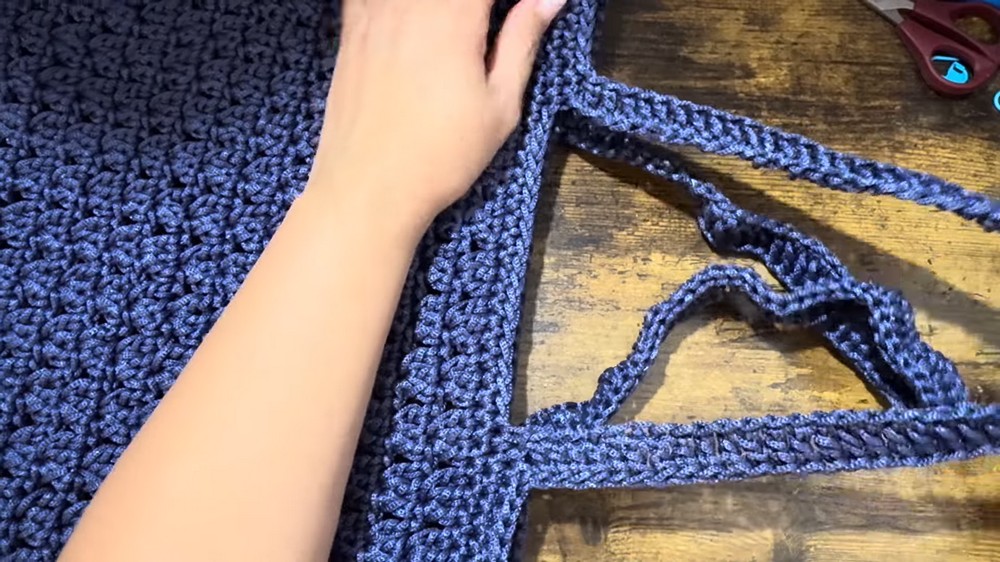
Step 6: Creating & Adding Handles
- Mark Handle Placement:
- Place a stitch marker where handles will attach. The handles should be evenly spaced around the rim.
- Handle Chains:
- Work sc into the marked stitch, then ch 70 for the handle.
- Skip stitches around the rim and join the chain back into the next marker with an sc.
- Repeat for the second handle across the opposite side of the rim.
- Reinforce Handles:
- On the next row, add sc stitches across each chain to make the handles sturdier.
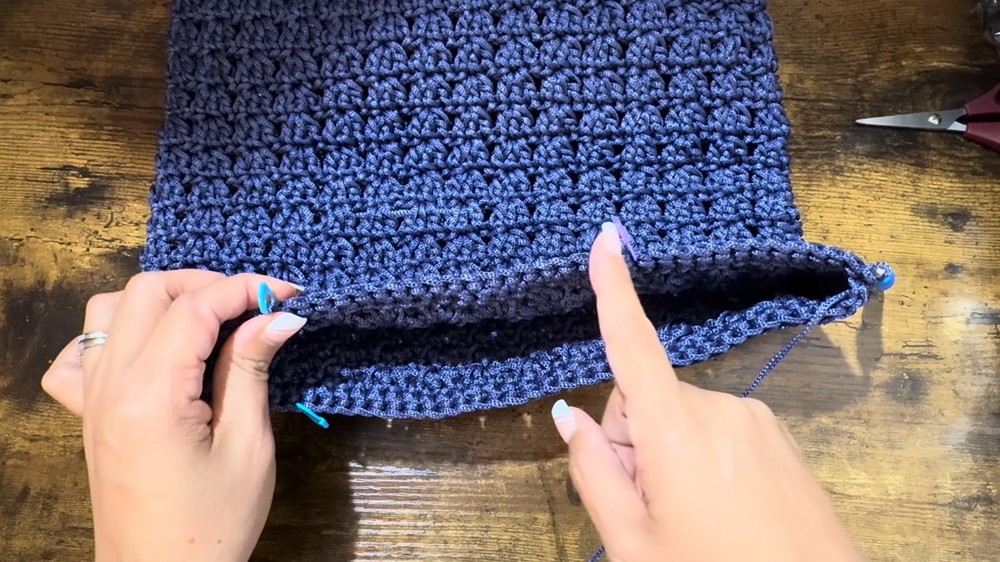
Step 7: Closing the Bottom
- Flip the bag inside out to seam the bottom edges.
- Use a sl st or sc seam with the smaller hook (4.0 mm).
- Ensure edges are aligned and the seam is tight.
- Weave in ends neatly.
Step 8: Optional Embellishments
- Add decorative tassels or fringe to the rim for personal flair.
- Attach a lining inside for durability (especially if using soft yarns).
Conclusion
This elegant and durable crochet bag features a beautifully textured body using clusters, reinforced handles, and a sturdy polyester rope or nylon yarn. The seamless construction provides strength, and its simplicity makes it adaptable to various sizes and colors.
Pattern Correction
- Double-check the corner increases to ensure symmetrical shaping. Uneven increases will result in distorted corners.
Tips for Success
- Yarn Selection: Use durable yarns like polyester rope or nylon for structure. If softer yarns are used, add a fabric lining or base panel for support.
- Secure Yarn Ends: When using nylon or polyester, lightly melt the ends with a lighter to prevent fraying.
- Handle Alignment: Use stitch markers to precisely position handles for symmetry.
- Repeated Stitches: The body of the bag uses clusters (3-dc groups) in a repeating pattern. Don't skip stitches accidentally; this will create gaps.