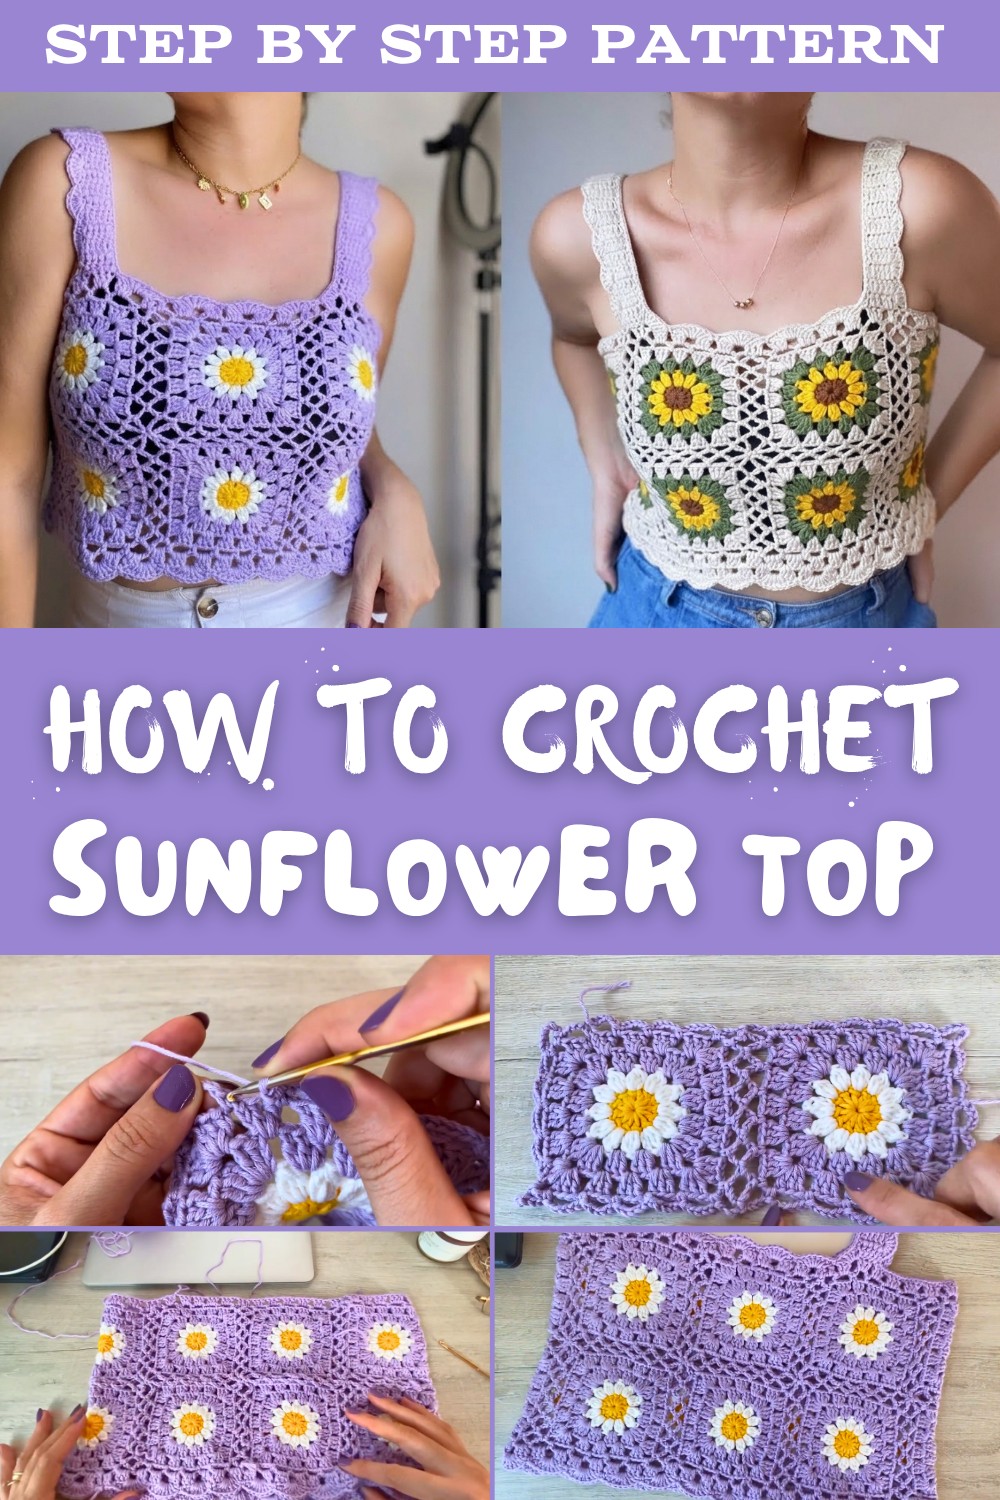
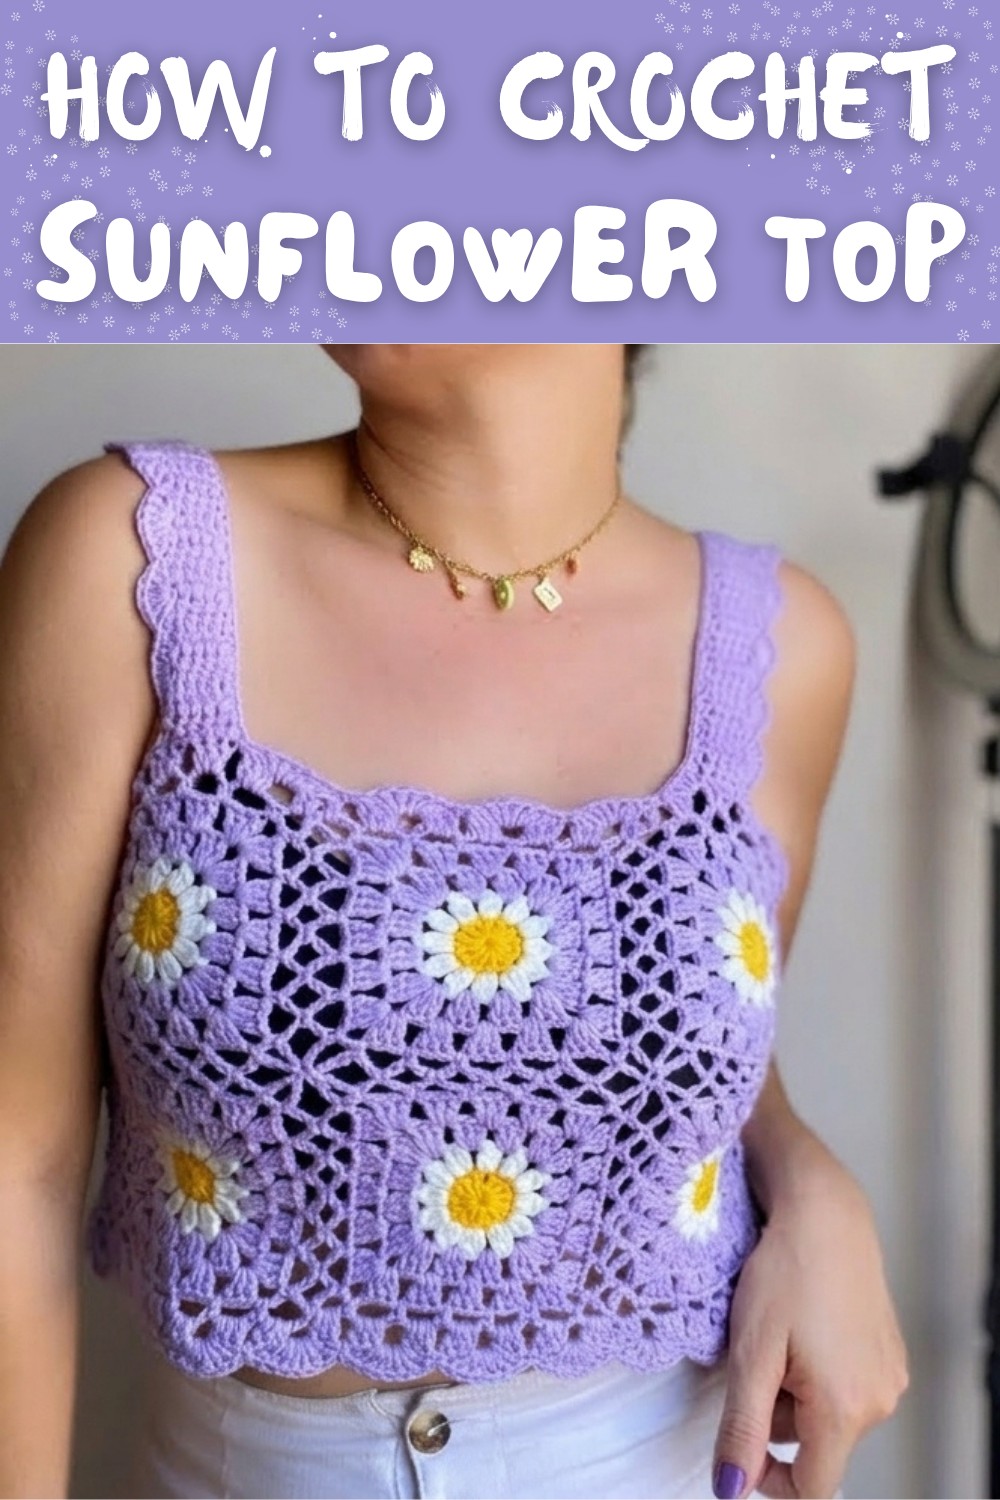
Sunflower Crochet Top Pattern Free – Bloom with Style
Slip into sunshine with this free crochet sunflower top pattern, that adds cheerful flower flair and fresh summer vibes to any wardrobe.
Not every closet has something bright and cheerful for special days but this creative idea brings joy to any wardrobe. The crochet sunflower top pattern features eye-catching colors and playful flower petals that instantly lift any outfit. Wearing this sunflower top is a way to stand out at gatherings or during sunny outings, turning ordinary moments into celebrations. Comfort comes naturally thanks to soft, cool cotton-perfect for warm afternoons or outdoor events.
Crochet Your Own Sunflower Top - Free Pattern Inside
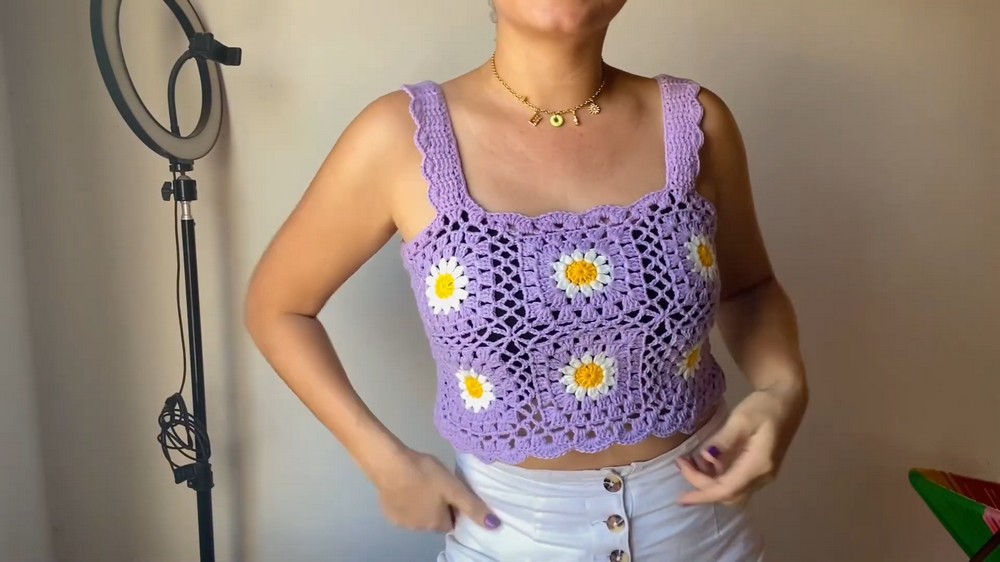
Loved at birthdays and picnics, the crochet sunflower top pattern suits any occasion where a little extra cheer is welcome. Friends often smile and share compliments when they see the delightful flower design. Step-by-step instructions and basic shapes ensure anyone can start and finish one easily, bringing confidence and happiness with each stitch. Even those new to crochet find satisfaction and enjoyment as each sunflower comes together, brightening not just a look but the whole day.
Sunflower Granny Square Top Crochet Pattern
Materials
- Yarn: Sport or light worsted weight cotton yarn in at least three colors:
- Yellow (center of daisy/sunflower)
- White (daisy petals) or brown (sunflower petals)
- One or two additional colors for outer rounds (e.g., lilac, green for leaves, etc.)
- Crochet Hook: 3.5 mm (E) or size needed to obtain gauge
- Scissors
- Yarn Needle (for weaving in ends)
- Measuring Tape
Key Abbreviations (US Terminology)
- ch = chain
- sc = single crochet
- sl st = slip stitch
- dc = double crochet
- st(s) = stitch(es)
- sp = space
Special Notes
- This pattern is join as you go.
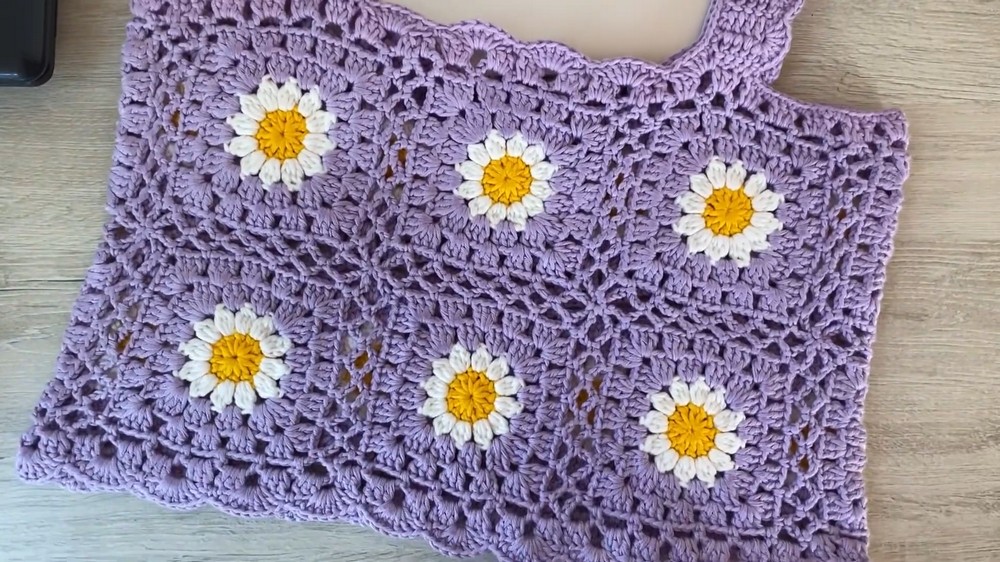
- Gauge: Each granny square is approximately 4.7" (12 cm) square. Adjust hook size or tension as needed.
- Instructions are written for a Medium size; adjust the number of squares for other sizes.
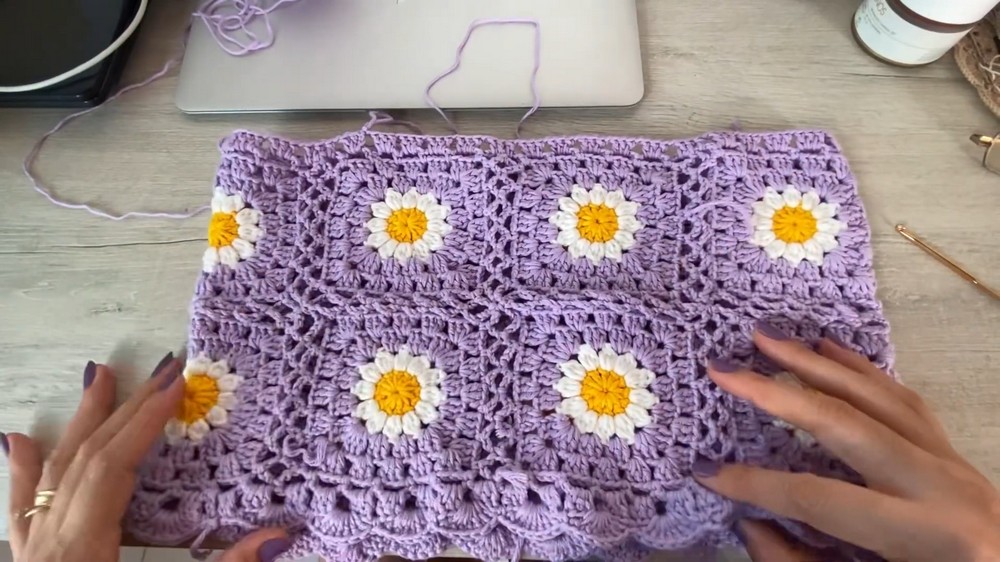
- The sample is made with 2 rows of 7 squares (14 total), but you may add more for a longer top.
- The pattern may be made as daisies or sunflowers by color placement.
Instructions
1. Make Granny Squares (Daisy or Sunflower Motif)
First Round (Flower Center):
- With yellow yarn, make a magic ring.
- Ch 3 (counts as dc), 11 dc in ring.
- Join with sl st to top of first ch 3. Fasten off.
Second Round (Petals):
- Join white (for daisy) or brown (for sunflower) in any st.
- Ch 3 (counts as dc), dc in same st, ch 1, skip next st.
- Repeat from * to * around (total: 12 two-dc groups with ch-1 sp between).
- Join with sl st to top of first ch 3. Fasten off.
Third Round (First Outer Color):
- Join lilac or green (for leaves) in any ch-1 sp.
- (Ch 3, 2 dc, ch 2, 3 dc) in first sp (corner), ch 1.
- In next sp: 3 dc, ch 1, in next sp: (3 dc, ch 2, 3 dc) (corner)
- Repeat for 4 corners. Work 3 dc, ch 1 into each non-corner sp.
- Join with sl st to top of beg ch 3.
Fourth Round:
- Continue with same or a new color (if desired).
- (Ch 3, 2 dc, ch 2, 3 dc) in corner sp, [ch 1, 3 dc in next ch-1 sp] across to next corner; ch 1.
- Repeat for all sides and corners.
- Join with sl st to top of beg ch 3.
Fifth Round (Optional for Larger Squares):
- Repeat the fourth round if you want a larger motif.
Fasten off and weave in ends.
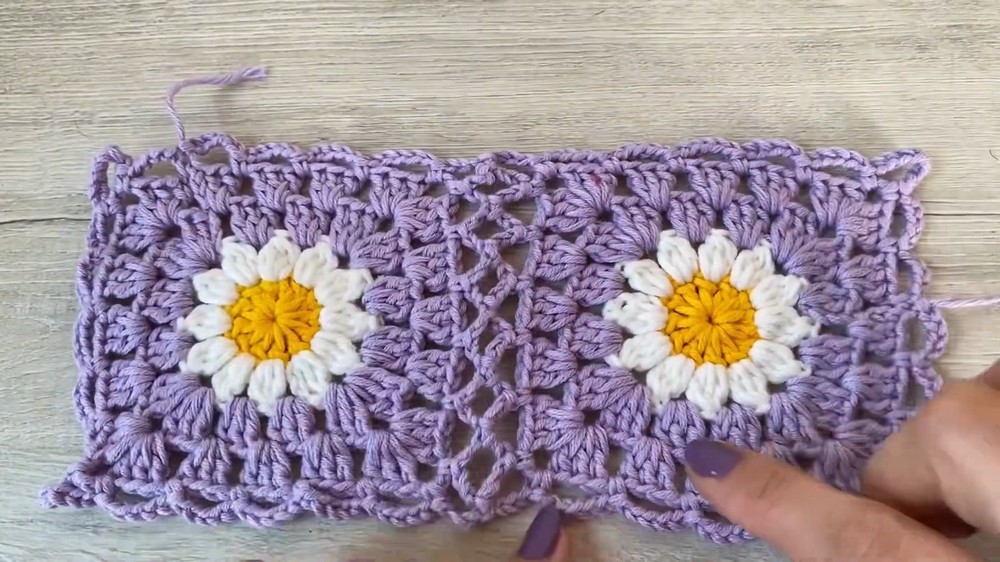
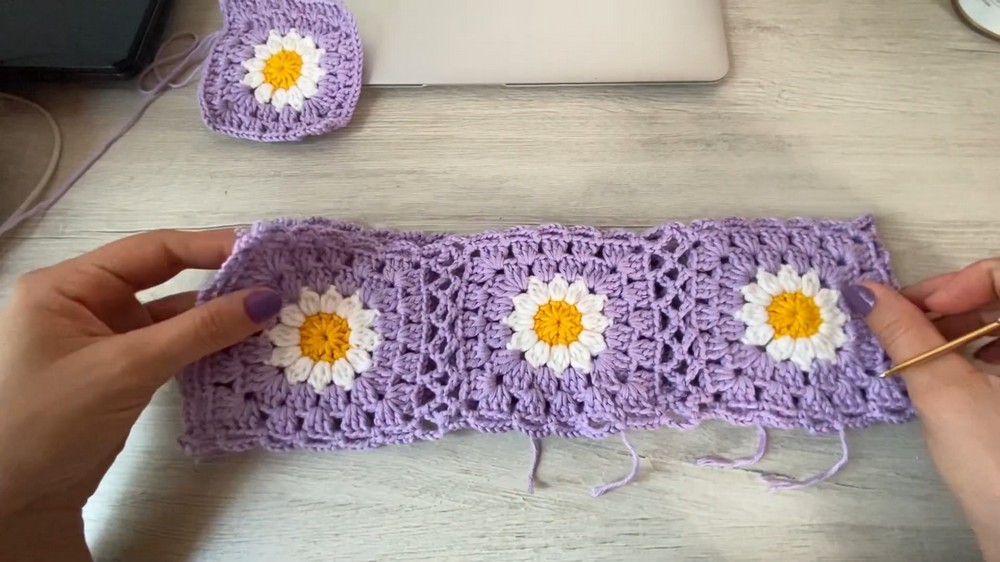
2. Join Granny Squares
- Layout: Arrange your squares in two rows of 7 squares each (front and back). Fold for trying on as needed.
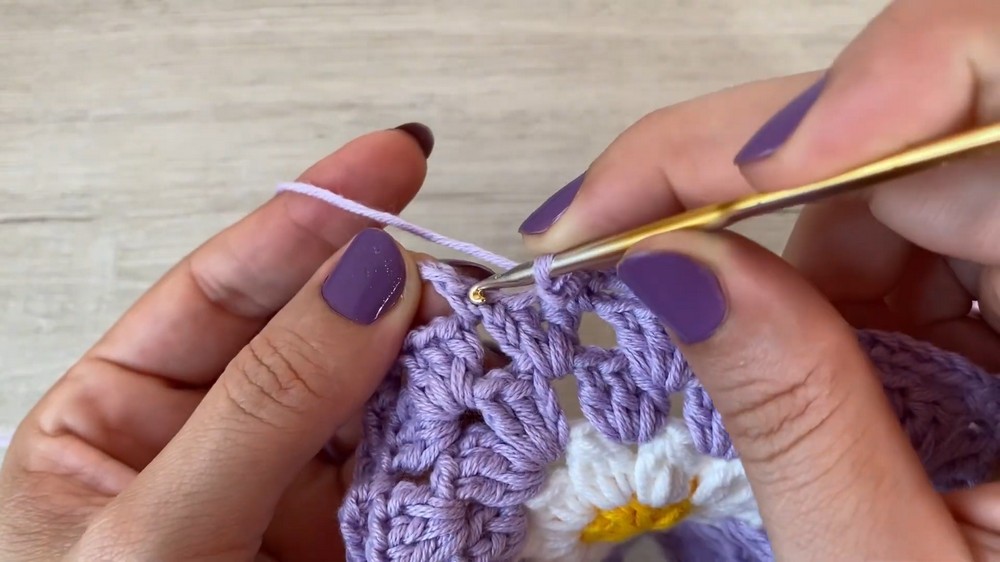
- Join as You Go:
On the final round of each square:- At corners: After three ch, pull through the joining corner of the adjacent square, ch one to continue.
- Join by pulling through corresponding spaces on previous squares as demonstrated in the video. Corners use 7 ch, sides usually 5 ch (see video for pattern correction).
- Continue until all squares are joined into a rectangle (2 rows).
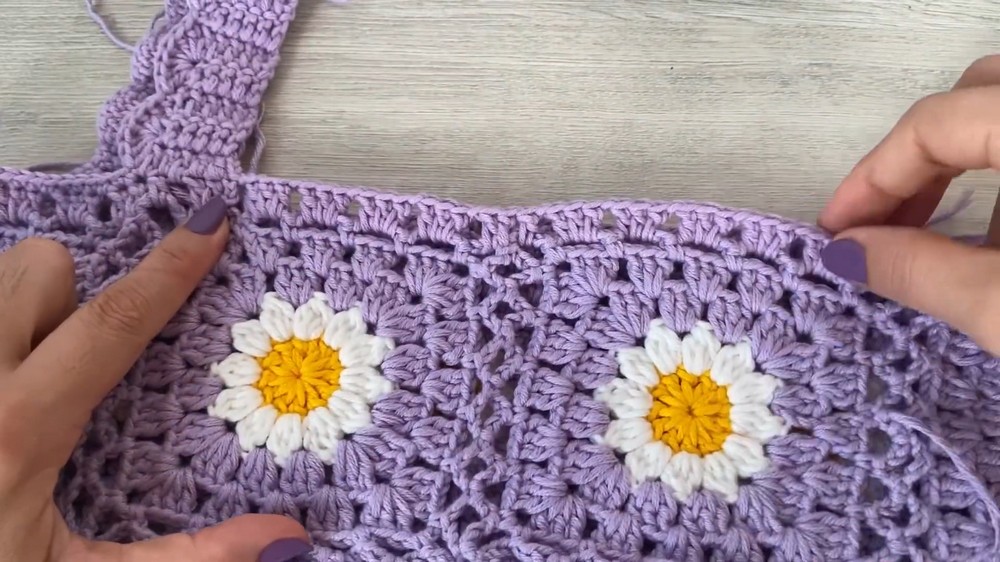
3. Body Edging: Upper & Lower Edges
Lower Edge (Flared Fans):
- Do not cut yarn at the end of joining.
- Attach yarn at a chain space along the bottom.
- Round 1:
(Ch 3, 2 dc in ch-sp), ch 1 between each group; work this in every corner and side space around the lower edge. - Join with sl st at end of round.
- Round 2:
- In each chain space: Sc in first sp, 7 dc in next sp (fan), sc in next sp.
- Repeat around.
- Join with sl st, fasten off.
Upper Edge:
- Attach yarn at any chain space on the top edge.
- (Ch 3, 2 dc in sp), ch 1 in each space (including corners), repeat around.
- At side joins, place 1 dc in each joining chain space across the top to avoid flaring.
- Join with sl st, fasten off.
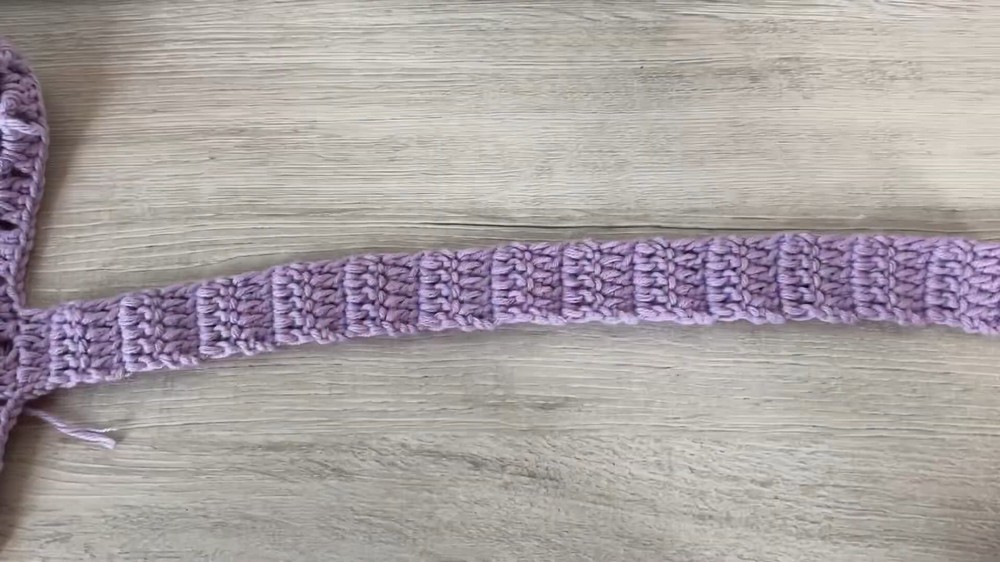
4. Straps
- At the points marked for straps (centered over bust), with RS facing, attach yarn.
- Row 1: Ch 2 (does not count as a st), dc in next 5 st/space across (5 dc).
- Rows 2-28 (or until desired length, approx. 12.5" (32 cm)): Ch 2, turn, dc in each st across (5 dc).
- Fasten off leaving a tail for joining.
- Sew or sl st straps to corresponding positions on back edge. Try on to check placement before securing.
5. Armhole & Neckline Edging
Armhole Edging (with fans):
- Attach yarn at the side seam (underarm).
- *Sc in first st, skip two st, 6 dc (fan) in next st, skip two st, sc in next st.
- Repeat around the armhole (approximate spacing for neat look).
- Fasten off.
For the portion under the arm, work only sc (not fans).
Neckline/Strap Edging:
- On the strap edge: work single crochet evenly up and down the strap.
- At front/back neckline: continue with [sc in ch-sp, 6 dc in next sp] as in armhole.
- Adjust for symmetry; if at the end you can't finish a full fan, work a half-fan (e.g., 3 or 4 dc).
- Work sc only on the side/strap, fans only on the neckline.
Finishing
- Weave in all ends securely with a yarn needle.
- Block your piece for best results if using cotton yarn.
Conclusion
This Daisy (or Sunflower) Granny Square Top is a versatile, creative summer garment that beautifully blends color and texture. It's easily customizable by adjusting the number of granny squares and strap length. The join-as-you-go technique helps avoid sewing at the end.
Pattern Correction & Tips
- Pattern Correction: When joining squares, always ensure corners align with 7 chains, sides with 5, and adjust chain counts as needed for neat, flat joins.
- Tip:
- For a more fitted top, use fewer squares or smaller motifs. For added length, add another row of squares.
- If joining squares seems confusing, sew together with a yarn needle instead.
- Fit as you go by draping over yourself and adjusting number of squares or strap placement.