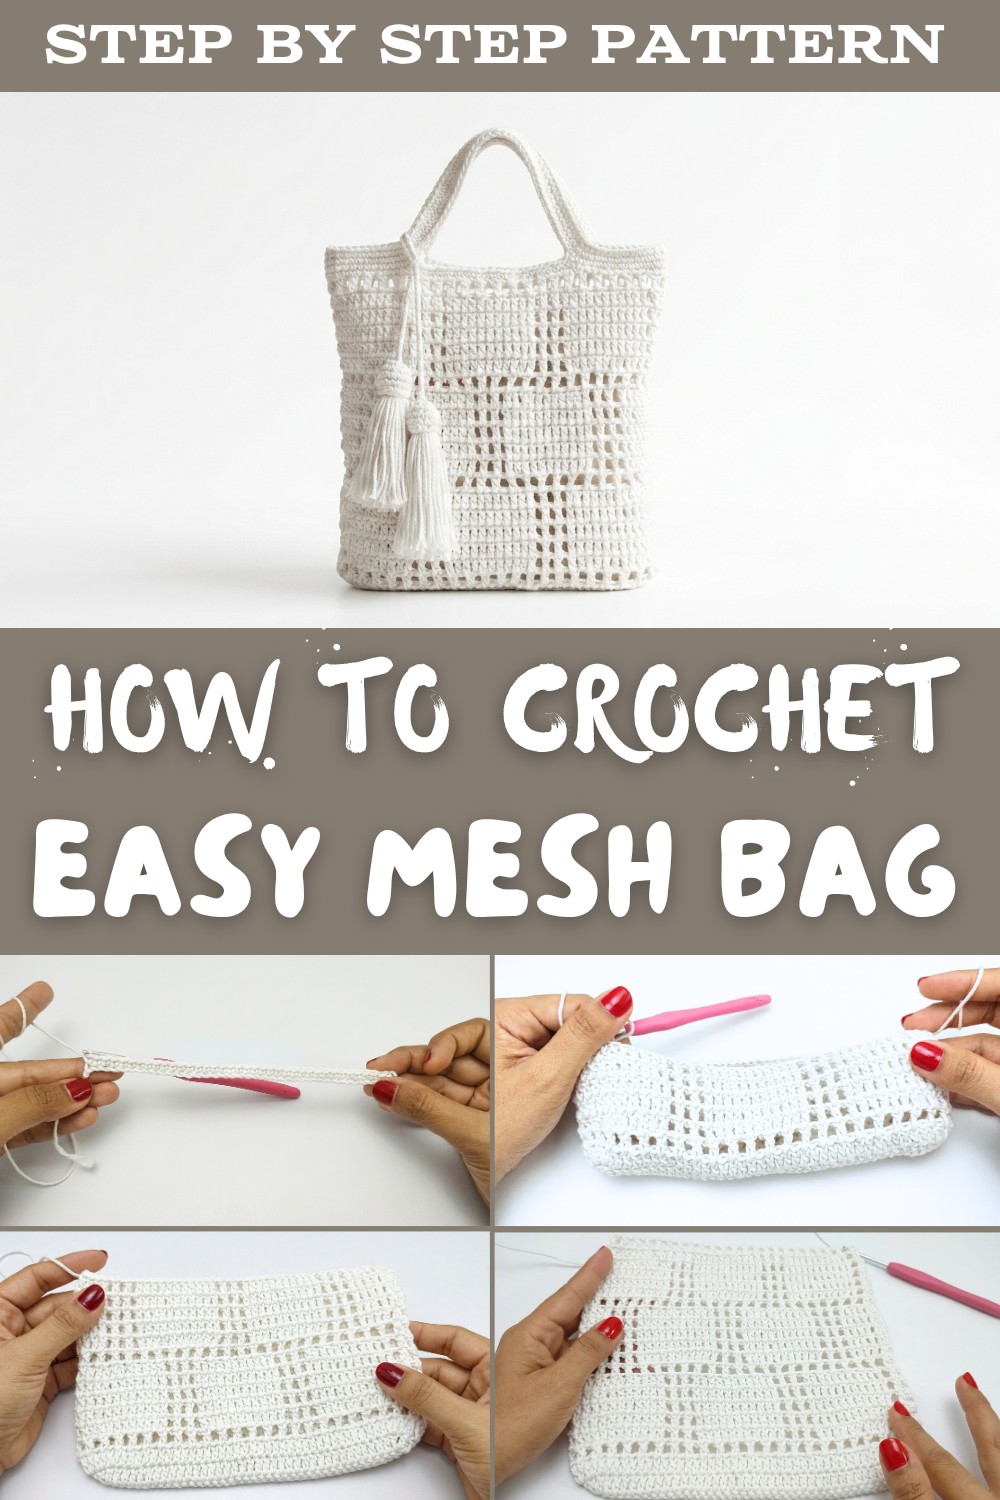
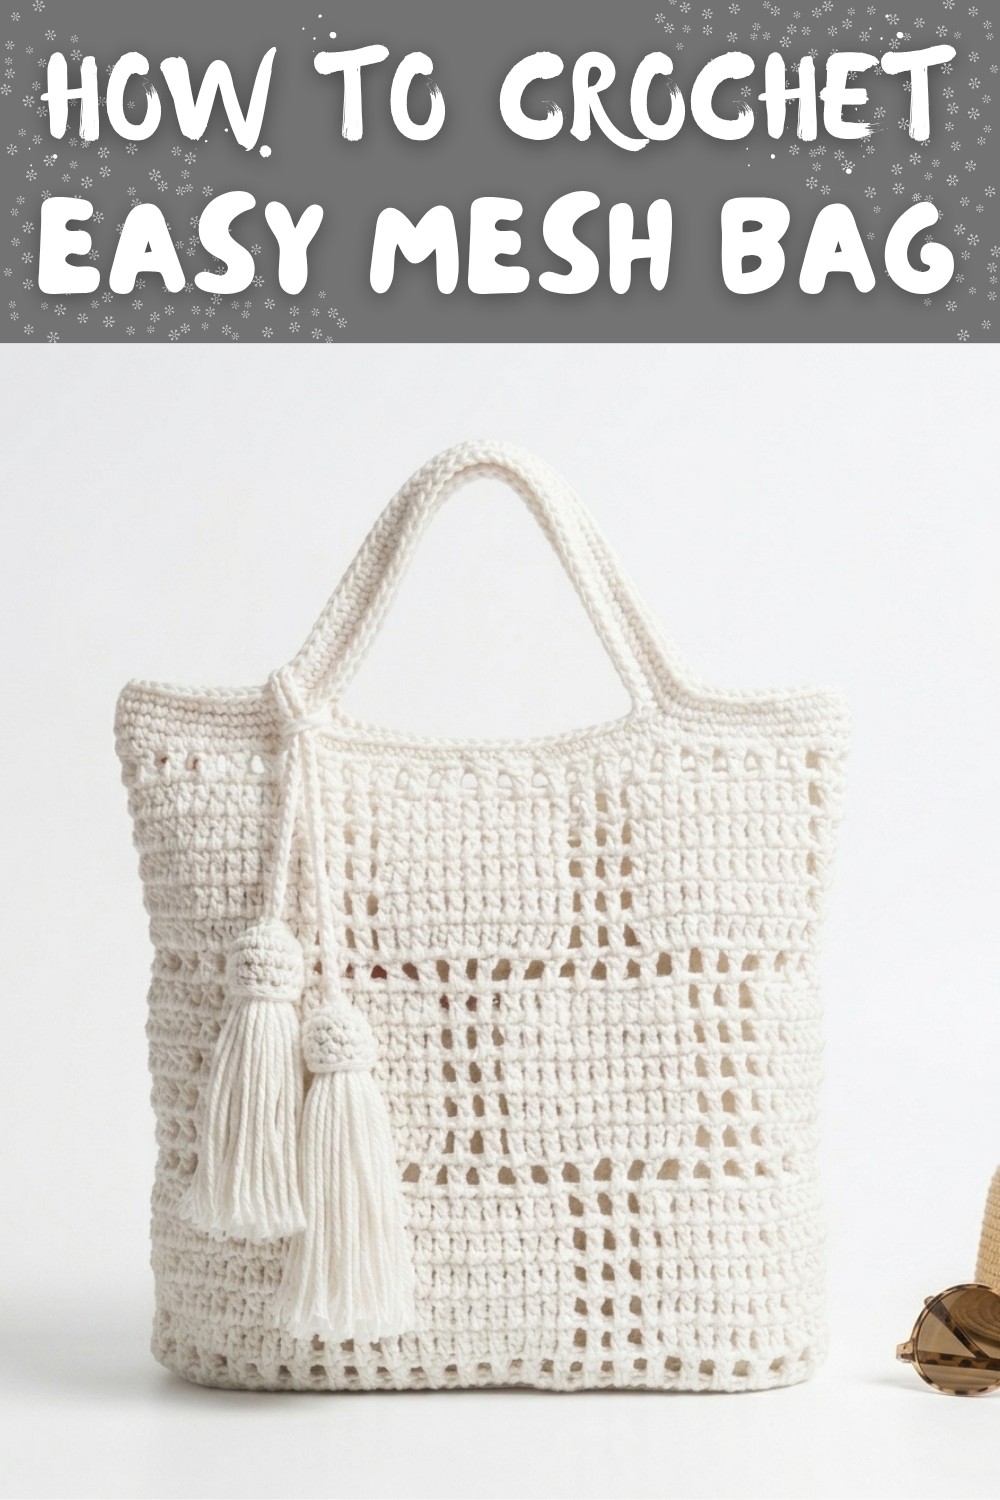
Stylish Free Crochet Mesh Bag Pattern with Reinforced Handles
See how this Free Crochet Mesh Bag Pattern combines neat stitching, bold design, and lightweight durability for a stylish bag that's perfect for all your needs.
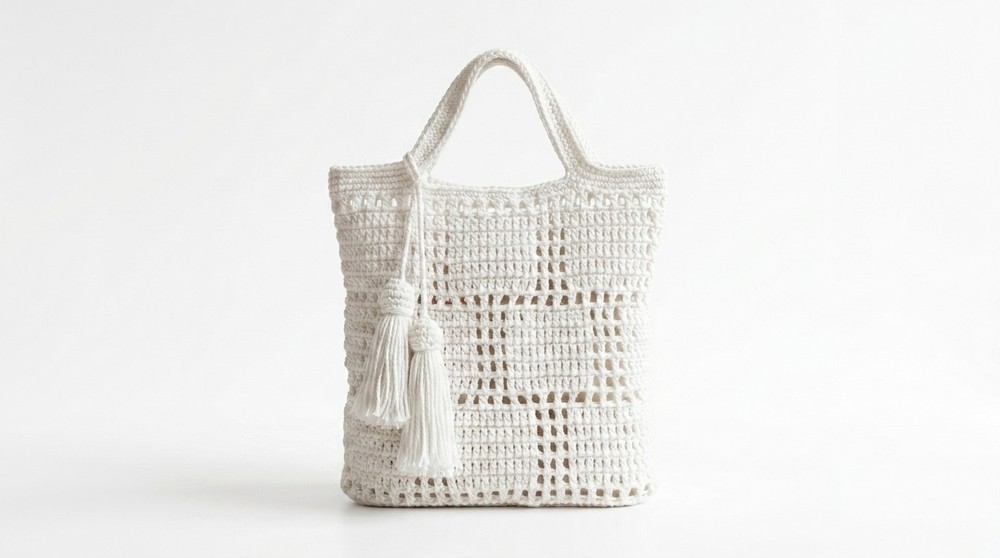
This crochet bag is both functional and visually stunning, making it a useful accessory for everyday tasks. Using the Free Crochet Mesh Bag pattern, this design combines practicality with style, featuring a neat checkered look and straight stitches that give the bag a polished appearance. Made with durable Bali Big Ply cotton yarn, the bag is strong yet soft, ensuring it lasts for regular use while remaining lightweight and easy to carry. Its vibrant green color and airy mesh structure make it a standout choice for multiple purposes, such as carrying groceries, books, or personal items.
How to Make a Free Crochet Mesh Bag Pattern with a Neat Oval Base
The step-by-step process begins with a strong oval base that forms the foundation for the bag. The unique stitch techniques used here ensure the pattern stays straight and neat, avoiding imperfections often seen in similar designs. Sturdy, reinforced handles further enhance its usability, allowing for comfortable carrying even when filled with heavier items.
This bag measures approximately 22cm in both height and width-compact yet spacious enough for practical use. It can also be decorated with optional tassels to match your personal taste. With its elegant look and everyday usefulness, this project brings both beauty and function to your collection in a simple and approachable way.
Step-by-Step Crochet Pattern for Checkered Market Bag
Materials
- Yarn: Bali Big Ply Cotton Yarn or any sturdy cotton yarn for durability.
- Approx. 100-150g of your desired color (example used: off-white).
- Hook Size: 3 mm crochet hook (Size 5/0).
- Accessories:
- Scissors
- Measuring Tape
- Tapestry Needle (for weaving ends)
- Stitch Markers (optional)
Skill Level
Intermediate
This pattern uses a combination of basic and intermediate stitches to create a checkered motif and oval base. Some experience with handling tension and working in the round is recommended.
Key Abbreviations (US Terms)
- ch: Chain
- sc: Single Crochet
- dc: Double Crochet
- sl st: Slip Stitch
Gauge
- Gauge is not critical, but ensure your stitches are tight and even for the bag's structure. The starting base measures approximately 21 cm (length) x 5 cm (width).
Special Notes
- Straight Stitching Technique: Pay close attention to where the double crochet (dc) stitches are worked to ensure straight checkered motifs.
- Tension Control: Maintain consistent tension throughout to avoid uneven stitches or warped shapes.
- Customization: You can adjust the size of the bag by modifying the foundation chain or the number of rows.
Step-by-Step Pattern
Step 1: Create the Oval Base
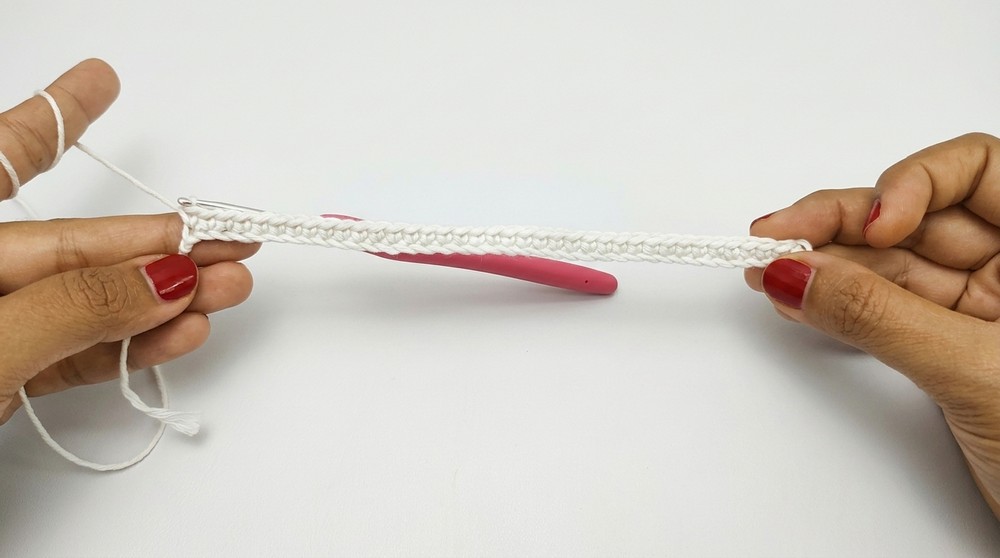
Foundation Row
- Make a slip knot to start.
- Chain 39 chains.
Row 1: SC Foundation
- Starting from the second chain from the hook, work 1 sc in each chain across (38 sc total).
Row 2: Starting the Oval Shape
- Chain 1, turn your work.
- Work 1 dc into the first stitch.
- Pull the first loop slightly taller than normal to create a smooth dc start.
- Use a stitch marker to mark the first stitch.
- Work 1 more dc into the same stitch (increase).
- Continue working 1 dc into each stitch across until the last stitch.
- In the final stitch on this side, work 2 dc (increase).
Row 3: Working Around the Oval
- Turn the work so you're working along the opposite side of the foundation chain.
- Work 2 dc in the first chain space (increase).
- Continue working 1 dc in each chain space along the curved edge.
- Work 2 dc increases in each of the first two stitches to round the opposite end (total 6 dc increases for each end).
- Place markers in each increase for clarity.
Row 4: Completing the Oval Base
- Continue as follows:
- Along the longer sides, work 1 dc in each stitch.
- Along the shorter ends, work 2 dc increases into six holes, for 12 increases total.
- Join the round with a slip stitch.
At the end of Row 4, the oval base should measure approximately 21 cm (length) x 5 cm (width).
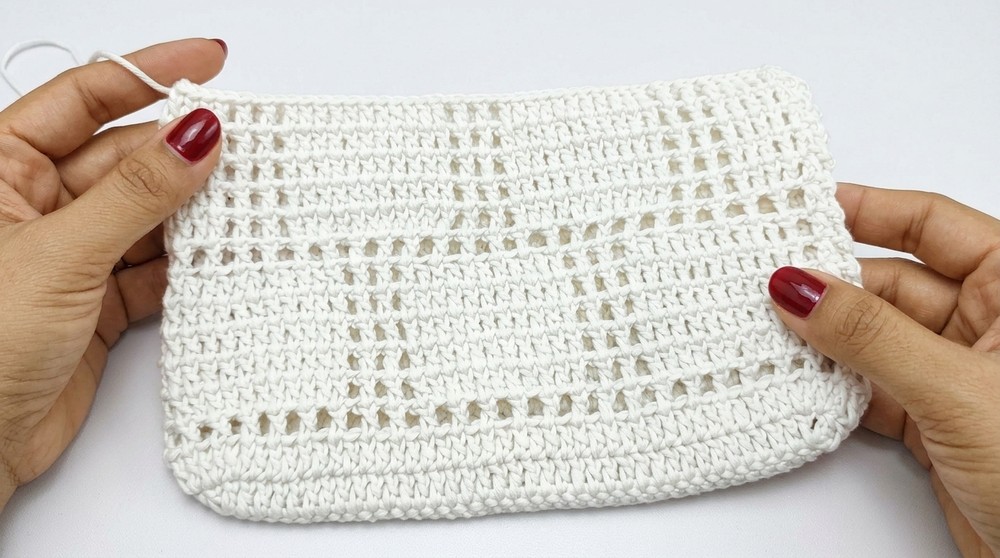
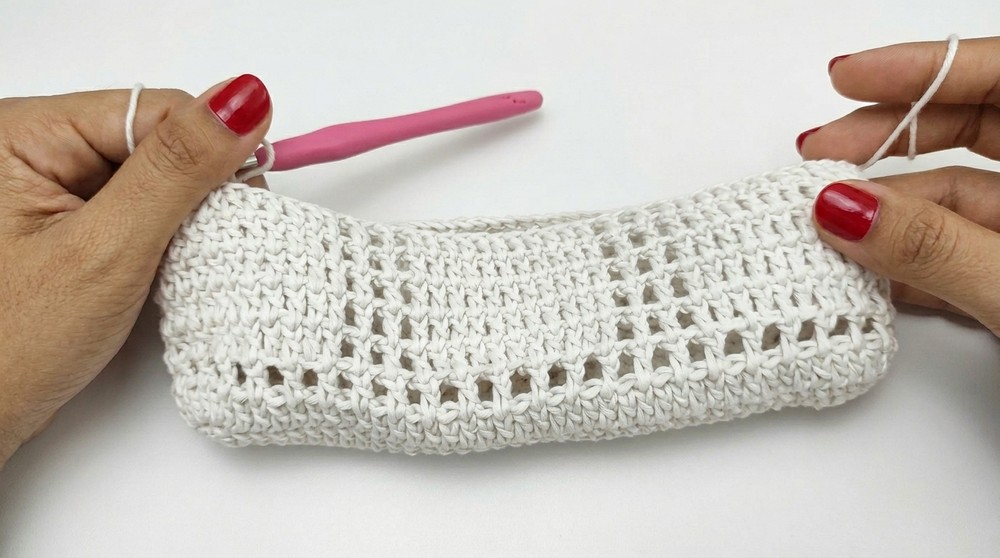
Step 2: Create the Mesh Checkered Body
Row 1 (Setup):
- Chain 3 to replace the first dc.
- Work the following pattern:
- [1 dc, 1 chain, skip 1 stitch] across the row.
- At the end of the row, join with a slip stitch.

Rows 2-6:
- Work the following pattern:
- [1 dc into the previous row's dc, 1 chain, skip 1 chain space].
- Repeat the pattern for 5 more rows.
Tip: Ensure the positions of the dcs and chain spaces are consistent to maintain the straight lines of the checkered motif.
Rows 7-12: Alternating Boxes Pattern
- To alternate the checkered motif:
- Start 5 dc stitches in a row (including chain spaces from the previous row).
- Follow with [1 chain, skip 1, dc] for 11 stitches, creating a larger horizontal checkered box.
- Repeat this pattern, alternating the positions of the larger boxes, for the next 6 rows.
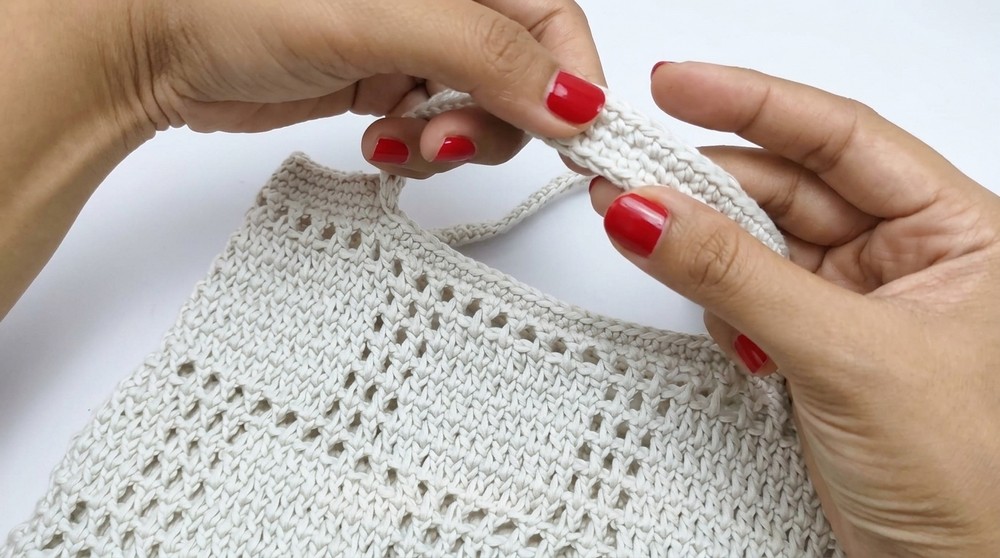
Step 3: Create the Handles and Upper Edging
Row 13: SC Edging
- Work 1 row of sc stitches around the top edge of the bag for stability.
Handles
- Starting from the top edge, mark the positions for the handles:
- Skip 24 stitches, leaving a gap for the handle on both sides.
- Chain 40 for the handle length, and sc into the 25th stitch.
- Ensure the chain is not twisted.
- Work 24 sc across the edge, then begin the second handle by chaining 40 chains again.
- Slip stitch to join both handles.
Final Edging
- Work 2 more rows of sc stitches around the edge of the bag, including the handle spaces.
- Ensure the handle chains are stabilized by working an sc stitch in each chain space.
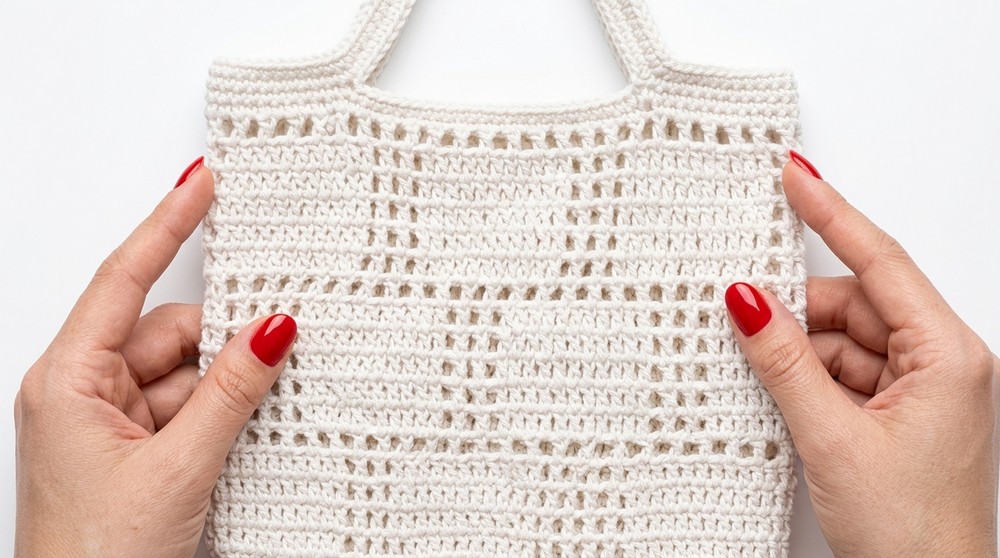
Step 4: Finishing Touches
- Add an additional row of sc stitches to the inside edge of the handles for added thickness.
- Fasten off, weave in all loose ends, and block the bag lightly if needed for shaping.
Customization Ideas
- Add Tassels: Attach tassels or small pom-poms to the handles for a unique look.
- Change Colors: Alternate colors every few rows or add stripes for a dynamic look.
- Change Handle Length: Adjust the number of chains to create longer or shorter handles.
Conclusion
Your Checkered Market Bag is now complete! This versatile design is ideal for daily use or gifting. Its durable cotton construction ensures long-lasting wear, while the checkered motif adds a touch of elegance and functionality.
Pattern Corrections
- Ensure the number of dc stitches in each row and sc stitches for the handles are consistent for proper symmetry.
- Adjust the starting chain count for a larger or smaller bag.
Tips
- Keep Stitch Markers Handy: Marking increases, decreases, or the start of rounds can prevent errors.
- Tighten Handles: Make the sc rows around the handles firm to prevent stretching.
- Care: Wash in cold water and lay flat to dry to maintain shape and structure.