
Crochet Flower Bag Free Pattern for Carrying Goods in Style
Carry elegance with the Crochet Flower Bag Pattern featuring detailed floral designs and versatile functionality, perfect for adding flair to any outfit.
With its charming floral details and practicality, this design is perfect for anyone who loves combining style with functionality. The Crochet Flower Bag Pattern showcases intricate flower-shaped motifs woven into a versatile bag, making it both a beautiful accessory and a fun project for crochet enthusiasts. Ideal for beginners and seasoned crafters alike, this pattern allows you to experiment with colors, yarn textures, and sizes, resulting in a bag that truly reflects your personal style.
Free Crochet Flower Bag Pattern That's Great for All Occasions

Whether used as a tote for daily errands, a market bag for fresh finds, or simply a statement piece to brighten your look, it's a wonderful addition to your crochet repertoire. Plus, flower pattern is not only timeless but also a great opportunity to play with unique techniques like layering petals or mixing vibrant shades. A perfect blend of artistry and practicality, this crochet project brings a touch of handmade charm to your everyday life.

Round Crochet Floral Bag
Skill Level
Intermediate to Advanced
Materials
- Yarn:
- Polythick (bulky acrylic or similar)
- Polycherry yarn (lighter acrylic or similar; double stranded to match polythick thickness)
- Hook:
- Size 5.0 mm (US H/8) crochet hook
- Notions:
- Scissors
- Yarn needle
- Stitch marker (optional; recommended for marking rounds/corner holes)
- Magnetic snap (optional)
Key Abbreviations (US Terms)
| Abbreviation | Stitch Name |
|---|---|
| MR | Magic Ring |
| ch | chain |
| sc | single crochet |
| hdc | half double crochet |
| dc | double crochet |
| tr | treble crochet |
| inc | increase (2 sts in same space) |
| sl st | slip stitch |
| st(s) | stitch(es) |
Special Notes
- Carry a stitch marker: This is critical for marking the start of rounds and corner holes.
- Bag is made in two identical round sheets (panels) and joined with slip stitches.
- Round increases follow a classic sequence, but motif rounds use mixed stitches for floral shaping.
- Handles and edge finishing made with chains and slip stitches.

Pattern Instructions
Bag Panels (Make 2 Identical Sheets)
Panel 1:
Round 1:
- Create a Magic Ring (MR)
- ch 1
- Rotate the work, then:
- [sc, ch 1] (counts as 1 hdc)
- 9 hdc into ring (10 hdc total in the round)
- Join with sl st to the first ch.
Round 2:
- In next st: sc, ch 1 (counts as 1 hdc)
- In same st: 1 hdc
- Increase in each st: 2 hdc in each st (20 hdc total)
- Join with sl st to starting ch.

Round 3:
- In next st: sc, ch 1 (counts as 1 hdc)
- In next st: hdc inc (2 hdc in same st)
- Pattern: [1 hdc in next st, hdc inc in next st] around (30 hdc total)
- Join with sl st.
Round 4:
- In next st: sc, ch 1 (counts as 1 hdc)
- In next st: 1 hdc
- In next st: hdc inc (2 hdc in same st)
- Pattern: [1 hdc, 1 hdc, hdc inc] 10 times (40 hdc total)
- Join with sl st.
Round 5:
- In next st: sc, ch 1 (counts as 1 hdc)
- In next 2 sts: 1 hdc in each
- In next st: hdc inc (2 hdc in same st)
- Pattern: [1 hdc, 1 hdc, 1 hdc, hdc inc] 10 times (50 hdc total)
- Join with sl st.
Round 6:
(Change to contrasting color, e.g., purple)
- Insert hook in any st, join new color, ch 2 (counts as 1 hdc)
- In next 3 sts: 1 hdc in each
- In next st: hdc inc (2 hdc in same st)
- Pattern: [1 hdc x 4, hdc inc] 10 times (60 hdc total)
- Join with sl st.
Round 7:
- Mark start (use stitch marker if needed)
- In next st: sc, ch 1 (counts as 1 hdc)
- In next 4 sts: 1 hdc in each
- In next st: hdc inc
- Pattern: [1 hdc x 5, hdc inc] 10 times (70 hdc total)
- Join with sl st.
Rounds 8-10:
- Continue increasing by adding 1 hdc in each repeating section:
- Round 8: [1 hdc x 6, hdc inc] 10 times (80 hdc)
- Round 9: [1 hdc x 7, hdc inc] 10 times (90 hdc)
- Round 10: [1 hdc x 8, hdc inc] 10 times (100 hdc)
- Join with sl st at end of each round.
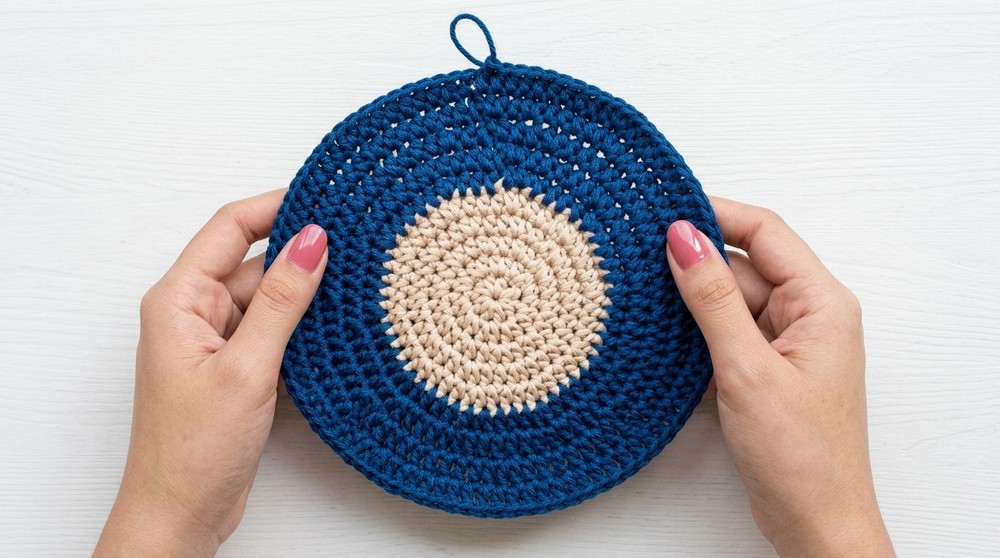
Motif Round (Round 11):
- Mark start of round and corner hole.
- Sequence for floral motif (repeat x5 for each motif):
- 1 sc
- 1 hdc
- 3 dc
- 4 tr
- 2 tr inc (2 tr in each of 2 consecutive sts)
- 4 tr
- 3 dc
- 1 hdc
- 1 sc
- Repeat 5 times around panel
- Join with sl st to marked corner hole.
Round 12: Edging
- In next st: 10 sc (single crochet in each st for 10 sts)
- At motif center: continue sc in each st
- There will be 8 sc between motif points.
- Repeat for each motif.
- Join with sl st at center between motifs.
- Fasten off and weave ends.

Top Opening
- Work asymmetric opening for the top, starting after corner or center.
- Join yarn, ch 1.
- In same st: sc inc (2 sc in same st)
- In next 21 sts: 1 sc in each
- At last st before corner: sc inc
- Join with sl st at marked corner hole.
- Repeat same for other panel.
Handle (Strap)
- Attach yarn at marked corner.
- ch 70 (or desired bag strap length)
- sl st to chain at beginning of round.
- Fasten off, weave ends.

Make Second Panel
- Repeat entire pattern for second panel.
- For the second sheet, do not fasten off after last round.
Seam/Join Panels
- Place panels together (wrong sides facing in).
- Using working yarn from last round of second panel:
- sl st: Insert hook alternately into both panels, slip stitching around to join.
- sl st into hole on first panel, then sl st into next hole on second panel.
- Alternate and continue around the bag.
- At top opening/strap, work sl st through chain spaces as needed, in back loop for neat finish.
- Fasten off, weave in all ends securely.
Optional Closure
- Attach magnetic snap if desired for additional security.
Conclusion and Tips
- Pattern Correction: Confirm you have 10 increases per round, yielding multiples of 10 for stitch count as bag grows.
- Tip: Use a stitch marker for motifs and corners to facilitate counting and joining.
- Tip: When joining panels, ensure alignment; placement of motifs should match for a symmetric, neat finish.
- Tip: Weave ends carefully; use a yarn needle for extra security in joins and handle attachment.
Final Words
Your round floral bag is now complete! The project blends classic circular construction with an attractive mix of stitches for floral motifs. It is sturdy, visually appealing, and practical. For professional results, block completed panels before joining and ensure all joins are secure.