Cat Coaster Free Crochet Pattern
Enjoy this free crochet cat coaster pattern that shows you how to form cute and simple cat shapes for your table while keeping your cups steady and surfaces safe.
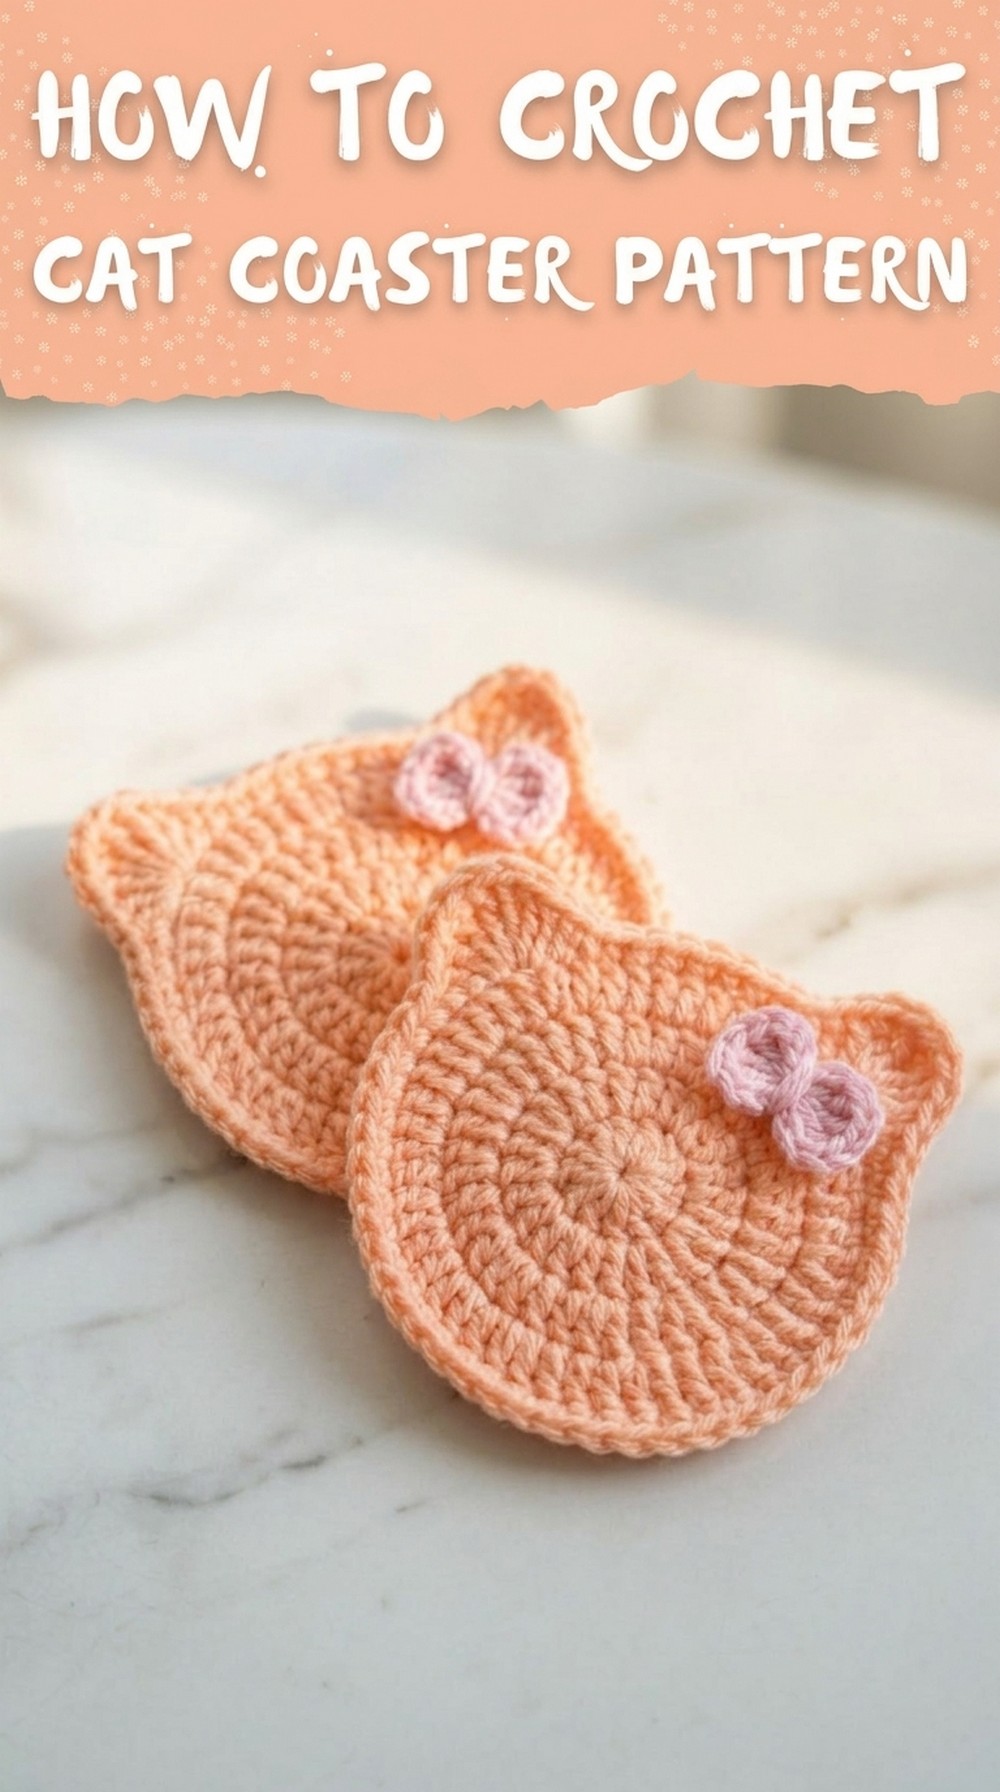
A cute cat-shaped coaster is a perfect way to add some fun and charm to any table. This simple crochet pattern helps you create adorable and soft coasters that are both useful and beautiful. This coaster not only protect your table from spills but also make a lovely decoration with its playful and creative design.
Beautiful Crochet Cat Coaster for Free with Easy Steps

You can make it in different colors to match your style or mood, and it is so easy to create that even beginners can enjoy the process. Lightweight and practical, this cat coaster is a great handmade addition to your home or a thoughtful gift for someone special. Its unique and eye-catching appearance makes it perfect for adding warmth and personality to your table while keeping it neat and clean.

Crochet Coaster Pattern: Beginner-Friendly
This adorable coaster combines simple stitches and techniques to create a cozy accessory that's perfect for beginners. The addition of a bow adds a charming touch. Let's get started!
Materials List
Yarn:
- Main Yarn: Milk cotton yarn from Little Things World. Colors used:
- Color 03
- Color 09
- Optional: Gradient yarn if you want a textured effect.
Hook:
- 2.5 mm crochet hook
Other Tools:
- Stitch markers.
- Scissors.
- Darning needle (for weaving ends).
Skill Level
- Beginner
This pattern uses basic crochet stitches and follows a straightforward progression. It's suitable for anyone starting their crochet journey.
Key Abbreviations (US Crochet Terminology)
- MR: Magic Ring.
- Ch: Chain.
- Sl St: Slip Stitch.
- SC: Single Crochet.
- DC: Double Crochet.
- TC: Triple Crochet.
- Inc: Increase (2 stitches in 1 stitch).
- St/Sts: Stitch/Stitches.
Special Notes
- Yarn Tension: Maintain even tension throughout to ensure a consistent round shape.
- Magic Ring Mastery: Practice making a magic ring to simplify the first round.
- Stitch Markers: Always mark the first stitch of each round for clarity.

Pattern Instructions
Main Coaster Body
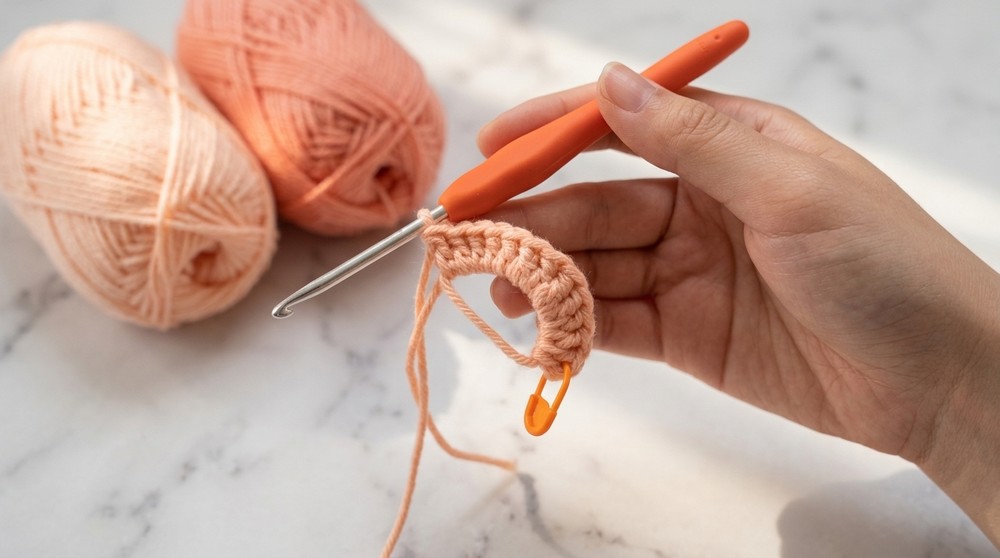
Round 1 (Foundation Row):
- Magic Ring:
- Wrap the yarn around your two fingers twice, crossing strands on the back and forming two parallel lines in the front.
- Insert your hook under the first loop, grab the second loop, pull it through, and twist your hook to create a working loop.
- Yarn over (working yarn), pull through for a slip knot, securing the ring.
- Chain 2:
- Yarn over, pull through the loop on your hook to make 2 chains.
- 12 DC Inside Magic Ring:
- Yarn over, insert hook into the magic ring (catching the yarn tail).
- Pull up a loop, yarn over, pull through two loops. Yarn over again, pull through final two loops (one completed DC).
- Repeat this process for 12 DC stitches total.
- Place a stitch marker on the first stitch.
- Pull to Close the Ring:
- Firmly pull the yarn tail to close the gap in the center of the ring.
- Slip Stitch to Join:
- Remove your stitch marker and insert the hook into the first DC stitch.
- Yarn over, pull through the stitch and the loop on your hook to secure the round. Pull tight to avoid confusion for the next round.
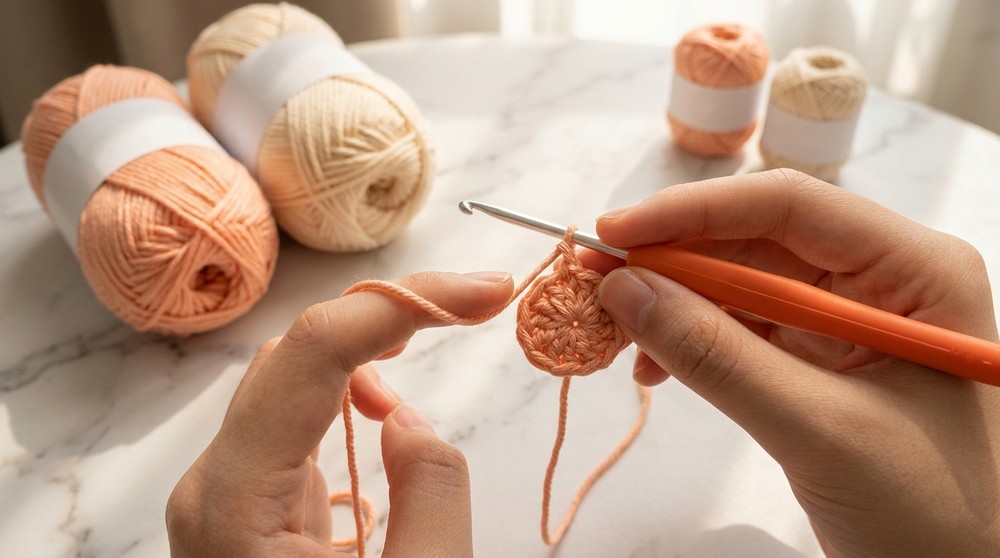


Round 2 (Increasing):
- Chain 2:
- Yarn over, chain twice to start the round.
- 12 Increases:
- Work 2 DC into each stitch around (an increase).
- Insert hook into the first stitch, yarn over, pull through, yarn over, pull through two loops, yarn over, pull through final two loops (DC).
- Repeat for 12 stitches (24 DC total).
- Slip Stitch to Join:
- Insert hook into the first DC, pull through, and secure.
Round 3 (Alternating DC and Increase):
- Chain 2: Yarn over, chain twice to start the round.
- Pattern: Work 1 DC followed by an increase (2 DC in the same stitch). Repeat around.
- Example: DC in one stitch, 2 DC in the next stitch.
- Slip Stitch to Join: Tighten the slip stitch to maintain a clean edge.

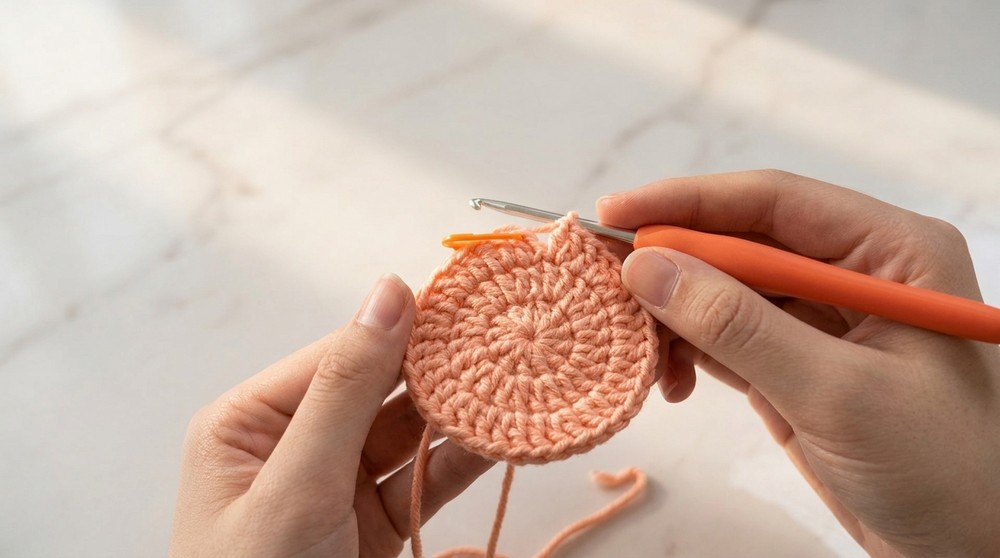
Round 4 (Expanding Groups):
- Chain 2: Yarn over, chain twice to begin.
- Pattern: Work an increase, followed by 2 DC in consecutive stitches.
- Example: [Increase, DC, DC], repeat until the round ends.
- Slip Stitch to Join and tighten.
Bow (Optional):
- Magic Ring: Make a magic ring to start.
- First Side:
- Chain 2, then place 2 DC in the ring.
- Chain 2, slip stitch into the ring. Tighten the magic ring slightly.
- Second Side:
- Repeat steps for the first side, starting with Chain 2, 2 DC, Chain 2, and slip stitch.
- Tie Center:
- Pull yarn through the center of the bow and knot securely. Wrap the yarn tail around the middle of the bow to create a finished look.
- Attach Bow to Coaster:
- Use the yarn tails to secure the bow. Tie a double knot and weave in the ends.

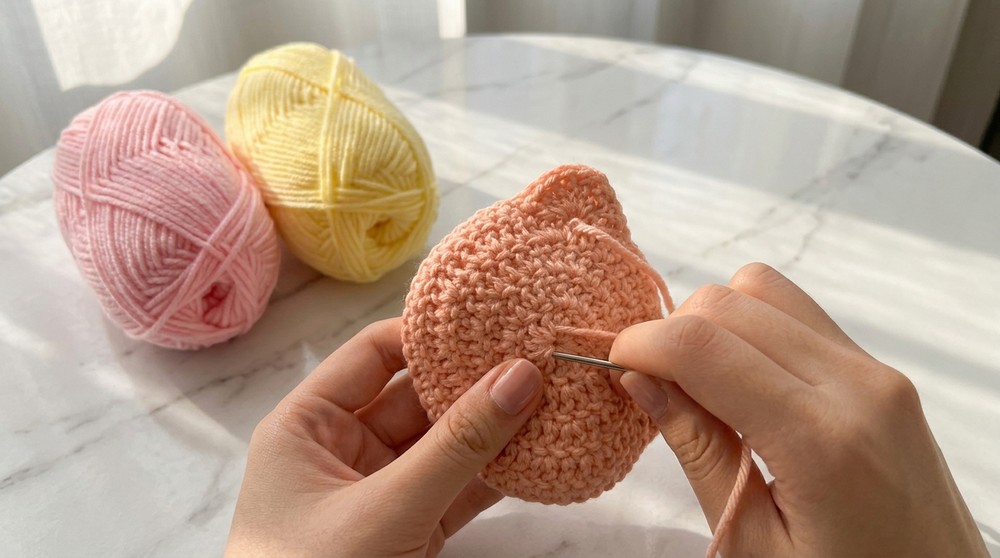
Finishing
- Weave in Ends:
- Use your darning needle to weave all yarn tails securely into the back of the coaster or bow.
- Cleaning Up:
- Trim excess yarn with scissors.
Conclusion
Your coaster with bow is now complete! The pattern is simple yet charming, perfect for beginners learning basic stitches while practicing rounds. The addition of a bow adds personality to your piece, making it suitable for gifting or personal use.
Pattern Corrections
- Ensure you pull the slip stitches tightly to avoid confusing them as working stitches.
- When closing the magic ring, pull the yarn firmly to prevent gaps in the center.
Tips
- For Beginners: Use a larger hook (e.g., 3 mm) if stitches feel tight.
- Customization: Try experimenting with different yarn colors and textures for unique coaster designs.
- Advanced Additions: After mastering the pattern, add surface slip stitching or embroidery for extra details.