
Charming Free Crochet Flower Pattern Step by Step Guide
Fresh floral style with free crochet flower pattern, for soft decorative accent simple handmade look and graceful gift option for any space.
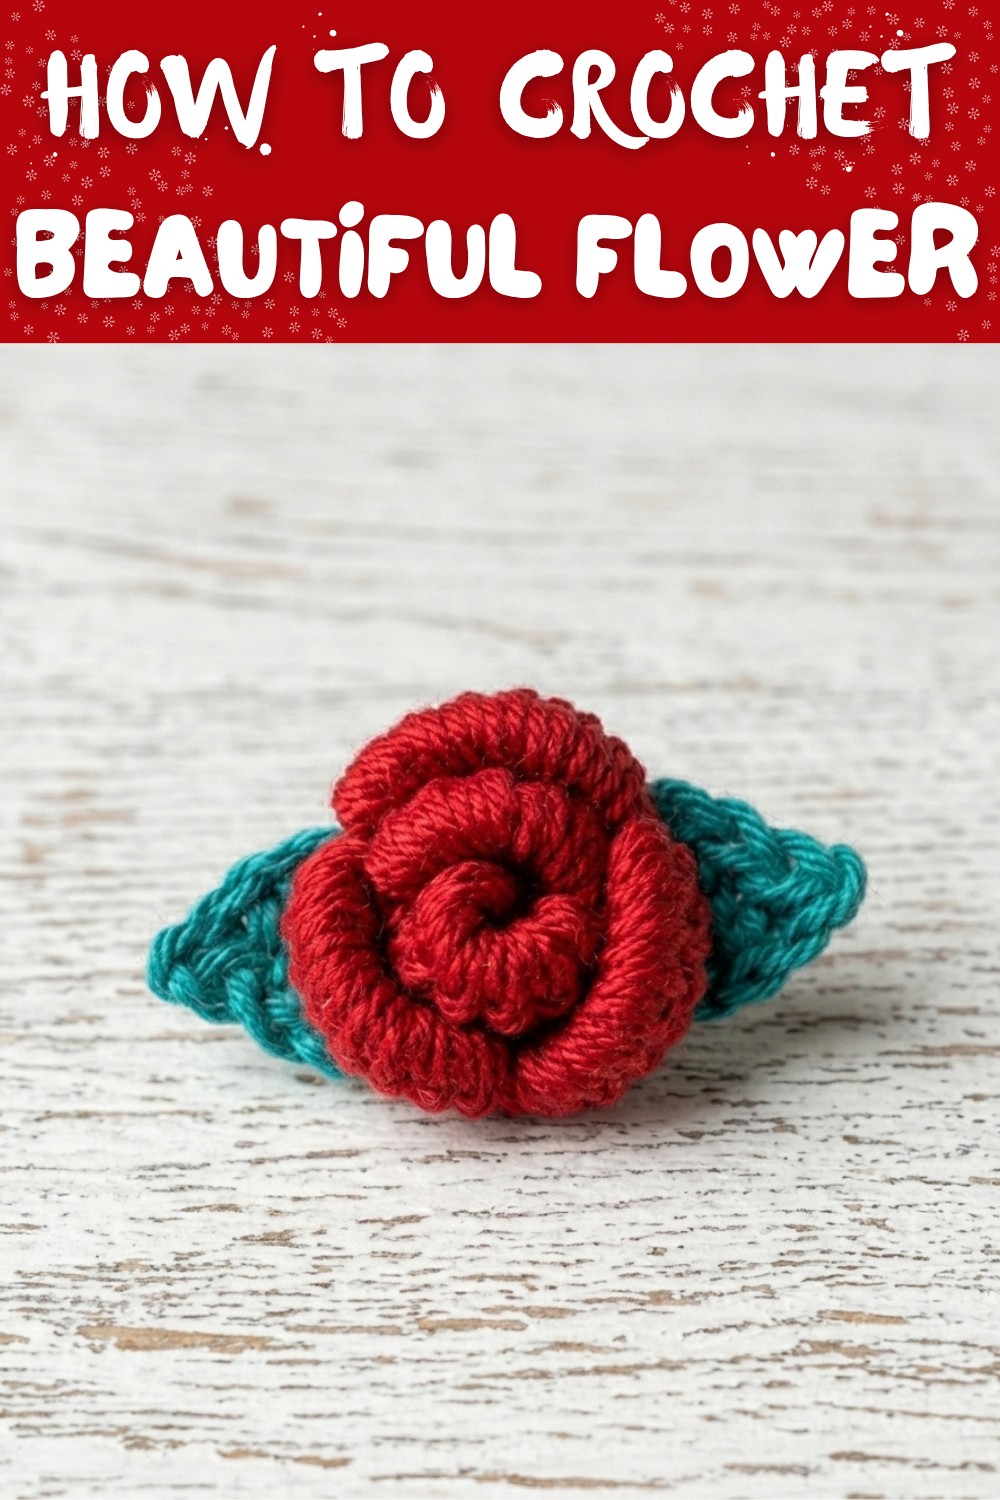
Not every small detail needs to be loud to feel beautiful and a tiny flower can still change the look of anything in a gentle way. Soft loops come together slowly and form a neat bloom that feels light bright and full of charm. The Crochet Flower pattern helps build this sweet shape in a simple and easy way that feels clear for everyone to understand. It can be placed on clothes bags hair accessories home decor or gifts to make them look more special and lovely.
Free Crochet Flower Pattern for Beginners and Experts
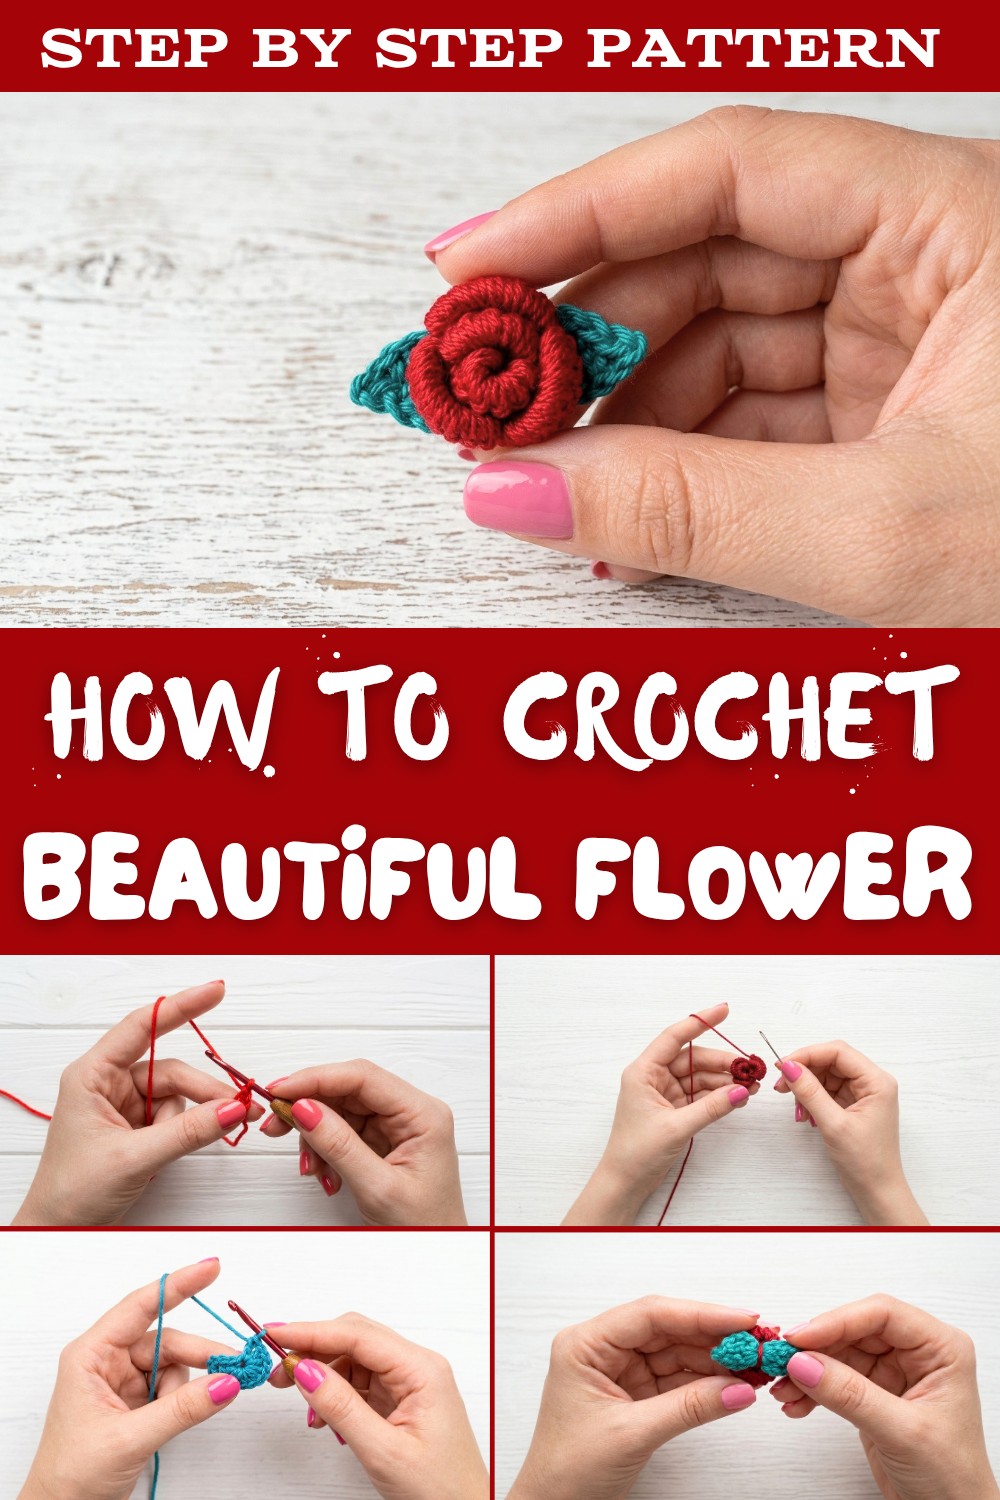
The flower keeps its shape well and gives a smooth clean finish that looks nice from all sides. Different color choices give each bloom its own style and feeling making every piece unique. It feels soft light and pleasant which makes it perfect for daily use or small decorations. This simple floral design brings beauty calmness and creative touch together in one small detail that adds warmth to everyday life.
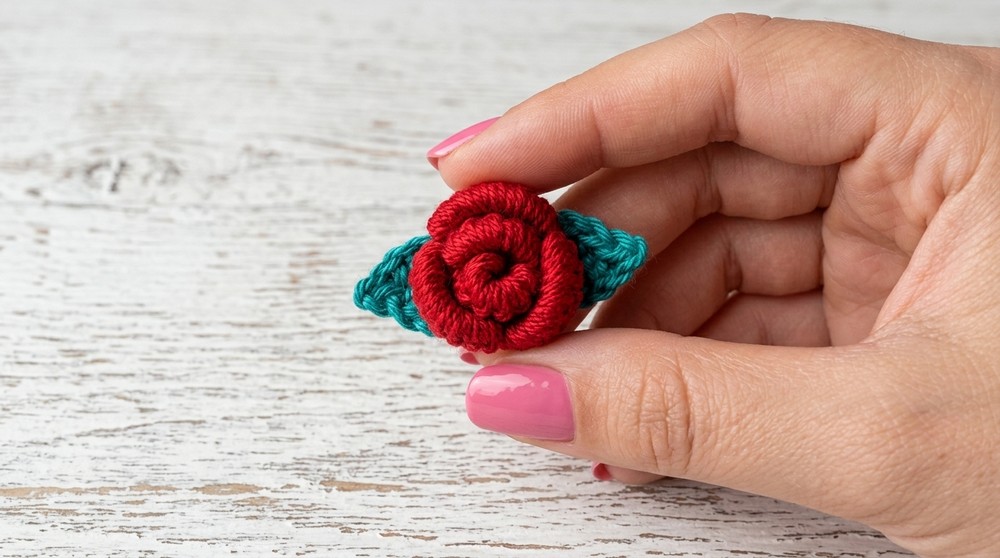
Universal Dimensional Crochet Flower Pattern
Materials
- Yarn: Cotton yarn (tex 492 suggested), or any yarn of your choice
- Hook: Suitable for your yarn (2.5mm-3.0mm for sample size)
- Extras:
- Tapestry needle
- Scissors
Key Abbreviations (US Terms)
- CH - Chain
- SL ST - Slip Stitch
- SC - Single Crochet
- DC - Double Crochet
- TR - Treble Crochet
- Picot - CH 1, SL ST in previous stitch
- St(s) - Stitch(es)
- Rep - Repeat
Special Notes
- The flower is worked in successive petals assembled as you go.
- Use a needle size that produces a firm fabric without holes.
- Leave longer yarn tails at the beginning and end for sewing and finishing.
- Pattern is written as demonstrated for a 2.5 cm flower with 5 petals.
- Leaves are worked in a small round motif and sewn on later.
Pattern Instructions
Flower Center and Petals
Leave a 20 cm tail before starting.
First Petal (Bud):
- Make a slip knot, leaving a 20 cm tail.
- CH 3.
- Begin forming the petal:
- Loop Pickup: Yarn over and draw up a loop in each chain, 7 times total, so you have 7 loops on your hook.
- Remove the hook, insert it back into the very first slip knot, and draw up another loop. You'll have 9 loops.
- Yarn over and pull through all 9 loops.
- CH 1 to secure.
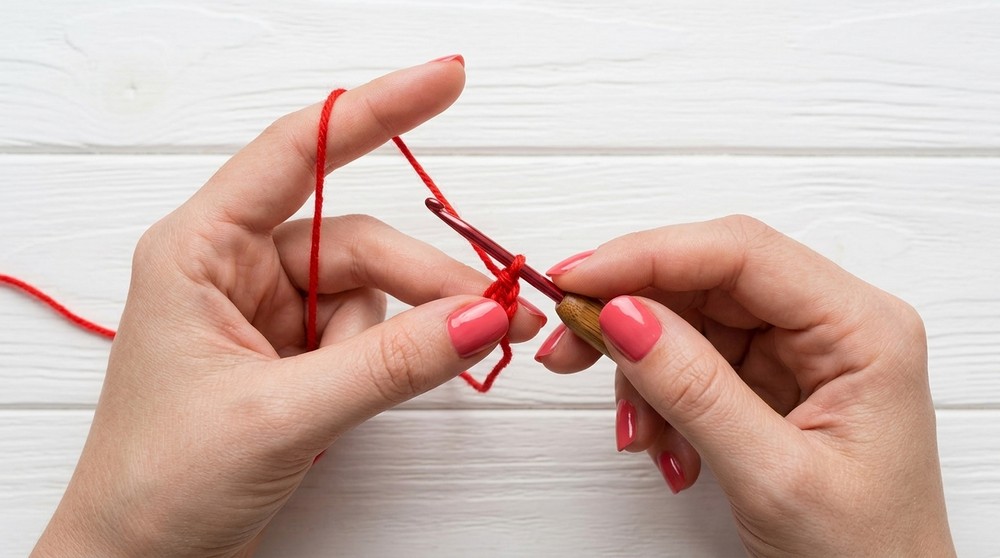
Second Petal:
- CH 4.
- Loop Pickup: Yarn over and draw up a loop in each chain, 8 times total, for a total of 9 loops on hook.
- Yarn over and pull through all loops.
- CH 1 to secure.
- Join with the first petal: Lengthen the loop, remove the hook, and pass the hook through the top of the first and then the second petal; insert hook back into working loop, pull tight.
- SC joining the two petals together (insert hook through their tops, pull up a loop, yarn over, pull through both loops on hook).
Third Petal:
- CH 6.
- Loop Pickup: Yarn over and draw up a loop in each chain, 12 times total, to have 13 loops on hook.
- Yarn over and pull through all loops.
- CH 1 to secure.
- To join, pass hook through tops of previous petals and join with SC as before.
Fourth Petal:
- CH 6.
- Loop Pickup: Draw up 12 loops (13 on hook).
- Yarn over and pull through all loops.
- CH 1.
- Join through first, second, and third petals with SC as previously done.
Fifth Petal (Final):
- CH 6.
- Loop Pickup: Draw up 12 loops (13 on hook).
- Yarn over and pull through all loops.
- CH 1.
- Join the fifth petal with a SL ST through adjacent petals' tops.
- Pull up a final loop, cut yarn, leaving a 20 cm tail for finishing.
Assembling the Flower
- Thread the beginning tail onto a tapestry needle.
- Pass through the center of the flower to the back side.
- Use a weaving/basting motion to secure the petals and cinch the center together firmly.
- Do a few rounds if needed until you are satisfied with how closed and dimensional your flower is.
- Pull both yarn ends through to the back, knot together securely, and weave in or hide the yarn tails inside the petals.

Small Leaves (Make 2)
- Leave a 15 cm tail.
- Make a slip knot.
- CH 4. SL ST to first CH to form a ring.
- CH 3.
- TR (wrap yarn twice, insert into ring, pull up loop, [yarn over, pull through 2 loops] three times).
- CH 1.
SL ST into this CH to form a picot tip. - TR (into ring), CH 3.
- SL ST into ring.
- CH 3.
- Repeat: TR, CH 1, SL ST in this CH, TR, CH 3, SL ST into ring.
- Cut yarn, leaving a tail for sewing.
- Pull end through ring, knot with beginning tail, and shape leaf if needed.
- Use tails to sew leaf to flower or as desired.
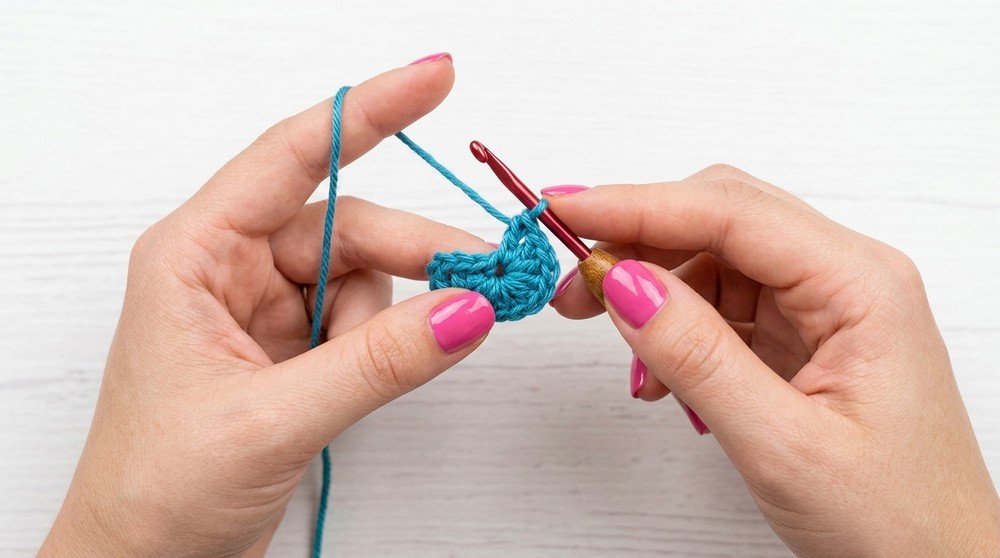
Finishing
- Use the long tails to sew the flower and leaves to your chosen project.
- Hide any knots or ends inside the petals or behind the motif for a neat finish.

Conclusion
This dimensional flower pattern employs a unique, modular petal construction that is joined and sculpted as you go, resulting in a firm, textured motif. The technique is universally adaptable: use any yarn/hook combo that gives a firm fabric, or play with petal counts for alternative looks. Leaves add a charming finish and easy attachment.
Pattern Corrections & Tips
- Loops/Handles Count: First petal: pick up 7 loops, second: 8, petals 3-5: 12 each (13 on hook).
- Firmness: Adjust hook/up hook size if your stitches are too loose-no holes should show between stitches.
- Assembly: Always thread and cinch the flower tightly to get the correct bud shape.
- Petals: Be consistent when picking up loops-tight, even tension leads to better structure.
- Leaves: Make more leaves for fullness or substitute with embroidered leaves for a flat version.