
Best Free Crochet Coaster Pattern for Your Table Decor
Unlock the ease of stitching a free crochet coaster Pattern which is for increasing table décor while mastering essential techniques in a fun, compact project.
A simple accessory can completely change the way your table looks and feels. A crochet coaster isn't just practical for protecting surfaces-it's a charming addition that brings texture and personality to any corner of your home. Its soft and intricate design adds a touch of warmth, whether placed under a steaming cup of tea or as a decorative element on your side table.
Free Crochet Coaster Pattern - Perfect for Gifts
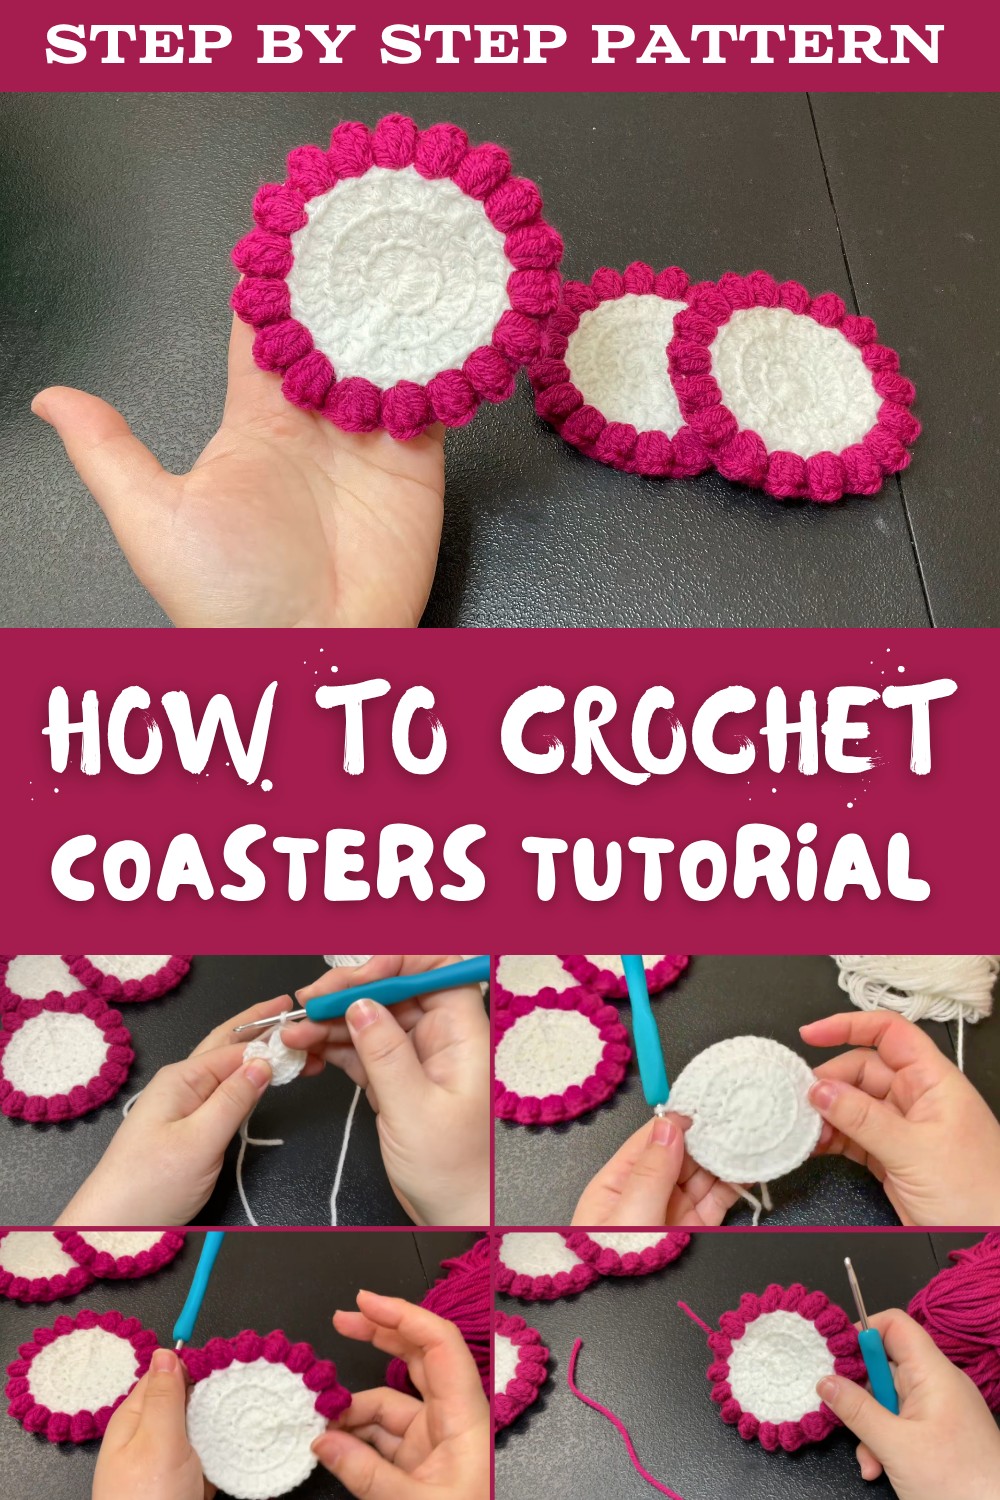
For someone new to crochet, a coaster is the perfect starting point. Its small size makes it less overwhelming and helps you focus on learning essential stitches like single crochet or working with shapes. You can experiment with different styles, from timeless round designs to delicate, lacy details, all while staying within the comfort of a beginner's skill level.
What makes it more special is the ability to make it truly your own by using colors or materials that resonate with you. Adding this small yet elegant piece to your home not only brings functionality but also gives a lovely handmade touch to your everyday routine. It's a satisfying and beginner-friendly project that holds the beauty of simplicity while still leaving endless room for creativity.
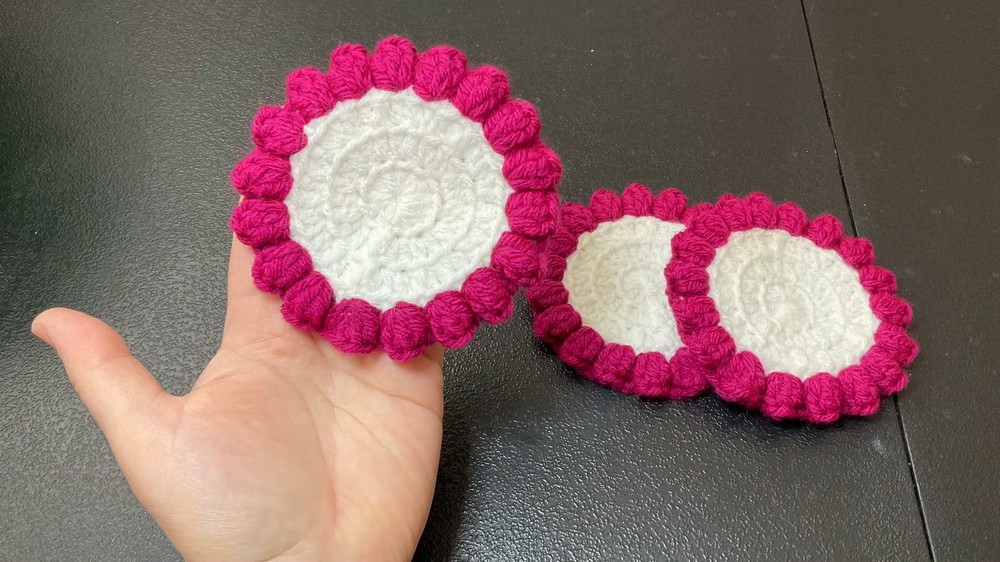
Tulip-Inspired Crochet Cup Holder (Coaster) Pattern
Finished Size
- Approximate Diameter: 12 cm (4.75 in)
Note: Finished size may vary based on yarn thickness, hook size, and individual tension.
Materials Needed
- Yarn: 2 colors (one for the center-White, and another for the tulip petals-Color of your choice), 100% acrylic yarn, approx 4 mm thickness (Worsted weight / Category 4 / Medium)
- Crochet Hook: 4 mm (US G-6)
- Tapestry Needle: For weaving in ends
- Scissors
Gauge
- Rounds 1-3: The circle should measure approximately 7.5 cm (3 in) in diameter after completing the first three rounds.
Exact gauge is not critical for this project but can affect the finished size.
Abbreviations & Special Techniques
- st(s): Stitch(es)
- ch: Chain
- sl st: Slip Stitch
- dc: Double Crochet
- inc: Increase (2 dc in same st)
- MR: Magic Ring (see technique below)
- Tulip Cluster: Group of 5 dc, joined at the top
Special Techniques
- Magic Ring (MR):
Form a ring by wrapping yarn around two fingers, crossing over and pulling up a loop, then work stitches into this ring. - Invisible Join: For a neater finish when changing colors or ending rounds.
- Weaving Ends: Use the tapestry needle or hook to weave loose ends into the back of the work for a tidy finish.
Instructions
Center Circle (Rounds 1-3):
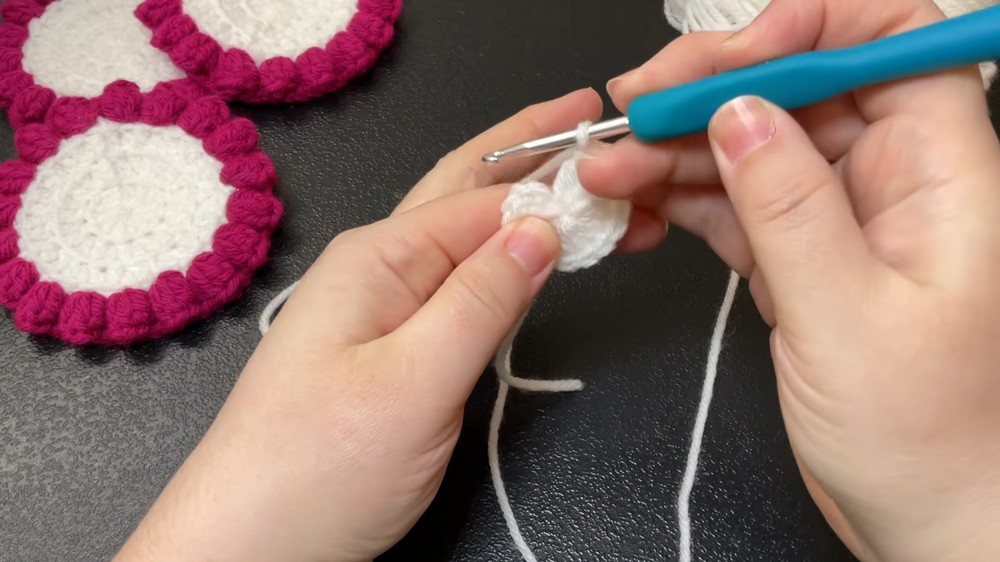
Round 1:
- With white: Start with MR (see Special Techniques).
- Ch 2 (does NOT count as a stitch), 12 dc in magic ring.
- Pull tail tightly to close ring.
- Join with sl st to the first dc. (12 dc)
Round 2:
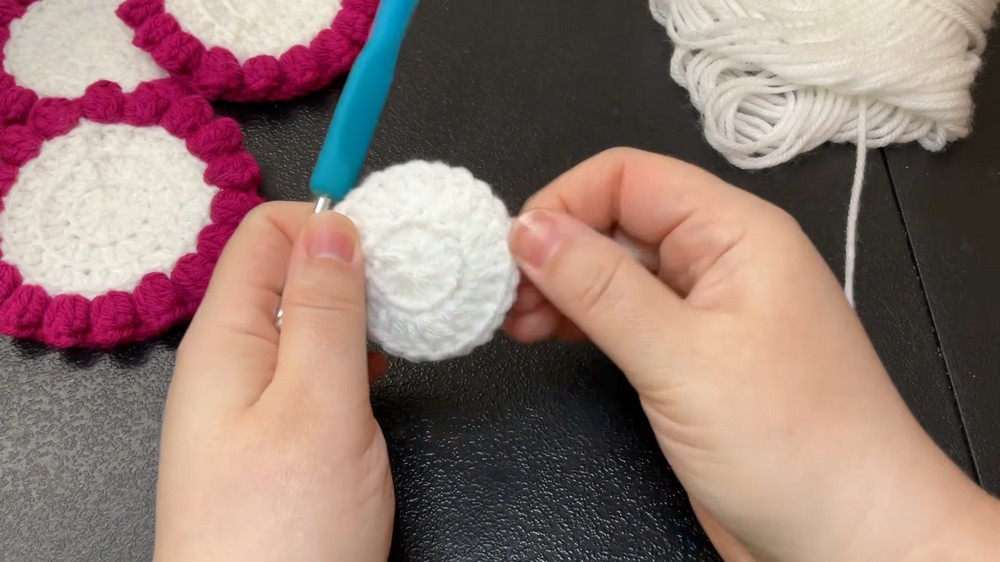
- Ch 2 (does NOT count as a stitch).
- 2 dc in each st around (inc in every st).
- Join with sl st to first dc. (24 dc)
Round 3:
- Ch 2 (does NOT count as a stitch).
- [2 dc in next st (inc), 1 dc in next st], repeat from * to * around.
- Join with sl st to first dc. (36 dc)
- Fasten off white, weave in ends (optional to leave until the end).
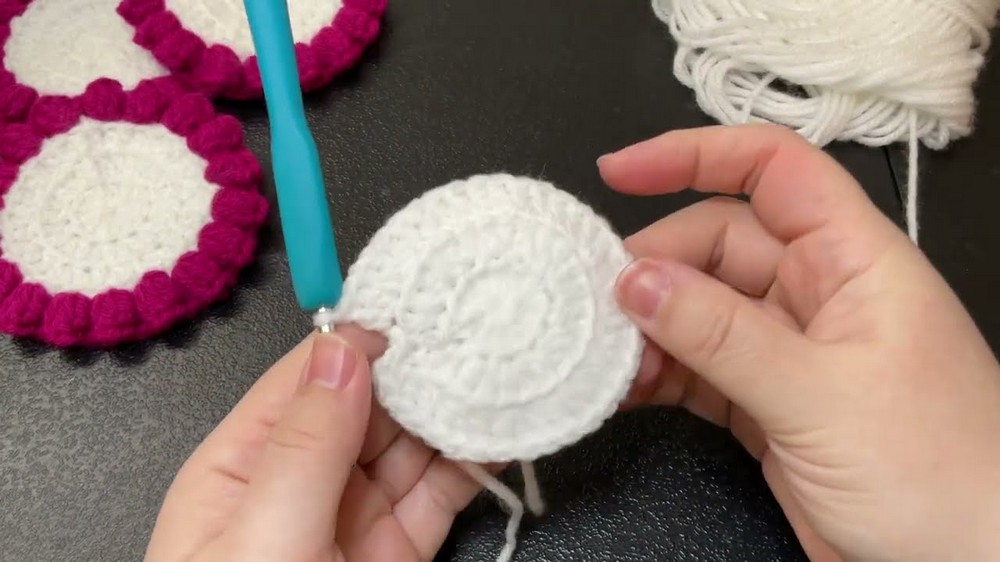
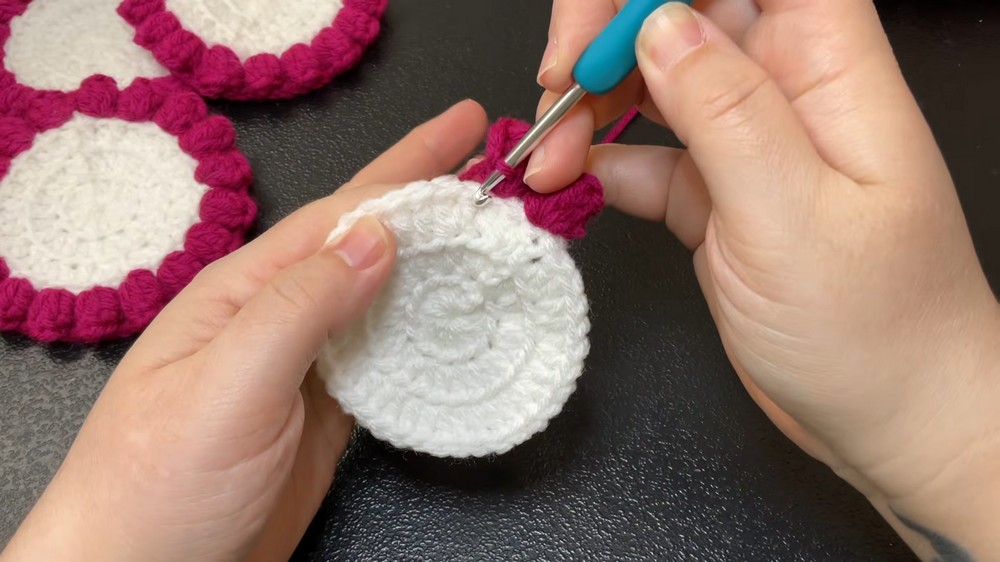
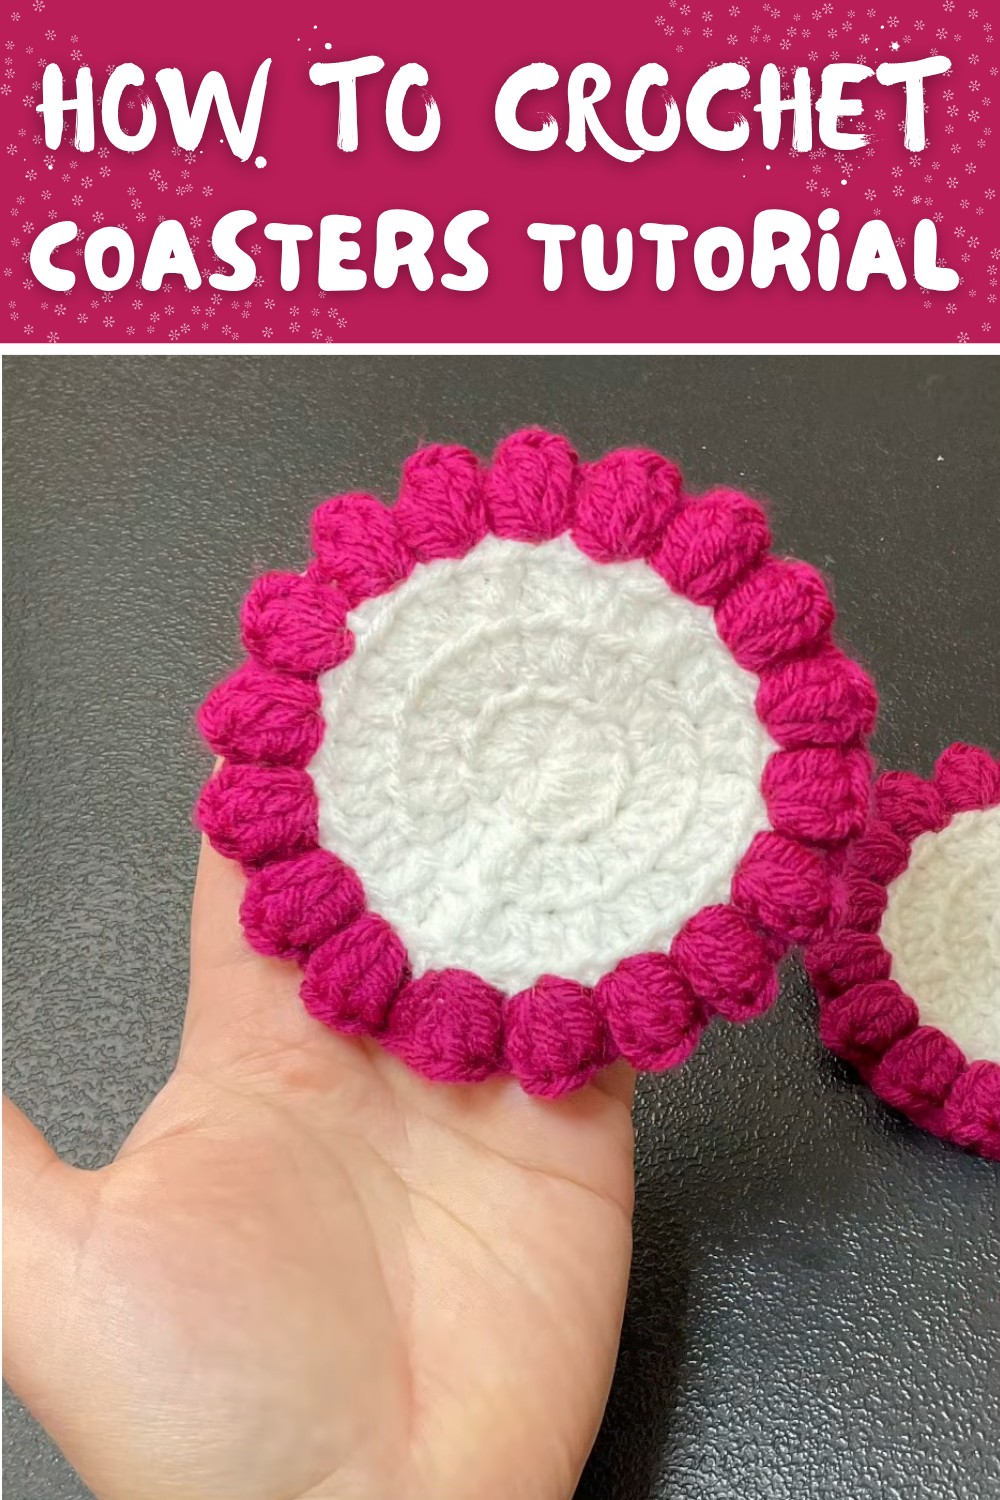
Tulip Petal Edging (Round 4):
- Join petal color to any st from previous round.
For each tulip cluster:
- Ch 3 (Counts as the first dc of the cluster).
- In the same st, 4 dc (There will be 5 dc including the ch-3).
- Remove hook from loop, insert hook from front to back into the top of the beginning ch-3, pick up the dropped live loop and pull through to join the cluster at the top, forming a petal.
- Ch 2 (Note: Correction from initial video-only 2 ch between clusters!)
- Skip the next st, then in the following st, repeat tulip cluster (steps 1-4).
- Continue this process around the circle: tulip cluster, ch 2, skip 1 st, repeat.
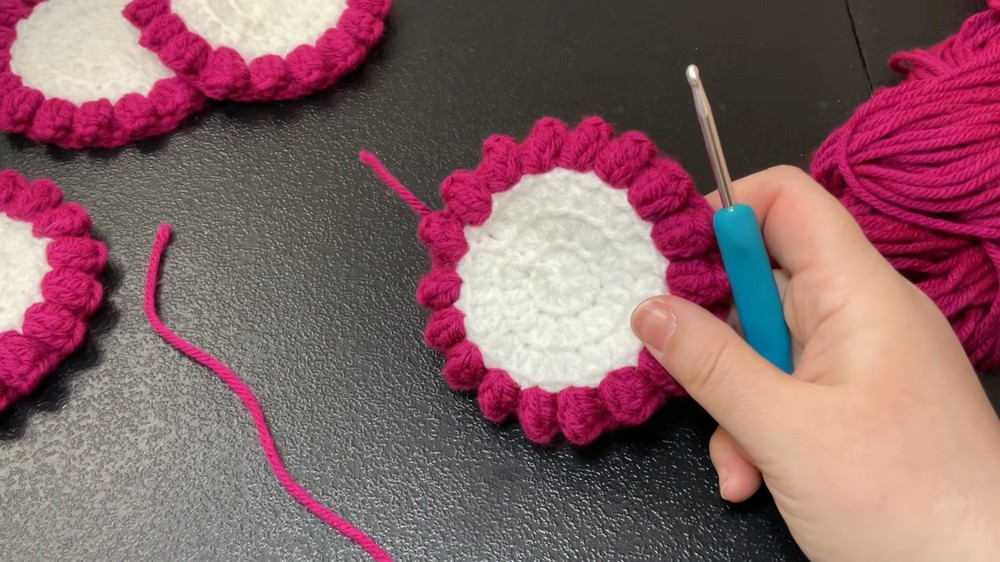
- At the end, after last ch 2, join with sl st to the top of the first tulip cluster.
- Fasten off and weave in ends.
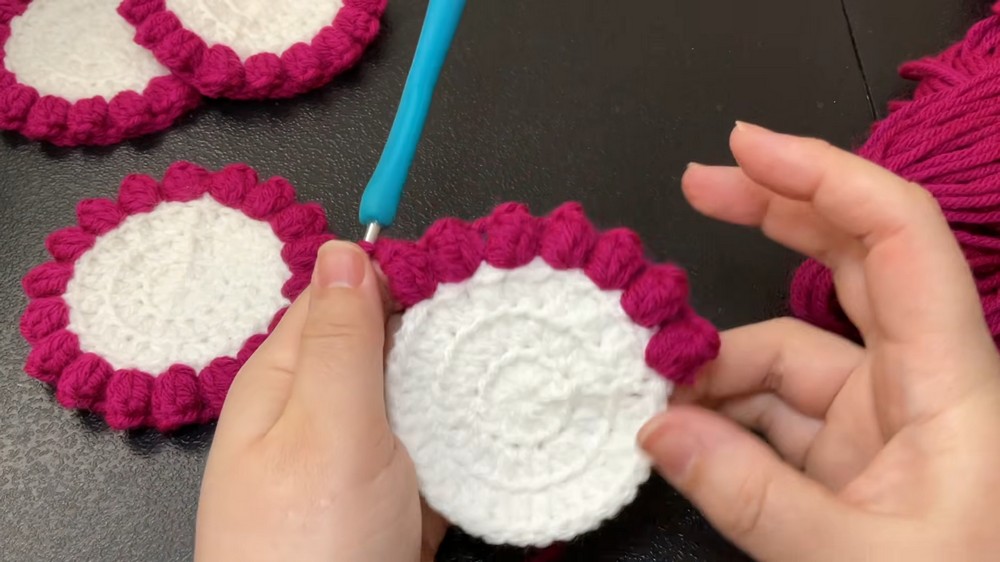
Finishing
- Use a tapestry needle or hook to weave in all remaining loose ends on the wrong side of your work for a neat finish.
- Block your coasters if needed to even out the shape.
Tips for Success
- Consistent Tension: Ensure you maintain consistent tension for a uniform look.
- Neat Joins: Form invisible joins when changing colors for a seamless effect.
- Hiding Ends: Secure and hide all yarn tails to prevent unraveling and keep the back neat.
Customization Ideas
- Color Variation: Make each set with different petal or center colors for a vibrant, spring-inspired collection.
- Yarn Type: Try cotton yarn for better absorbency, especially for hot cups.
- Edge Embellishment: Add a round of picots or scallops after the tulip petals for extra flair.
- Size Alteration: Use different hook/yarn sizes for larger or smaller coasters.
- Gift Bundles: Combine multiple coasters into sets with ribbon or a handmade tag for gifting or selling.
Conclusion & Remarks
Your tulip-inspired cup holders are perfect for adorning your home, using as thoughtful handmade gifts, or even for selling to generate some extra income. This quick and beginner-friendly project uses simple rounds, innovative petal clusters, and only a small amount of yarn, making it accessible for crocheters of all levels.
Final Look: You will end up with a beautiful, lacy-edged coaster with little tulip clusters resembling flower petals around the edge-a true crochet art piece.