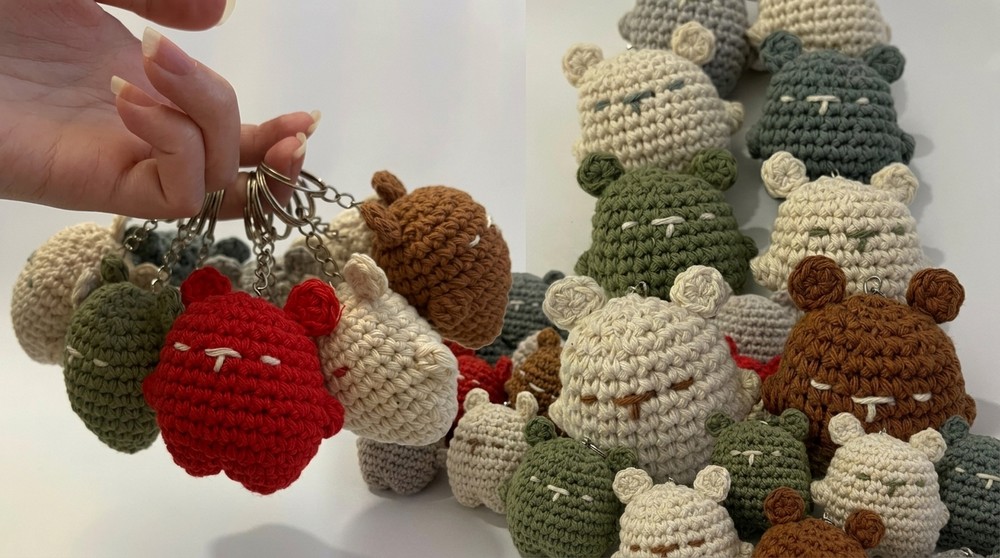
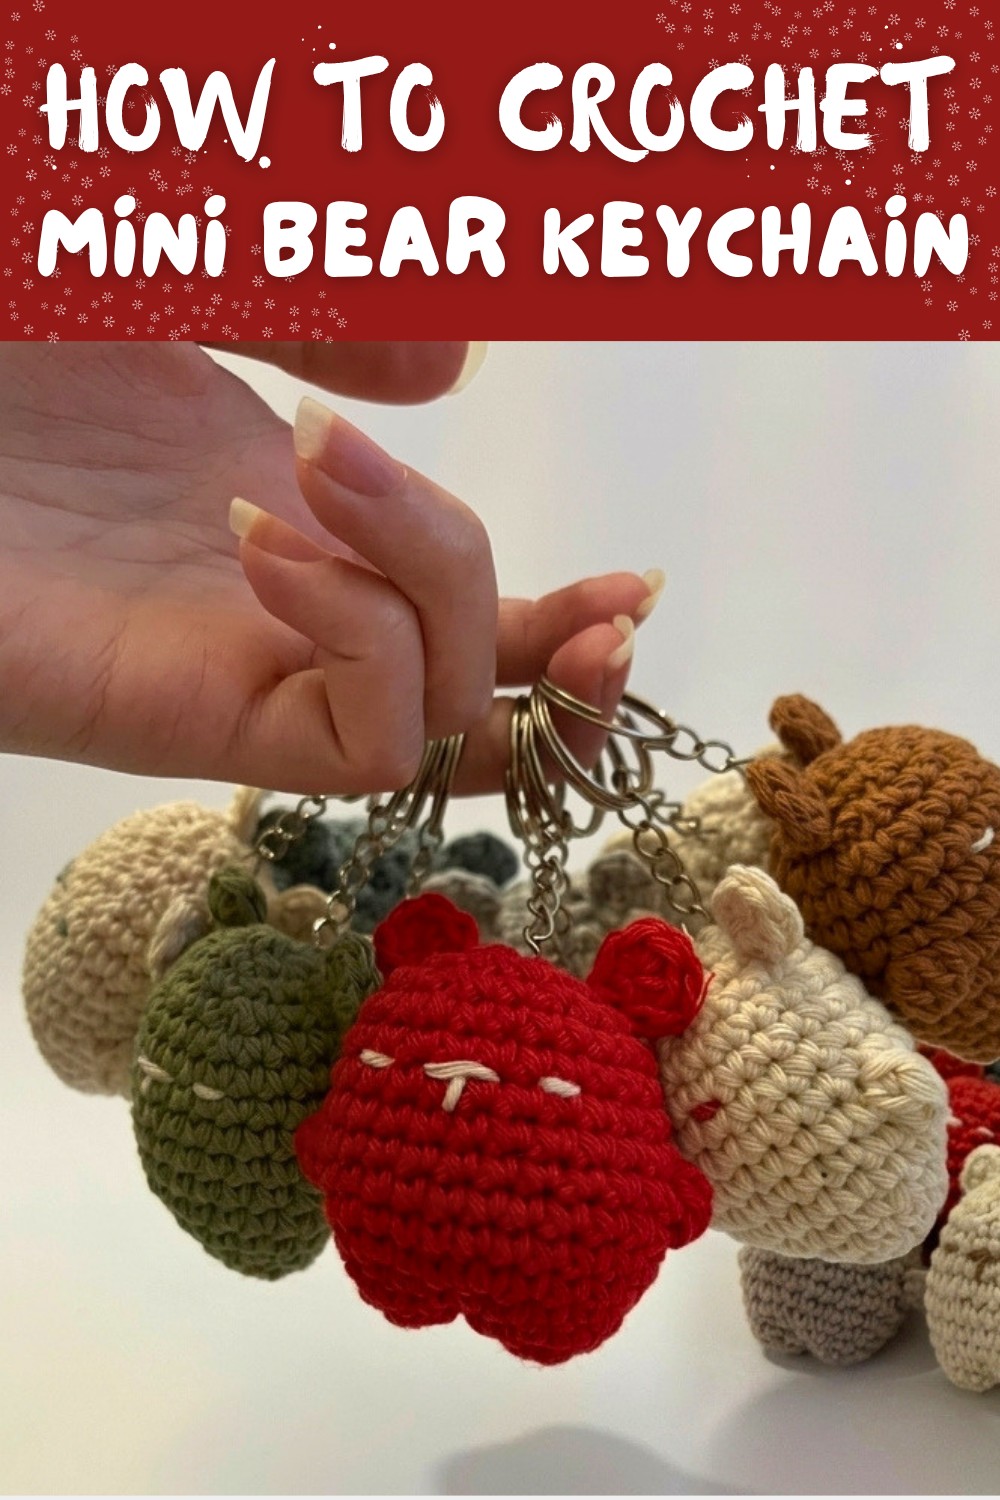
How to Crochet Mini Bear Keychain Pattern for Amigurumi Lovers
Effortlessly crochet a charming bear keychain with this free pattern, ideal for quick handmade gifts and trendy everyday essentials.
Perfect for adding charm to your everyday accessories, this adorable crochet bear pattern is a must-try project for anyone looking for quick, creative results. Designed to be lightweight and compact, this bear keychain pattern works as an ideal handmade gift, decorative item for a pacifier clip, or a unique addition to personal collections. Its small size means you can crochet it using leftover yarn, and it requires only basic stitches, making it beginner-friendly.
Free Crochet Mini Bear Keychain Pattern Perfect On-the-Go Accessory
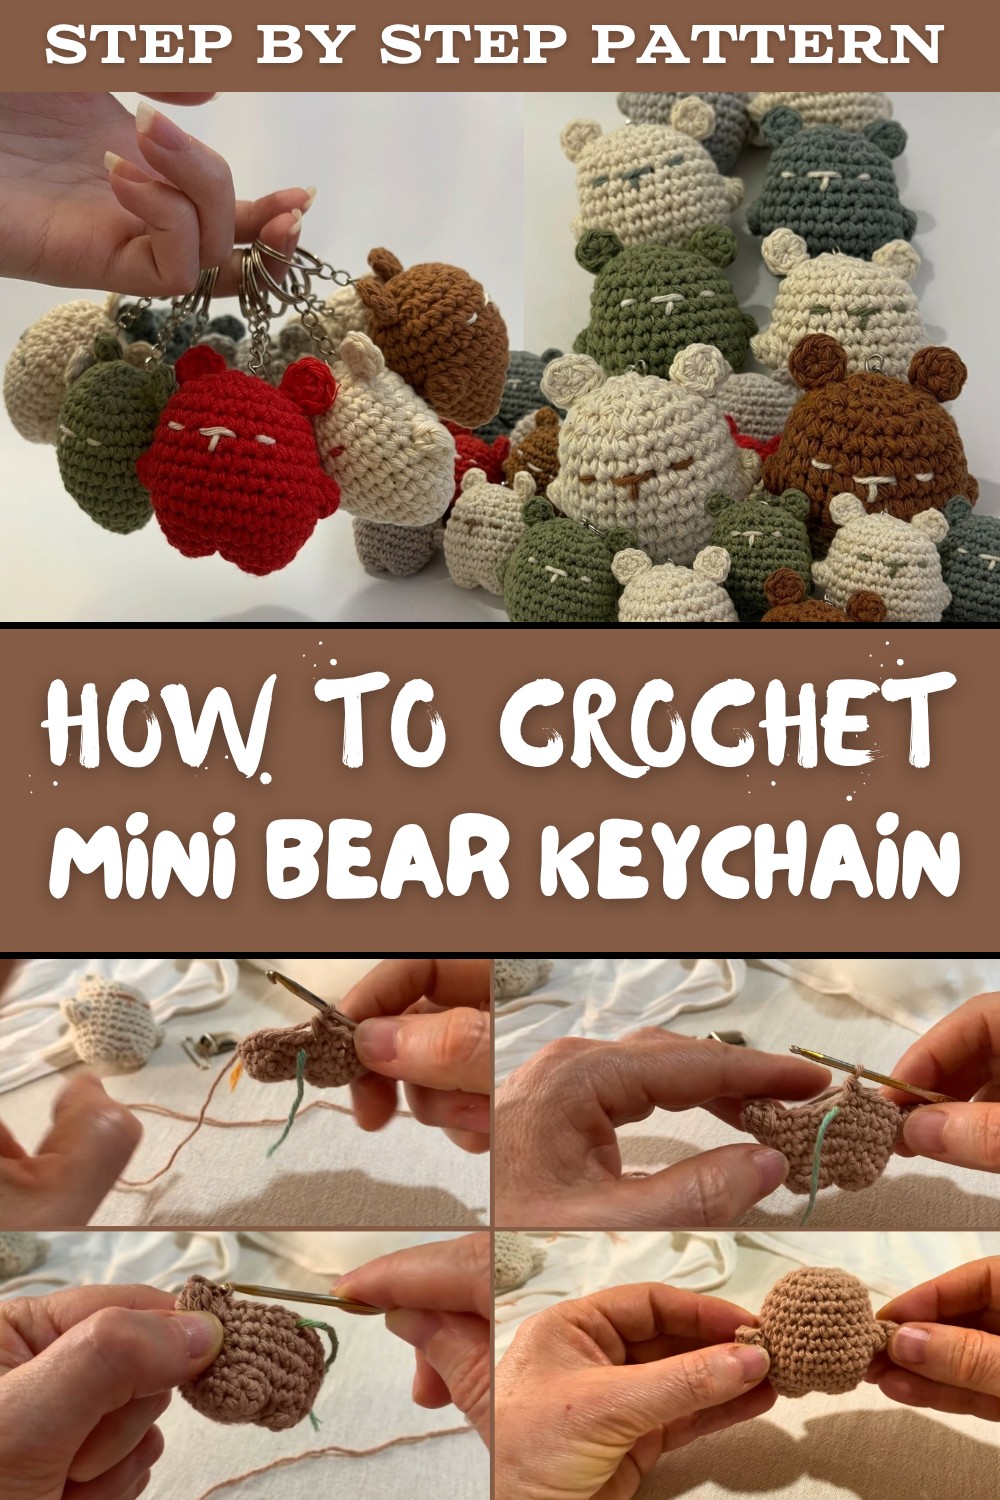
With minimal stuffing and simple detailing, this pattern allows you to bring your bear to life in no time. You can personalize it by using different colors for the body, nose, and eyes, ensuring each creation feels fresh and unique. Attach a keyring for a portable charm or sew on a clip for a baby accessory that's both functional and adorable.
This project not only saves materials but also time, making it perfect for busy crocheters or those just starting their crochet journey. Whether as a gift or a quick handmade item, it's sure to impress with its simplicity and cuteness. Fall into this easy pattern to enjoy a rewarding crochet with versatile uses and endless customization possibilities.
Materials Needed:
- Yarn: Small amounts of cotton yarn in your desired colors (e.g., gray or brown for the bear and contrasting color for face details).
- Hook: 2.5 mm or a size appropriate for your yarn.
- Stuffing: A bit of polyester fiberfill or similar material.
- A small safety clip (if making a pacifier holder) or a keyring for a keychain.
- Yarn needle, scissors, and a stitch marker.
- A pacifier cord clip (optional-if using as a soother holder).
Skill Level:
Beginner-friendly (requires basic knowledge of amigurumi techniques).
Special Features & Suggestions from the Tutor:
- Minimal Material Use: This project requires very little yarn and can be made with leftover scrap yarn.
- It's quick to make, perfect for gifts or decorations.
- Customizable Uses: You can attach a keyring or pacifier clip to create different accessories.
- Level of difficulty: Suitable for beginners, as it uses only basic increases, decreases, and single crochet stitches.
Step-by-Step Detailed Crochet Pattern:
1. Create the Bear's Legs:
- Start with a magic ring:
- Work 6 single crochets (sc) into a magic ring. Pull the ring tight.
- R1: Repeat (1 sc, 1 increase) around (9 stitches in total).
- Fasten off the first leg, leaving the yarn long enough to weave in.
- Make the second leg following the same steps:
- On the second leg, do not fasten off!
- Instead, connect the second leg to the first one by crocheting around both pieces to join them:
- Work 9 sc into the first leg, then move to the next leg and repeat 9 sc there.

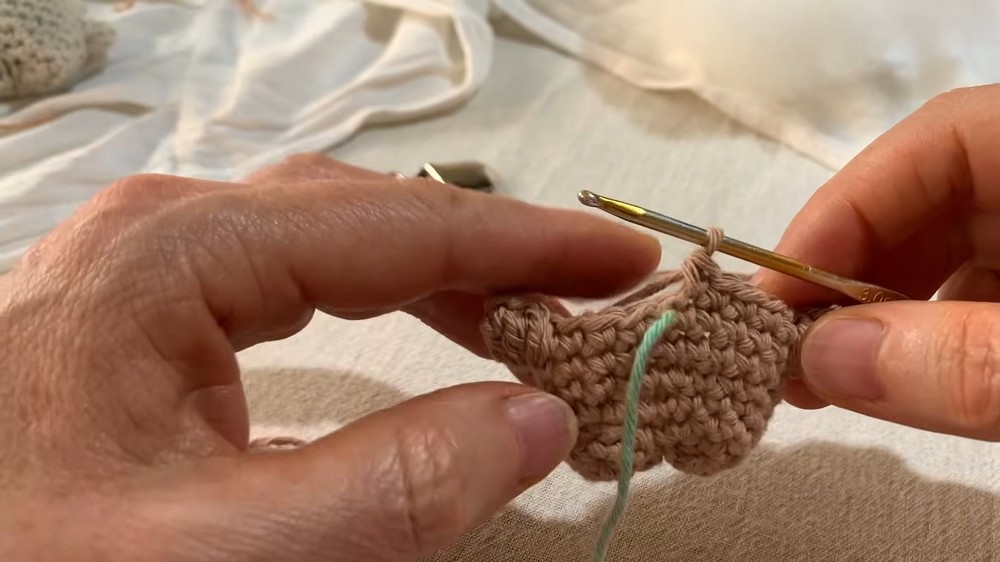
2. Build the Body:
- After connecting the legs, crochet an increase:
- R4: Work (2 sc, 1 increase) all around (24 sts).
- R5-R6: Continue straight sc for 2 rows (24 sts per row).
- Add detailing for the arms:
- During R7, position "puff stitches" to define the hands:
- Crochet 5 double crochets, all in one stitch. Remove your hook, insert it back into the first loop, and pull through to close the puff stitch.
- During R7, position "puff stitches" to define the hands:
- Continue crocheting evenly:
- R8-R11: Work 24 sc per round.

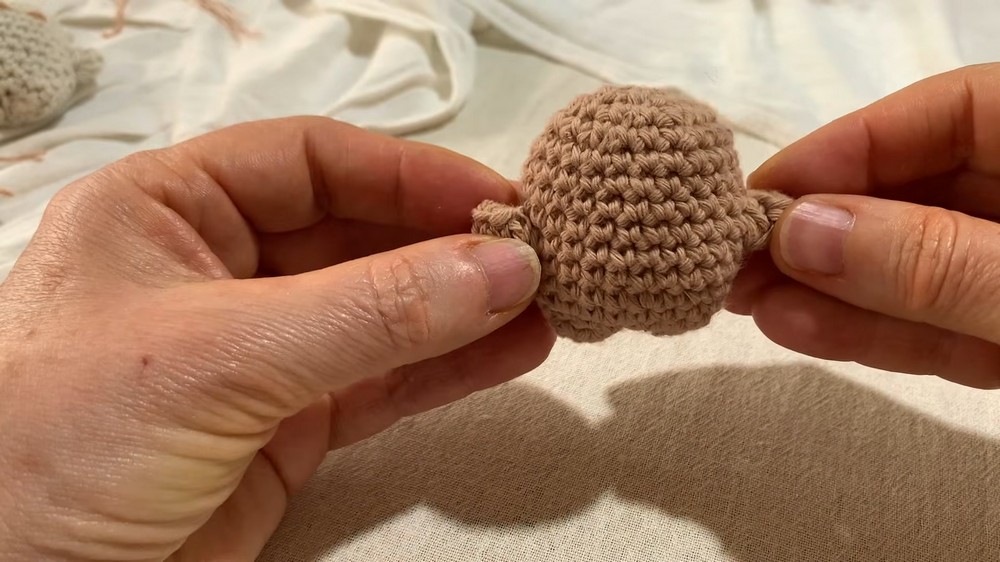
3. Shape the Head:
- Start decreasing to shape the head:
- R12: Work (2 sc, 1 decrease) around (18 sts).
- R13: Work (1 sc, 1 decrease) around (12 sts).
- Stuff the body:
- Firmly fill the body with fiberfill to give it a nice, rounded shape.
- Close the head:
- R14: Work 6 decreases (6 sts).
- Cut the yarn, thread it with a needle, and weave it through the remaining stitches. Pull tight to close securely.
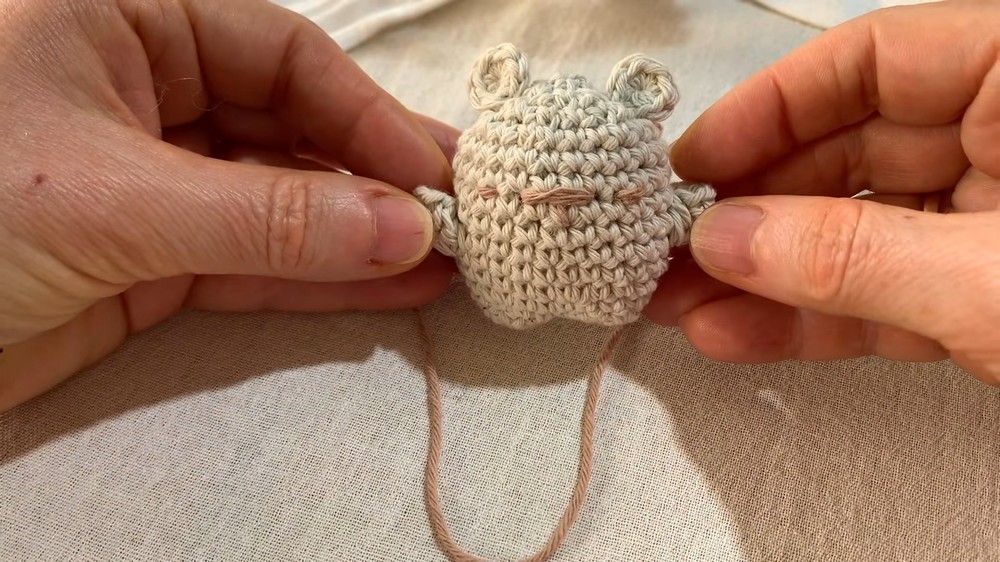
4. Add the Ears:
- Start with a magic ring:
- Work 6 sc into the ring. Pull it tight but do not join the round.
- Cut the yarn, leaving enough to sew the ear to the head.
- Make the second ear in the same way.
- Attach the ears:
- Sew the ears on the head between the 3rd and 4th round, spaced evenly on both sides.
5. Add the Nose and Eyes:
- Use a contrasting yarn (gray for brown bears, brown for gray bears):
- Stitch the nose between R6 and R7 of the head. Center it and make a triangle shape approximately 3 stitches wide.
- For the mouth, add a small straight stitch below the nose.
- Attach safety eyes or sew simple yarn eyes just above the nose, spacing them evenly.
6. Final Touches:
- If making a pacifier holder: Sew on the pacifier clip to the back of the head.
- If making a keychain: Attach the keyring.

Conclusion:
This small crochet bear keychain is a simple yet adorable creation that you can whip up in no time. Its versatility makes it perfect for gifts or as a personal accessory. Whether it's for a baby shower or just to show off your crochet skills, this little bear is bound to bring smiles.
Crochet Tip:
To ensure the bear's head and body are securely stuffed, complete the stuffing during the second-to-last round. This makes it easier to shape and avoids lumpy spots.
Final Remarks:
This crochet bear project is proof that you don't need hours or loads of materials to create something truly delightful. A little bit of yarn, some simple stitches, and your creative touch are all it takes to bring this bear to life.