
How to Free Crochet Coaster Pattern for Home Decor
Effortlessly crochet a trendy coaster with this free pattern that's eco-friendly, stylish, and perfect for every table setting.
A durable and elegant crochet coaster is the perfect mix of practicality and charm, adding a handmade touch to your home while keeping surfaces safe from drink stains and spills. Ideal for daily use or special occasions, it not only elevates your table setting but also adds a cozy, decorative vibe to any space. With this free crochet coaster pattern, you can easily customize colors and textures to suit your style, making it a versatile addition to your home or a thoughtful, unique gift for loved ones.
Modern Crochet Coaster Pattern for Beautiful Table Settings
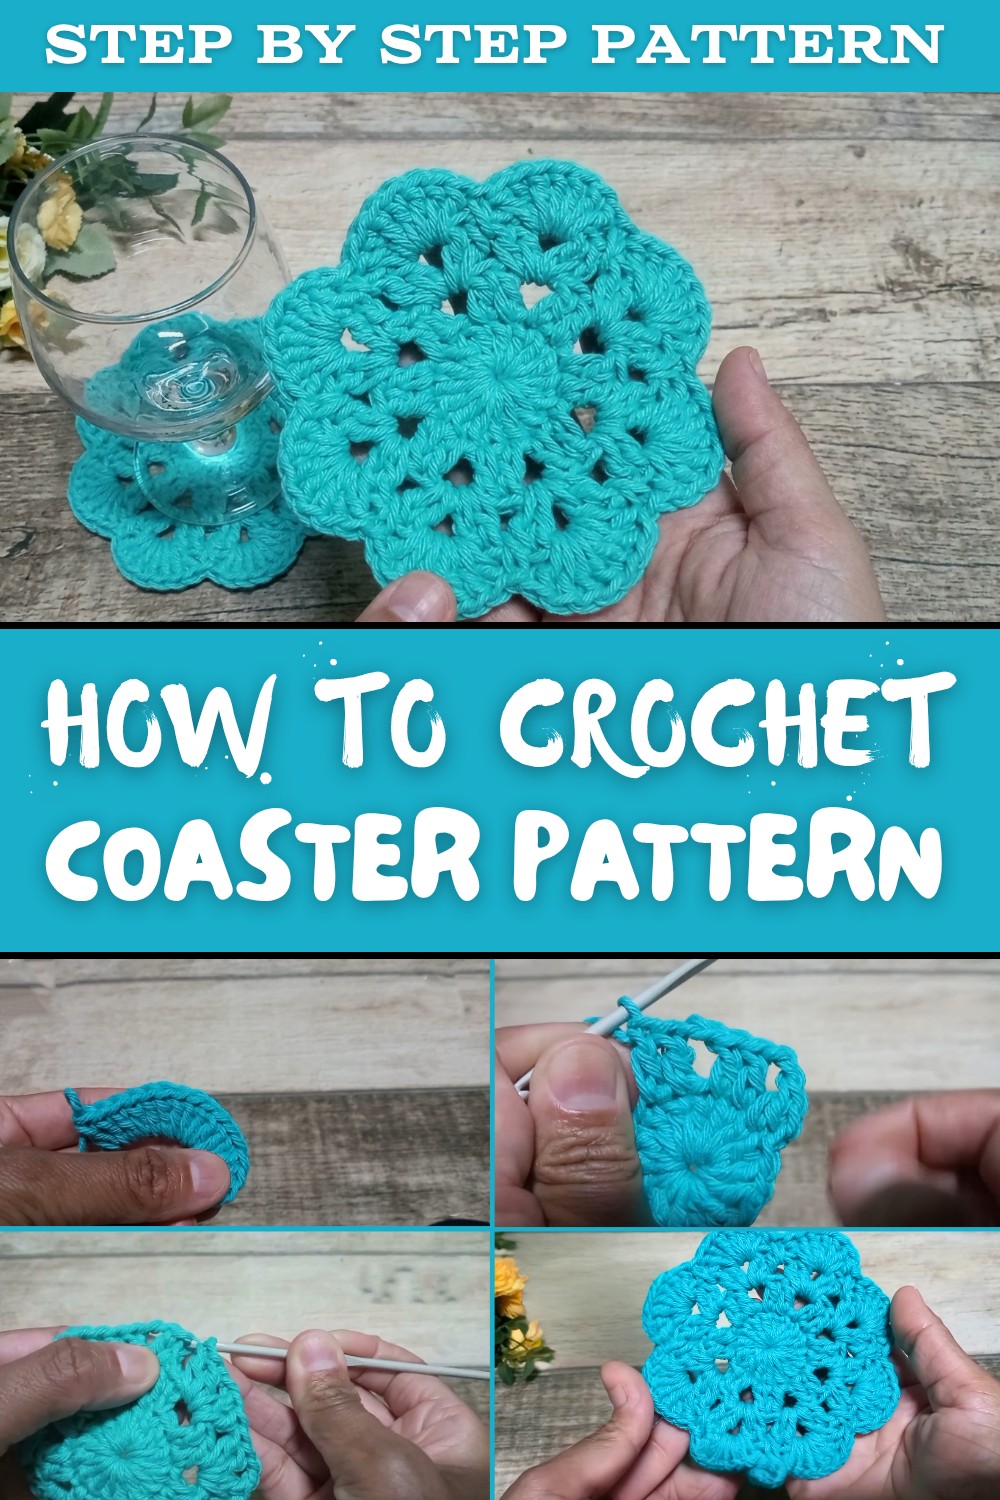
Lightweight, durable, and easy to store, a crochet pattern is as functional as it is eye-catching. This pattern is great for all skill levels, offering simplicity for beginners to learn essential stitches and flexibility for advanced crocheters to experiment with personalized designs. Plus, crocheting your own coaster is an eco-friendly alternative to disposable options, making it a small yet meaningful step toward sustainable living.
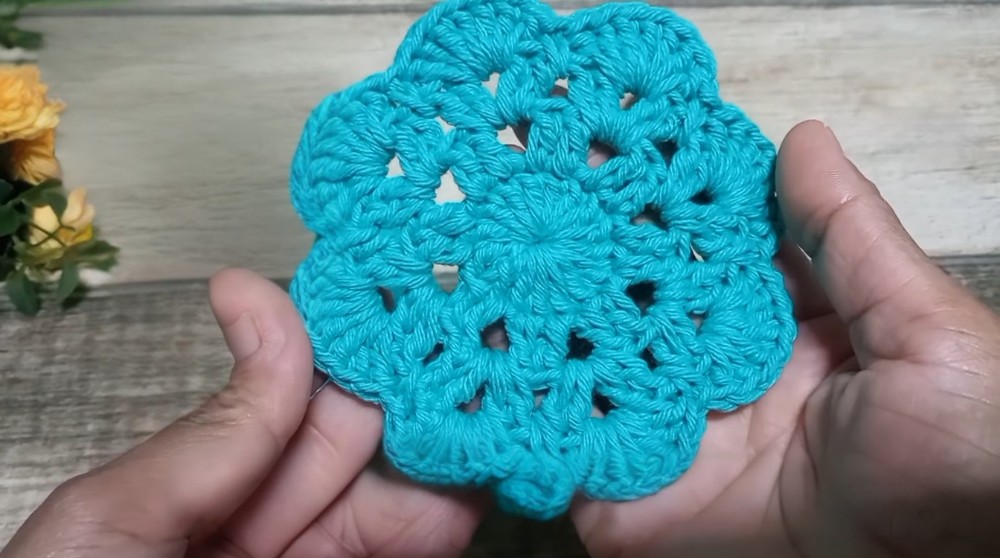
By incorporating this handmade piece into your décor, you not only highlight your creativity but also transform the way you protect your furniture. So pick your favorite yarn, follow the pattern, and enjoy the satisfaction of creating something both beautiful and practical for your home.
Special Features
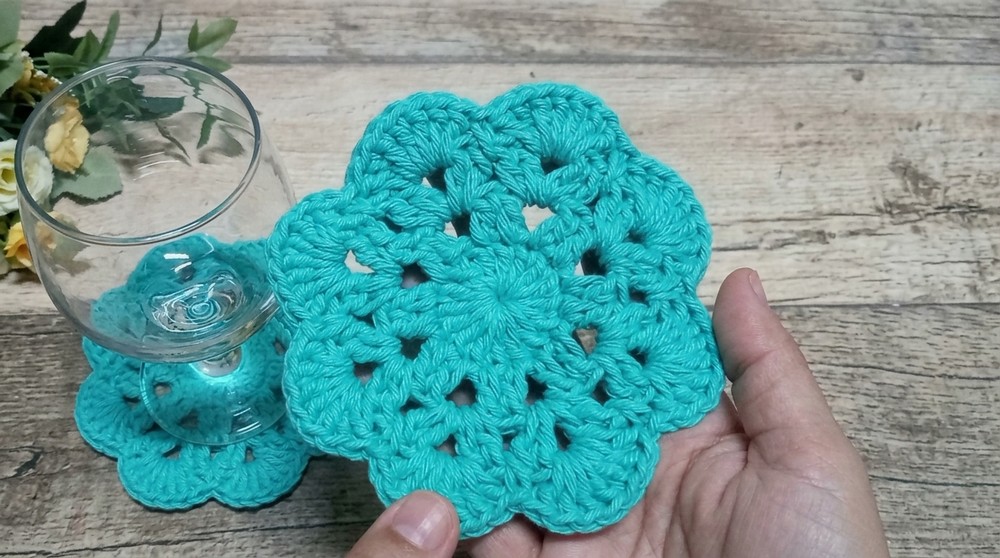
- Size: 10.5 cm in diameter.
- Design: Elegant circular pattern featuring "leque" (fan) motifs composed of 7 double crochets.
- Skill Level: Beginner-friendly but engaging for advanced crocheters.
- Versatility: Works as part of a table set or as standalone coasters.
- Eco-Friendly: Reusable coaster reduces the need for disposable options.
Materials Needed
- Yarn: Size 6 cotton yarn or another similar-weight material.
- Hook: 3.5 mm crochet hook.
- Tapestry Needle (optional): For weaving in ends.
- Scissors: For cutting excess yarn.
Step-by-Step Crochet Coaster Instructions
Step 1: Create a Magic Ring
- Leave a short tail of yarn and wrap it around your two fingers, forming an "X".
- Slide your crochet hook under the first strand of the "X" and pull the second strand through to form a loop.
- Remove your fingers from the loop and tighten it slightly.
TIP: If a magic ring feels too advanced, chain 6 stitches and join the ends with a slip stitch to create a circle.

Step 2: First Round
- Start with a single crochet stitch followed by a chain, which serves as your first "faux" double crochet.
- Add 15 double crochets inside the magic ring. This brings your stitch count to 16 (including the faux double crochet).
- Special Note: Beginners can reference Marl Ideias' guide on double crochets, linked in the video.
- Pull the loose yarn tail to close the ring tightly.
- Join the round with a slip stitch in the top chain of the first faux double crochet.
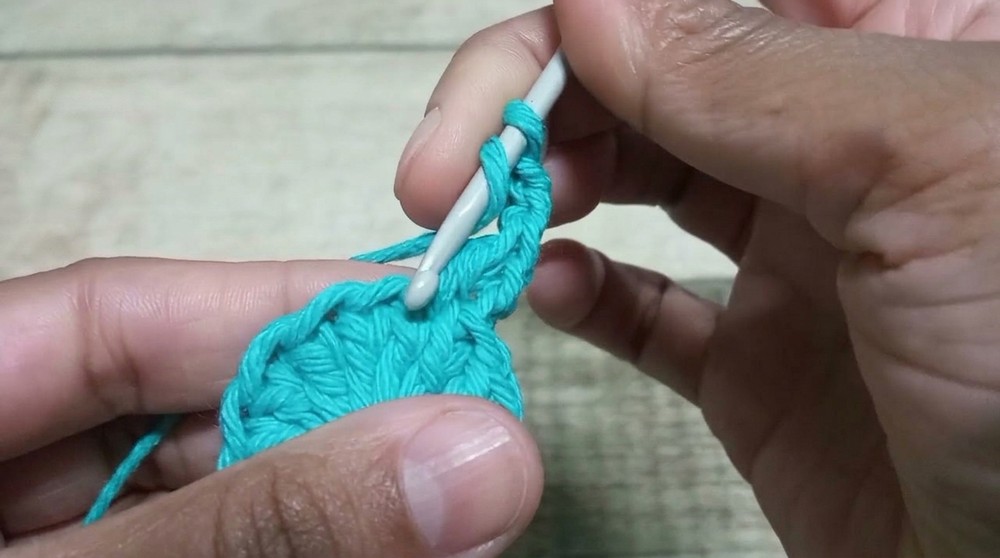
Step 3: Second Round
- Chain 2 to simulate the first double crochet of this round.
- Work 1 double crochet in the next stitch.
- Create 2 chain stitches for spacing.
- Repeat: Work 2 double crochets, one in each subsequent stitch, followed by 2 chain stitches.
- Ensure no stitches are skipped during this round.
- Close the round by slip-stitching into the top of the first chain. Your circle should now have 8 groups of 2 double crochet pairs separated by chain spaces.
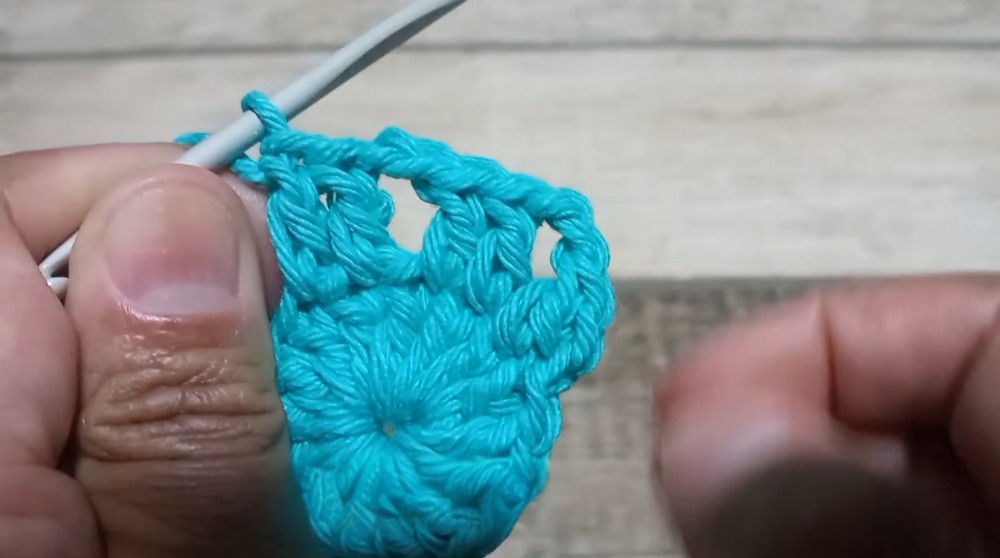
Step 4: Third Round - Forming the "Leque" (Fan) Pattern
- Slip stitch into the first chain space of the previous round.
- In this space:
- Work a single crochet followed by 1 chain (to form a faux double crochet).
- Add 6 more double crochets, totaling 7 for this section.
- Between every "leque," work 1 single crochet directly into the space between the groups of double crochets.
- Move to the next chain space and repeat: crochet 7 double crochets in the space, followed by 1 single crochet in the gap from the previous round.
- Continue this process for all chain spaces.
- When you reach the last gap, finish the round by adding a slip stitch at the top chain of the faux double crochet from the start of the round.

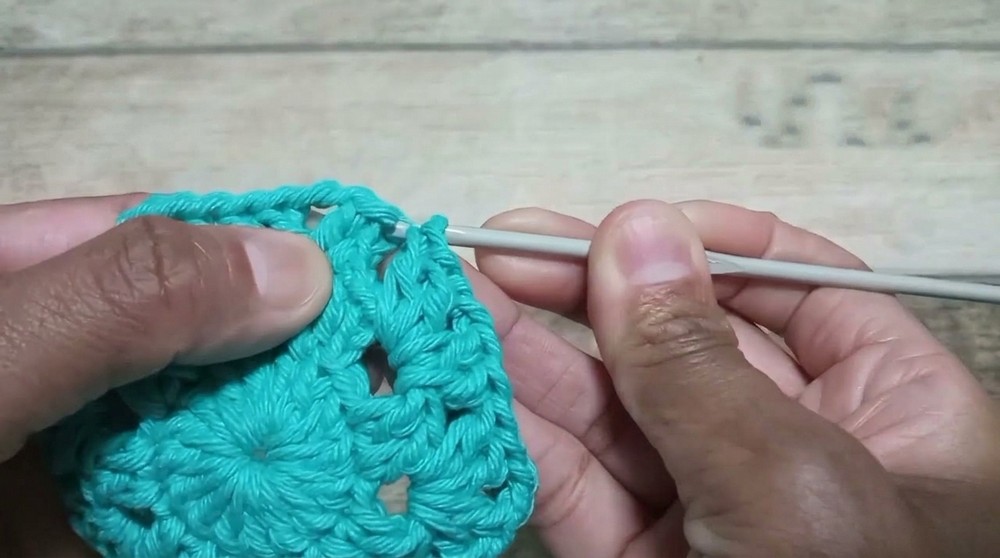
Step 5: Final Touches & Fastening Off
- Cut the yarn, leaving a small tail for weaving in.
- To simulate a seamless transition in the final stitch:
- Insert the yarn tail into the top of the next faux double crochet from the front and pull it to the back.
- Then, insert it into the base stitch of where you finished with the slip stitch, pulling it back to the front.
- This ensures the design has no visible knots or disruptions.
- Use a tapestry needle to weave in the loose ends through the back of the coaster, tucking the tail securely.
Tutor's Suggestions
- Yarn Substitution: Use any type of sturdy cotton yarn for best results. Cotton holds shape well and absorbs moisture effectively.
- Pattern Adjustments: If the coaster feels tight and starts curling upward, try adding more stitches in the fan pattern. If it ripples or feels loose, reduce the number of stitches to improve the structure.
- Special Tip: Beginners should practice the magic ring beforehand. Alternatively, using the chain circle method is a great workaround.
Uses & Benefits
- Protects tables and countertops from moisture and heat stains.
- Adds a handmade, decorative touch to your dining table setup.
- Easy to customize with colors that match seasonal or interior themes.
- Perfect as a thoughtful gift for housewarmings or birthdays.
- Eco-friendly and reusable alternative to paper or plastic coasters.
Final Tip
For a professional finish, block your coaster after completing it. Lightly spray with water, lay it flat, and pin it into shape to ensure symmetry and a polished look.
Conclusion
This crochet coaster pattern is an excellent way to hone your skills while creating something both creative and practical. Its simple pattern, combined with its customizable design, makes it beginner-friendly yet satisfying for advanced crocheters. Whether you're making one for yourself or gifting a set to loved ones, this versatile pattern ensures a beautiful result every time.