
Crochet Baby Booties for Your Little Boy Free Pattern
Starting your crochet journey with baby booties is a wonderful choice for both beginners and experienced makers. Baby booties are a special gift, combining practicality with the warmth of something handmade. Making them for boys is a perfect way to put your creativity to use, whether you want a thoughtful baby shower present or a cozy accessory for a little one in your life. Crocheting these booties is a relaxing activity, and watching your project come together stitch by stitch is truly rewarding.
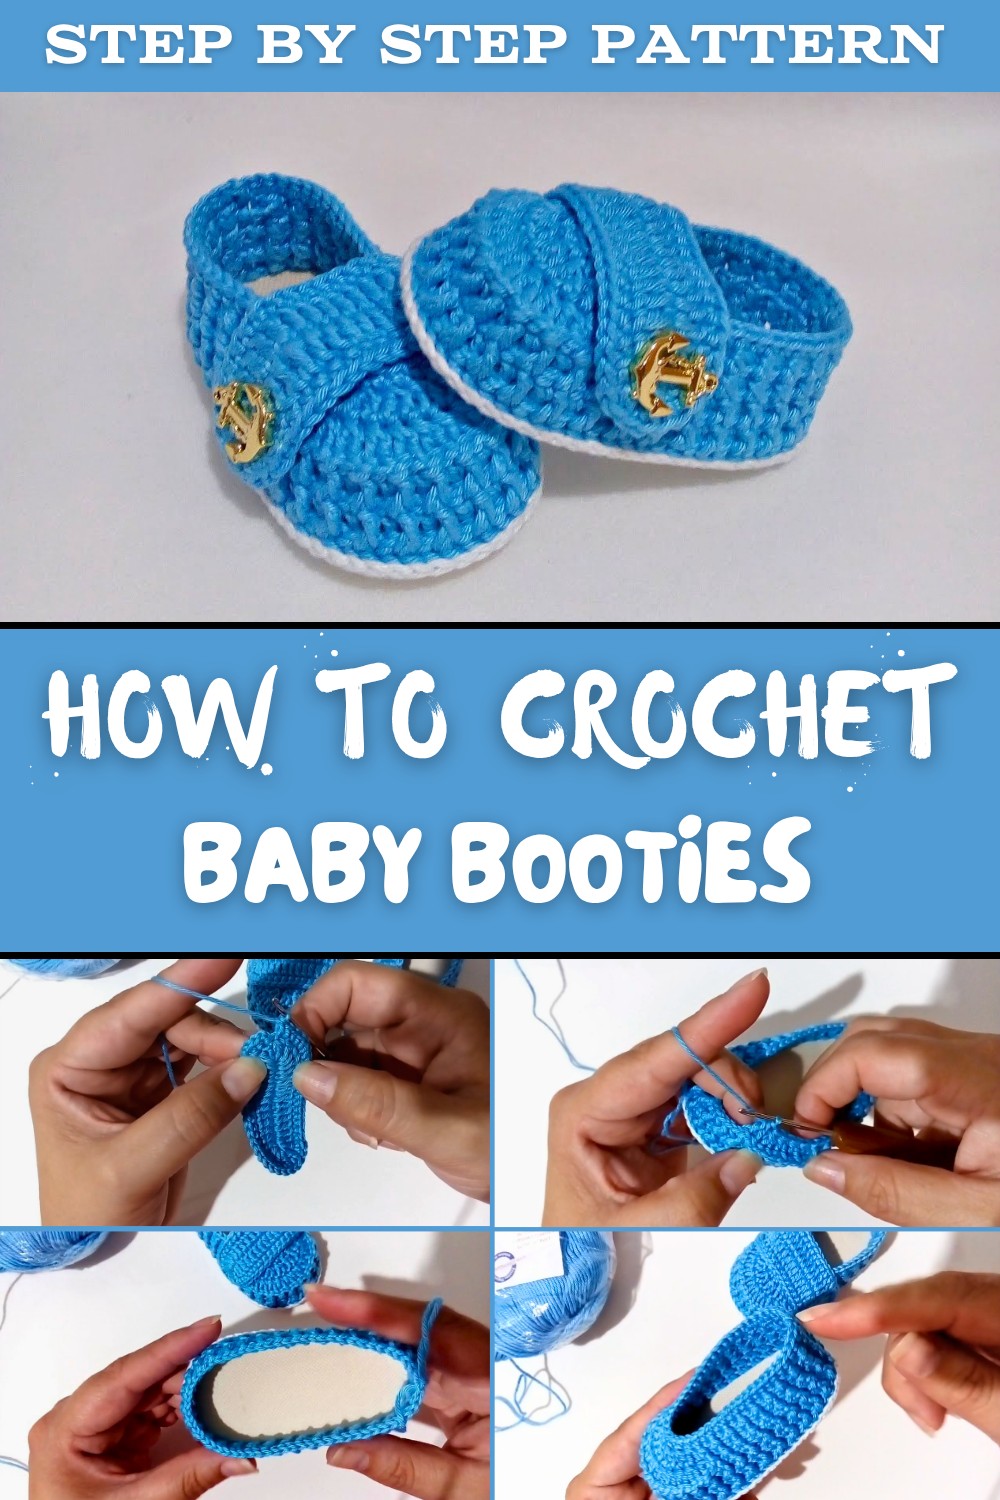
Free Crochet Baby Booties For Boys Pattern
These crochet baby booties stand out because of their simple yet adorable design. Usually, soft colors like blues and greys are used for boys, but you can also add your favorite colors or make them multi-colored. The pattern mostly uses basic crochet stitches such as single crochet and half double crochet, making it easy for anyone to follow. By adjusting this bootie pattern just a little, you can turn it into pretty little slippers or even soft house shoes for older kids. Add decorative buttons, bows, or stripes for a unique touch.
Important Steps to Remember:
- Always begin by making a neat foundation chain for the right size sole.
- Use a stitch marker to keep track of your rounds.
- Check your stitch count after each row to keep both booties the same size.
- Weave in your yarn ends neatly for a tidy finish.
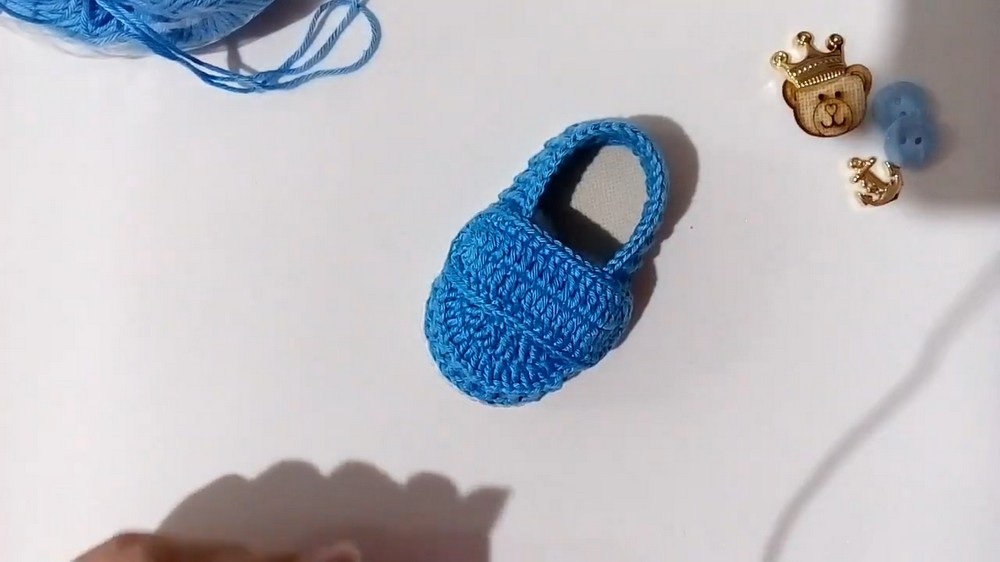
you'll make a foundation chain and then work in the round to shape the sole of the bootie. Around the midpoint, you might notice uneven stitches or the bootie curling more than expected. If this happens, make sure your tension is even, use a slightly bigger hook, or gently reshape your work with your hands. Near the end, when closing the top, be careful to follow the decreases and shaping directions closely to get the perfect snug fit for little feet.
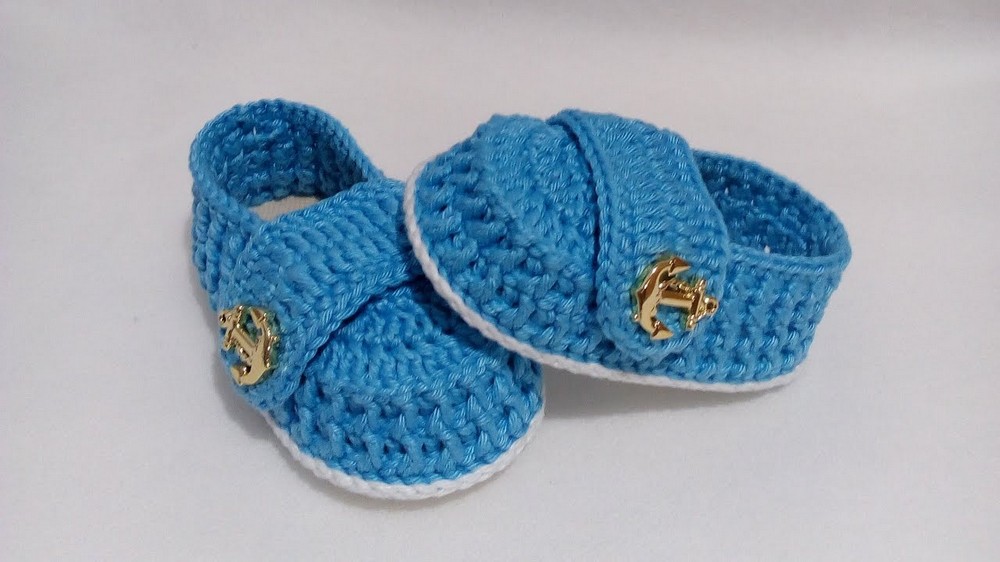
When you finish, you'll have a lovely pair of booties that fit newborns-usually around 3 to 3.5 inches long-but you can easily adjust the size by changing your yarn or hook. With this easy pattern, you'll not only have a cute gift in no time, but you'll also gain the confidence to try more crochet projects like hats, mittens, or even tiny shoes using the same basic steps.
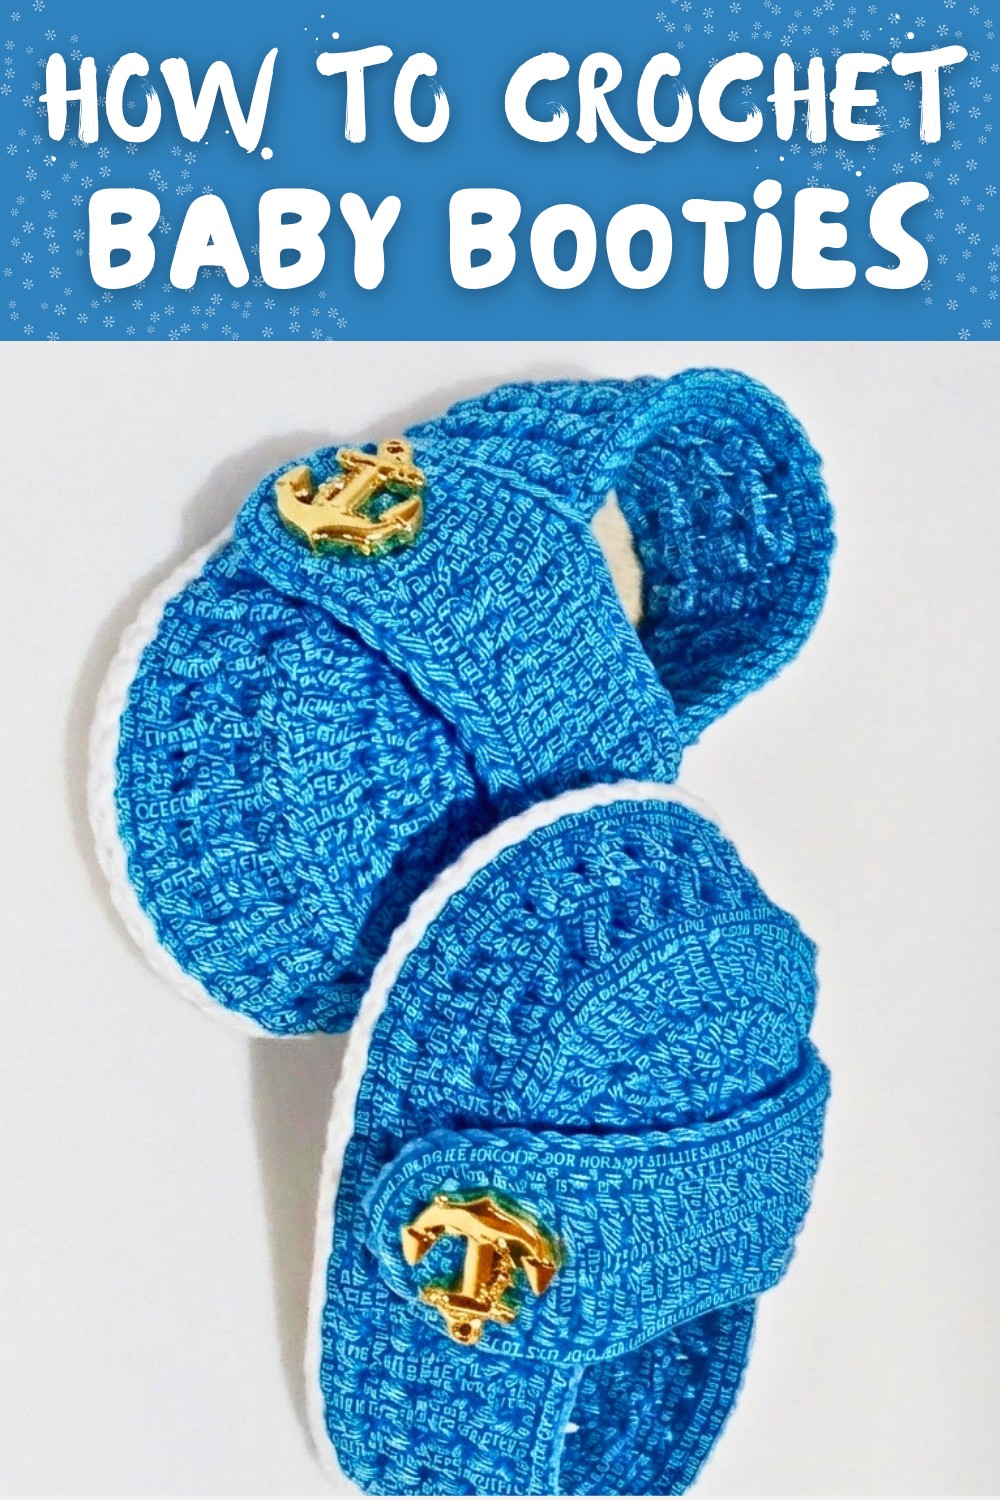
Crochet Baby Shoe (Bootie) Pattern
Finished size: 9 cm (for approximate newborn-3 months)
Materials
- Yarn: Anne or Charme (Anne for smaller, Charme for slightly larger)
- Crochet hook: 1.75 mm
- Contrasting/White accent yarn (for top)
- Ready-made EVA insole (or make your own from craft foam)
- Stitch marker, scissors, tapestry needle
- Velcro/button for strap
Step 1: Outline the Sole
Round 1:
- With sole, work a complete round of single crochet (sc) in relief (i.e., working into the sides of the sole for a neat finish).
- Slip stitch to first sc to join.
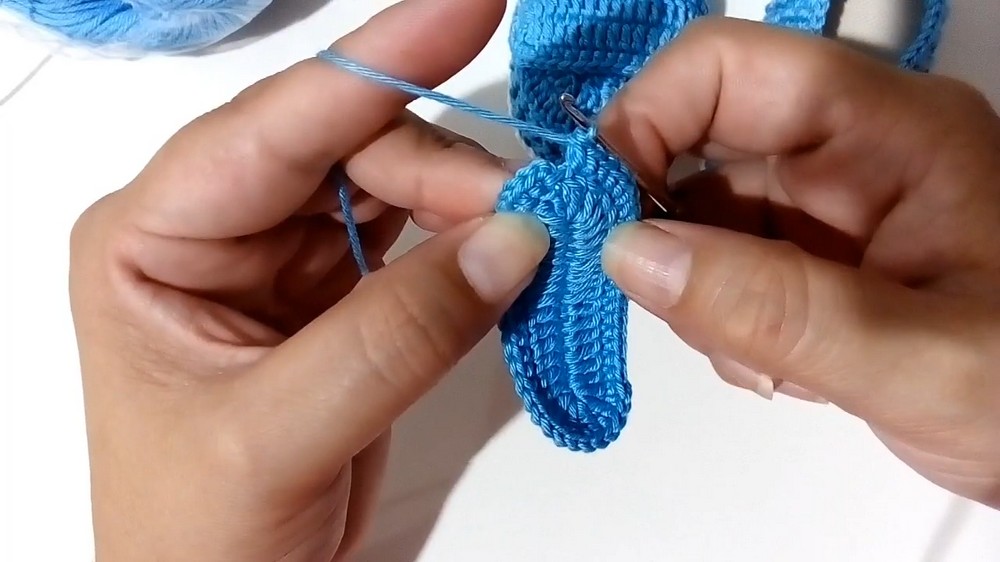
This forms the base for your shoe. You're simply outlining the ready-made insole with single crochet, which anchors your first stitches.
Step 2: Foundation Rows for Sides
Round 2:
- Ch 3.
- Work the round in alternating front-post double crochet (fpdc) and back-post double crochet (bpdc):
- First stitch: fpdc
- Next: bpdc
- Repeat around.
- Slip stitch to join.
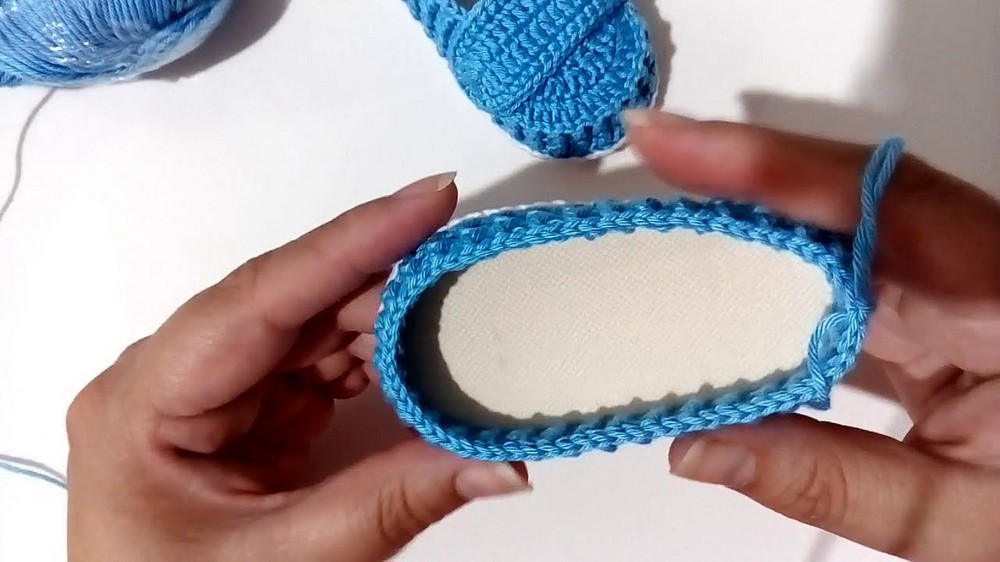
Alternating front and back post stitches creates a rib effect and makes the sides firm and pretty. The posts are worked around the stem ("post") of the stitch below.
Round 3:
- Ch 3.
- Continue as above: fpdc, bpdc around.
- Slip stitch to join.
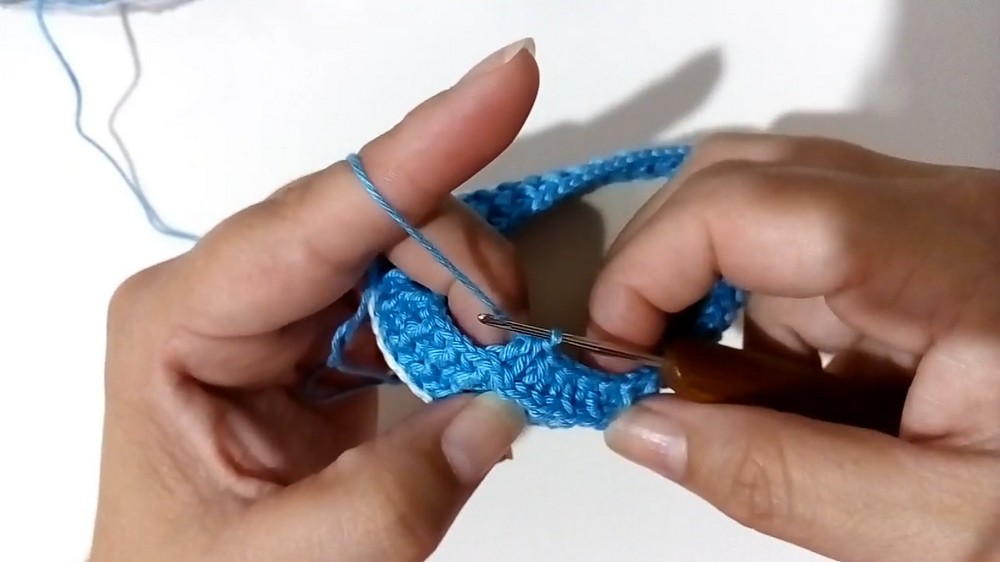
This round builds up the sides of the shoe, repeating the rib pattern for a neat edge and extra structure.
Round 4:
- Ch 3.
- Continue fpdc, bpdc around (same sequence as previous round).
- Slip stitch to join.
You now have a nice, structured side, tall enough to begin shaping the toe and front.
Step 3: Glue in Insole
- Pause to glue in your EVA insole now (it is easier at this stage than later).
- Use silicone glue or fabric glue, pressing firmly.
This keeps your shoe sturdy and prevents it from being floppy. Let dry if necessary.
Step 4: Begin Toe Decreases
Round 5 (first decrease round):
- Ch 2 (now switching to half-double crochet, hdc).
- Continue the rib pattern (front/back post hdc) until you reach the center front (toe).
- In the toe area, make 12 front-post decreases:
- Yarn over, insert in post, pull up, leave loop on hook.
- Repeat into next post.
- Yarn over and pull through all loops.
- This is a decrease (combines two stitches into one).
- Repeat this for 12 decreases across front (toe).
- Continue in rib pattern to end, slip stitch to join.
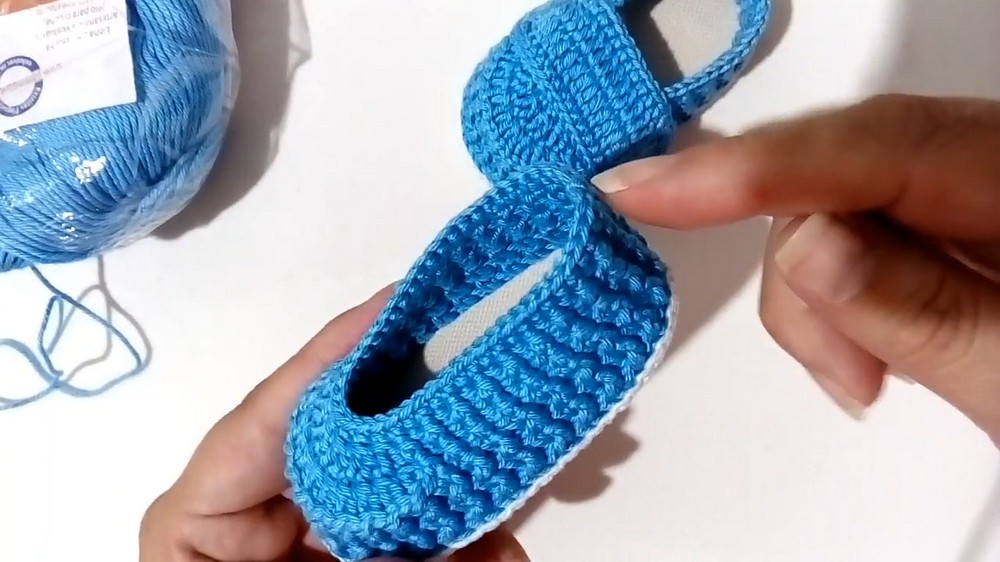
You're reducing stitches at the toe to create a rounded shape. Decreases (combining stitches together) are made only across the front. This "cups" the toe.
Round 6:
- Ch 2.
- Continue the rib (hdc, front/back post) except at the toe, where you make 6 decreases across the center front.
- Finish the round, slip stitch to join.
Fewer decreases this round further shape the toe. Continue rib as on sides and heel.
Round 7:
- Ch 2.
- Continue hdc around (no reductions).
- Slip stitch to join.
At this point, your shoe's basic shape is complete. This round simply creates height for the opening.
Round 8:
- Work single crochet (sc) evenly around, no post stitches or decreases.
- Slip stitch to join, cut yarn and weave in ends.
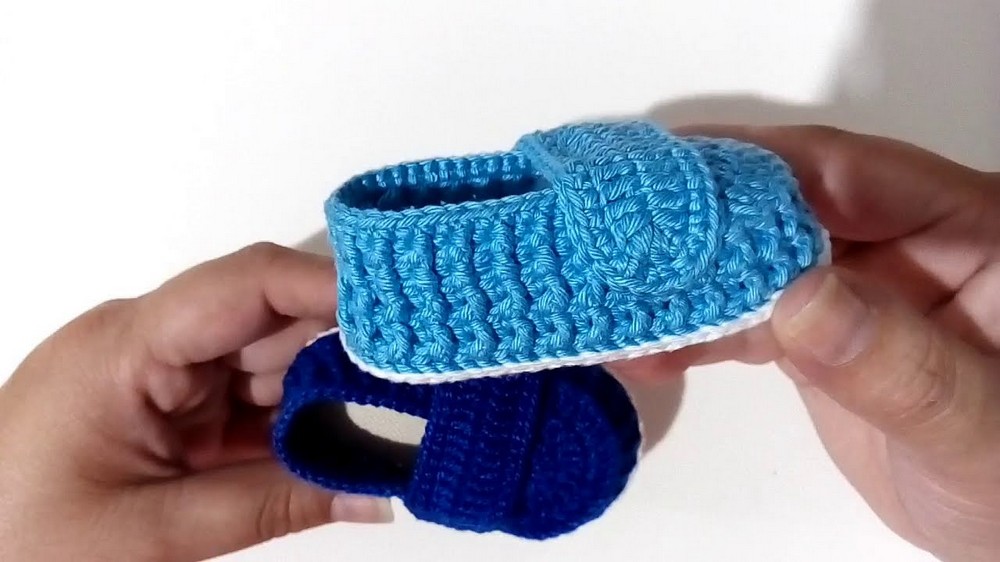
This finishes the shoe opening and keeps the edge neat and soft for baby.
Step 5: Make and Attach Strap
Strap Row 1:
- With white (contrast) yarn, chain 16 (for a nice fit around shoe).
- Ch 3, then in same stitch, work 1 dc.
- Work dc in each chain until the end.
You're making the strap for the shoe in a contrasting color. It's a simple band, created with double crochet.
Strap Row 2:
- At end, turn and work 5 dc in last chain (this forms the rounded tip).
- Work dc back along to starting point.
The 5 dc in one stitch creates a smooth curve for the strap end.
Strap Row 3:
- At starting chain, work 3 dc into first chain (rounded start).
- Slip stitch to join, cut yarn.
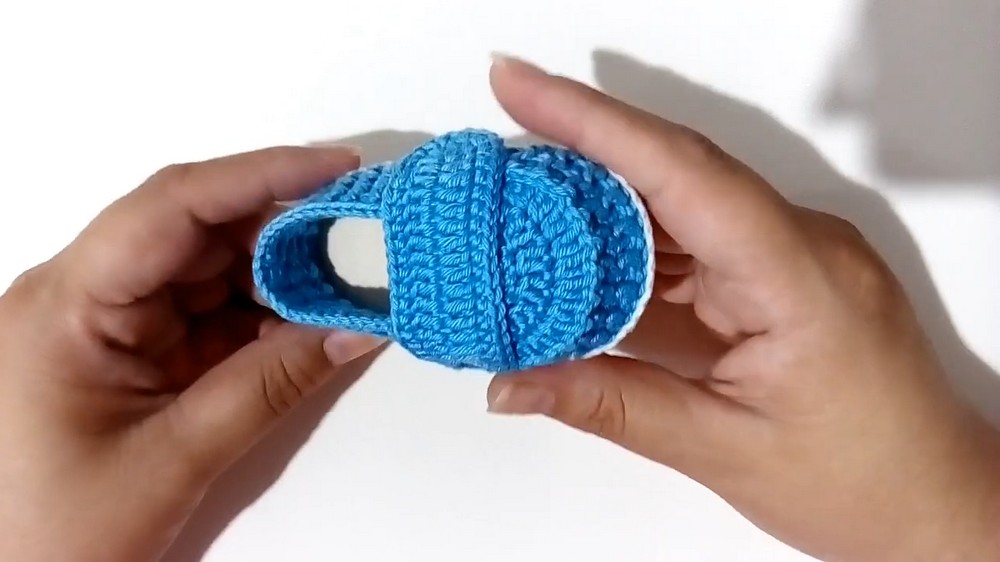
This gives the other end of the strap a rounded finish. Leave a tail for sewing.
Finishing the Strap:
- With a tapestry needle, sew one end of the strap firmly to one side of the shoe opening.
- On the other side, attach velcro or a button for closing.
Attach the strap so it crosses the shoe's opening. One side is sewn, one side is left loose for fastening.
Step 6: Final Touches and Embellishments
- Add buttons, crown motifs, anchor charm, teddy bear motif, etc. as desired.
- Sew securely, taking care to use safe embellishments if for a baby.
Personalizing the shoe makes it extra special and fun! You can use crowns, buttons, or keep it simple.
Summary for Beginners
- The sole is outlined in single crochets.
- The sides are worked in rib (front/back post double crochets).
- Toe shaped with decreases (reducing stitches at the front).
- The opening is finished with half double and single crochets.
- Strap made and sewn on, with velcro/button for fastening.
- Embellishments (buttons/charms) are optional and can be sewn on securely.