Easy Free Crochet Miffy Holder Pattern To Keep Things Fun
Grab this charming free crochet Miffy glasses holder pattern to add a playful and practical touch to your space while keeping your glasses safe and stylish.
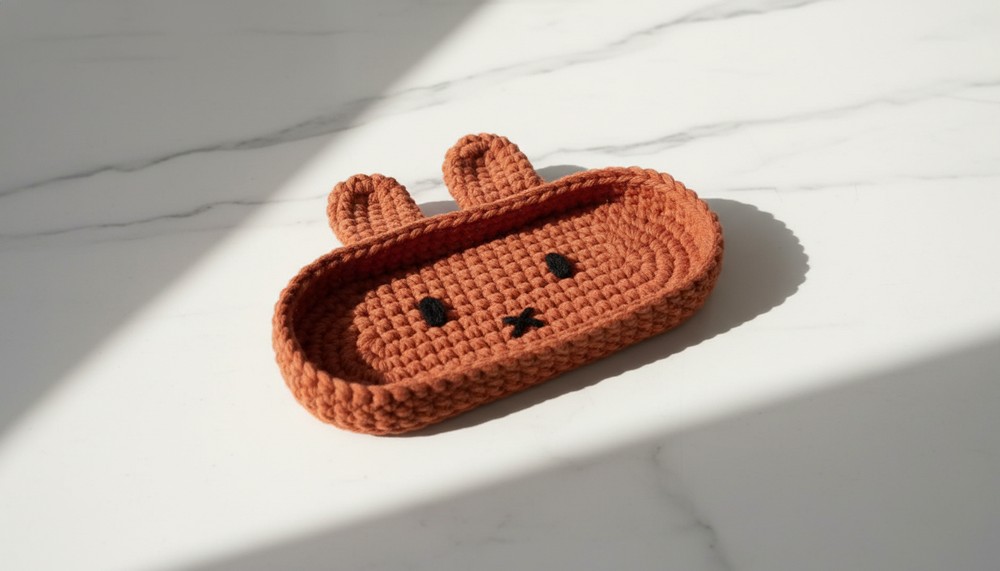
There's something magical about turning simple yarn into a functional and adorable creation. A crochet Miffy glasses holder pattern brings both charm and practicality to your everyday life. With its soft and whimsical design, it features the lovable figure of Miffy holding your glasses in the most delightful way. This adorable holder is perfect for keeping your glasses safe while adding a playful touch to your bedside table, desk, or shelf.
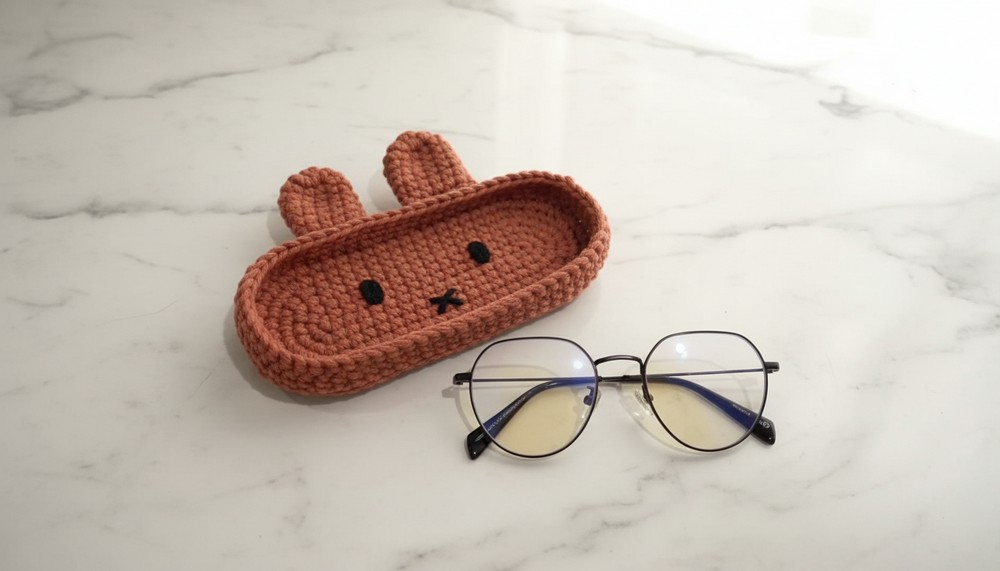
Crochet Miffy Glasses Holder Pattern To Brighten Up Your Shelf
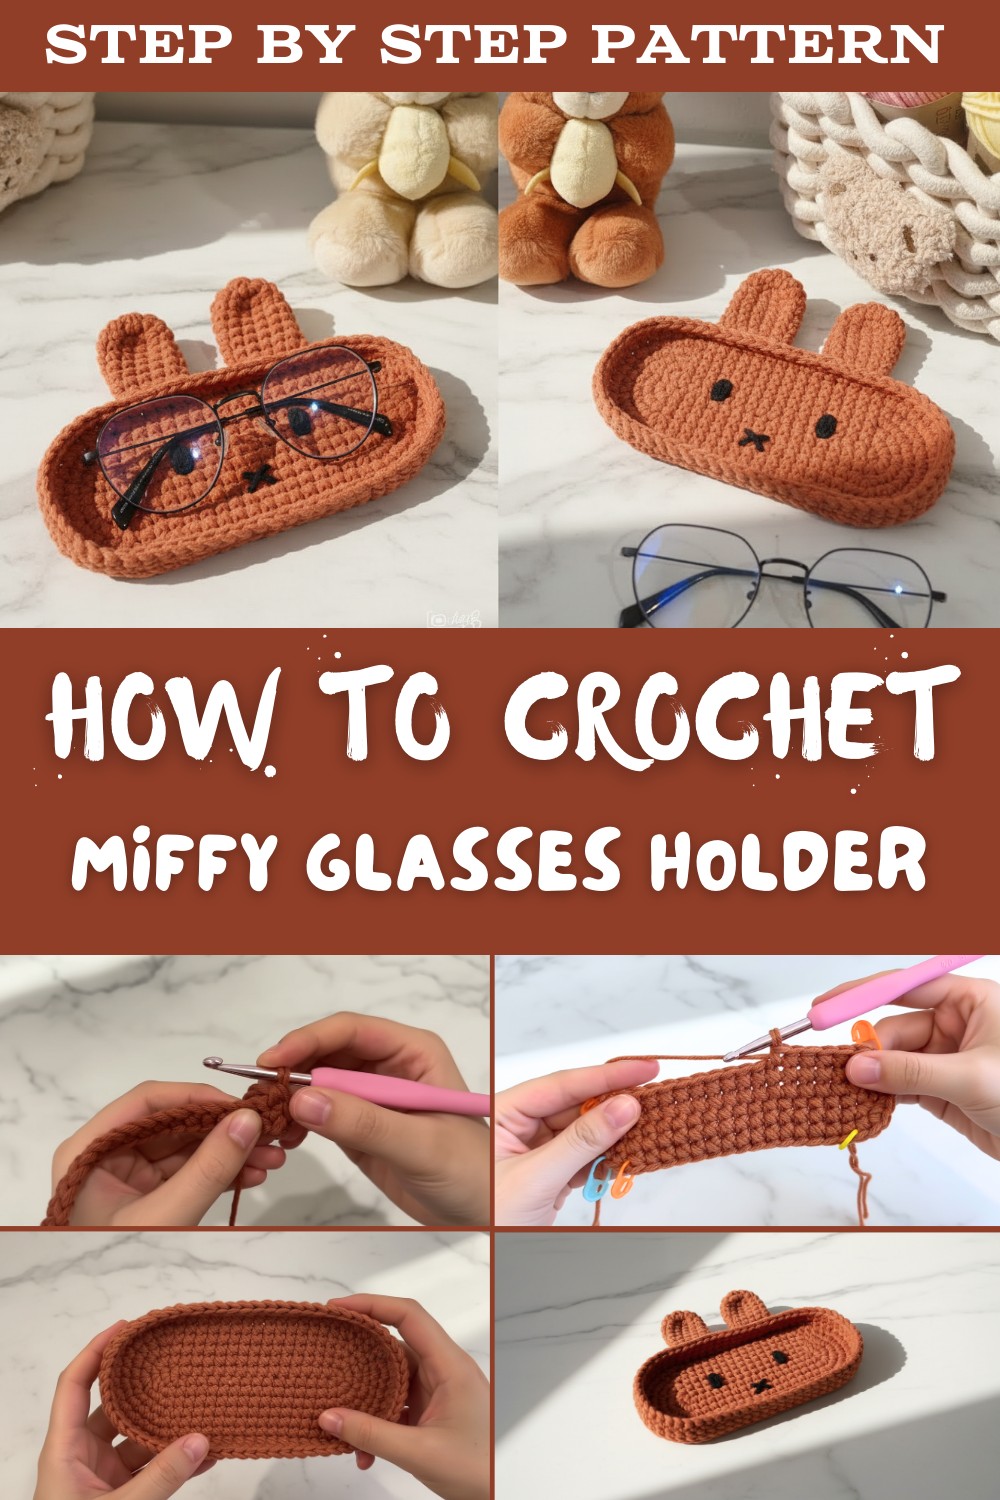
Its cute appearance never fails to brighten up the space around it, making it a lovely addition to any room. Easy to customize with your favorite colors, it allows you to match it with your personal style or home decor. Whether it's for your own use or as a thoughtful gift for someone who wears glasses, this crochet project blends creative fun with everyday usefulness while stealing hearts with its appearance.
Finished Size
- Base Diameter: Approximately 6 inches (15 cm)
- Height (including ears): Approximately 2.5 inches (6.5 cm)
Materials Needed
- Yarn:
- 5 strands of milk cotton yarn (recommended: 5 FLM Cotton Yarn) in Earthen for the base and ears. Alternatively, you can use one strand of bulky weight (category 5) yarn.
- Small amount of black felt or black yarn for the face details (eyes and mouth).
- Color options: Earthen for the base and ears; black for the facial details.
- Tools and Essentials:
- Crochet Hook: 5.5 mm (or 6 mm as an alternative).
- Felt: Thin, crisp black felt for Miffy's eyes.
- Glue: uxu glue (or comparable craft glue) to attach felt pieces.
- Stitch Markers (at least 5): To mark important starting/ending stitches on each row.
- Darning Needle: For sewing and weaving in ends.
- Scissors: To cut yarn and felt details.
- Optional Tools:
- Measuring tape for precise placement.
- Pins to secure felt placement before gluing.
Gauge
- Using 5.5 mm hook and 2 strands of milk cotton yarn held together:
- 4 single crochet stitches = approximately 1 inch.
- 4 rows of single crochet = approximately 1 inch.
Note: Gauge is not critical for this pattern but can affect the finished size.
Helpful Notes & Tips
- Terminology: This pattern is written in US Terms.
- SC = Single Crochet
- Increase = 2 Single Crochets in the Same Stitch
- Slip Stitch = Join with a sl st as instructed.
- Magic Ring: If you're a beginner struggling with the magic ring technique, you can chain 3, join with a slip stitch, and work into the center of the chain loop.
- Customization Ideas: Experiment with yarn colors for fun customization. For instance, pastel shades can lend a playful touch, or opt for neutral tones for a minimal aesthetic.
- Tightening Slip Stitch Joins: Always pull your slip stitches tight to prevent noticeable joins between rounds.
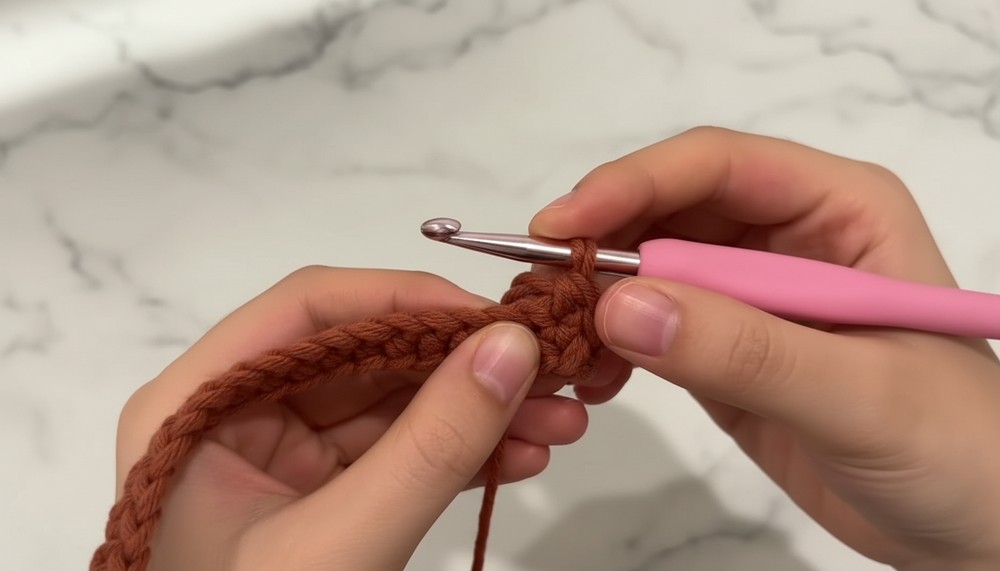
Pattern Instructions
BASE: Miffy Glasses Tray
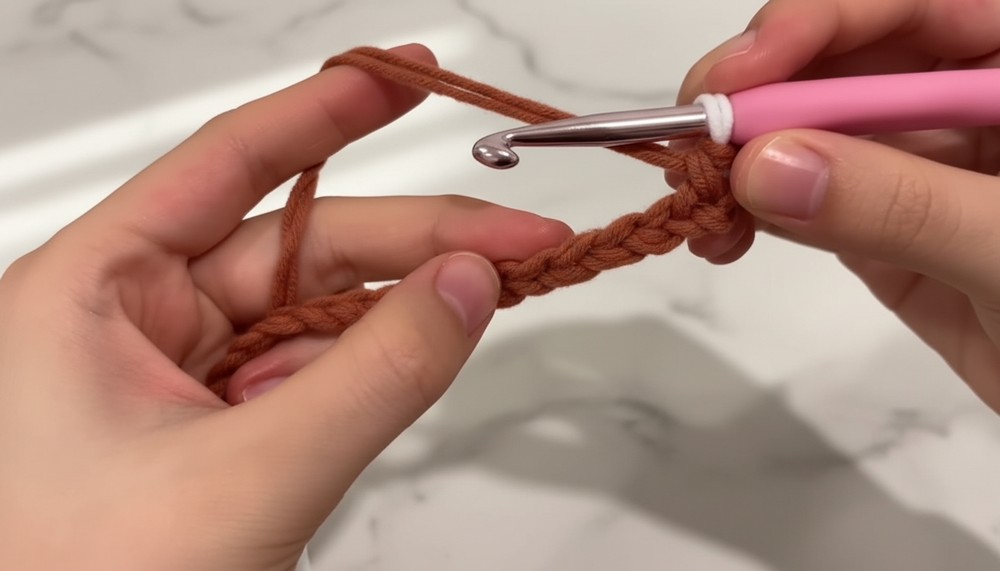
Round 1: Create the Foundation Circle
- Start with a Magic Ring.
- Chain 1 (does not count as a stitch).
- Work 6 SC into the Magic Ring. (6 sts total)
- Pull the magic ring tail tightly to close the circle.
- Slip stitch into the first SC to join the round. Tighten the slip stitch to create a neat join.
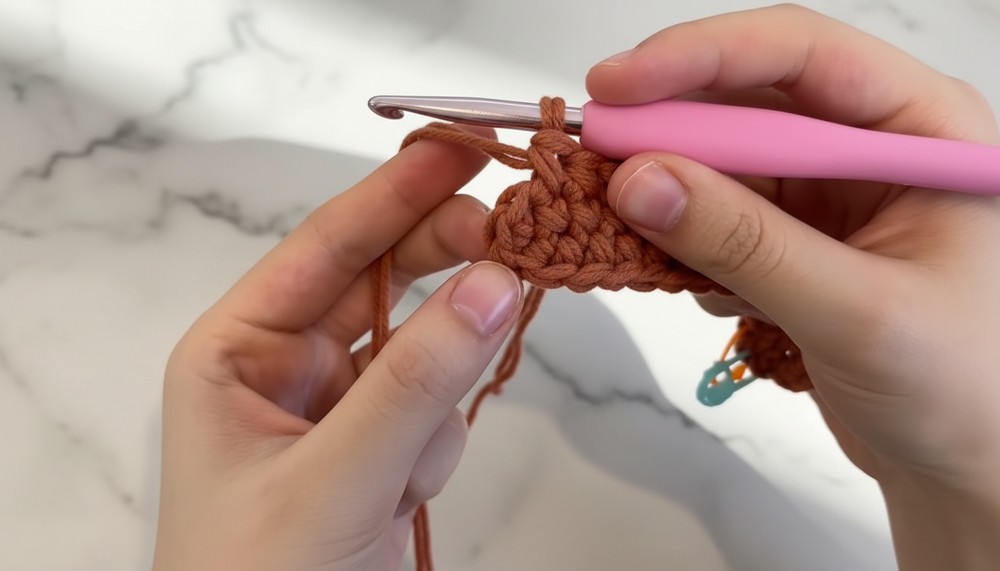
Round 2: Increase Round
- Chain 1 (to give height).
- Increase in every stitch around (place 2 SC in each stitch). (12 sts total)
- Slip stitch into the back loop of the first SC. Tighten to join.
Round 3: Building the Shape
- Chain 1.
- [1 SC, Increase in next stitch] around. (18 sts total)
- Slip stitch into the back loop of the first SC. Tighten.
Round 4: Expanding the Base
- Chain 1.
- [2 SC, Increase in next stitch] around. (24 sts total)
- Slip stitch to join.
Rounds 5-6: More Expansion
- Chain 1.
- [3 SC, Increase in next stitch] for Round 5. (30 sts total)
- [4 SC, Increase in next stitch] for Round 6. (36 sts total)
- Slip stitch to join at the end of each round.

Rounds 7-9: Building the Walls
- Chain 1 at the beginning of each round for height.
- Work 1 SC in each stitch around (without increasing).
- At the end of each round, slip stitch to join. For Round 7, work SCs into the front loop only to create a sharp edge. Rounds 8-9 use both loops.

EARS
Step 1: Create Ear Base
- Start with a Magic Ring.
- Chain 1.
- Work 6 SC into the Magic Ring. (6 sts total)
- Tighten the Magic Ring. Slip stitch into the first SC to join.
Step 2: Build Height
- Chain 1 to start. Work 1 SC in each of the stitches around. Repeat this step to create nine rounds of SCs (rounds 2-9). (6 sts in each round)
Step 3: Assemble and Sew
- Fold the ear flat and sew the edges together using a whip stitch. Leave the tail for attaching the ears.
- Make a second ear.
Step 4: Attach Ears to Tray
- Align the ears symmetrically along the edge of the tray.
- Use stitch markers to secure their placement while sewing.

FACE DETAILS
- Eyes: Cut two small oval pieces from black felt for Miffy's eyes. Attach the eyes slightly off the center with uxu glue.
- Mouth: Cut two short black yarn pieces for the "X"-shaped mouth. Arrange and glue between the eyes.
- Let the glue dry entirely for secure adhesion.
Finishing Touches
- Weave in all loose ends neatly.
- Gently shape the tray and ears using your fingers.
- Optional: Stiffen the ears slightly by thinning a layer of craft glue and brushing it onto the inside.
Special Techniques
- Magic Ring (alternative to chaining 3): Provides a seamless circular start for your project.
- Invisible Join: Ensures a clean, finished look when transitioning between rounds.

Conclusion
Congratulations on completing your adorable Miffy Glasses Holder Tray! This charming organizer is perfect for keeping your glasses safe while adding a touch of kawaii to your space. Whether it's placed on a bedside table or gifted to someone special, this tray is sure to delight.
Important Tips
- Double-check the symmetry of the ears before sewing.
- For a polished look, keep stitches tight and consistent.
- Feel free to adapt the design for other characters by modifying the facial details!
