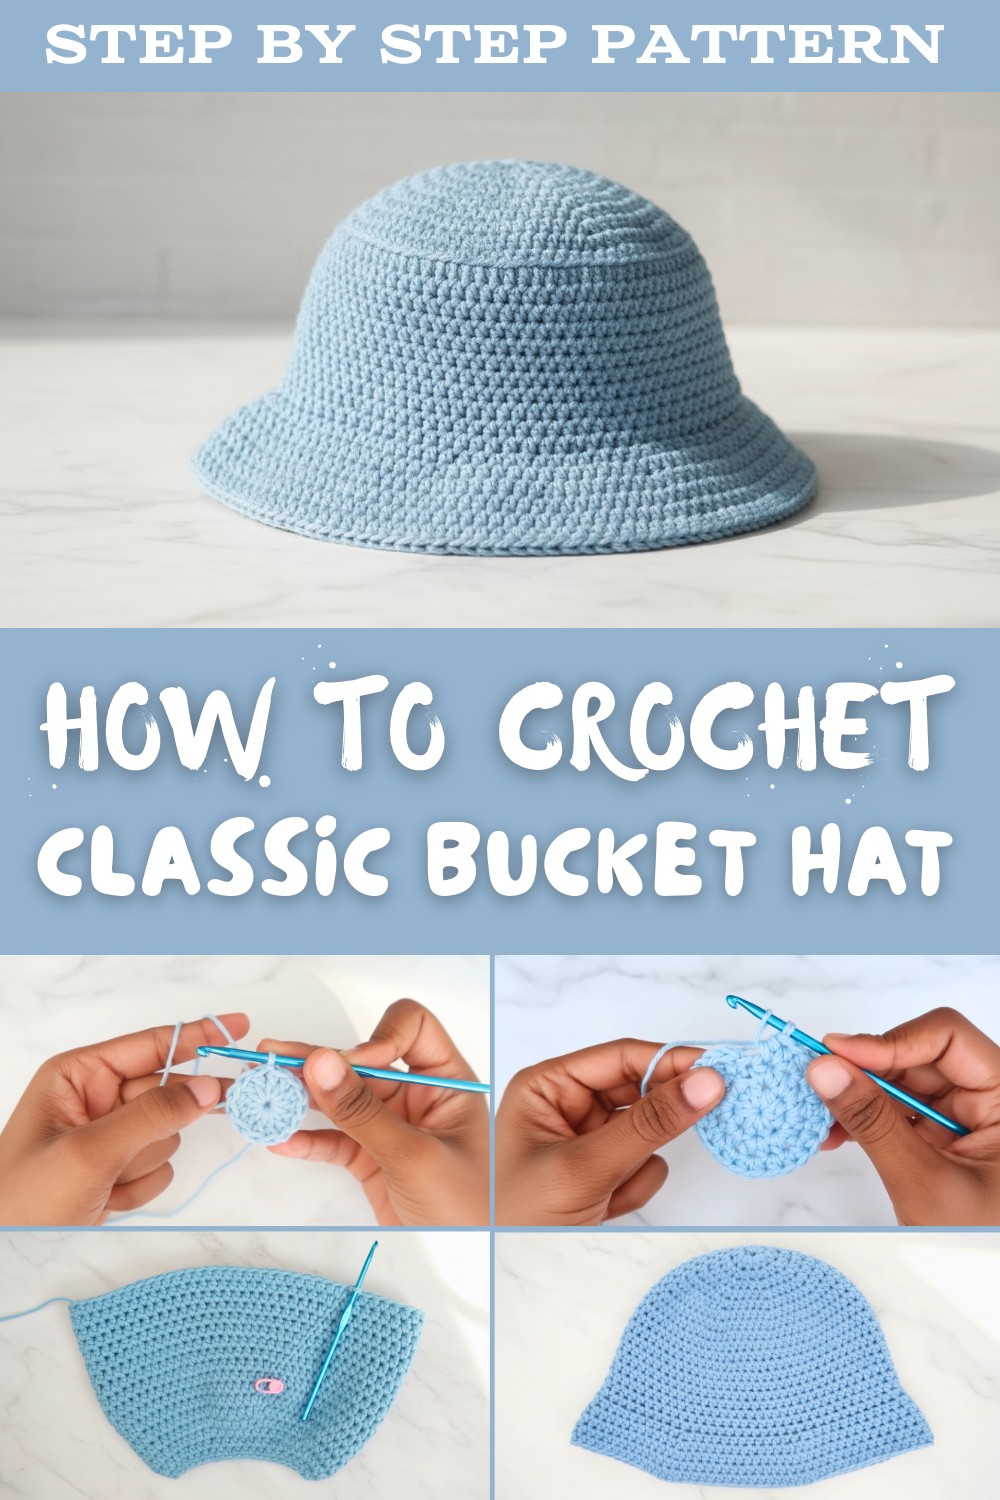
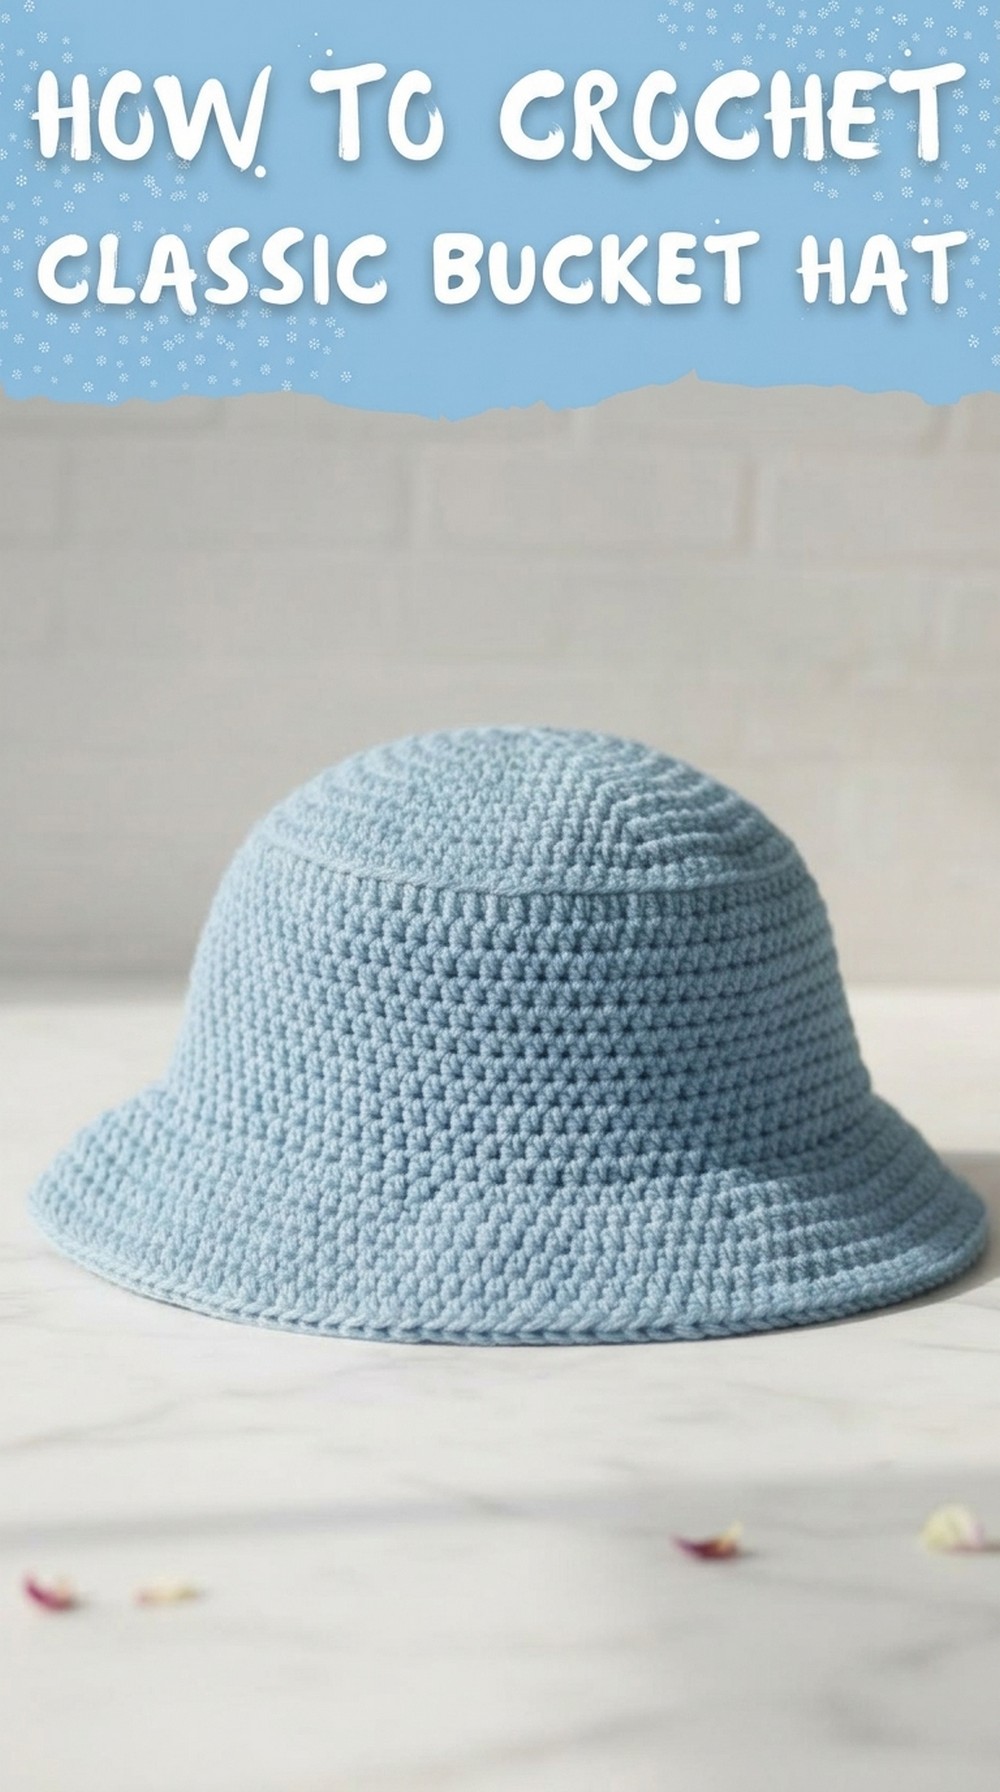
Handmade Free Crochet Bucket Hat Pattern You’ll Love
Create your own stylish and comfy look with this FREE Crochet Bucket Hat Pattern, perfect for sunny days, casual outings, and fun fashion projects.
Many store-bought hats fail to provide the right fit, comfort, or style, which can make wearing them frustrating. A Free Crochet Bucket Hat pattern solves that problem by giving you a clear, step-by-step guide to create a perfectly sized, customizable hat. This versatile accessory works well for sunny beach trips, casual city walks, or outdoor festivals, and can be made with lightweight cotton for warm weather or thicker yarn for cooler days.
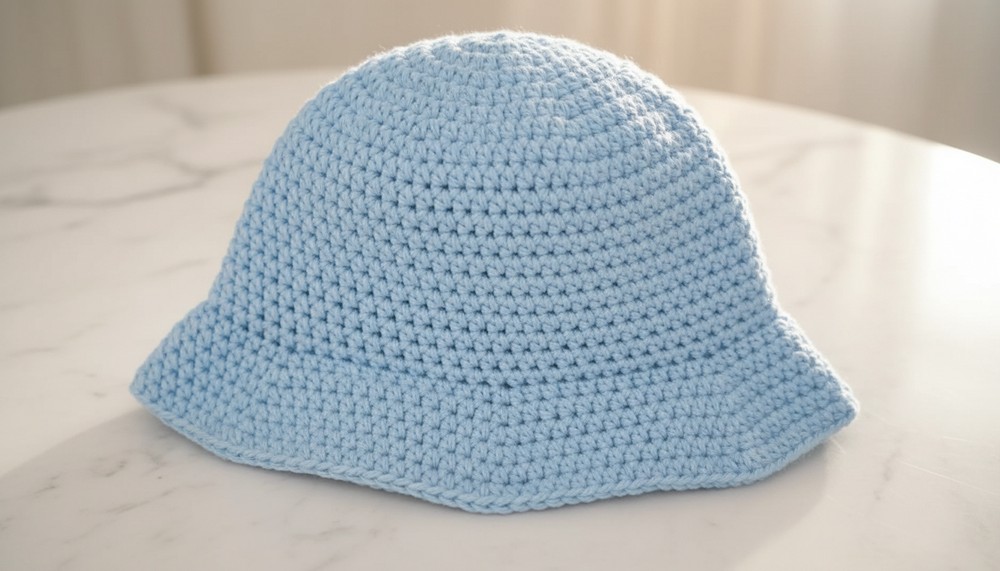
Free Crochet Bucket Hat Pattern to Add Flair to Any Outfit
Styling is effortless-you can pair it with a summer dress, denim jacket, or even a simple tee for a polished, casual look. Beyond fashion, making your own bucket hat offers benefits like a personalized fit, the satisfaction of a handmade project, and the chance to experiment with colors or textures. It's both practical and creative, turning a simple accessory into a functional, stylish statement.
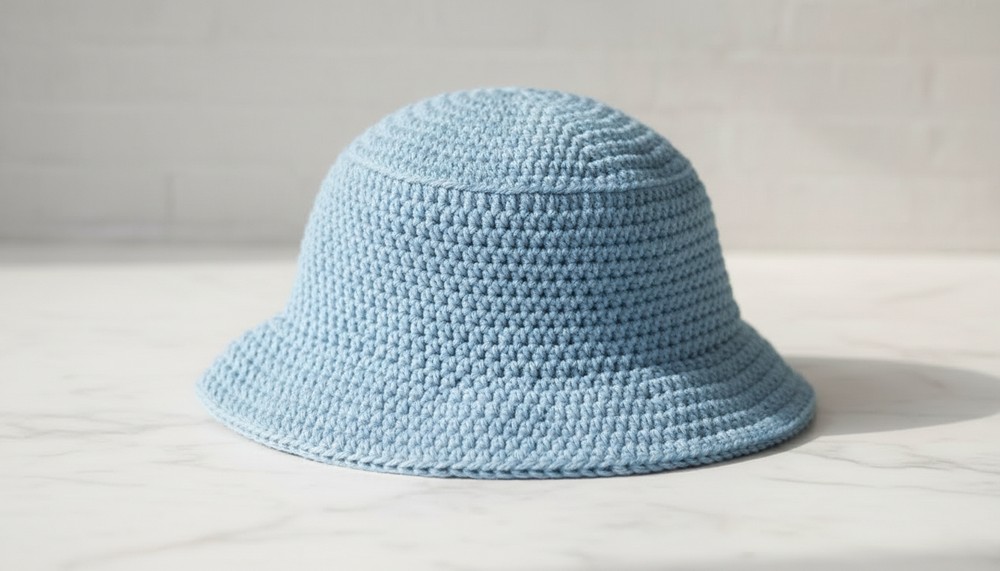
Crochet Bike-Inspired Bucket Hat Pattern
Skill Level
- Confident Beginner to Intermediate
Finished Size
- Fits head circumference: 21-23 inches (standard adult size).
- Crown diameter: 6.5 inches.
- Body height: 4 inches.
- Brim width: 2 inches (adjustable).
Materials Needed
Yarn:
- 150g of cotton yarn (light worsted/DK weight).
- Example: 3 skeins of 50g each.
- 100% pure cotton is recommended for structure and comfort.
Hook Size:
- 4mm crochet hook.
Additional Tools:
- Tapestry needle (for weaving in ends and closing gaps).
- Scissors.
- Measuring tape.
Gauge
- Half Double Crochet (HDC): 4 stitches x 3 rows = 1 square inch.
- Check your work frequently to ensure sizing aligns. Adjust hook size for loose or tight stitches.
Key Abbreviations (US Terminology):
- ch: Chain
- st(s): Stitch(es)
- sl st: Slip Stitch
- HDC: Half Double Crochet
- inc: Increase (work 2 stitches into the same stitch)
- rep: Repeat
Special Notes:
- Increasing Rounds:
- Each subsequent round after the magic ring increases its stitch count evenly to achieve the necessary crown diameter.
- Working Into the Front Loop (Brim):
- For brim definition, stitches are worked into the front loop only (FLO). This leaves a visible ridge for structure and style.
- Adjustments:
- Looser Fit: Add 1-2 increase rows to the crown for a larger hat diameter.
- Brim Width: Repeat additional rounds on the brim to extend its width.
Bike-Inspired Bucket Hat Pattern
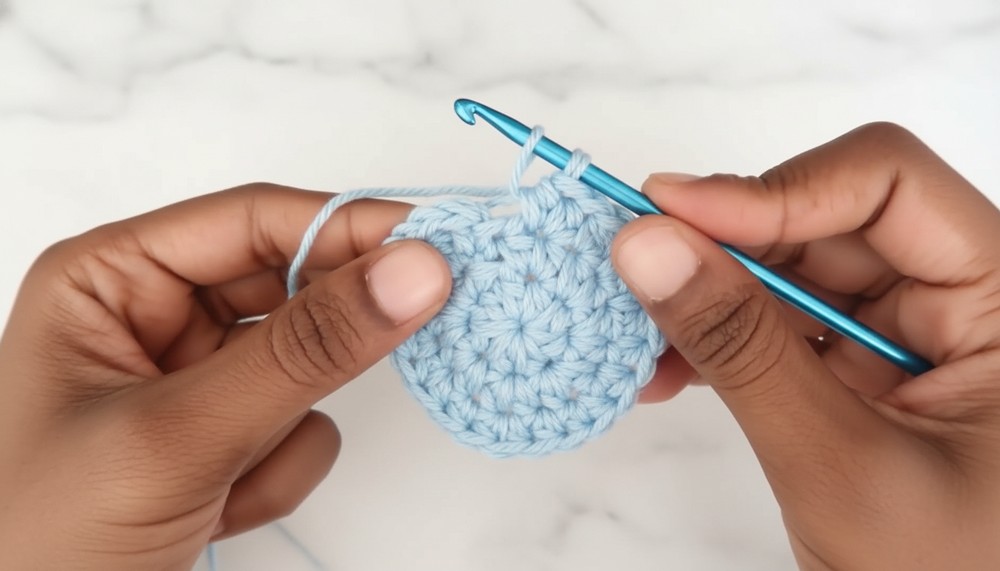
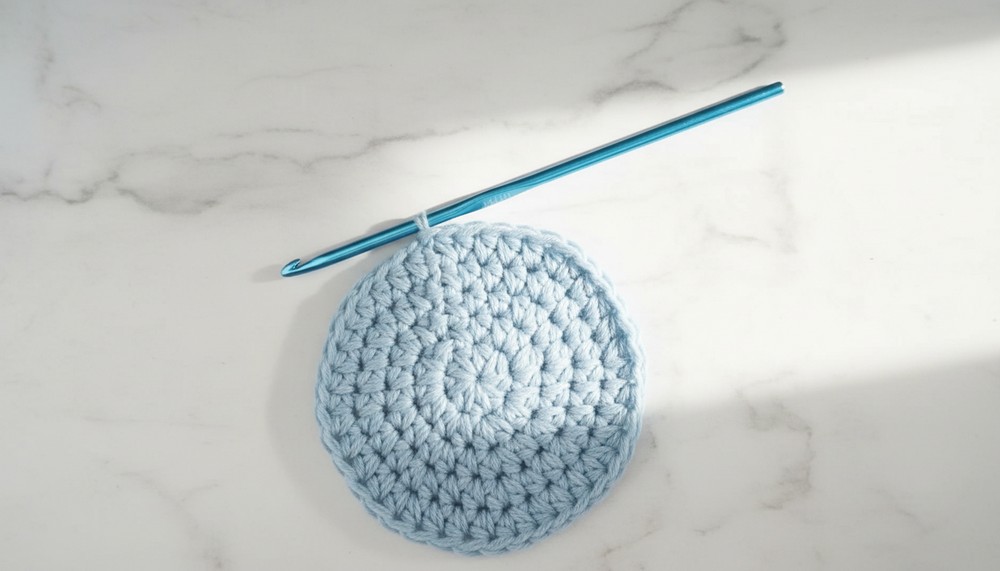
Step 1: Crown (Circular Base)
Round 1:
- Create a magic ring and chain 1.
- Work 8 HDC into the magic ring.
- Pull the ring tight to close.
- Slip stitch into the first HDC to join the round.
- (8 sts)

Round 2:
- Chain 1.
- Work 2 HDC into each stitch around (inc in every st).
- Slip stitch into the first HDC to join.
- (16 sts)
Round 3:
- Chain 1.
- (HDC in next st, inc in the next st); rep from * to * around.
- Slip stitch into the first HDC to join.
- (24 sts)
Round 4:
- Chain 1.
- (HDC in each of the next 2 sts, inc in next st); rep from * to * around.
- Slip stitch into the first HDC to join.
- (32 sts)
Round 5:
- Chain 1.
- (HDC in each of the next 3 sts, inc in the next st); rep from * to * around.
- Slip stitch into the first HDC to join.
- (40 sts)
Round 6 and Beyond:
- Continue increasing with the same formula:
(Increase the number of standalone HDCs by 1 before each inc).
Example: Round 6: (HDC in next 4 sts, inc), Round 7: (HDC in next 5 sts, inc), etc. - Work until the diameter of the circle measures 6.5 inches (~7 rounds total for most).
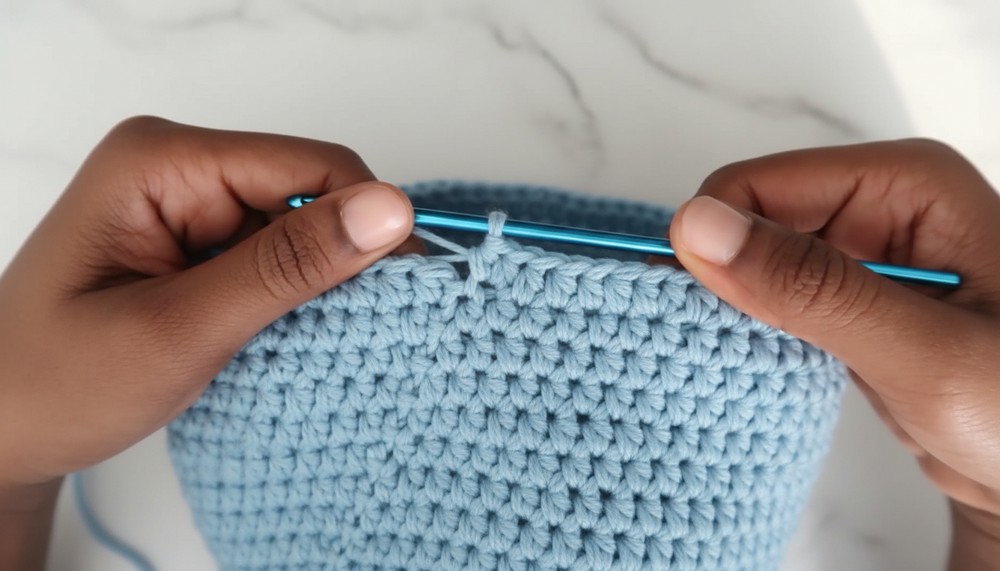
Step 2: Body of the Hat
Round 1:
- Chain 1.
- Work 1 HDC into each stitch (no increases).
- Slip stitch into the first HDC to join. Use a stitch marker to note the start of the body section.
- (56-72 sts, based on crown size)
Rounds 2-4:
- Continue working 1 HDC in each stitch around, maintaining stitch count.
2. Repeat until the body measures 4 inches in height.
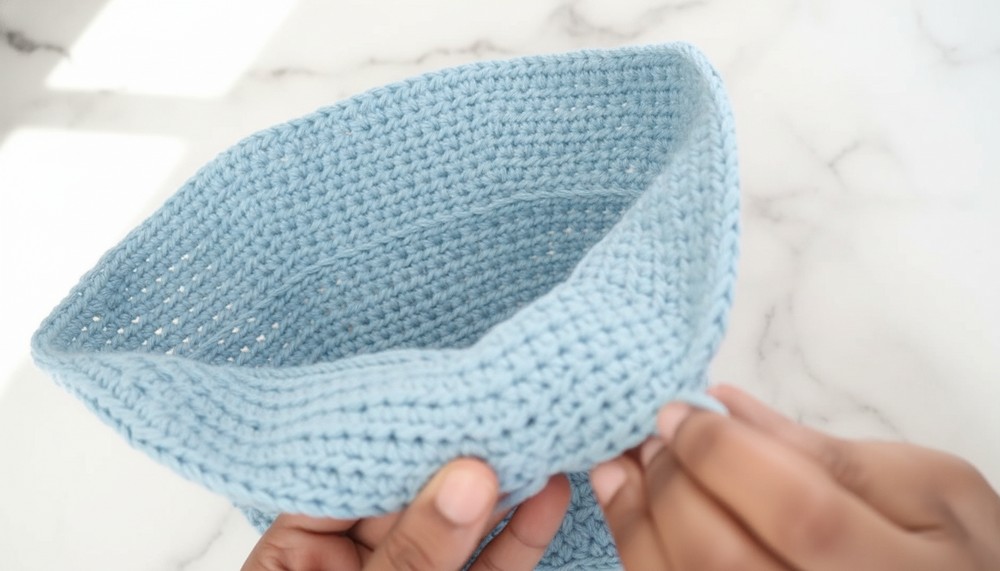
Step 3: Brim
The brim is worked with slight increases and in the front loops only (FLO) for added structure.
Round 1 (Brim Start):
- Chain 1.
- (HDC in the FLO of each of the next 10 sts, inc in FLO of next st); rep around.
- Slip stitch into the first HDC.
- Adjust final stitches to accommodate pattern if necessary.
Round 2:
- Chain 1.
- (HDC in the FLO of each of the next 11 sts, inc in FLO of next st); rep around.
- Slip stitch into the first HDC.
Round 3-4 (Optional):
- Continue the same pattern, increasing the number of HDCs between increases by 1 with each round:
- Example: Round 3: (HDC in FLO of next 12 sts, inc in next st).
- Repeat until the brim measures 2 inches or your desired width.
Final Round (Straight Edge):
- Chain 1.
- Work 1 HDC FLO into each stitch with no increases.
- Slip stitch to the first HDC to join. Cut yarn and fasten off.
Step 4: Finishing
- Weave Ends:
- Use a tapestry needle to secure and weave in all loose ends neatly.
- Shaping:
- For a structured brim, block your hat by dampening lightly (if using cotton) and shaping it over a bowl or hat form to set the structure.
Conclusion
Congratulations! Your Bike-Inspired Bucket Hat is complete! This custom and stylish accessory is perfect for sunny outings or casual days. Its defined brim adds practicality and a polished touch, while the clean rows and construction ensure durability and comfort.
Pattern Adjustments and Tips
Pattern Corrections:
- Ensure consistent tension for an even brim.
- If achieving 6.5 inches for the crown is difficult, check your gauge against the initial stitches or adjust hook size to match.
Customization Options:
- Add Color Stripes:
- Switch yarn colors during the body section or brim to create stripes or color-blocking.
- Wider Brim:
- Add more rounds to extend the brim. Simply follow the pattern, increasing every few stitches.
Tips for Success:
- Keep Slip Stitches Loose:
- When closing rounds with slip stitches, avoid tightening too much as this can distort the overall shape.
- Use Stitch Markers:
- Mark the start of the brim to ensure uniform increases and clear divisions between sections.