Free Crochet Lily Bag Pattern to Boost Your Style
Bring life to your style by crocheting the exquisite Lily Bag, featuring floral textures, vibrant yarn, and a perfect size for daily use or special occasions.
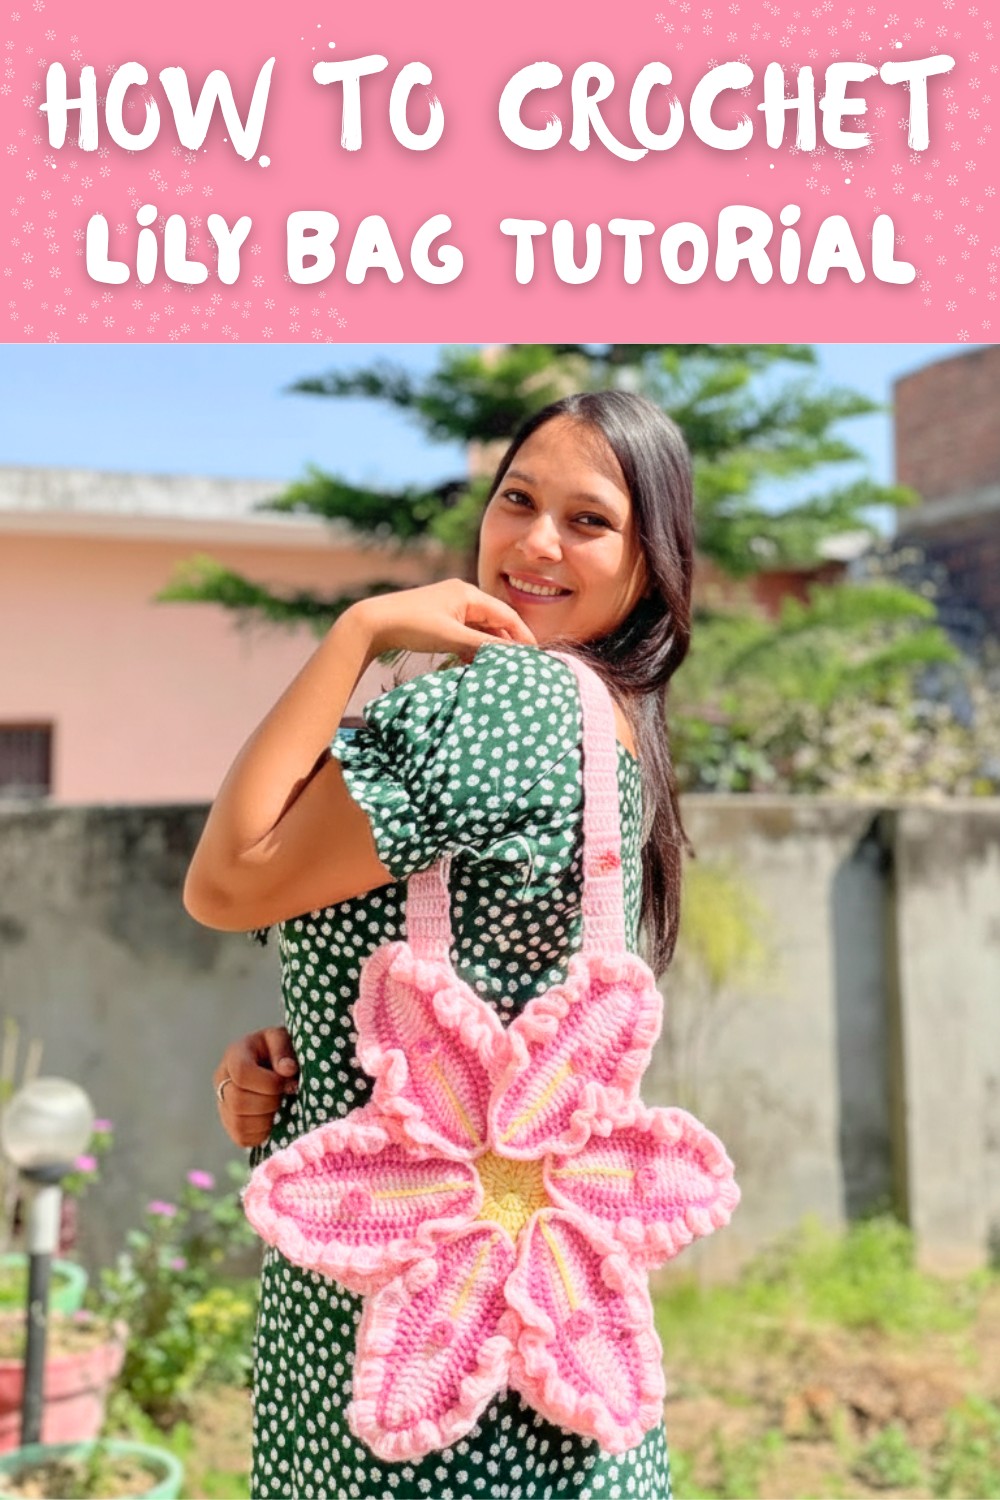
A charming handmade bag with a beautiful floral theme is always a joy to carry. The Free Crochet Lily Bag Pattern offers a stunning combination of elegance and everyday usefulness. Its delicate petal-like texture gives it a soft, classy appearance that can elevate any look. At the same time, the bag's size and strength make it perfect for carrying small essentials, whether for casual outings, special occasions, or gifting.
Perfect Free Crochet Lily Bag Pattern for Any Occasion

The Lily Bag stands out with its unique, timeless design that combines beauty with functionality. It works well as a stylish accessory for day-to-day use or even as a thoughtful handmade present for loved ones. With its comfortable handle and spacious interior, this bag is both pretty and practical. Choosing the right yarn color can make it vibrant and playful or subtle and elegant, allowing it to match any outfit or setting.

This project is simple yet satisfying, perfect for beginners looking to try out basic crochet stitches. Even without advanced techniques, the result is both durable and visually appealing. The Free Crochet Lily Bag Pattern is a wonderful way to add a touch of creativity and love into something truly useful.
Lily Bag with Petal Design Crochet Pattern
Skill Level
- Intermediate to Advanced
This pattern requires knowledge of basic crochet stitches, round increases, assembly of multiple components (such as straps and petals), and decorative slip stitching.
Materials Required
- Yarn:
- Tajmas Acrylic Yarn (100% Premium Acrylic):
- Yellow: For the base and petal highlights.
- Baby Pink: For the petals and main body.
- Dark Pink: For the petal ruffles.
- Tajmas Acrylic Yarn (100% Premium Acrylic):
- Hook:
- 4.5 mm crochet hook for the main body and petals.
- Additional Supplies:
- Scissors.
- Tapestry needle.
- Glue gun (for assembling details).
- Magnetic buttons (optional, for closure).
- Optional: Sewing supplies for adding a lining to your bag.
Abbreviations (US Terminology)
| Abbreviation | Definition |
|---|---|
| CH | Chain |
| SC | Single Crochet |
| HDC | Half Double Crochet |
| DC | Double Crochet |
| SL ST | Slip Stitch |
| ST | Stitch |
| INC | Increase (work 2 stitches in the same ST) |
| YO | Yarn Over |
| Decreases | Work two stitches together as one (e.g., SC2TOG) |
Special Notes
- Gauge: Not critical for this project. The spacing and proportion of petals create the desired shape.
- Work in Rounds: This design primarily uses rounds for the bag base, petals, and strap components.
- Assembly Focus: Includes multiple stages where petals, straps, and other decorative elements are attached. Follow the instructions to ensure the bag is symmetrical.
Pattern Instructions
Part 1: Star-Like Bag Base
- Round 1 (Yellow Yarn):
- Start with a Magic Ring.
- CH 3 (counts as first DC), then work 12 DC into the magic ring. (12 stitches total)
- Tighten the magic ring and join with a SL ST to the first DC.
- Round 2:
- CH 3 (counts as first DC), then work 2 DC in each ST around. (24 stitches total)
- Join with a SL ST to the first DC.
- Round 3:
- CH 3, work 1 DC in the next ST, 2 DC in the next ST (Increase).
- Repeat [1 DC, INC] around. (36 stitches total)
- Join with a SL ST to the first DC.
- Round 4 (Switch to Baby Pink Yarn):
- Join Baby Pink yarn with a SL ST into any ST.
- CH 3, work 2 DC in the next ST, then 1 DC each in the next 2 STs.
- Repeat [2 DC, 1 DC in next 2 STs] around. (48 stitches total)
- Join with a SL ST to the first DC.
- Rounds 5-8:
- Increase incrementally:
- Round 5: [3 DC, 2 DC in next ST] (60 stitches total).
- Round 6: [4 DC, 2 DC in next ST] (72 stitches total).
- Round 7: [5 DC, 2 DC in next ST] (84 stitches total).
- Round 8: [6 DC, 2 DC in next ST] (96 stitches total).
- Increase incrementally:
- Round 9 (Star Formation):
- Work 16 DC in the first 16 STs, then CH 3, turn.
- Follow a decrease pattern for the top 12 stitches:
- Work 12 DC, decreasing at intervals using DC2TOG in the last two STs. Use CH 3 to turn.
- Repeat the pattern, decreasing at the top of each "star arm" until five points form.
- Cut and fasten off securely.


Part 2: Petals
- Petal Base (Baby Pink Yarn):
- CH 25 for each petal.
- In the 4th CH from the hook, work: 1 SC, 2 HDC, 18 DC.
- For the last three stitches: 2 HDC, 3 SC in the last CH (turn).
- Mirror the pattern on the other side: 2 HDC, 18 DC, 2 HDC, 1 SC.
- Slip Stitch to the first ST and fasten off.
- Petal Ruffles (Dark Pink Yarn):
- Attach yarn to the base of the petal.
- Work decorative ruffles using 4 DC in one stitch, 3 DC in the next Stitch (alternating).
- Repeat the petal pattern for a total of 6 petals.
- Yellow Strip:
- At the base of each petal, thread yellow yarn through the back loops.
- Work 16 SL STs for definition.


Part 3: Straps
- Long Strap (Bag Border):
- Using Baby Pink yarn, work a foundation chain to your desired length (approximately CH 90-92).
- In the 3rd CH, work 6 DC, CH 2, turn.
- Continue working rows of 6 DC with a turning CH 2 until the strap reaches the desired length.
- Short Strap:
- Repeat the same pattern but for 76 rows.

Part 4: Assembly
- Position the star-shaped base and sew the petals onto the edges with minimal gaps. Use a glue gun for extra reinforcement.
- Attach the long strap securely using SL ST to the back, keeping seams clean and invisible.
- Secure the short strap to the front with a needle or awl.
- Add any desired inner lining to the bag for a polished finish.
- Use a magnetic button at the top of the bag for secure closure.

Conclusion
Congratulations on completing your Lily Bag with Petals! This project combines structural crochet with decorative elements to create a one-of-a-kind accessory. Whether you use it for personal items or as a statement piece, this stylish bag will garner attention and admiration.
Tips for Success
- Tension Matters: Maintain even tension throughout to ensure the bag remains symmetrical.
- Secure Loose Ends: Use a tapestry needle to weave in ends neatly and prevent unraveling.
- Customization: Experiment with other flower colors and patterns to make your bag unique.
Pattern Adjustments/Corrections
- For larger bags, increase the size of the star base by adding additional incremental rounds.
- Ensure that the petals overlap neatly without gaps for a polished appearance.