
Comfy and Fun Free Crochet Top Down Sweater Pattern to Try
Make a cozy and simple sweater with this Free Crochet Top Down Sweater Pattern, perfect for beginners and easy to adjust to your size and style.
It started on a chilly morning, the kind where you pick your coziest yarn, your favorite hook, and settle in for a long, relaxing crochet session. That's how the idea for this Free Crochet Top Down Sweater Pattern came to life. A sweater that's all about comfort but still brings a dose of charm and casual style. It's the kind of wardrobe piece you can wear effortlessly and feel good in every single time. This sweater works from the top down, giving you full control over the shape and length as you go. Want longer sleeves? Easy. Prefer an airy, cropped fit? That's totally possible too. You don't need to worry about seams or complicated shaping, as the construction keeps things simple while still looking polished. The end result is a relaxed fit that drapes softly, perfect for layering or wearing on its own during breezier days.
Cozy and Easy Free Crochet Top Down Sweater Pattern
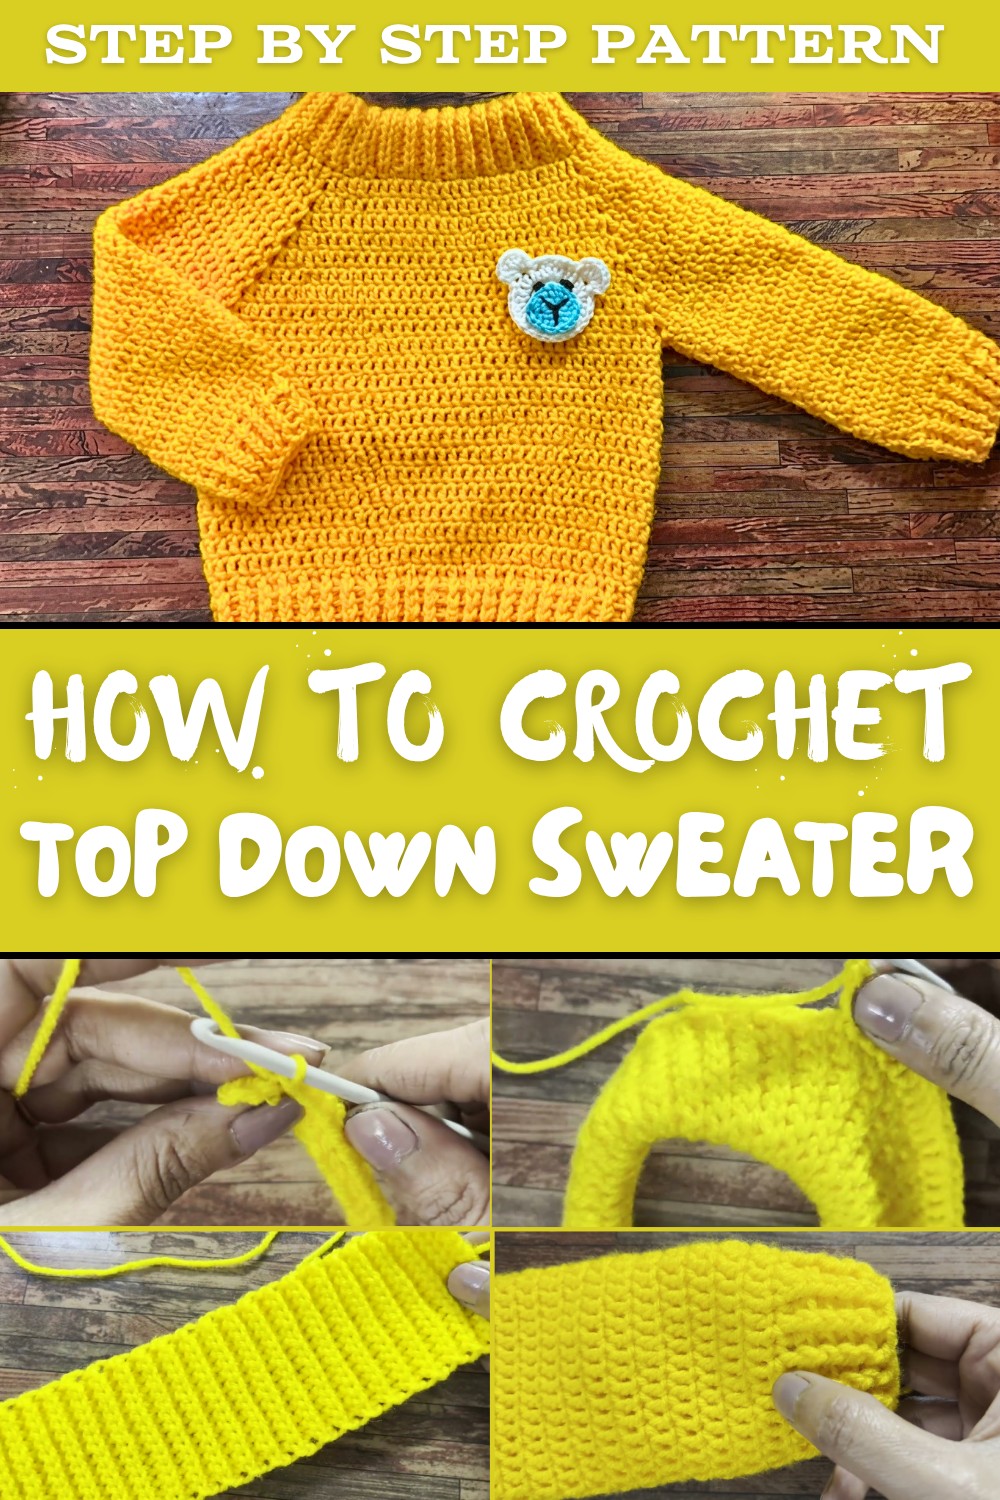
Texture is where this sweater truly shines. Its stitches are light and subtle but with enough structure to create a comforting fabric that works beautifully in soft, breathable yarns. It's a project that lets the yarn do the talking, highlighting the natural beauty of every stitch.
Wear it to coffee outings, snuggle up in it during home movie nights, or crochet one as a heartfelt gift for someone close to you. This sweater is all about bringing a bit of warmth and joy into everyday moments. It's flexible, fun, and a lovely way to add style to your crochet lineup.
Crochet Top Down Sweater Pattern
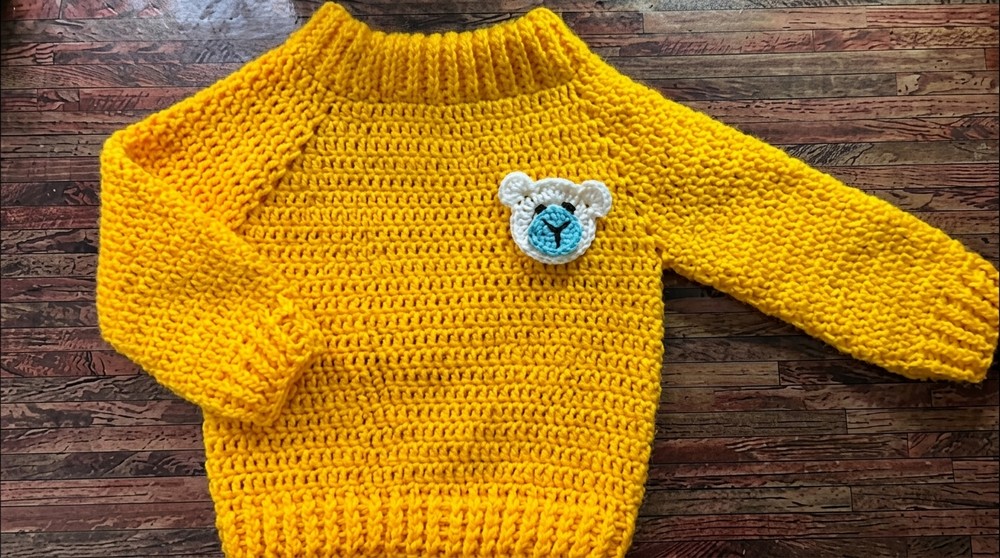
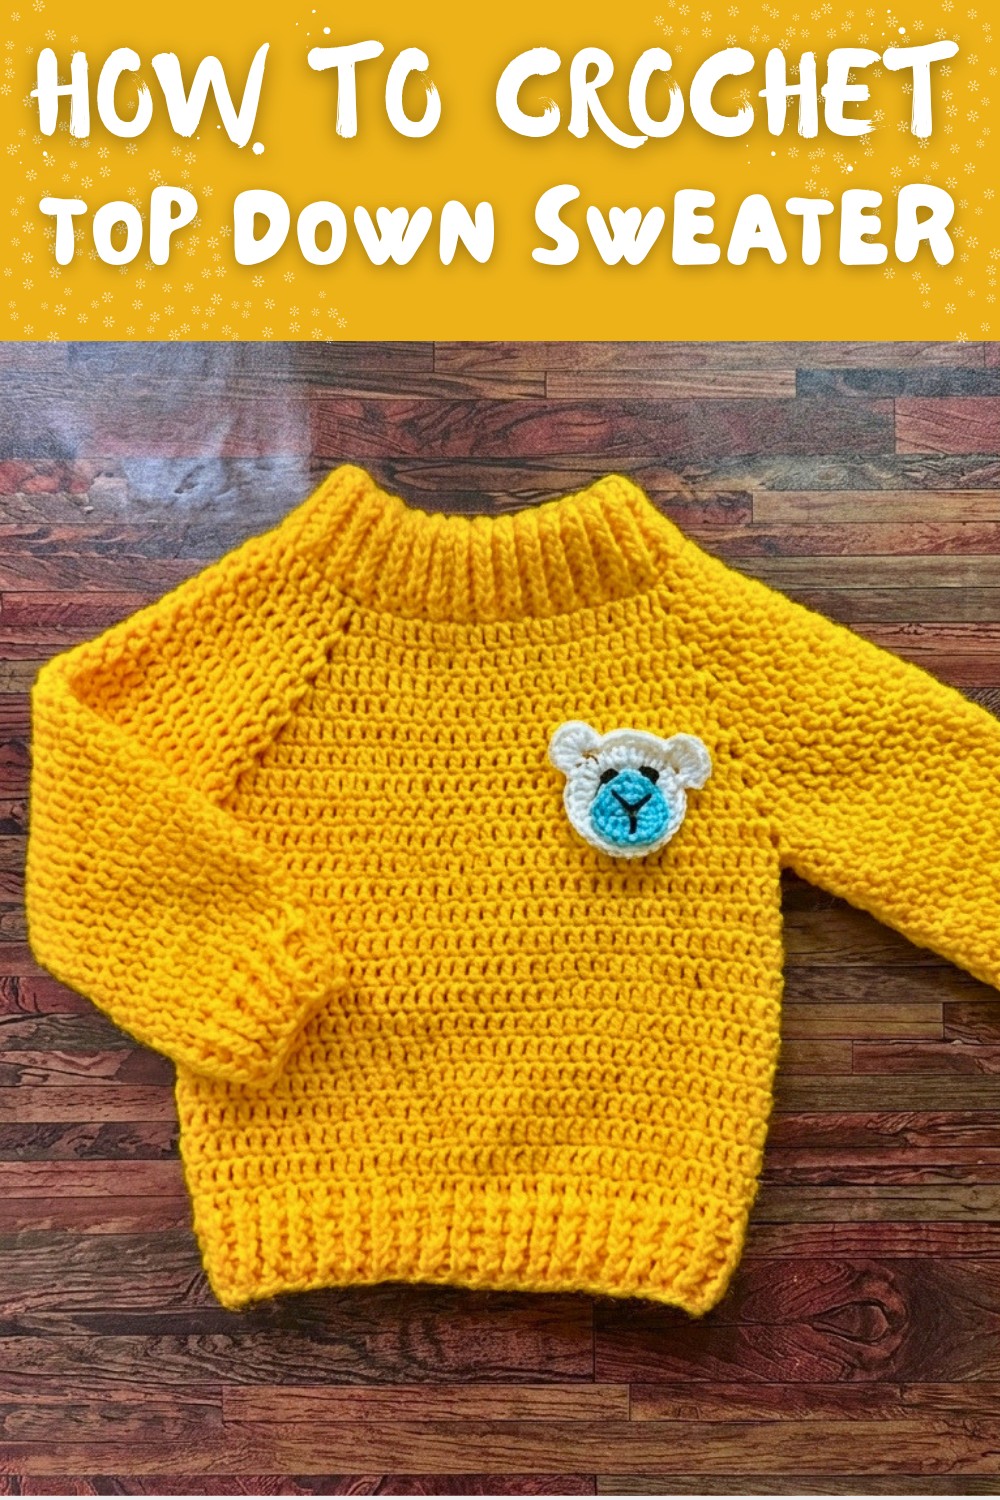
This is a step by step guide to crocheting a baby sweater with a stretchy double neck, ensuring a comfortable fit. The pattern is worked from the neckline down and includes a detailed construction of the body and sleeves.
Quick Overview of Pattern
- Type: Baby sweater with a double neck for a snug fit.
- Fit: Stretchable design, comfortable for babies.
- Sizing: For babies aged 12-24 months (easily adjustable for other sizes).
- Techniques Used: Basic stitches, slip stitches, double crochet, front post/back post stitches.
- Difficulty: Beginner to intermediate.
Notes
- The sweater construction starts from the neck, then progresses to the yoke, body, and sleeves.
- Ensure your stitches are loose, especially for the neckline and yoke.
- Adjust rows/stitches as needed to match baby sizes for smaller or larger fit.
Skill Level
Beginner to Intermediate
Materials
- Yarn: Approx. 150g of Olivia Ganga's Olivia Yarn, shade OLV 0015.
- Hook Sizes:
- 4.0mm (sweater body)
- 3.5mm (borders and finishing)
- Extras:
- Measuring tape
- Tapestry needle
- Scissors
Measurements
- Sweater length: 12.5 inches from neck to hem.
- Sleeve length (from armhole): 8 inches.
- Chest width (circumference): 15-16 inches.
Stitch Abbreviations
- ch: Chain
- sl st: Slip stitch
- sc: Single crochet
- dc: Double crochet
- fpdc: Front post double crochet
- bpdc: Back post double crochet
- dc2tog: Double crochet two stitches together
Special Stitches
- Front Post Double Crochet (fpdc): Yarn over, insert your hook from front to back around the post of the next stitch, yarn over, pull through, yarn over, pull through two loops, yarn over, pull through remaining two loops.
- Back Post Double Crochet (bpdc): Yarn over, insert your hook from back to front around the post of the next stitch, yarn over, pull through, yarn over, pull through two loops, yarn over, pull through remaining two loops.
The Crochet Pattern (Step by Step)
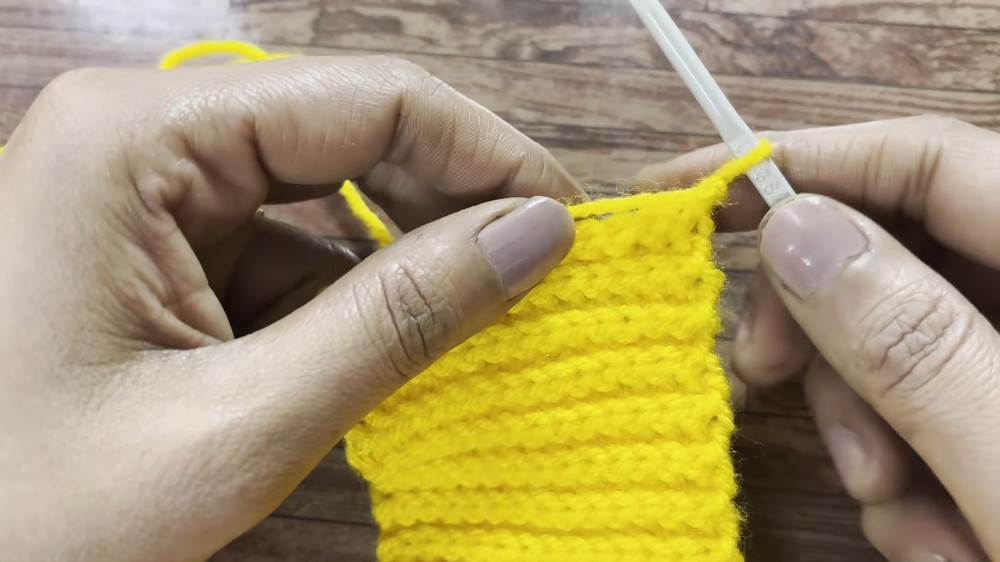
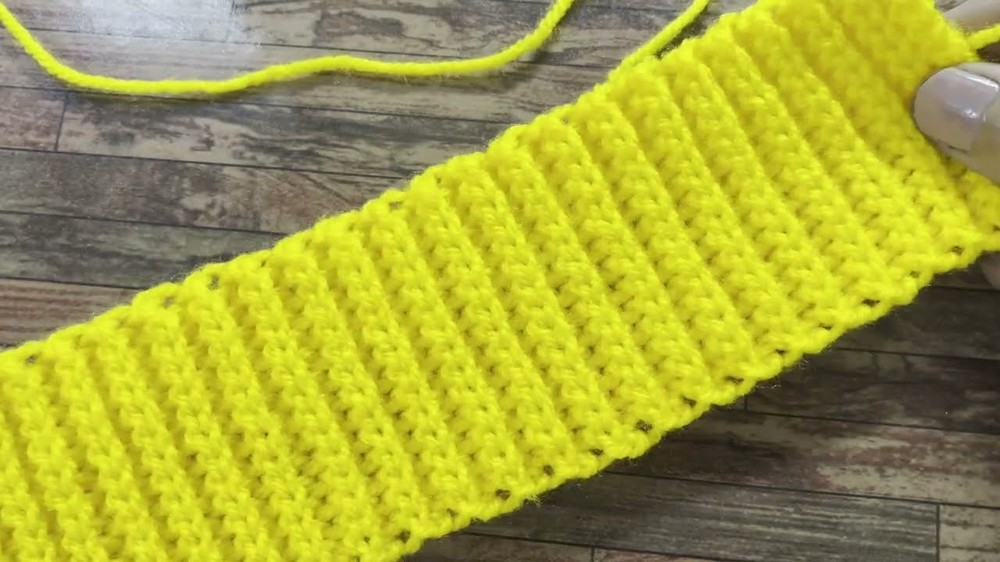
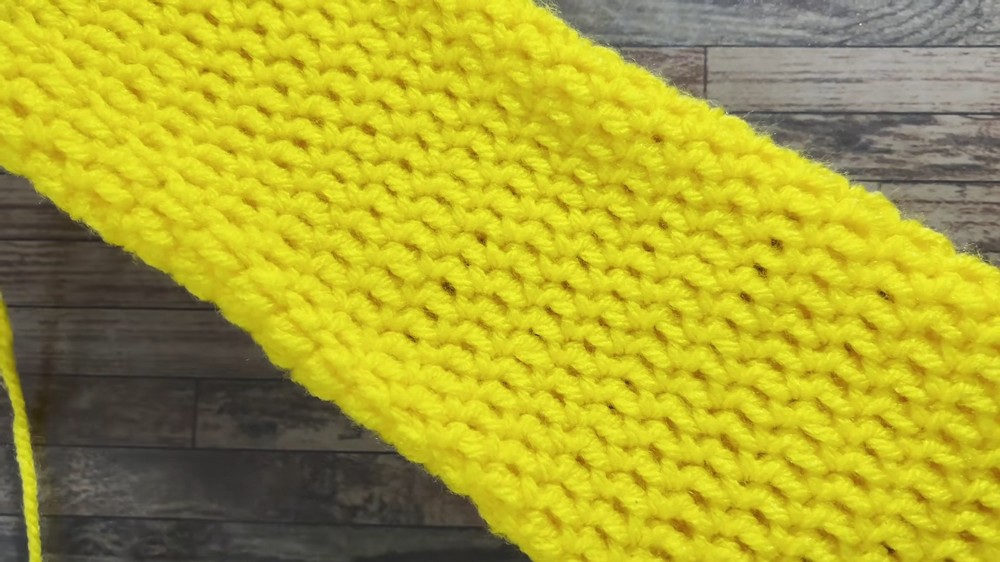
1. Neckband
- Using 4.0mm crochet hook:
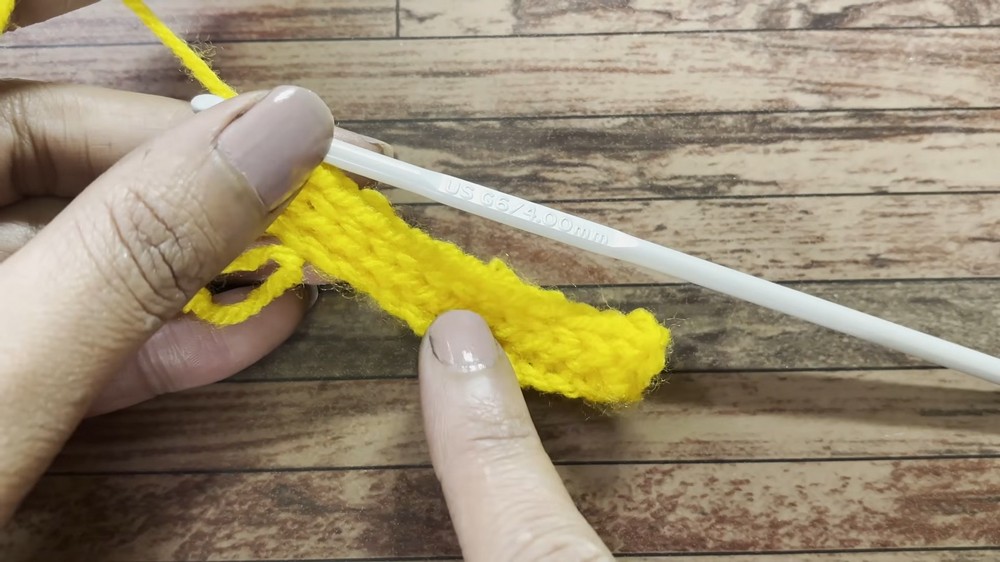
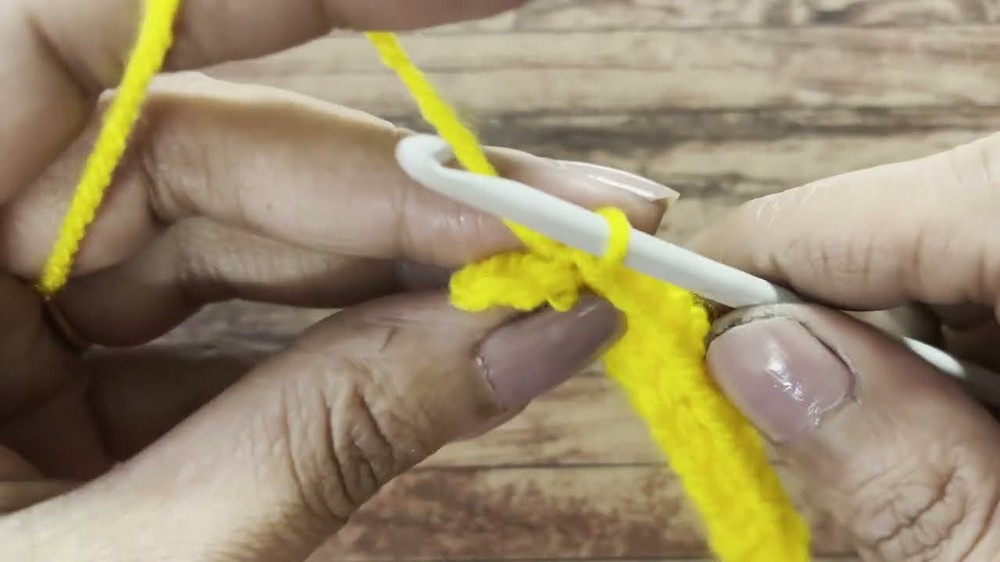
- Chain 15. Make sure your chains are loose.
- Skip the first chain and work 1 sl st in each chain across to the end. (14 sl sts).
- Chain 1, turn. Work 1 sl st in the back loop of each stitch across.
- Repeat step 3 until you have 73 rows total. (Make sure your tension is loose so the neckline is stretchy).
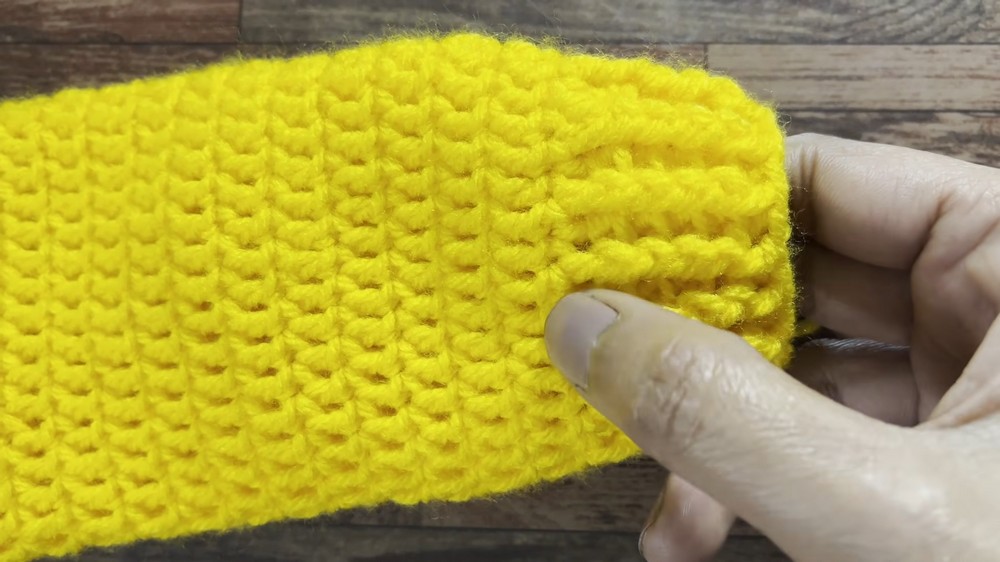
- Joining the neckband:
- Fold the strip in half and bring the edges together.
- Work 1 sl st through the stitches along both edges, joining the neckband into a circle (14 sl sts).
2. Yoke
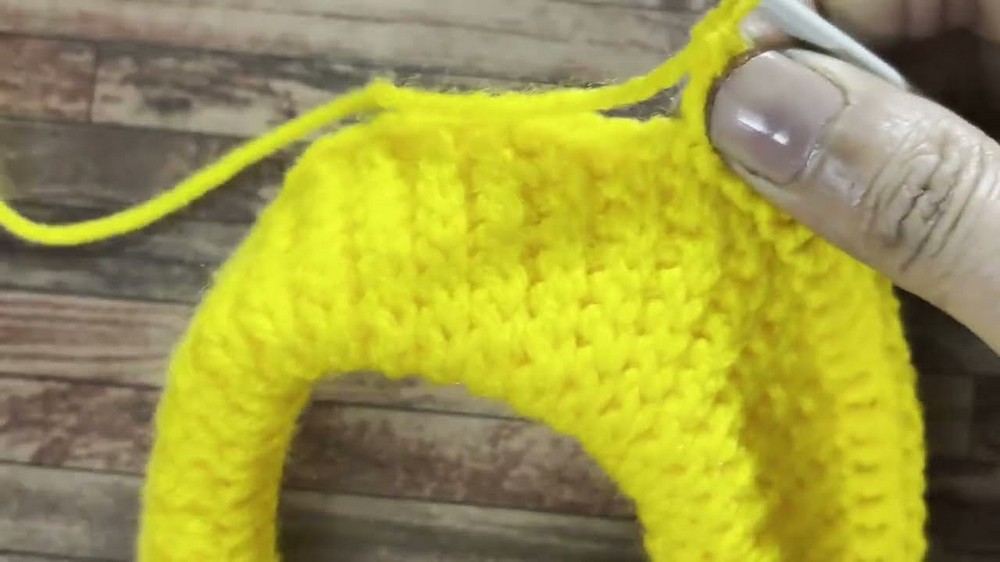
- Turn the neckband so the joined seam is inside.
- Work 72 sc evenly around the edge of the neckband. (One sc per row).
- Pro tip: If the stitch count doesn't work out evenly, adjust stitches slightly as needed to fit.
- Join with a sl st into the first sc.
Round 1 (Creating Corners and Yoke)
- Divide the 72 sc as follows:
- Front: 24 stitches
- Back: 24 stitches
- Sleeves: 12 stitches each
- Start with:
- ch 5 (counts as dc + ch 2), dc into the same stitch (first corner).
- 11 dc for the first sleeve section.
- 1 dc, ch 2, 1 dc in the next stitch (second corner).
- Work:
- 23 dc for the back section.
- 1 dc, ch 2, 1 dc in the next stitch (third corner).
- 11 dc for the second sleeve section.
- 1 dc, ch 2, 1 dc in the next stitch (fourth corner).
- Work:
- 23 dc for the front section.
- Join with a sl st into the 3rd chain of the starting ch 5.
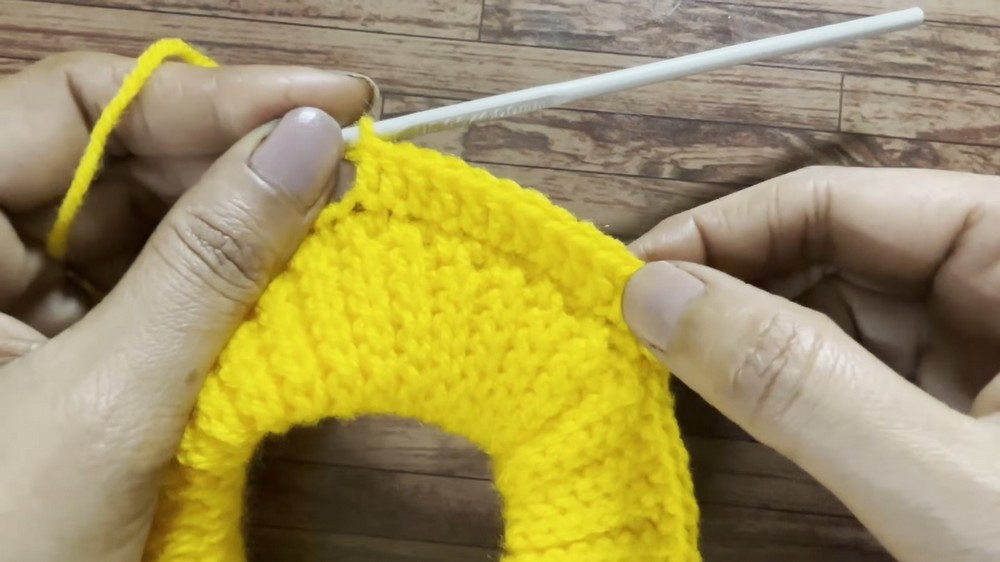
Rounds 2-9 (Expanding the Yoke)
- At each corner space (chain 2 space):
- Work 1 dc, ch 2, 1 dc to create a new corner.
- In every other stitch, work 1 dc.
- Tip: To create larger/smaller yokes, increase or decrease the number of rows.
- For 6-12 months, work 8 rows.
- For 12-24 months, work 9-10 rows.
- Join the end of each row with a sl st into the starting chain.
3. Joining the Armholes
- Chain 3 and skip the stitches for one sleeve.
- Join the front section with the back section by working dc in each stitch across, skipping the sleeve stitches.
- Repeat for the other side.
4. Body
- Continue working dc in rounds evenly around the body of the sweater.
- Work until the total length (from neck to hem) measures 8 inches from the armhole.
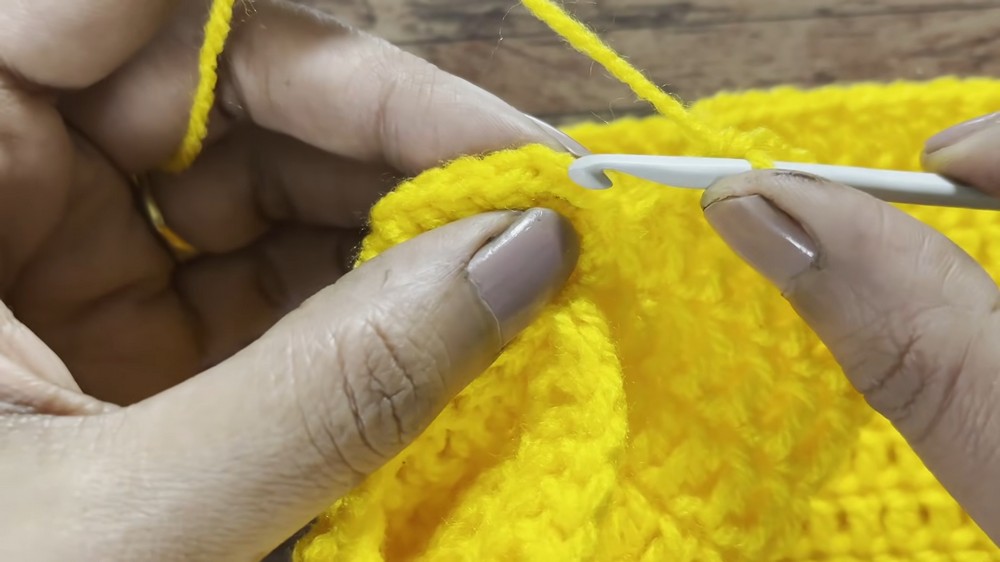
- For the bottom border:
- Switch to a 3.5mm hook.
- Begin the first row with chain 2 (instead of chain 3).
- Alternate fpdc and bpdc stitches across the row.
- At the end of each row, join with a sl st into the starting chain 2.
- Work 2-3 more rows of ribbing or until the desired thickness is achieved.
5. Sleeves
- Attach the yarn at the underarm join, in the middle of the armhole.
- Work 32 dc evenly around the armhole opening.
- Join each round with a sl st, chain 1, and continue.
- Sleeve Shaping:
- Work 15 rows of dc evenly, maintaining the stitch count throughout. (Adjust the number of rows to achieve an 8-inch sleeve length).
- Sleeve Cuff:
- Switch to the 3.5mm hook.
- On the 16th row:
- Work 1 dc in the next 4 stitches, then dc2tog the 5th and 6th stitches into one. Continue this repeat around.
- Work 3 rows of fpdc and bpdc, alternating stitches, for a ribbed cuff.
- Repeat steps for the second sleeve.
Final Assembly
- Weave in all loose ends using a tapestry needle.
- Ensure all stitches are snug and there are no gaps at the armholes.
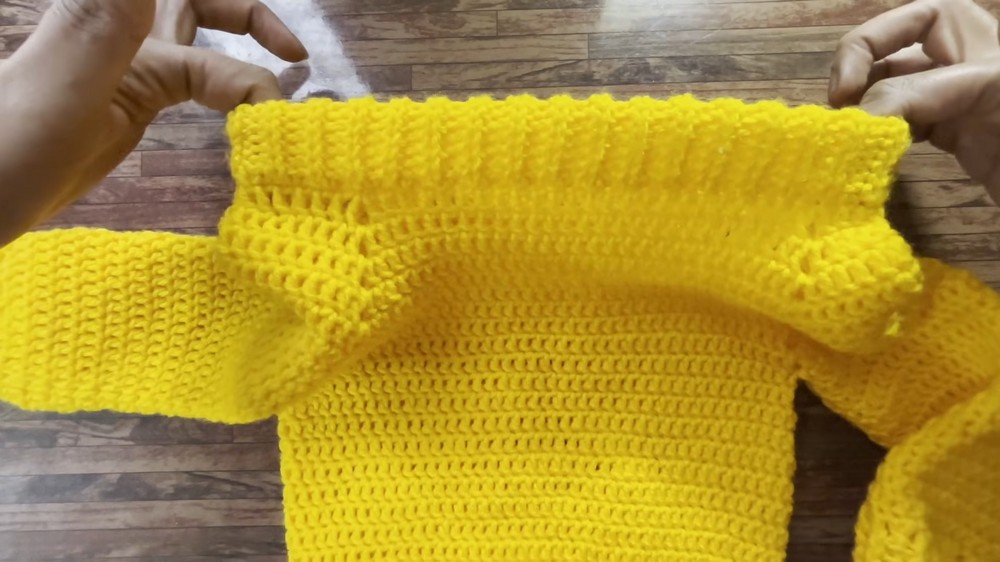
Finished Sweater
- Length: 12.5 inches (neck to hem).
- Sleeve Length: 8 inches.
- Chest Circumference: Approximately 15-16 inches (stretched).
Conclusion
You've now completed a soft, stretchy, and cozy baby sweater, perfect for little ones aged 12 to 18 months. Its stretchy double neckline ensures a comfortable fit while allowing easy wear.