
Crochet C2C Turtleneck Sweater Free Pattern with Unique Texture
Wear warmth and style with a Crochet C2C Turtleneck Sweater Pattern, featuring diagonal texture and cozy charm perfect for adding flair to chilly days.
Wrap yourself in warmth and style with a cozy high-collar sweater that's as fun to make as it is to wear. Using the corner-to-corner (C2C) crochet technique, this turtleneck sweater pattern stands out with its textured beauty and versatility. The pattern works up as diagonal blocks, creating a unique woven look that adds depth and charm to your finished piece. To keep you comfy and fashionable during chilly weather, this sweater is a perfect blend of practicality and elegance.
Crochet C2C Turtleneck Sweater Pattern: Perfect for Winter Warmth
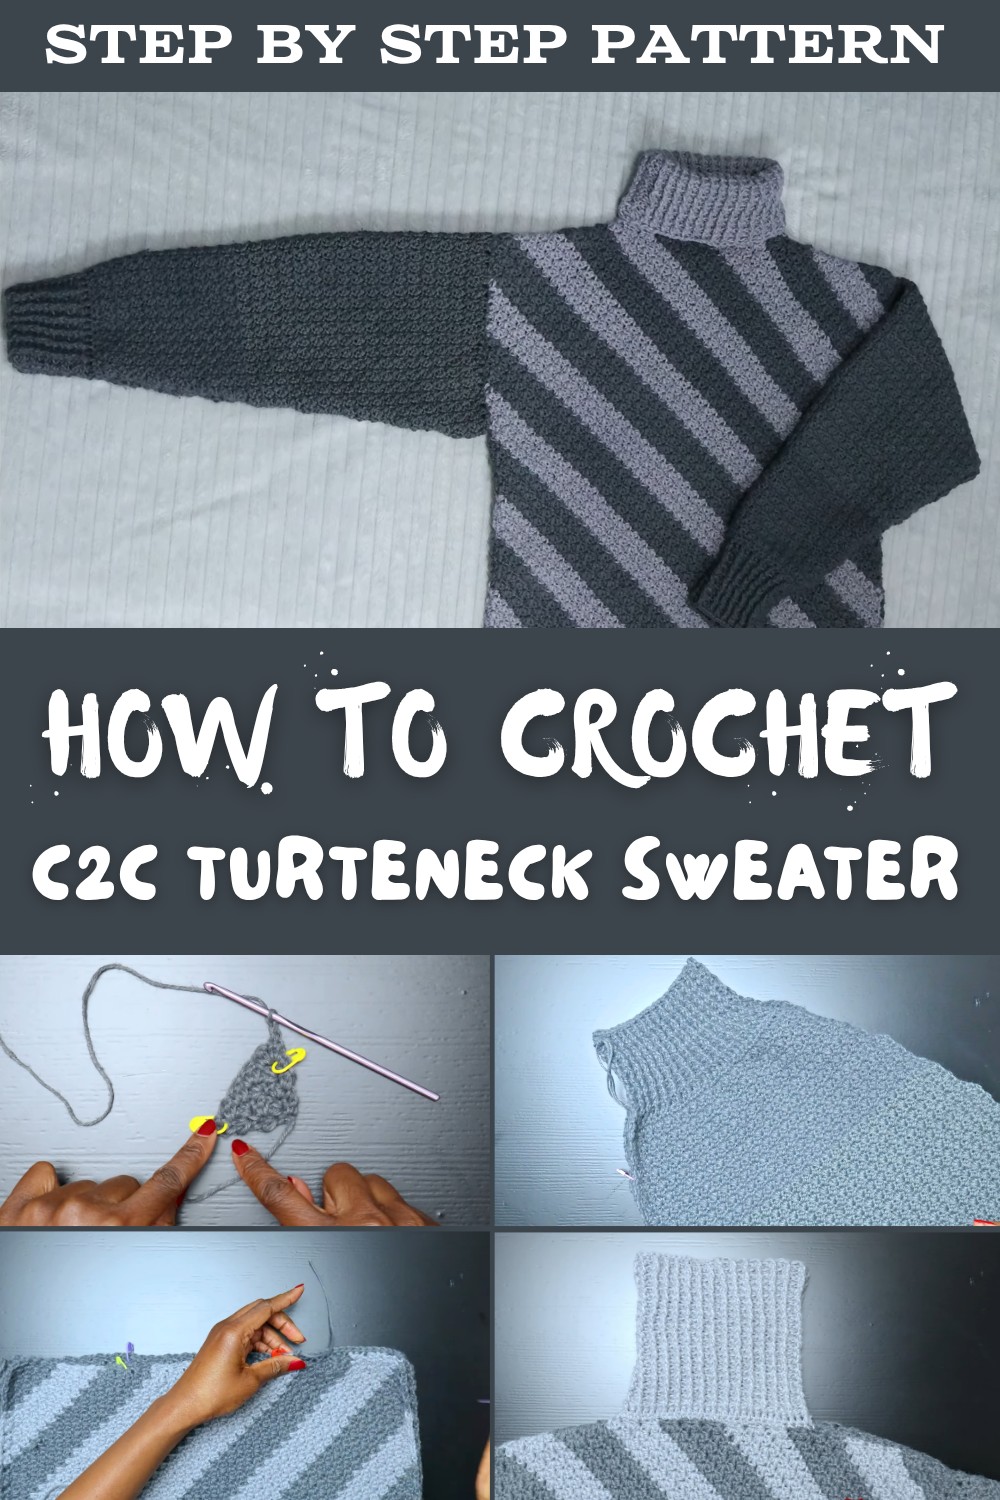
What makes this project truly special is how adaptable it is-play with color blocks for a bold, modern vibe or keep it classic with neutral tones. The forgiving nature of the C2C technique makes the assembly process seamless, while the turtleneck adds a timeless, stylish touch to the overall design. As you crochet each stitch, you'll not only create a wearable wardrobe staple but also hone your crochet skills in an exciting and rewarding way.
Whether you're lounging at home, meeting friends, or heading outdoors, this sweater is an ideal layering piece. Perfect for confident beginners or experienced crocheters, it's more than just a pattern-it's a chance to showcase your creativity and crochet something you'll love to wear.
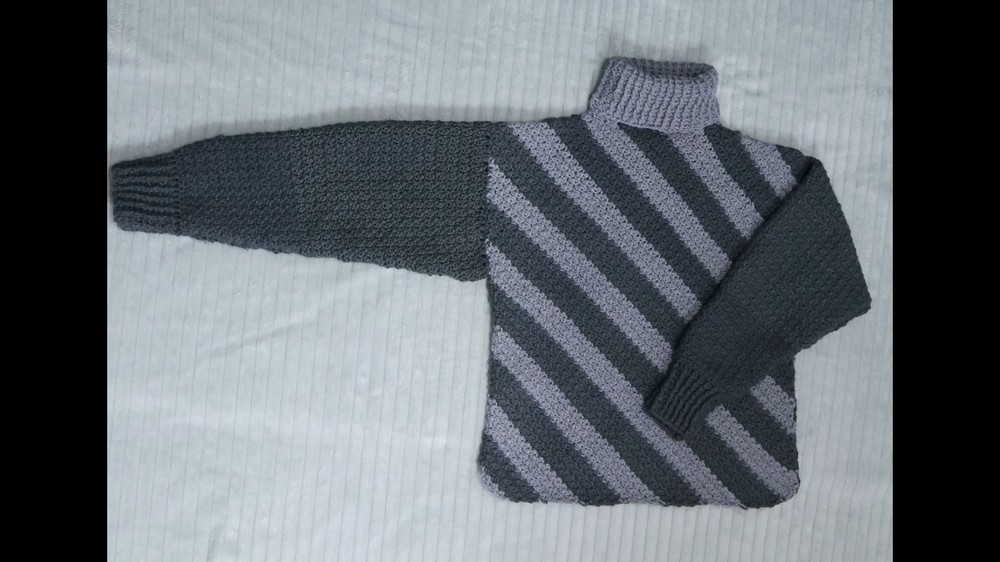
Suzette Stitch C2C Pullover Sweater Pattern
Materials
- Yarn: Medium weight (4) cotton or acrylic yarn; choose colors for stripes as desired
- Hook: 4.0 mm (G) crochet hook (use appropriate size for yarn and desired drape)
- Stitch Markers: For tracking increases/decreases and boundaries
- Tapestry Needle: For sewing and weaving in ends
- Scissors
- Measuring Tape: For accurate sizing
Special Techniques
- Suzette Stitch:
(sc, dc) in same stitch, skip one, repeat in next stitch - Corner-to-Corner (C2C):
Work increases at both ends to form a triangle, then shape into rectangle via one-sided increases and one-sided decreases. - Color Change:
To change color, join new yarn during the last yarn over of the last dc and secure the tail. - Decrease:
Pull up loops through single crochets/chain, then draw through all. - Front/Back Post Double Crochet:
For ribbing and cuffs. - Carrying Tails:
Carry yarn tails as you crochet to minimize sewing-in later.
Panel Construction
Back Panel (Solid Color)
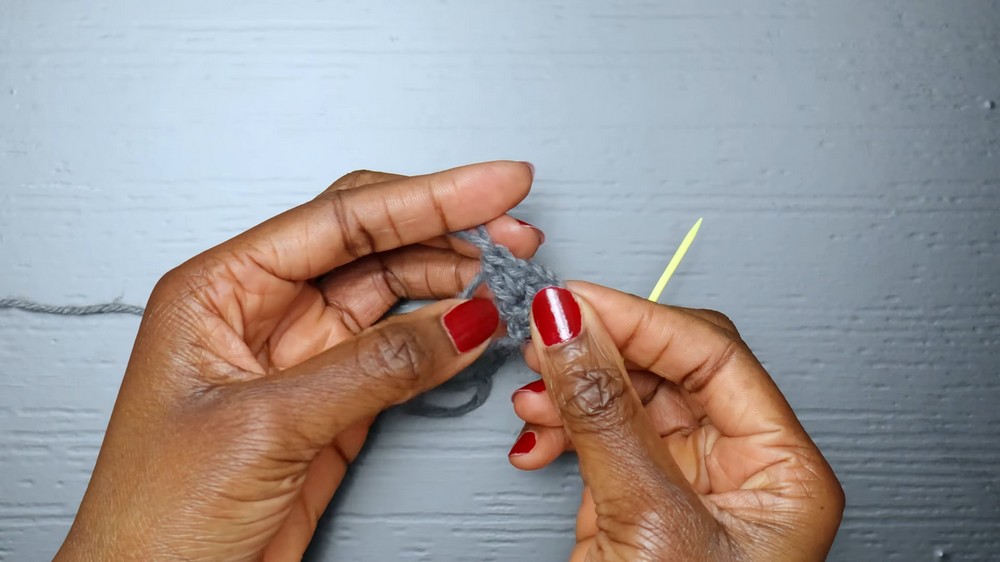
1. Foundation & Triangle Increase:
- Ch 3.
- In the third chain from hook, work:
- (sc, dc) - this is your first Suzette stitch.
- Mark the chain space (use a stitch marker).
2. Row 2:
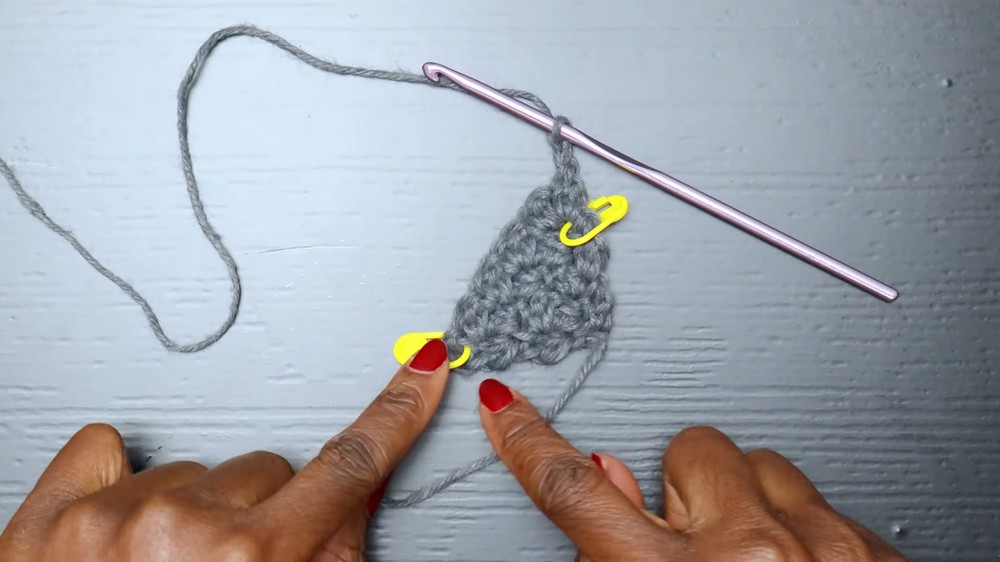
- Ch 2, turn.
- Work (sc, dc) into the first sc (skip the dc).
- Mark the chain space.
- In the chain space from the foundation, work (sc, dc).
- Two Suzette stitches per row.
3. Continued Triangle Increase:
- Ch 2, turn.
- For each new row, work (sc, dc) into first sc, mark chain space, continue Suzette stitch into each single crochet of previous row, and end with Suzette stitch into the chain space.
- Repeat this process, increasing at both ends (using chain spaces and sc), until each side of the triangle equals half your bust measurement (ex: for 90 cm bust, triangle side = 45 cm).
4. Rectangle Shaping (Desired Length):
- Once width achieved, move to:
- Increase only on one side, decrease on the other:
- At beginning: Ch 2, turn, (sc, dc) in first sc (increase).
- At end: For last Suzette, do a decrease:
- Insert hook into last sc, pull up loop.
- Insert into chain space, pull up loop (3 loops), pull through all.
- Continue this shaping until panel reaches desired sweater length (ex: 52 cm).
- Increase only on one side, decrease on the other:
5. Final Rectangle Decreases:
- To finish, work both sides as decreases:
- At beginning: Ch 2, turn, ignore the decrease stitch, proceed with Suzette stitch into first sc.
- At end: Decrease as above.
- Repeat decreases until only one Suzette stitch remains.
- Final row: Ch 1, turn, slip stitch into last stitch. Fasten off.

Front Panel (Striped Colorwork)
Work identically to back panel, but introduce color changes for stripes as desired:
- Color Change:
On last yarn over of dc, pull through new color, then cut or carry tails as you crochet. - Alternate colors every 6 rows or as desired for stripes.
- Otherwise, proceed identically to back panel, ensuring same size.

Sleeves (Suzette Rows, Tapered)
1. Initial Wide Sleeve:
- Measure around your upper arm/shoulder or use panels for sizing.
- Foundation:
Ch even number reflecting sleeve width (ex: 40-60 ch for adult). - Row 1:
(sc, dc) in second ch from hook; skip next ch; (sc, dc) in the following ch; repeat. End with single crochet in last ch. - Row 2 onward:
Ch 1, turn; (sc, dc) in first stitch; skip next; repeat Suzette across to end; end with single crochet. - Repeat for 6 rows.

2. Sleeve Tapering:
- Every 7th row, make a decrease at both beginning and end:
- Beginning:
- Insert hook into first three stitches, pulling up loops, then pull through all four loops. Work dc in this st to finish decrease.
- End:
- Near end, after last Suzette, insert hook into sc, pull up loop; into next sc, pull up loop; into last stitch, pull up loop; pull through all.
- Rows between decreases: 6 rounds of normal Suzette stitch.
- Beginning:
- Repeat taper pattern until 10 cm from desired sleeve length.
3. Cuff Decreases:
- Work decreases with single crochet as desired for wrist size:
- 1 sc, 1 decrease (combine two sc); repeat.
- Adapt frequency for fit.
4. Cuff Ribbing:
- Row 1:
Ch 2, turn; dc in every stitch across. - Row 2:
Ch 2, turn; alternating front post/back post dc for ribbing:- For fpdc (front post double crochet), push stitch toward you.
- For bpdc (back post double crochet), push stitch away from you.
- Repeat ribbing row for desired cuff length.
- Repeat for second sleeve.
Assembly & Seaming
1. Panels & Neck:
- Lay out front and back panels, matching stripes.
- Leave 15 cm neck opening in the center. Count clusters or stitches symmetrically for accuracy.
- Seam shoulders (using single crochet through both panels).
2. Attach Sleeves:
- Place sleeves at shoulder, align sides, and seam using single crochet.
- Seam side of sweater from cuff to armpit, then down body.
3. Reverse Side:
- Make sure all seams are on the wrong side (inside).
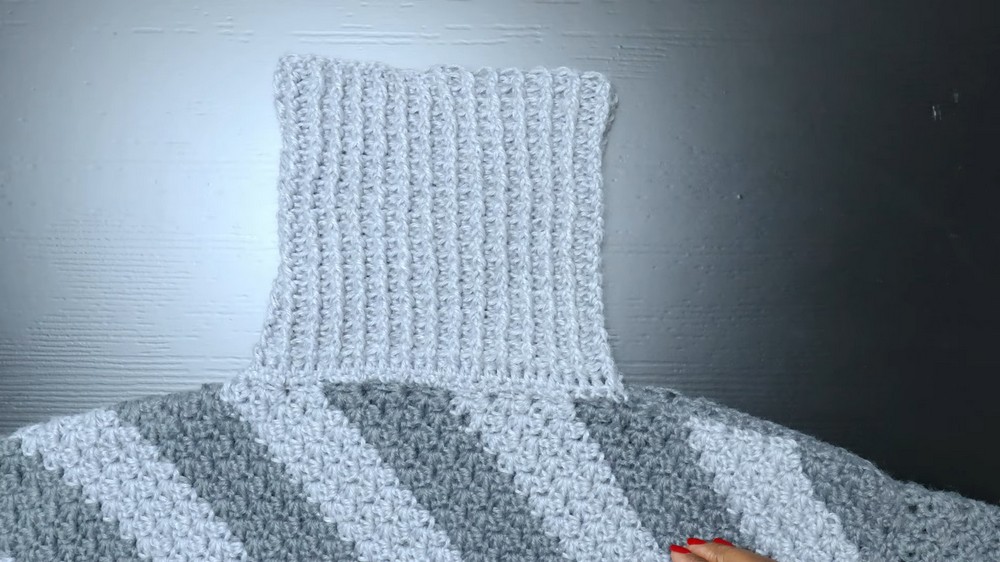
Neckline Ribbing
1. Attach yarn at neck edge.
- Round 1:
Single crochet evenly around neck opening; slip stitch to join. - Round 2:
Ch 2, turn; dc in each sc around, slip stitch to join. - Round 3 onward:
Ch 2, turn; work alternating fpdc/bpdc as in cuffs.
Repeat for desired length (ex: 16 cm for tall collar).
Finishing
- Weave in all tails securely with a tapestry needle.
- Block panels as needed for neatness and uniformity.
- Try on (or measure) for fit, adjust sleeve/cuff/neck length if desired.

Suggestions & Tips
- Stripes:
Stripe thickness is customizable; alternate colors every fixed number of rows for varied look. - Sizing:
Make gauge swatch and confirm panel, sleeve, and cuff measurements for a perfect fit. - Marker Use:
Use different colors for increase/decrease sides for clarity. - Cuff/Neck Ribbing:
Use ribbing for professional finish; lengthen for more drama or warmth. - Carry Tails:
Carry tails as you crochet for less finishing work. - Counting:
Count by clusters for easier tracking of stitch count.
Final Words
This modern Suzette stitch, C2C pullover is a versatile, cozy, and stylish garment.
It features gentle striping (if desired), tapered sleeves, ribbed cuffs, and a comfy neck-all crafted with easy-to-master stitches. Adjust for your ideal fit and color style, and enjoy wearing a totally handmade creation.