
Free Crochet Checkered Bag Pattern for All
Give your everyday style a fresh update with this free crochet checkered bag pattern perfect for carrying essentials with flair.
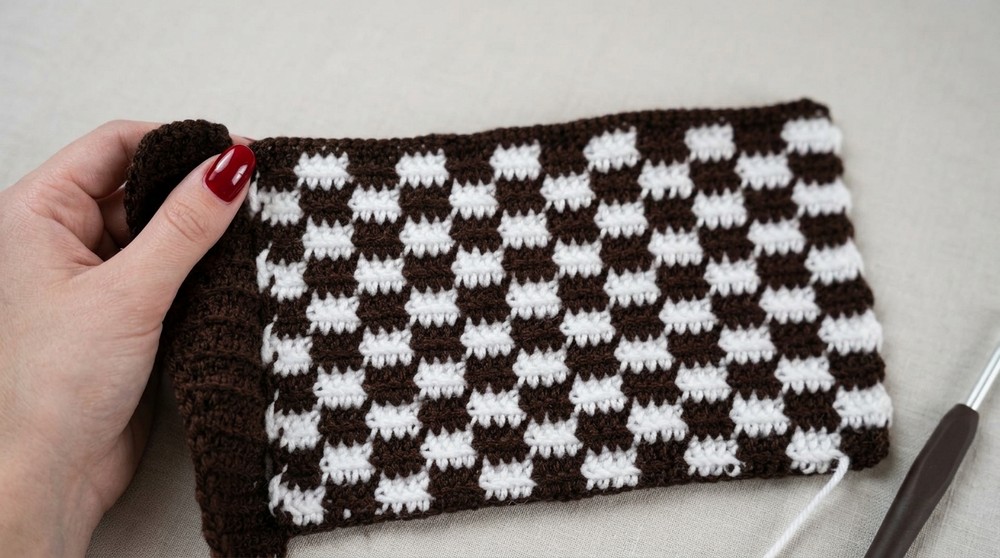
You won't believe how easy it is to make a bag like this using just two colors of yarn, a crochet hook, and a pair of scissors. This checkered bag pattern is not only simple but also fun and creative. The design is modern yet timeless, featuring neat checkered squares made from alternating colors. Whether you prefer soft and classic shades like white and beige or want to experiment with bold and vibrant hues, this bag lets you explore your creativity and personal style.
Learn How to Crochet a Checkered Bag - Free Pattern

The bag is perfect for carrying daily essentials like your wallet, phone, or keys, and also makes a stylish accessory for casual outings, school, or shopping trips. It's lightweight yet sturdy, and with this pattern, you can adjust its size and handles to suit your needs. For example, if you want a larger bag, simply add more checkered squares, or if you prefer a smaller clutch style option, you can make fewer. Even beginners can easily follow this pattern because it uses basic half double crochet stitches, allowing you to work through it step by step without confusion.
You'll also learn to manage color changes smoothly, ensuring the inside of your bag looks neat and professional. Once you complete the body of the bag, the strong and durable handle is attached using simple slip stitches, making it ready to carry instantly. With this free pattern, you can create something that's not just practical and beautiful but a true reflection of your unique taste. So pick your crochet hook, pick your favorite yarn colors, and start this exciting project today-it's fun, easy, and unforgettable.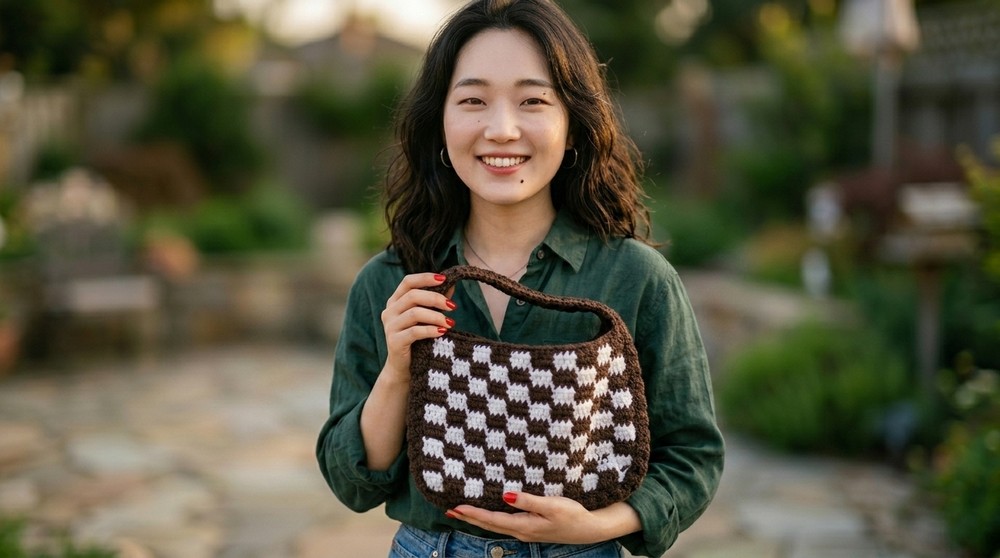
Beautiful Crochet Checkered Bag Pattern
Materials Needed
- Crochet Hook: 5 mm hook.
- Yarn: Two colors of yarn - one maroon color and one white.
- You can choose the colors based on your preference for better customization.
- Scissors: A pair of sharp scissors.
- Optional: Yarn needle for weaving in loose ends.
1.Step 1: Adjusting the Size of the Bag
- The size of the bag is determined by the number of squares you use:
- Example Size:
- 12 squares across by 10 squares up and down results in a small bag.
- Each square consists of 4 stitches across, and the base chain includes additional stitches for the pattern technique.
- Example Size:
- For a foundation chain:
- If making the same size as the video, work 48 stitches (12 squares × 4 stitches per square) plus 2 stitches for the pattern, equaling 50 stitches for the foundation chain.
- Adjust this number for larger or smaller bags.
2.Step 2: Setting Up the Base Chain
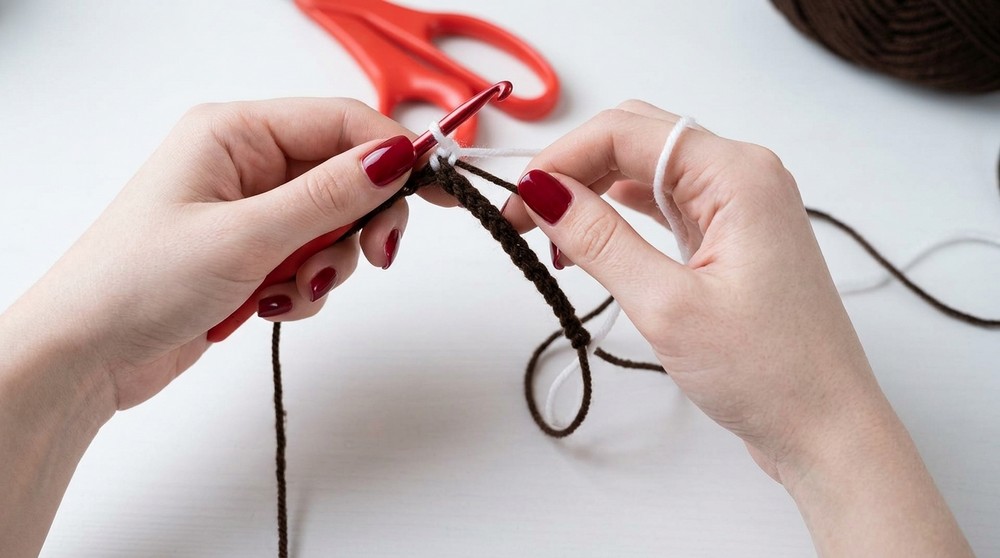
- Begin with a Slip Knot:
- Loop the yarn around your fingers and insert the 5 mm hook into the loop. Tighten gently.
- Chain the desired number of stitches:
- Example in the video: Chain 16 stitches + 2 additional stitches = 18 stitches for demonstration.
- If making a bag like the creator, chain 50 stitches for the foundation base.
3.Step 3: Half Double Crochet Stitches
- Start Crocheting:
- Yarn over the hook. Insert the hook into the third chain away from the hook. Yarn over again and pull through one loop. Yarn over and pull through all three loops on the hook.
- Repeat for the length of the chain.
- Maintaining Consistency:
- Continue working half double crochet stitches until you finish three stitches.
4.Step 4: Changing Colors
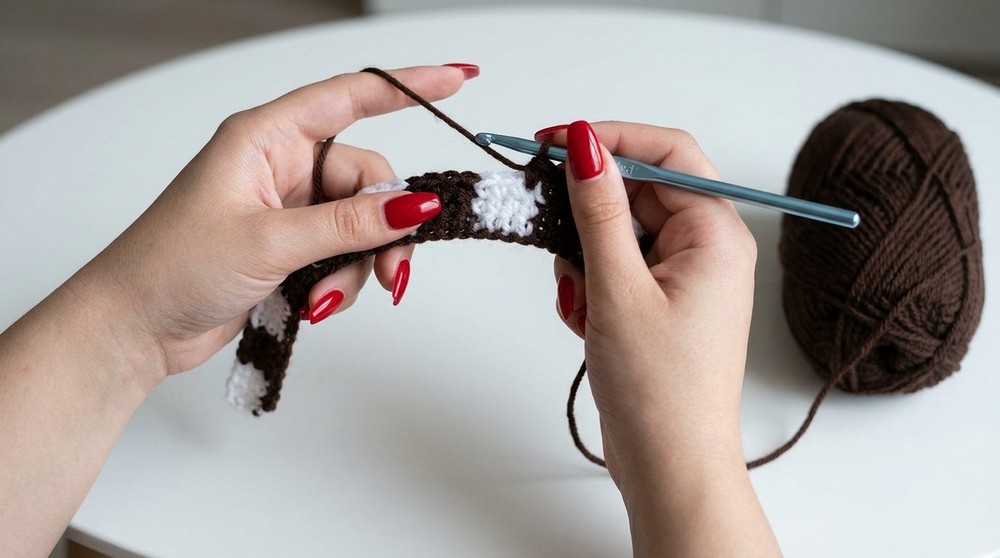
- Every fourth stitch, switch to a new color.
- Insert the hook as usual for the next stitch. Yarn over and pull through until three loops are on your hook.
- Drop the current color yarn and pick up the new color yarn. Pull the new color through the three loops, ensuring the previous color yarn is taut.
- Incorporate the unused color as you crochet.
- Place the unused yarn on top of your working row and work over it to carry it through the stitches.
5.Step 5: Completing Squares in Rows
- Continue Crocheting Across the First Row:
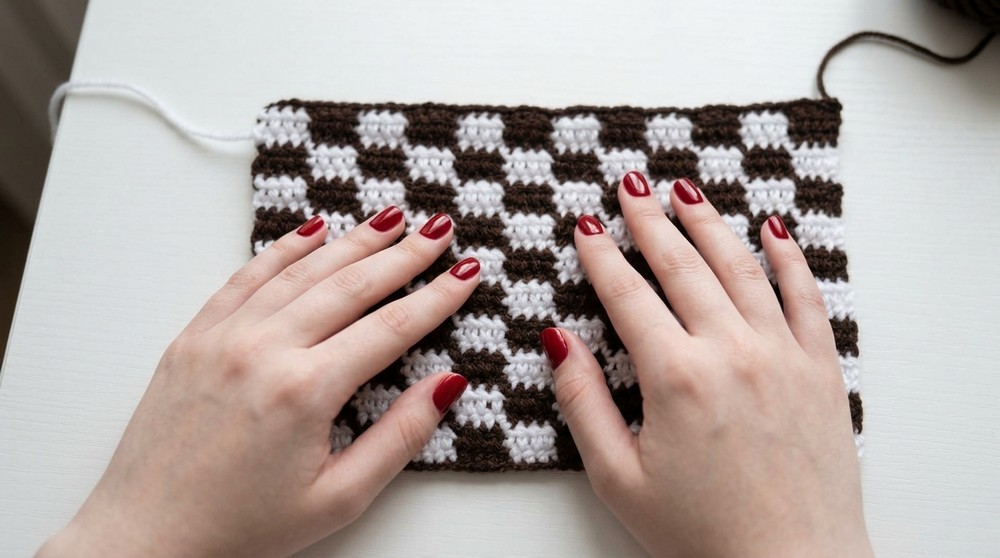
- Alternate colors every 4 stitches using the above method.
- At the end of the row, chain two stitches and turn your work for the next row.
- Form Squares:
- To maintain a square pattern, ensure each color block is two rows tall before switching colors.
- Repeat this process to create squares, not rectangles.
6.Step 6: Adjusting the Bag Dimensions
- Final Square Count:
- For a 10x12 bag, work 12 squares horizontally and 10 squares vertically, equaling 20 rows.
- Adjust dimensions as needed to personalize the bag size.
- Duplicate the Front and Back Panels:
- Create a second identical panel for the back of the bag.
7.Step 7: Crocheting the Handle/Strap
- Make a sturdy and proportional strap.
- Work with half double crochet stitches: Start with 7 stitches across the width.
- Continue for enough rows to fit the bag length and desired strap size.
- Optional Edge Cleaning:
- Once the strap is complete, add single crochet stitches along the edges for a cleaner finish.
- Chain one at the end of each row and turn your work as you go.
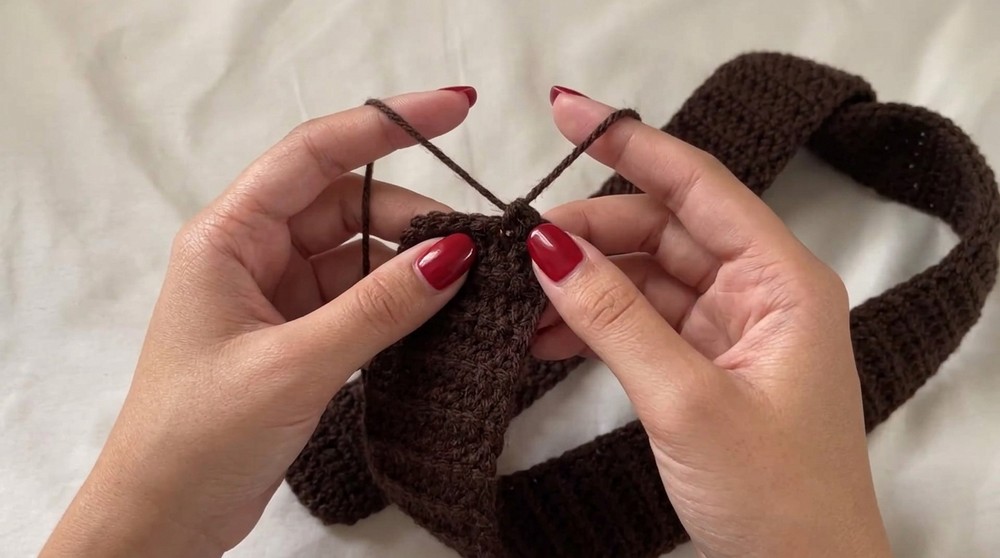
8.Step 8: Attaching the Strap and Panels
- Attach the Strap to the Front and Back Panels:
- Use a slip stitch to connect the strap to the panels. Work carefully around the edges to avoid twisting.
- Ensure the strap is attached evenly on both sides of the panels.
- Reinforcing the Seams:
- For added durability, you may reinforce the seams with additional slip stitches or by weaving with a yarn needle.
9.Step 9: Final Assembly and Finishing Touches
- Flip the Bag Inside Out:
- After attaching the strap and panels, turn the bag inside out to hide the seams and give a polished appearance.
- Weave in Loose Ends:
- Use a yarn needle or crochet hook to weave in any loose ends along the seams or edges.
- Secure the ends with small knots if needed to prevent unraveling.

Tips and Suggestions
- Use High Quality Yarn:
- Choose durable yarn for a bag that withstands regular usage and remains stylish. Thick yarn like Red Heart Super Saver works best for stability.
- Customize Colors:
- Experiment with color combinations to make your bag unique or match your outfit.
- Adjustable Size:
- Modify the number of foundation chain stitches to adjust the bag's dimensions for different uses like tote bags or smaller purses.
- Maintain Tension:
- Keep even tension while changing colors to maintain clean edges.
- Clean Finish:
- Regularly secure loose ends and clean up uneven edges for a polished and professional appearance.

Final Words
This elegant crochet bag combines beauty and practicality. Its modern design, durable structure, and customization options make it a perfect accessory for any occasion. Whether you're carrying it to the market or a casual outing, this stylish bag will surely become a staple in your wardrobe.
Crocheting this bag is also an excellent way to sharpen your skills, explore creative designs, and enjoy the satisfaction of making something usable. With just a few materials, some time, and patience, you'll have the perfect handmade bag that reflects your personality.