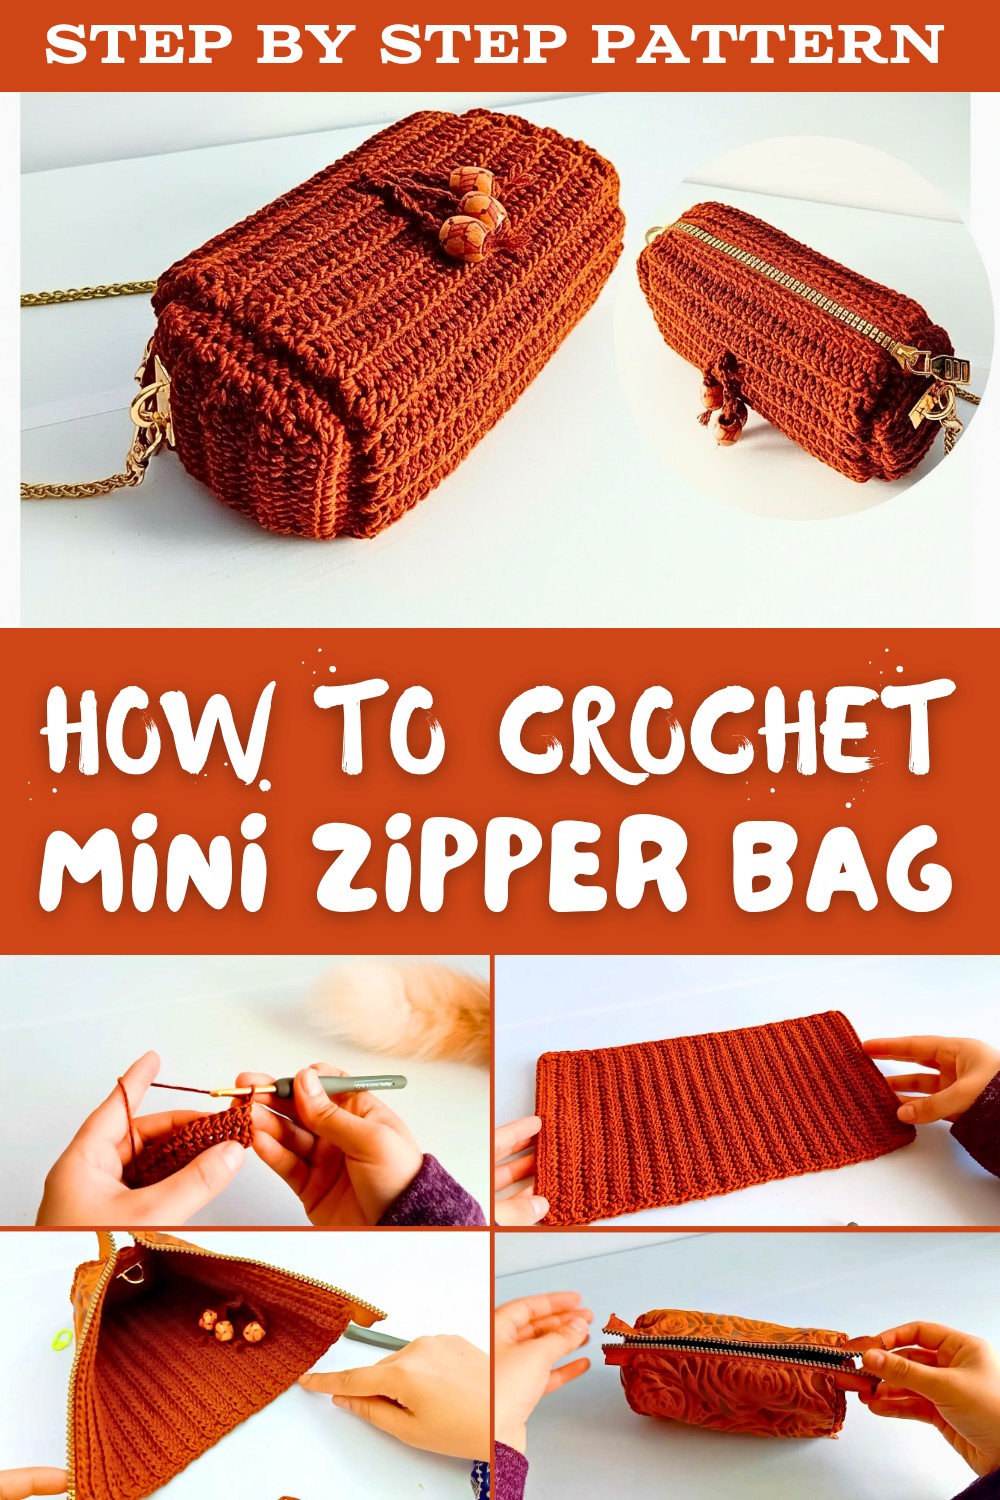
Free Crochet Zipper Mini Bag Pattern for Small Essentials
Add a touch of charm with Crochet Mini Zipper Bag Pattern that turns small stitches into a stylish, handy pouch perfect for daily use and gifting.
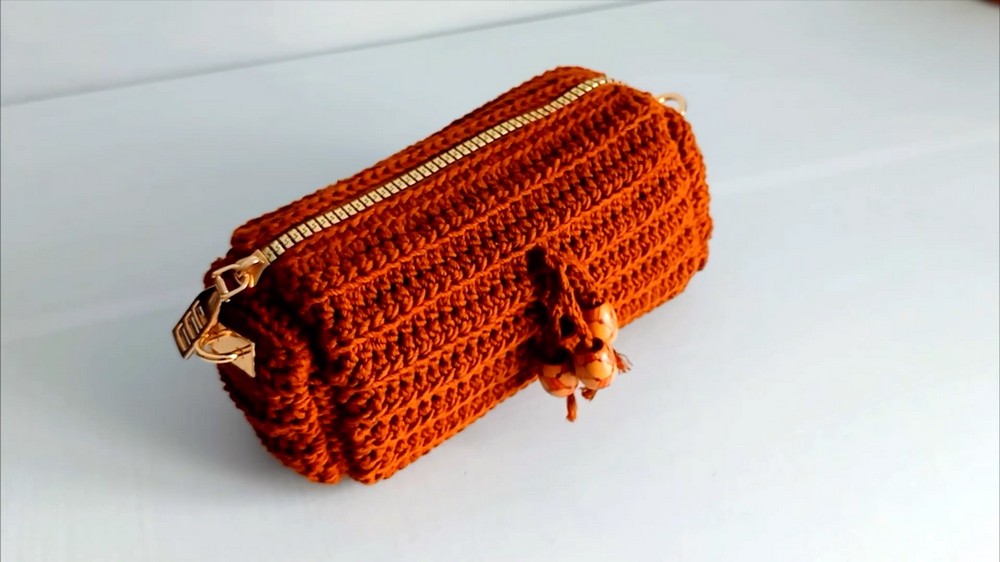
A small handmade accessory can be both practical and satisfying to complete, especially when it turns into a Crochet Mini Zipper Bag Pattern that is useful every day. This design usually involves working tight, even stitches to form a compact pouch, followed by neatly attaching a zipper for secure closure. It is enjoyable because the project is quick to finish, making it perfect for short crafting sessions while still offering a polished result.
Crochet Mini Zipper Bag Pattern for Key Storage
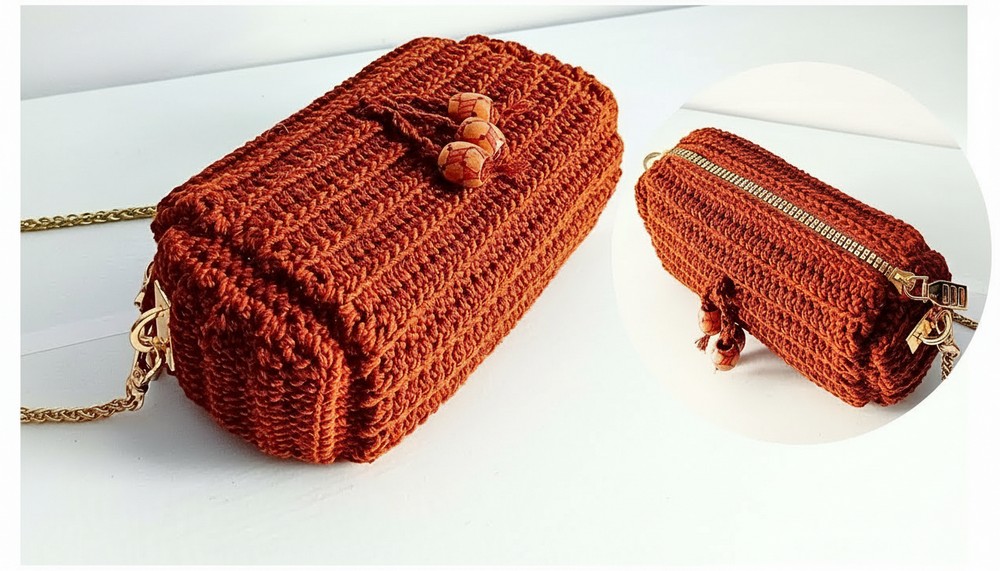
The finished bag works well for storing coins, lip balm, earbuds, or other tiny essentials that often get lost in larger bags. One creative idea is to use contrasting colors for the zipper and body to make the design stand out, while another is to add a soft fabric lining for extra strength and a refined look. An interesting fact is that these mini bags are great for practicing tension control and zipper installation without committing to a large project, making them both beginner-friendly and skill-building.
Crochet Lightweight Mini Bag - Step-by-Step Pattern
This tutorial creates a simple, lightweight mini bag with a zipper and lining. The pattern is beginner-friendly yet produces a professional finish suitable for an intermediate to advanced crocheter. Follow the steps for a durable and elegant mini bag ready to hold your small essentials.
Skill Level
Intermediate
Requires familiarity with working in rows and round, half-double crochet (hdc), single crochet (sc), slip stitch (sl st), and sewing zippers and lining.
Materials Needed
- Yarn:
- Yarn Type: 2.5 mm macramé cord or similar medium-weight cord.
- Weight: Approximately 150 grams.
- Hook: 4 mm crochet hook.
- Lining Fabric: Fabric to line the bag interior.
- Zipper: Zipper approximately 4 cm longer than the bag's width.
- Additional Tools:
- Scissors.
- Stitch Markers.
- Sewing Needle and Thread: To sew the zipper and lining.
- Clips or Pins: To secure fabric during sewing.
Key Abbreviations
- ch: Chain.
- sl st: Slip Stitch.
- sc: Single Crochet.
- hdc: Half Double Crochet.
- BL: Back Loop.
Special Notes
- Gauge: Gauge is not critical for this project. The bag size can be adjusted by increasing or decreasing the foundation chain and row count.
- Consistency: Use even tension for a uniform look, particularly when working in back loops for texture.
- Customization: This pattern creates a basic bag structure. Feel free to experiment with sizes, colors, or yarn types.
Pattern Instructions
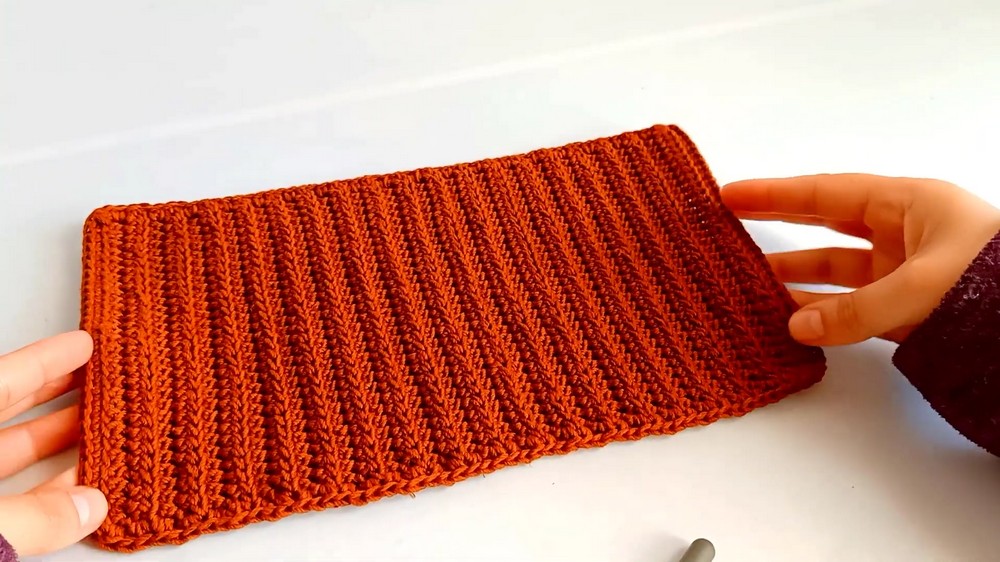
Main Body of the Bag
- Foundation Chain:
- Make a slip knot and chain 30 stitches (or adjust chain length according to desired bag width).
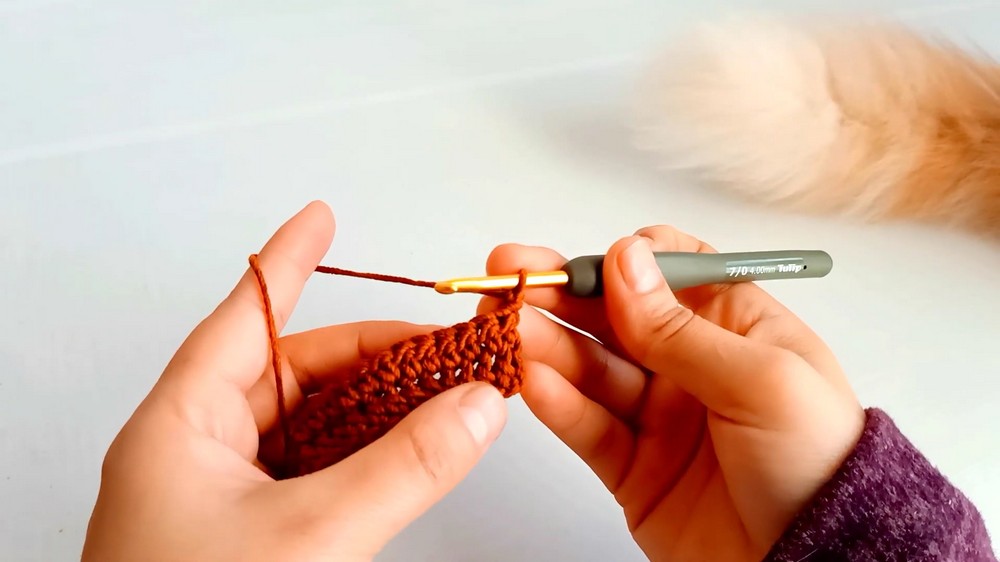
- Row 1:
- Chain 2 (counts as the turning chain).
- Starting in the 3rd chain from the hook, work 1 hdc in each chain across. You should have 30 hdc.
- Rows 2-36 (Back Loop Only):
- Chain 2, turn.
- Work 1 hdc in the back loop only (BL) of each stitch across.
- At the end of Row 36, chain 1, turn.
- Last Row (Single Crochet):
- Work 1 sc in the BL of each stitch across.
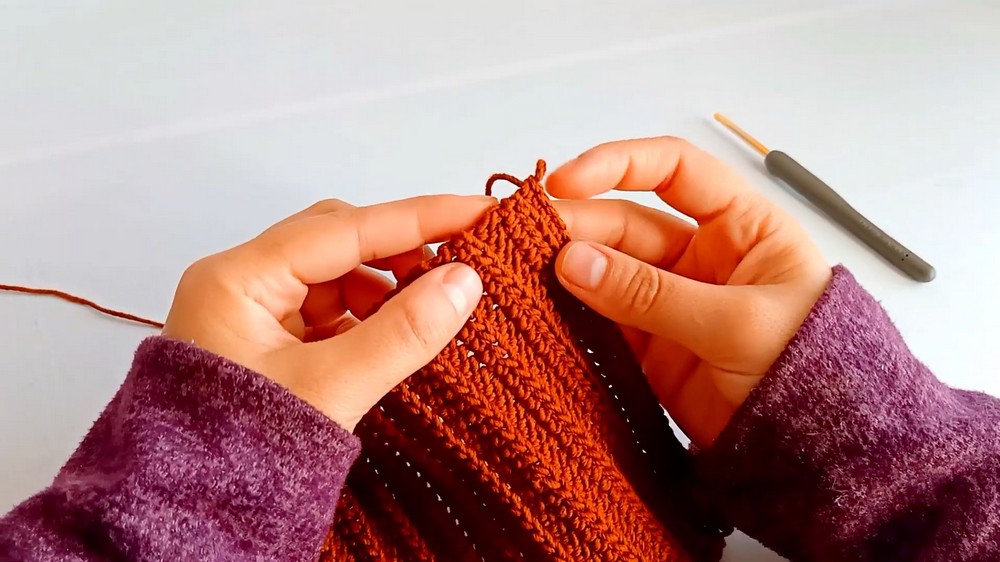
Side Edging for the Main Body
- Chain 1:
- Turn the work such that the side edges (rows) are facing up.
- Single Crochet Along the Edges:
- Skip the last row and work 1 sc in front of the second-to-last row (under the starting chain).
- Work 3 sc across every two rows along the side edge for consistency.
- Repeat until you reach the top of the row.
- There should be 53 sc on the edge.
- Repeat on the Other Side:
- Work 53 sc on the opposite side, following the same method.
- Base Edging:
- Work 53 sc along the base (chains on the first row).
- Final Join:
- Work 1 sl st into the first sc to close the round. Fasten off.
Side Panels for the Bag
- Foundation Row:
- Create a slip knot and chain 12.
- Rows 1-8 (Half Double Crochet):
- Chain 2 for a turning chain, then work 1 hdc in the BL of each stitch across (12 stitches per row).
- Repeat for a total of 8 rows.
- Final Row:
- Chain 1, turn, and work 1 sc in the BL of each stitch across.
- Side Edging for Panels:
- Work 3 sc across every two rows along the side edges. Ensure the stitch count is even for both sides.
- Repeat Panel Creation: Make a second identical panel using the same instructions above.

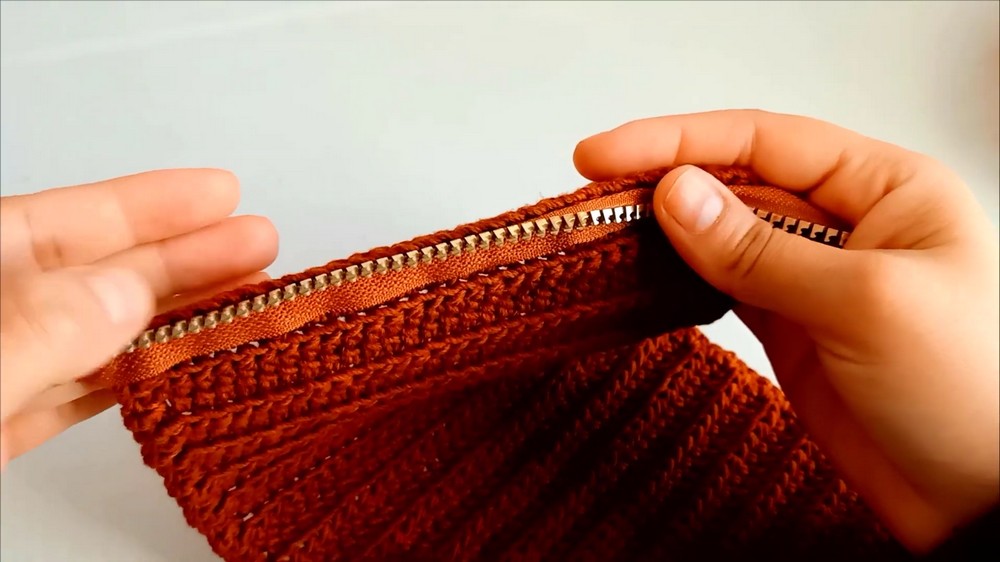
Zipper Installation
- Prepare the Zipper:
- Cut your zipper approximately 4 cm longer than the width of the top opening.
- Heat-seal or sew the zipper ends to prevent fraying.
- Sewing the Zipper:
- Place the zipper along the edge of the bag opening and secure with clips or pins. Stitch it in place using a sewing needle and thread.
- Add the Zipper Pull:
- Insert the zipper pull while the zipper is on the wrong side.
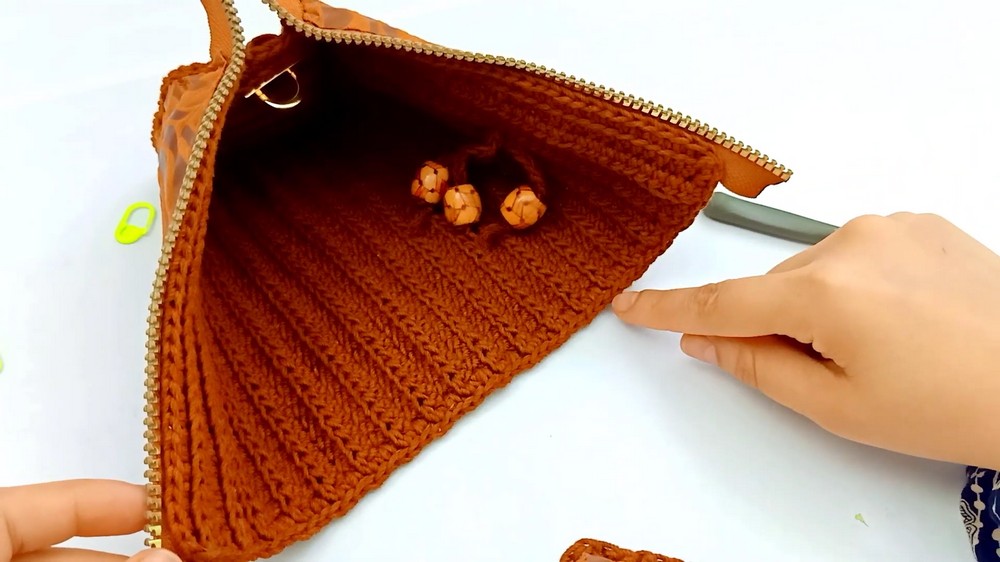
Lining the Bag
- Cut Fabric:
- Measure the bag interior and cut a rectangular piece of fabric for the lining. Leave a 1 cm seam allowance on all edges.
- Sew the Lining:
- Fold the fabric to match the bag's shape and sew along the sides, leaving the top edge open.
- Attach the Lining:
- Insert the lining into the bag and fold the open edge under to align with the zipper. Use clips to hold it in place.
- Hand-sew the lining around the top edge of the bag to secure.
Assembly
- Attach Panels to Main Body:
- Mark the center of the main body and place stitch markers on both sides to ensure perfect alignment.
- Match the side panel with the main body and secure using clips.
- Join with Slip Stitches:
- Begin at the top edge and use slip stitches to join the panel to the main body. Work evenly along all edges, ensuring the seams are consistent.
- Repeat for the second panel.
- Final Touches:
- As you sew, tuck the zipper ends under the lining for a polished finish.
- Use slip stitches to ensure all pieces are joined snugly.
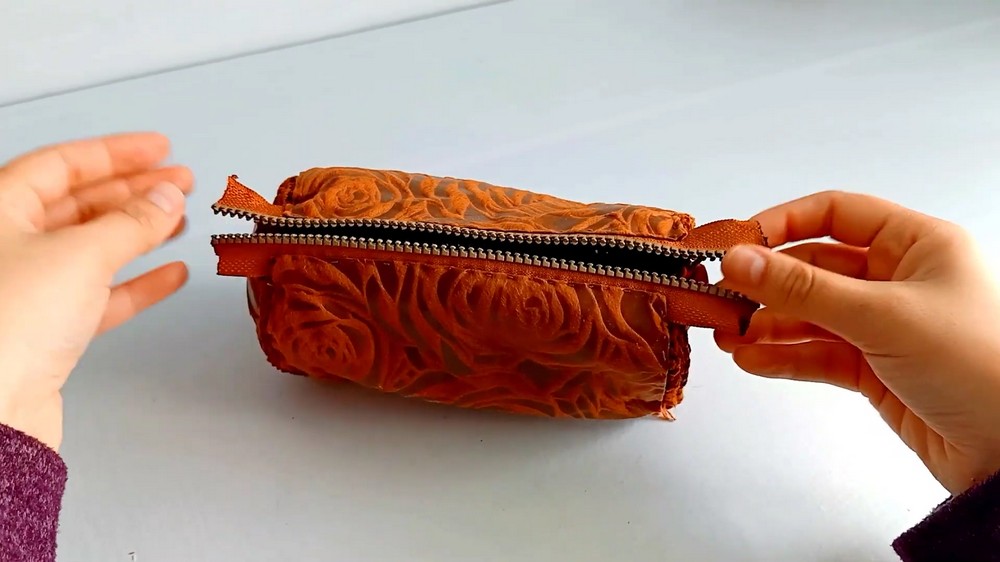
Finishing the Bag
- Secure Ends:
- Weave in all loose yarn tails using a tapestry needle to ensure a tidy finish.
- Shape:
- Gently shape the bag, adjusting the zipper and ruffles as necessary.
- Ensure the zipper opens and closes smoothly without tugging on the edges or lining.

Conclusion
Congratulations! You've completed your lightweight crochet mini bag. This project combines style and functionality, resulting in a durable accessory that's both fashionable and practical.
Final Tips and Suggestions
- Customization: Experiment with different macramé cords, yarn weights, or colors for a unique look.
- Reinforce the Zipper: If you plan to carry heavier items, consider reinforcing the zipper with an additional row of stitching.
- Care Instructions: Hand wash the bag gently in cool water and air dry. Avoid stretching while drying.
- Creative Uses: This bag can function as a pencil pouch, makeup bag, or lightweight handbag.