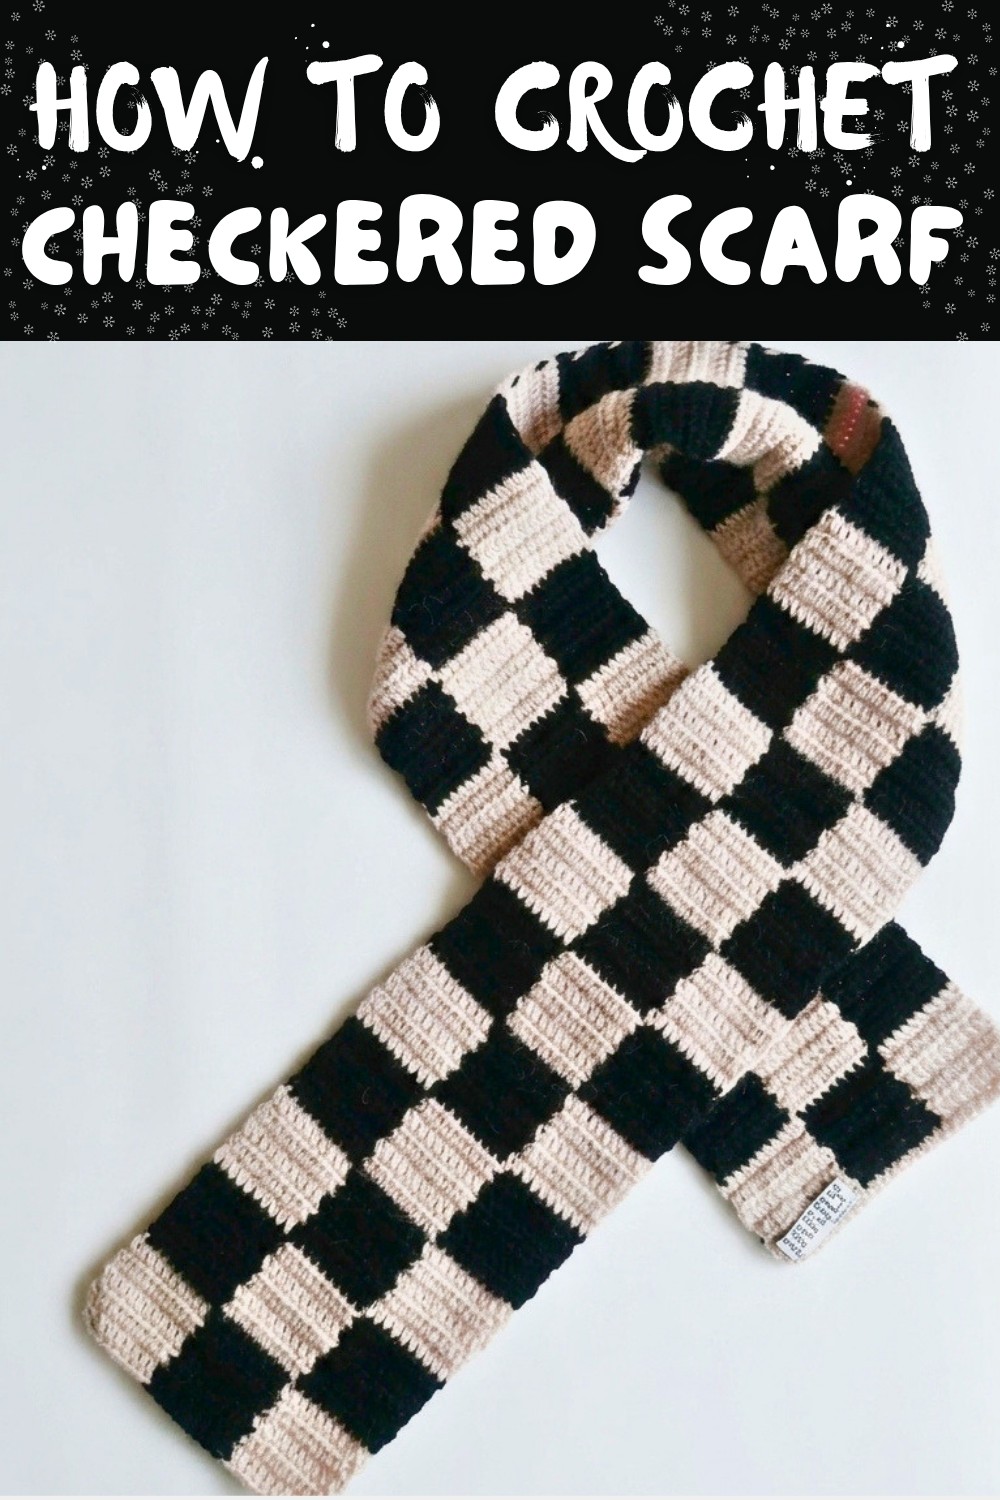
Crochet Checkered Scarf Pattern You Will Want to Wear Daily
Float through cool days wrapped in the cozy appeal of this Free Crochet Checkered Scarf Pattern and its classic checkered look.
If you love cozy winter accessories and want to make something special, this Scarf Pattern is ideal choice. It is super easy to create and looks absolutely stunning. The scarf is a mix of two vibrant colors that alternate to form a classic checkered design. With just a few basic crochet techniques, you can make a scarf that feels warm, looks fashionable, and is perfect for yourself or as a thoughtful gift for someone special. This checkered scarf is unique in appearance because of its soft, lightweight texture and stunning grid layout. It is made using a simple stitch called half double crochet (HDC), which gives it a nice dense look while keeping it light enough to wear comfortably.
Make a Checkered Scarf Free Pattern That Feels Modern and Timeless
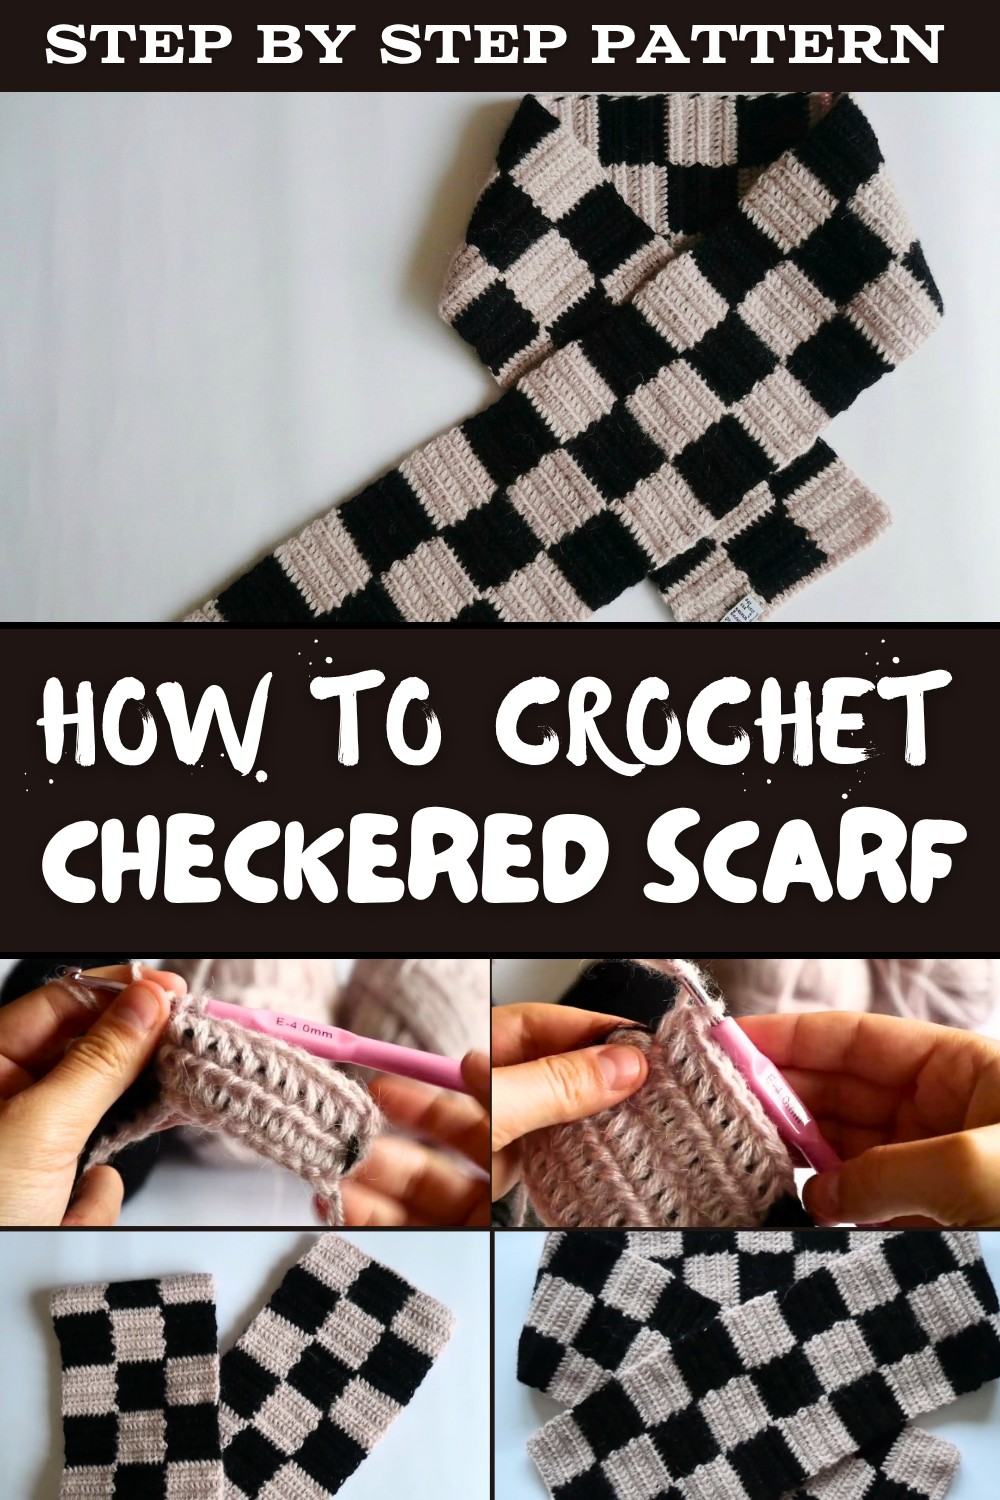
The alternating blocks of color make every row exciting to create, and the pattern grows quickly, making it suitable even for beginners or young crocheters. The finished scarf can be adjusted to your preferred size, whether you want it long or short. You start with 32 chains for the foundation and use two strands of yarn in gray and black colors, creating neat squares with 10 stitches for each block. The soft mix of acrylic and fine wool yarn ensures the scarf is cozy and warm, making it ideal for chilly winter days.
This scarf is not only easy to create but also highly customizable. You can use any yarn colors to match your style or experiment with different textures. Adding tassels or fringe at the ends can make it even more unique.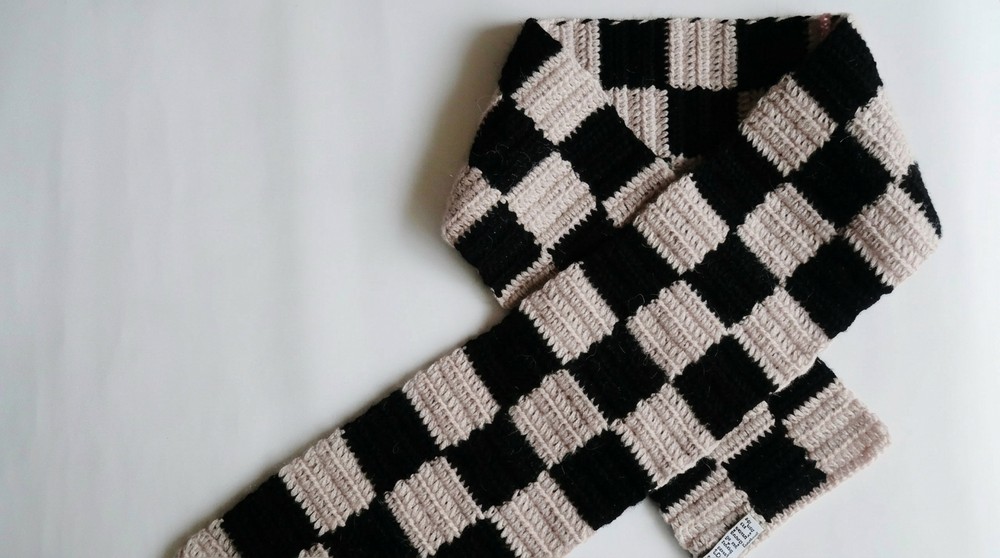
Checkered Crochet Scarf Pattern (Step by Step Guide)
Materials Required
To crochet the checkered scarf, you'll need the following supplies:
- Yarn:
- Color A: Gray yarn (Lightweight Size 1).
- Color B: Black yarn (Lightweight Size 1).
- You will need 2 skeins of each color. Ensure the yarn is soft and comfortable for winter wear.
- Yarn composition as per the video: 80% acrylic and 20% fine wool, but you may use cotton or polyester yarn if preferred.
- Hook Size: 4 mm Crochet Hook.
- Scissors: For cutting yarn.
- Yarn Needle: For weaving in ends.
Gauge
Gauge is important to ensure your scarf matches the desired dimensions.
- 10 stitches x 10 rows = approximately 4 inches x 4 inches (10 cm x 10 cm).
- Use a 4 mm hook and lightweight yarn to achieve this gauge.
Finished Size
The completed scarf will have dimensions of approximately:
- Width: 21 cm (8.3 inches).
- Length: Customizable, The pattern suggests creating 25 squares, resulting in a scarf that is approximately 150 cm (59 inches) long.
For a shorter or longer scarf, add or remove rows in multiples of 10 to maintain the checkered pattern.
Tips and Customization Ideas
- Color Customization: Choose any two contrasting colors for a personalized look.
- Yarn Composition: For a warmer scarf, use wool blends. For a lightweight scarf, opt for cotton.
- Adjusting Width: For a wider scarf, increase the starting chain in multiples of 10 and add 2 extra chains.
- Finishing Touches: Add tassels or pom poms at the ends for a playful twist.
- Secure Weaving: Work one yarn tail in one direction and the second strand in the opposite direction to secure the edges.
Special Techniques
- Slip Knot: Used to start your crocheting.
- Half Double Crochet (HDC): A versatile stitch used throughout the project.
- Yarn over, insert hook, yarn over, pull through (3 loops on the hook).
- Yarn over, pull through all three loops.
- Color Changes: Switch colors on the 10th stitch of each panel to maintain the checkered effect.
Pattern Instructions
Follow these detailed steps to create your checkered crochet scarf:
Step 1: Create the Foundation Chain
- Start with Color A (Gray).
- Create a slip knot, leaving a short tail for weaving in later.
- Chain 32 stitches to form the base of the scarf. This sets the width of the scarf, approximately 21 cm.
- For a wider scarf: Chain a multiple of 10 + 2 extra chains.
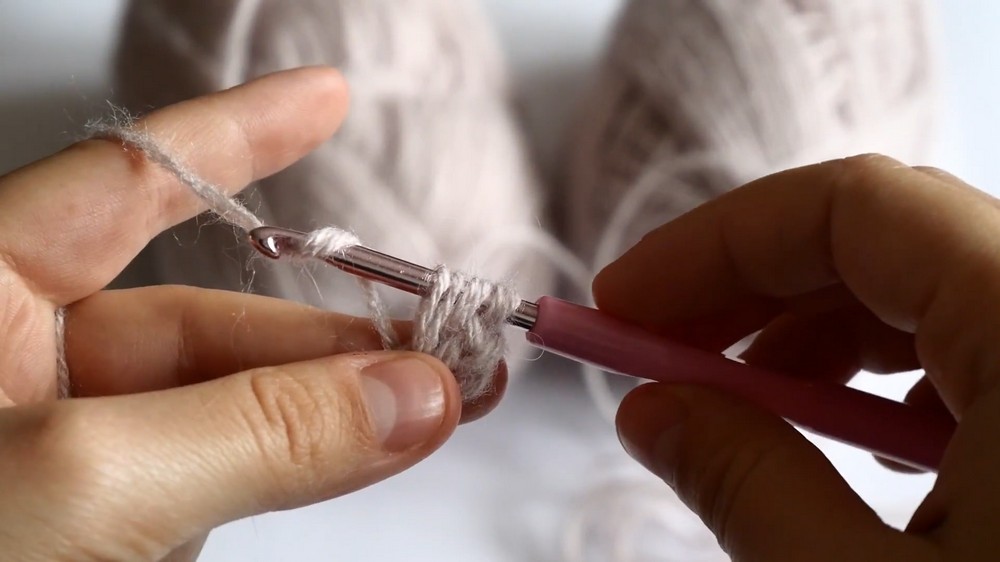
Step 2: Row 1 Begin Half Double Crochets (HDC)
- Yarn over and insert the hook into the third chain from the hook (this counts as your first HDC).
- Make a total of 10 HDC stitches using Color A.
- On the 10th HDC stitch, change to Color B (Black):
- To change color, yarn over with Color B and pull through the last step of the HDC.
- Continue with Color B, creating 10 HDC stitches.
- On the 10th HDC of Color B, switch back to Color A.
- Create 10 more HDC stitches using Color A, completing the first row.
- Chain 2 and turn your work.

Step 3: Row 2 Alternate Colors
- Begin the next row with Color A, working your first 10 HDC stitches.
- On the 10th stitch, switch to Color B.
- Create 10 HDC stitches in Color B, hiding the gray yarn tail within the stitches to keep it secure.
- Switch back to Color A for the next 10 HDC stitches.
- Chain 2 and turn your work.

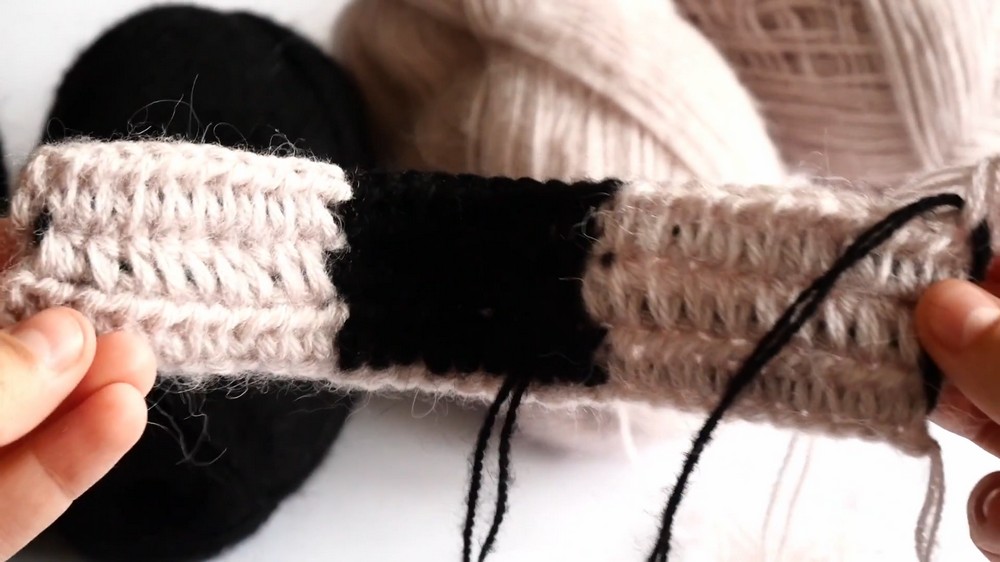
Step 4: Continue the Pattern
- Repeat Steps 2 and 3 for a total of 10 rows of Color A Color B Color A panels (this is your first "section").
- Ensure that on the 10th stitch of each color block, you change colors seamlessly.
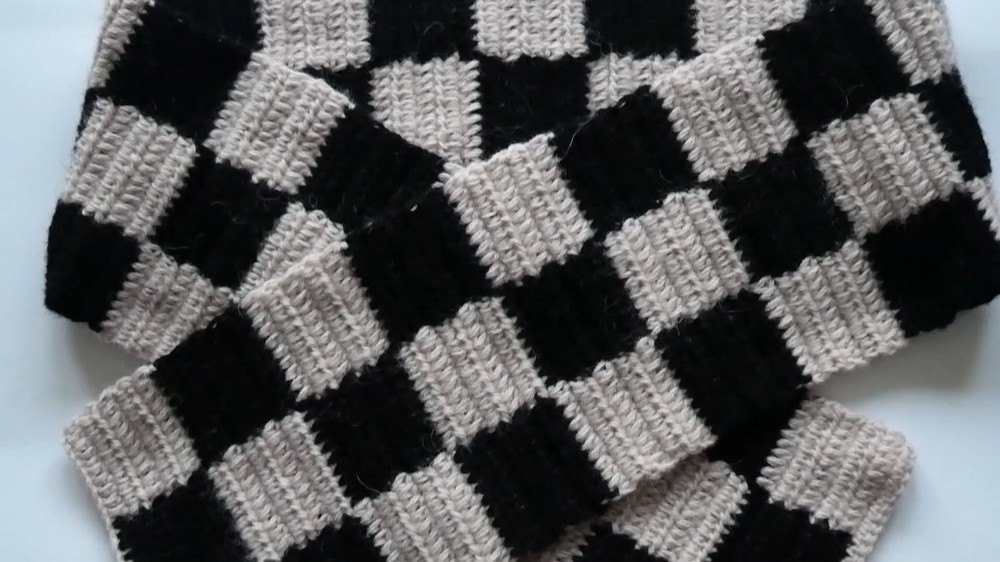
Step 5: Alternate the Color Placement
- After completing the first 10 rows, switch the color order to begin the next section:
- Start Row 11 with Color B, followed by Color A, and repeat this new pattern.
- This creates a classic checkered effect.
- Continue alternating the colors every 10 rows and work until you've created 25 squares or until the scarf reaches your desired length.

Step 6: Finishing Touches
- End with a row of single crochets (SC) to give the scarf a polished edge:
- Chain 1 at the start of the row.
- Insert the hook into each stitch across, yarn over, and pull through.
- Cut the yarn, leaving a 20 cm tail, and pull it through the final stitch to secure.
Step 7: Weave in Ends
- Use your yarn needle to weave in all loose ends.
- Work one strand of yarn in one direction and the second strand in the opposite direction to secure knots.
Key Notes
- Ensure that the tails are hidden securely in every row. On the wrong side of the scarf, the color transitions and tails will be less visible.
- Maintain consistent tension throughout to achieve uniform stitches.

Conclusion
This checkered crochet scarf is an elegant yet simple project suitable for beginners and experienced crocheters. Its classic pattern and cozy texture make it a versatile winter accessory or a thoughtful handmade gift. With two contrasting colors, the design pops beautifully, and the lightweight feel ensures it's comfortable for everyday use.
Complete this scarf in your favorite colors and customize it to suit your preferences. Add personal touches like tassels or fringe to make it uniquely yours. Enjoy crocheting and the satisfaction of creating something functional and stylish with your own hands.
This pattern is easy to follow, and with practice, you'll soon master the half double crochet and color changing techniques. We hope this guide enhances your crocheting experience and inspires you to explore more creative projects.