
Amazin Free Crochet Bag Pattern – Perfect for Every Outfit
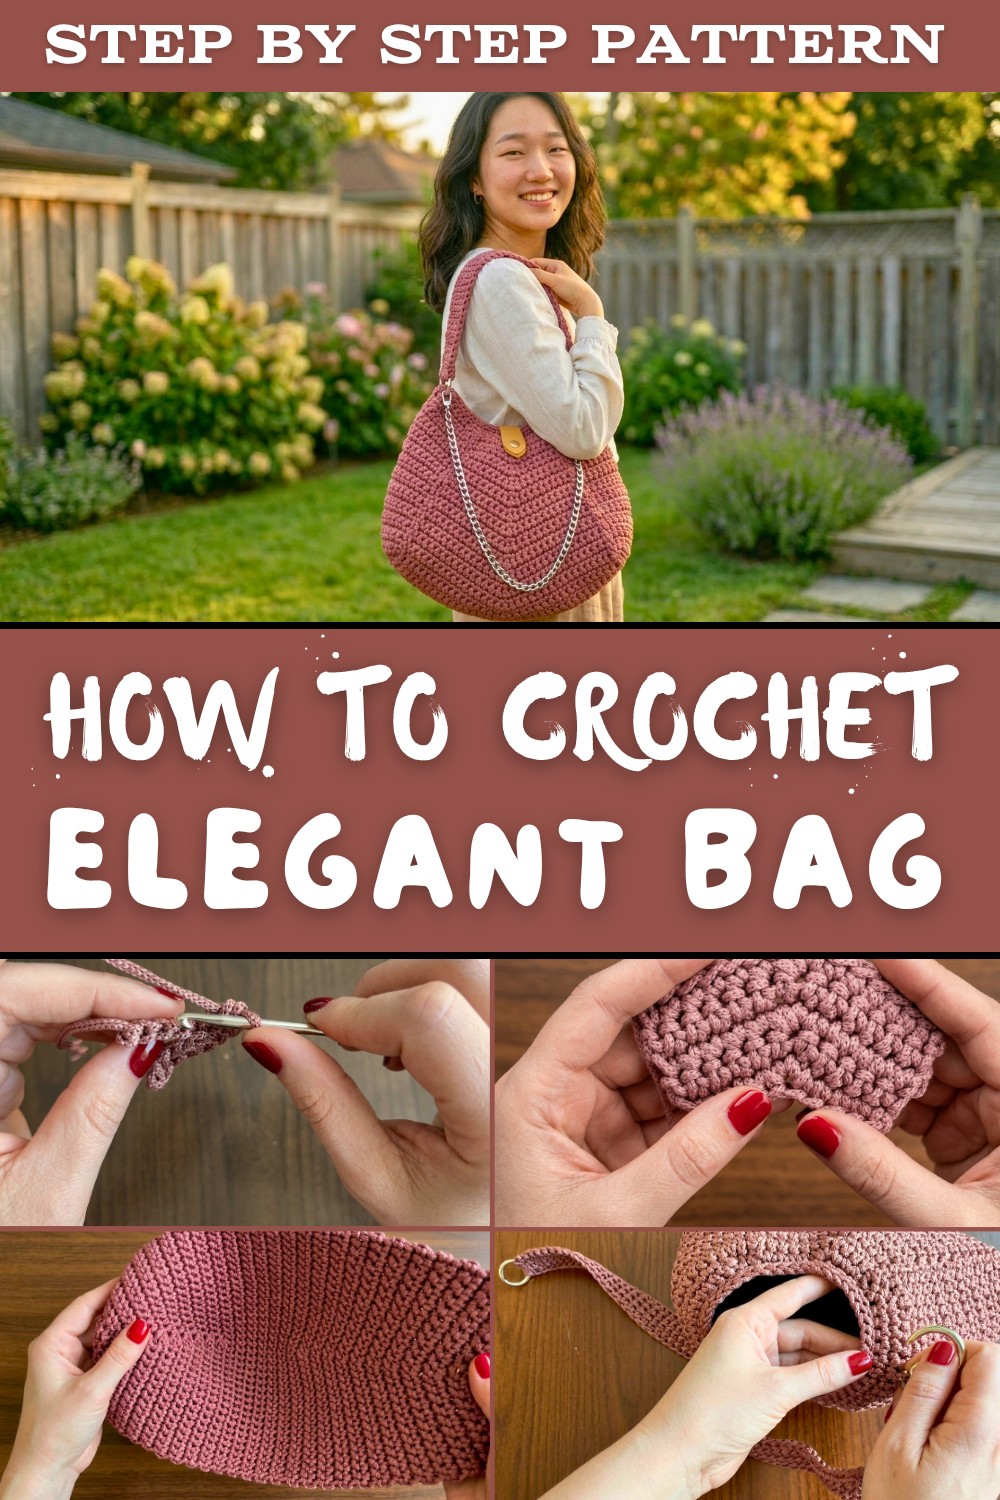
Bring a refined touch to your wardrobe with this free crochet elegant bag pattern made for stylish days and special moments.
Have you ever wanted a bag that's not only beautiful but also practical for everyday use? This free crochet guide shows you how to make an elegant bag that stands out with its unique look and perfect size. Smooth edges, a sturdy texture, and a lightweight yet durable design make it perfect for carrying essentials like your phone, wallet, or books. The chain like strap adds a touch of elegance, making it ideal for casual outings and special occasions. It's not just a bag-it's a stylish accessory that complements any outfit.
Free Crochet Bag Pattern for a Stunning Look
The process uses basic stitching methods like single crochet, increases, and decreases-all super simple and beginner friendly. You'll use a 4.5mm hook and thick yarn to build its strong base and sleek body. The decorative tag on the front adds a personalized charm, making it feel unique and one of a kind.
A standout feature is the metallic ring straps and side panels that give it extra durability while enhancing its modern appearance. The lightweight yet reliable structure makes the bag feel comfortable to carry all day. It's the perfect mix of beauty and functionality.
This crochet bag is more than just an accessory; it's a fun way to show off your style and love for handmade designs. Pick up your yarn and crochet hook today, and enjoy turning simple stitches into something elegant and timeless. Let's make something you'll love showing off.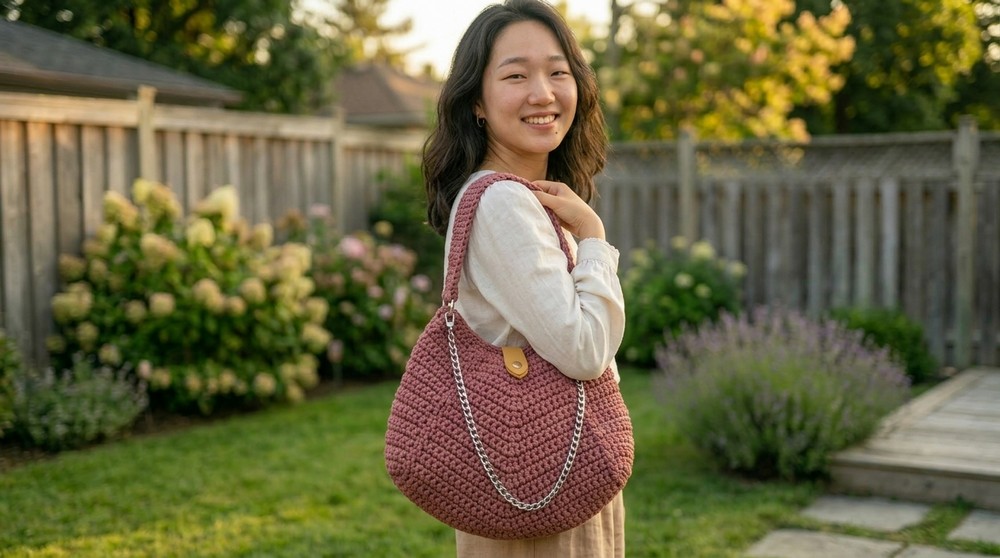
Elegant Crochet Bag Pattern
Materials Required
- Yarn:
- M Macrame XL Yarn (130m per roll) - Use two rolls (260m total).
- Choose a color that aligns with your aesthetic preferences.
- Hook Size:
- 4.5mm crochet hook.
- Additional Supplies:
- Two metallic opening rings (for attaching straps).
- Chain strap (optional, but ensure it matches your yarn color for a seamless finish).
- A tag for decoration (e.g., a leather or metallic tag purchased on platforms like Alibaba or Amazon).
- Tapestry needle for sewing.
- Stitch markers for precise assembly.
- Scissors.
Gauge
Gauge is not critical for this project as the dimensions of the bag can be easily adjusted by following the pattern's instructions and stopping once your desired size is achieved. However, to achieve similar results to the pattern:
- 10 rows of single crochet should measure approximately 4 inches (10 cm).
Finished Size
The bag measures approximately 24 inches (61 cm) in circumference and 12 inches (30 cm) in height when completed. These dimensions fit most daily accessories and suit a variety of occasions.
Pattern Instructions
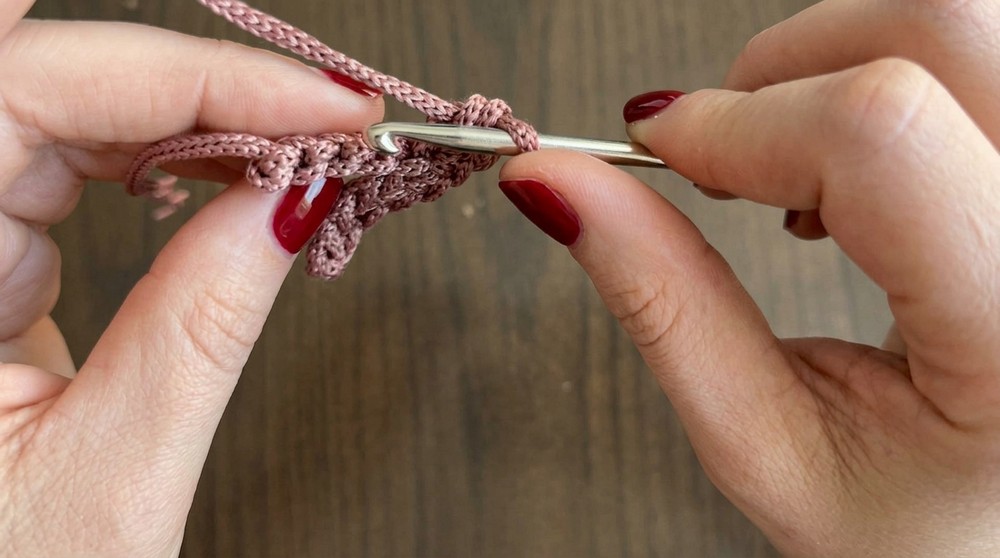
1.Step 1: Bag Base
- Foundation Chain:
- Begin with 10 chains.
- Row 1:
- Crochet along the back loops of your foundation chain.
- Work 1 single crochet (sc) in each of the first 4 chains.
- In the fifth chain, work 3 sc (this is your increase point).
- Continue by working 1 sc in the remaining 4 chains.
- At the end, chain 1 and turn. (Total: 11 sc).
- Row 2:
- Work 1 sc in every stitch across. Chain 1 and turn. (Total: 11 sc).
- Row 3 (Increase Row):
- Work 5 sc, then 3 sc into the next stitch (increase in the middle), and finish with 5 sc. Chain 1 and turn. (Total: 13 sc).
- Row 4:
- Work 1 sc into each stitch. Chain 1 and turn. (Total: 13 sc).
- Row 5:
- Work 6 sc, then 3 sc into the next stitch, and finish with 6 sc. Chain 1 and turn. (Total: 15 sc).
- Repeat Rows:
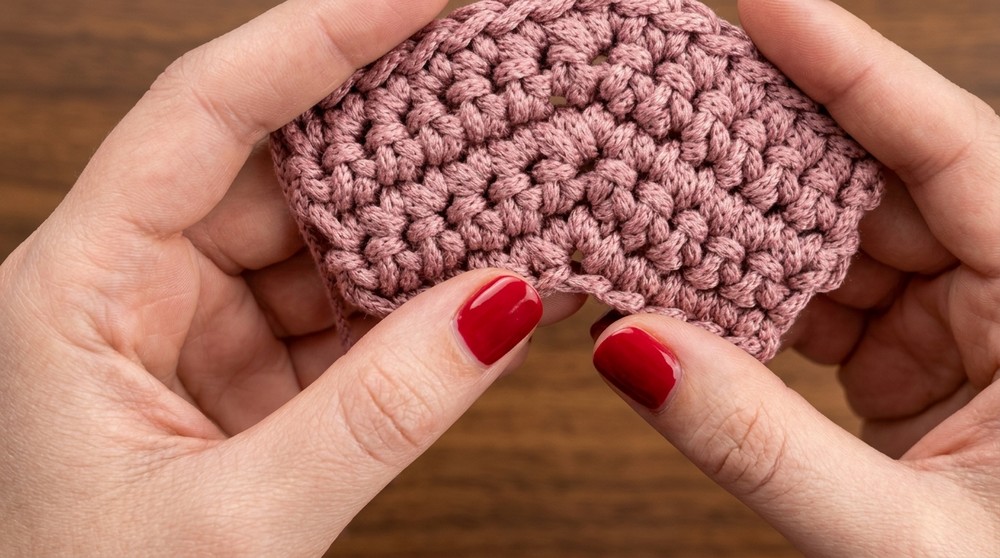
- Continue repeating this pattern, increasing by 2 stitches every other row, until you have 27 rows total. By row 27, you should have 17 sc - 3 sc increase - 17 sc.
2.Step 2: Build the Bag Body
- Rows 28-42:
- Work one sc in each stitch (no increases or decreases).
- These 14 rows will form the body of the bag and create a stable structure.
- Continue until you've completed 42 rows total.
3.Step 3: Shape the Bag Opening
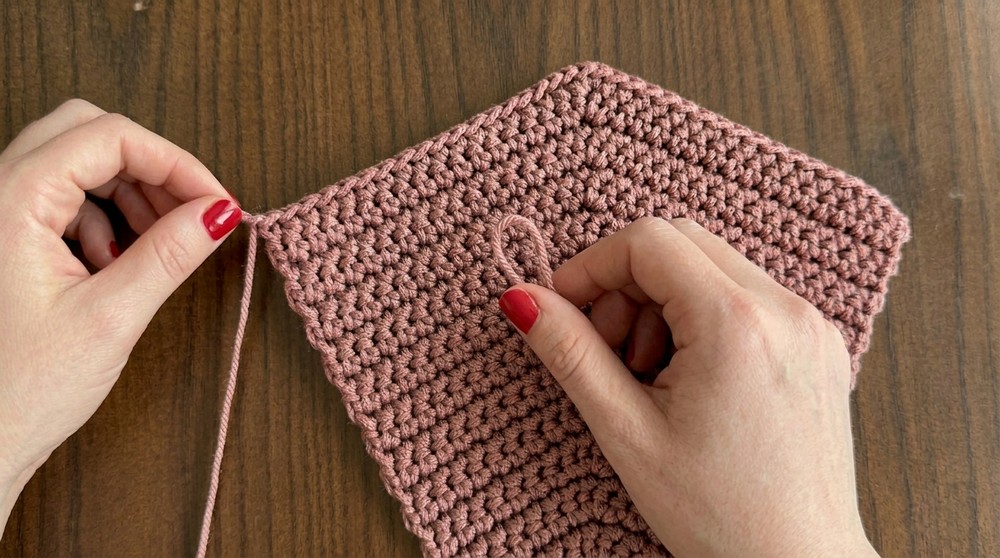
- Row 43:
- Chain 17 to create the first handle opening.
- Work a triple decrease across the next 3 stitches (pull through 3 times and then close all loops).
- Work another chain of 17 stitches to create the second handle opening.
- Row 44 (Decrease Row):
- Create the handle structure by decreasing the stitches slightly.
- Work 4 sc, 1 decrease (3 stitches together), 4 sc to create a smoother transition.
- Row 45 (Final Row):
- Work around the openings with sc to smooth the edges and give a polished look.
4.Step 4: Create the Sides
- Side Panel Base:
- Chain 20 stitches and work 24 rows of single crochet to create the rectangular side panels.
- Row 25:
- Decrease at the start and end of the row (2 decreases on each side).
- Continue working sc in the middle. (Total: 16 sc).
- Row 26:
- Work 1 decrease at the start, sc in the middle, and 1 decrease at the end.
- Repeat for the second side panel. Ensure both panels are identical.
5.Step 5: Crochet the Strap
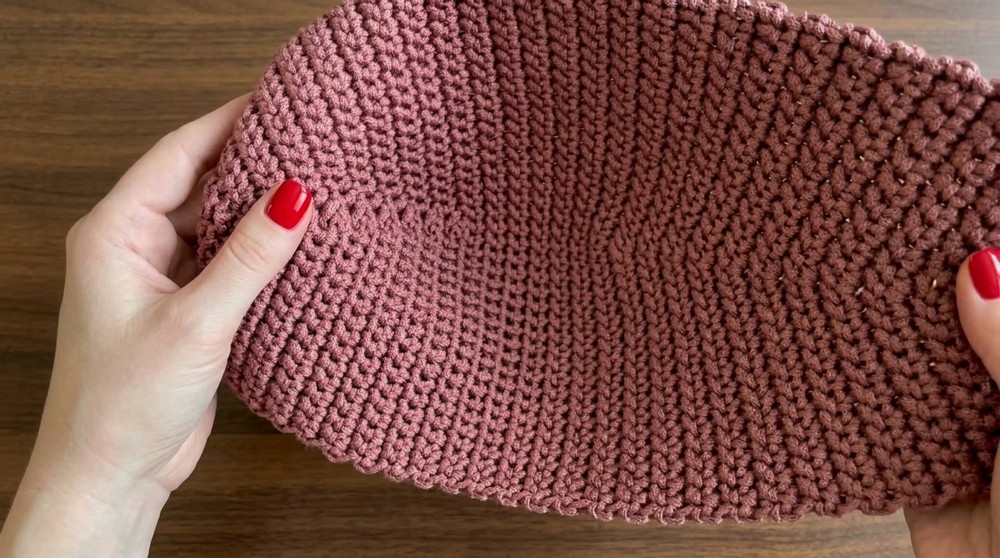
- Attach the Ring:
- Insert your yarn through one metallic ring and secure with a slip stitch.
- Foundation Row:
- Crochet 4 sc into the ring. Chain 1 and turn.
- Subsequent Rows:
- For each row, work 4 sc into the stitches, turning at the end of each row.
- Continue until your strap measures approximately 24 inches (61 cm) or your preferred length.
- Attach the Second Ring:
- When you reach the desired strap length, secure the second metallic ring using the same technique from the beginning. Ensure alignment with the rest of the strap.
6.Step 6: Assemble the Bag
- Attach the Sides:
- Use stitch markers to align the side panels to the base.
- Sew along the edges using a tapestry needle or by working a slip stitch around the perimeter.
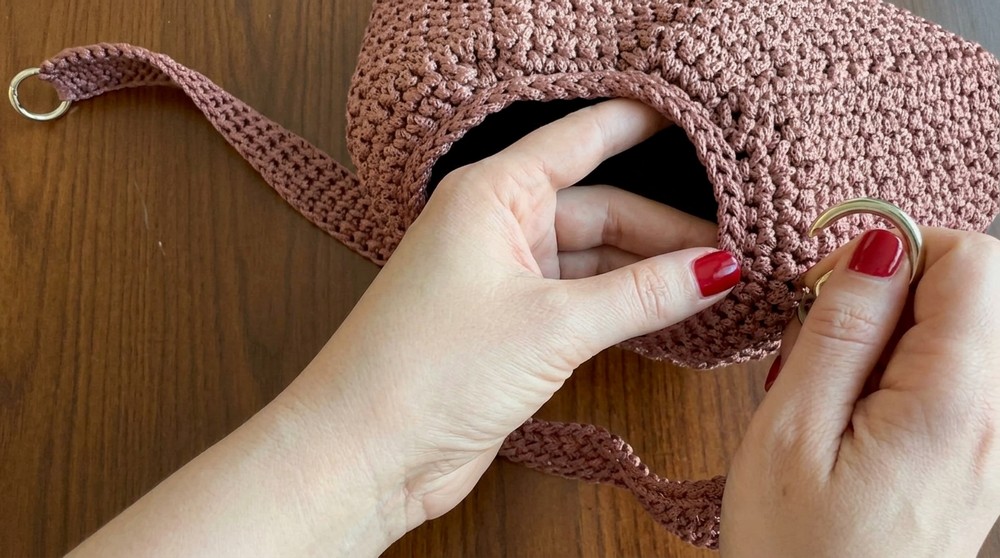
- Join the Strap:
- Attach the metallic strap rings to the top corners of the bag. Secure tightly to ensure durability.
- Place the Tag:
- Sew the decorative tag onto the front center of the bag for a stylish finish.
Special Techniques
- Triple Decrease:
- Insert your hook into the next 3 stitches and pull up a loop from each. Yarn over and pull through all loops on the hook.
- Smooth Edges:
- Work single crochet stitches along all raw edges of the bag for a polished appearance.
Customization Ideas
- Color Blocking:
- Use different colors for the base, body, and sides for a modern look.
- Additional Accents:
- Add tassels or fringes to the sides for a boho style.
- Lining:
- Sew a fabric lining inside the bag for added structure and to prevent small items from slipping out.
- Longer Strap:
- Extend the strap length to create a crossbody bag.
Conclusion and Important Remarks
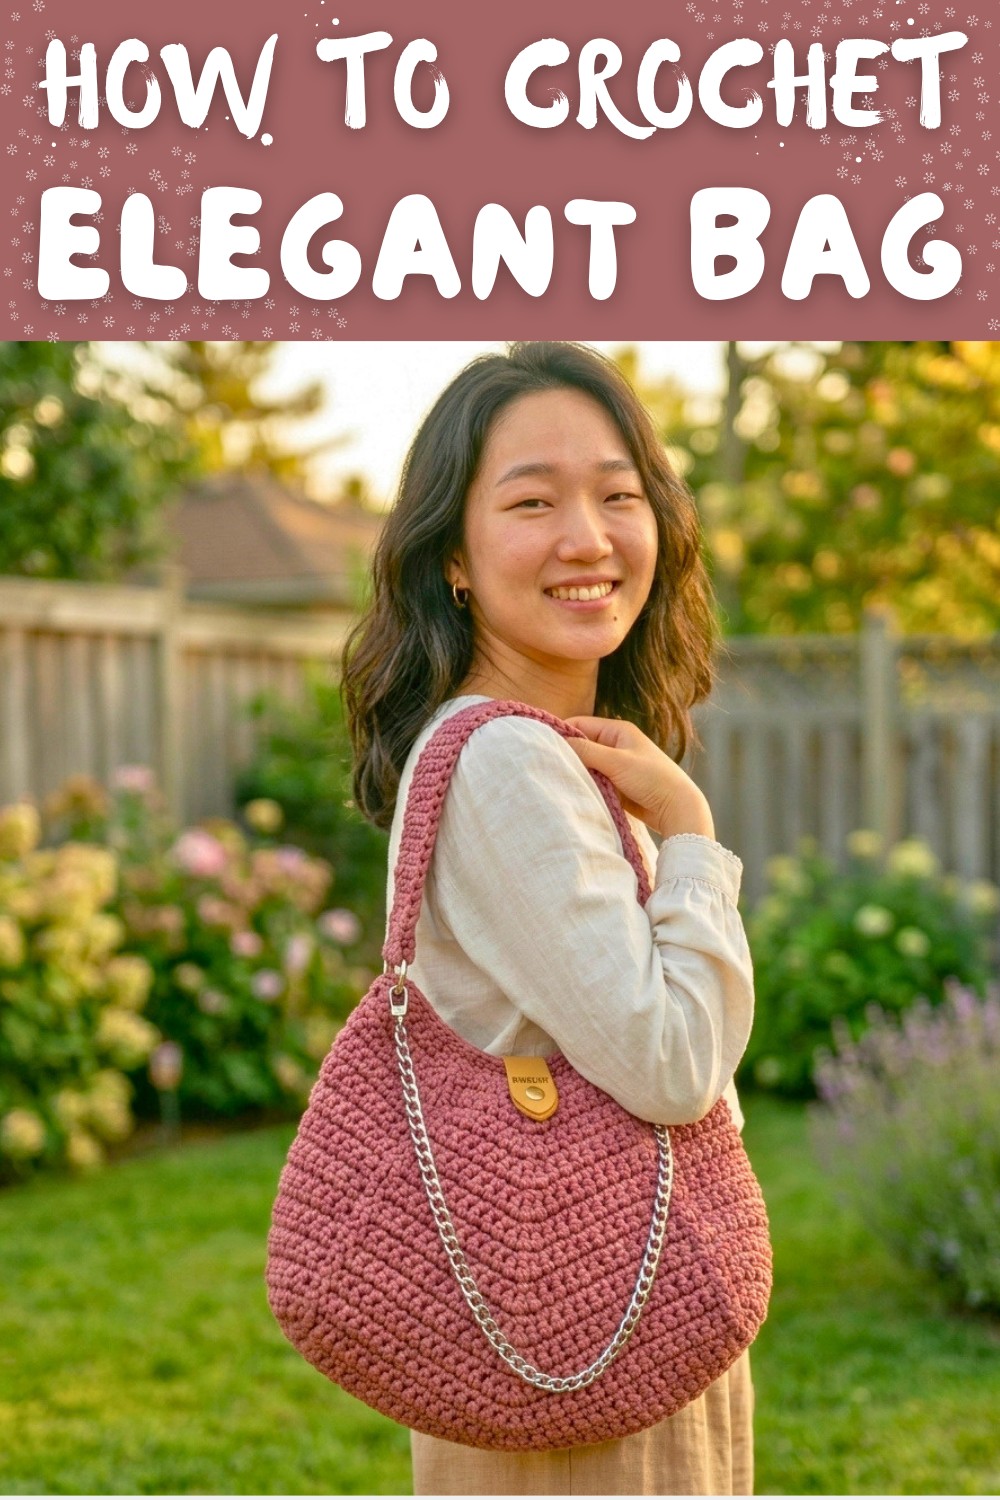
This crochet bag is a beginner friendly project that offers plenty of room for creativity and personalization. Whether you opt for vibrant colors or stick to a classic look, this accessory will surely become a favorite. The pattern's straightforward construction ensures that crocheters of all skill levels can successfully complete it. Final Look
Once completed, the bag will have a polished, modern aesthetic suitable for any occasion. The smooth edges, even stitches, and added decorative elements make it not only functional but also fashionable.