
A Free Crochet Bread Basket Pattern for Freshly Baked Bread
Bring fun to your table and crochet a sturdy bread basket with this free easy pattern that's perfect for holding your snacks, fruits or baked bread.
Refine your dining table style with a handmade yarn bowl that's perfect for elevating your breakfast or snack experience. This charming and beginner friendly crochet bread basket pattern lets you create a sturdy basket that's both practical and decorative. Featuring a thick, durable rim and a neat, tight stitch design, this cheerful cotton creation is lightweight, easy to make, and the ultimate kitchen companion for busy mornings and cozy family meals. Crocheted with bright cotton colors and a flat bottom base, this basket securely holds heavy biscuits, rolls, or fruits without tipping over-keeping your dining setup sleek and tidy.
Say Hello to This Pretty Crochet Bread Basket - Free Pattern

Designed for new makers and beginner crocheters, the pattern uses affordable t shirt yarn and a large crochet hook, making it a fun and cost effective way to practice your circle loops and hone your skills. Perfect for gifting, this handmade treasure is highly durable and adds just the right touch of luxury to your dining or countertop decor.
Whether it's for holding freshly baked bread, sweet candies, or warm snacks, the creative stitch lines and wide opening make it practical and irresistible. Add warmth to your home or stand out when hosting guests by weaving this cozy and functional piece-follow the easy, step by step instructions today and make your mornings brighter.

Crochet Bread Basket Pattern
Materials Needed
- Yarn: Barbante No. 6 (or similar sturdy yarn for baskets)
- Hook: 4.5 mm crochet hook
- Mold: A square or rectangular dish (approximately 15 cm by 15 cm for the base)
- Scissors
- Measuring Tape
- Pins or Stitch Markers
- Cornstarch (for stiffening): 2 cups of water, 2 tablespoons of cornstarch
Gauge
- 12 double crochet (DC) stitches and 8 rows = 10 cm by 10 cm
- Maintaining gauge ensures the finished basket fits your intended size.
Finished Size
- Approximately 15 cm (6 inches) wide and tall (depending on mold size adjustment).
Pattern Instructions
Step 1: Starting the Basket's Base (Working in Rows)
- Begin by making 128 chain stitches (or adjust the number based on the size of your mold). This number should evenly fit the base of your chosen dish.
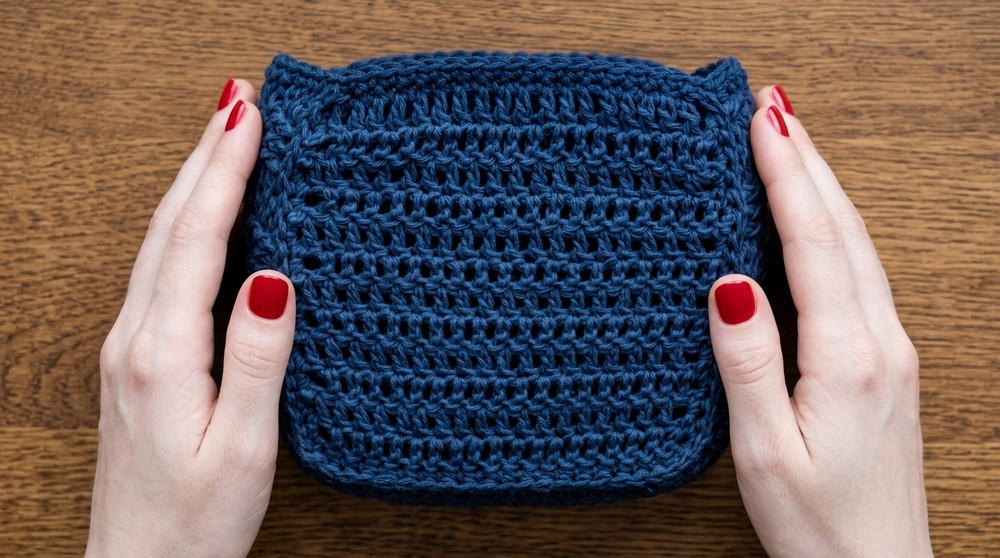
- Starting in the third chain from your hook, work 1 double crochet (DC) in each chain across. (Your DC row count will depend on your mold size-approximately 15-20 rows for the length of 15 cm.)
- After finishing all rows, ensure your base measures 15 cm by 15 cm.

Step 2: Transition to the Sides (Single Crochet Border)
- Work single crochets (SC) around the border of your rectangular/square base to create a clean edge.
- At each corner, work 2 SC stitches in the same stitch to help the border "turn."
- Ensure each side has approximately the same number of single crochets (around 21 stitches per side to later ensure multiples of three for the basket weave design).

Step 3: Forming the Basket Walls (Post Stitches for Texture)
- Begin the basket's walls using front post double crochet (FPDC) and back post double crochet (BPDC) stitches for the textured basket weave design.
- Start with 3 FPDC stitches in a row, followed by 3 BPDC stitches in a row. Repeat this sequence around the basket's circumference.
- For subsequent rows:
- Alternate the direction of your post stitches every 2 rows. If the previous FPDC repeats were in front, switch them to BPDC and vice versa.
- Continue until the walls measure approximately 10 cm in height (or your desired height). This will likely require 10 rows of post stitches.


Special Techniques
Post Stitches:
- Front Post Double Crochet (FPDC): Yarn over, insert your hook from front to back around the post of the stitch in the row below, yarn over, pull through, and complete as a double crochet.
- Back Post Double Crochet (BPDC): Yarn over, insert your hook from back to front around the post of the stitch in the row below, yarn over, pull through, and complete as a double crochet.
Step 4: Finishing the Basket (Reverse Single Crochet Edge)
- For the border, use a reverse single crochet (RSC), also known as the crab stitch, for a polished and sturdy edge.
- Insert the hook into the previous stitch and work backward while doing single crochet stitches.
- Continue the reverse single crochet around the entire top edge of the basket and fasten off.
Stiffening the Basket
To ensure the basket holds its shape well:
- Mix 2 cups of water and 2 tablespoons of cornstarch in a pan. Stir well until dissolved.
- Heat the mixture over medium heat, mixing constantly, until it thickens into a translucent paste.
- Let the paste cool until warm (not hot). Submerge your crocheted piece fully in the mixture.
- Squeeze out excess paste and shape your basket around the mold.
- Let the basket dry completely (around 24 hours) in a warm area or under the sun.

Optional Customizations
- Colors: Use multi colored yarn for a vibrant, playful look.
- Size Adjustments: Increase/decrease the number of foundation chains, rows, and post stitches based on the desired dimensions.
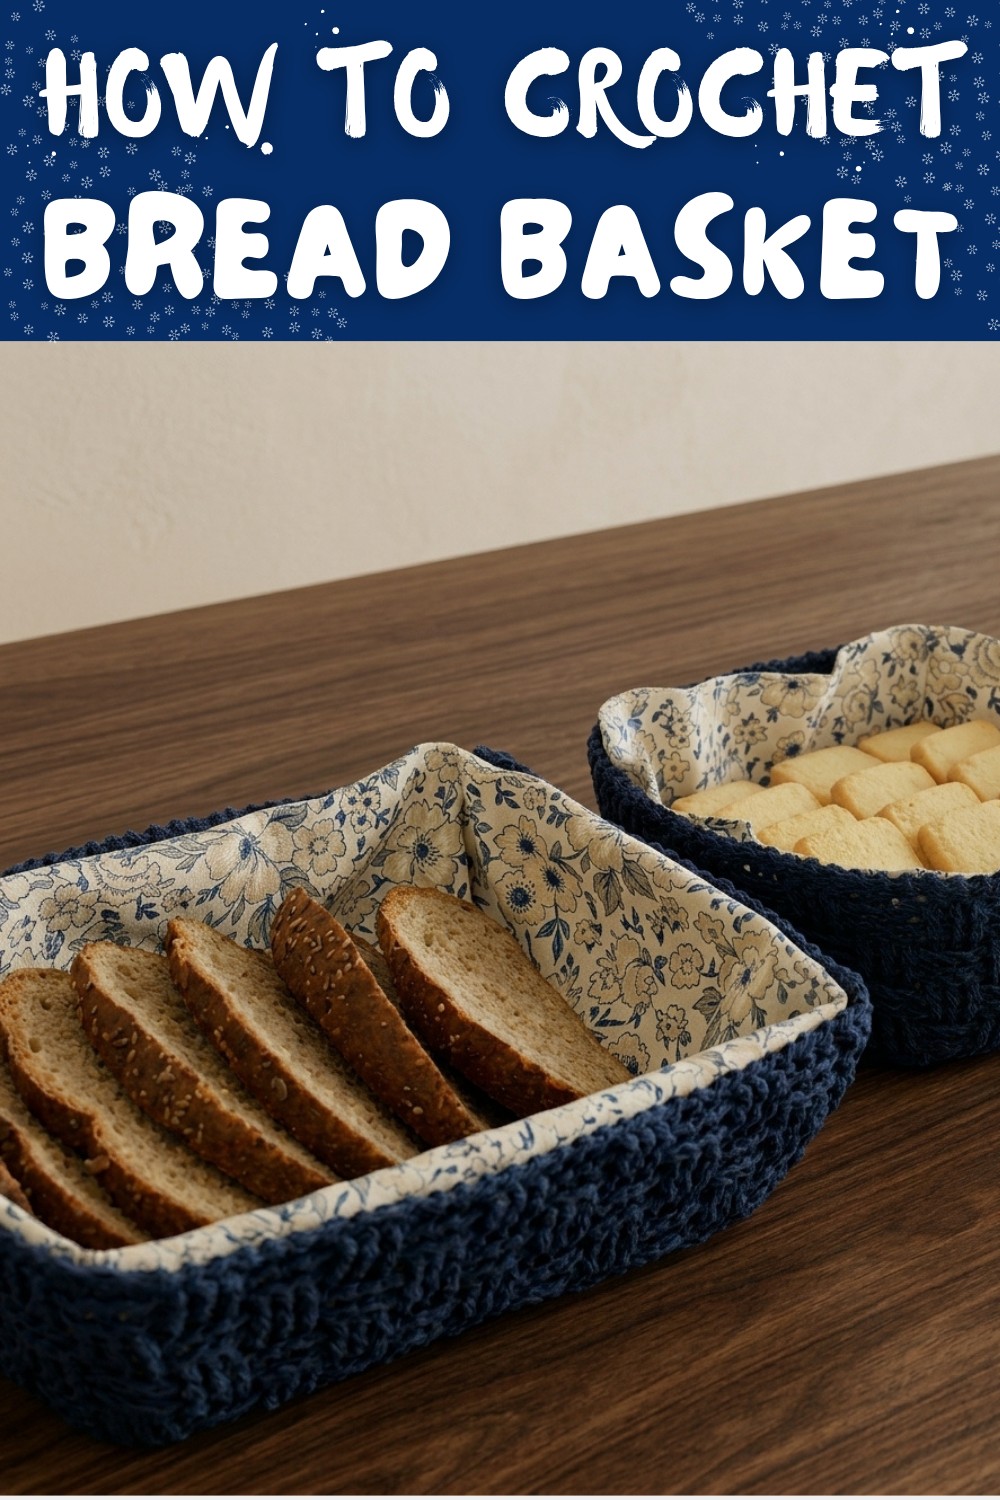
- Lining: Add a fabric lining for bread, fruits, or delicate decorative items. Use a soft, durable fabric and sew it into the interior.
Final Look
The basket will have a textured woven design with sturdy and straight walls. The stiffened edges give it structure, while the reverse single crochet border ensures the basket maintains its polished finish. It will make for an excellent multipurpose container-perfect for holding bread, fruits, yarn, or even as decorative storage.
Tips for Success
- Ensure your rows are consistent in height to maintain the basket's symmetry.
- Use stitch markers for each corner during the initial SC border round to ensure the walls align properly.
- Add multiple coats of cornstarch if you desire an extra stiff basket.
Conclusion
This basket is not just a practical creation but also a testament to your creative skills and effort. Its lovely basket-weave texture, sturdy build, and soft interior lining make it a versatile piece for any home. Customize its size or color to match your space or occasion.