
Adorable Lemon Coin Purse – Crochet Pattern Free
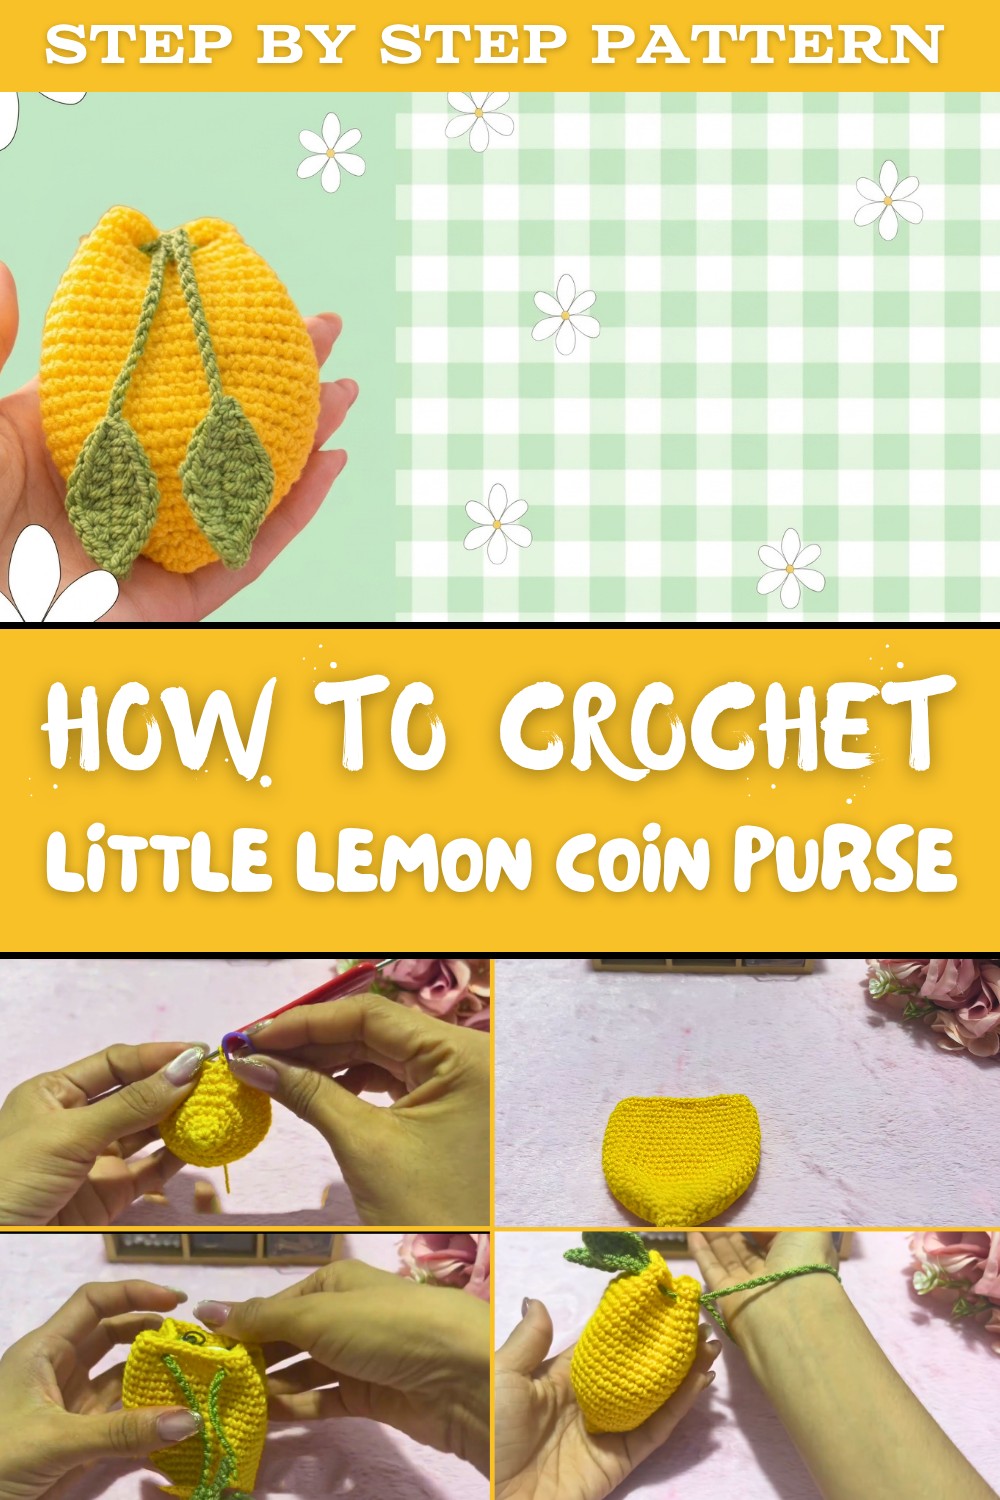
Holding a bright lemon in your hand, not for eating, but as a delightful coin purse that you made yourself. Beginning the Free Crochet Lemon Coin Purse Pattern is like starting a little adventure, where yarn transforms into something cheerful and practical. Anyone, even if new to crochet, can find joy and excitement in creating this project. The process is relaxing and satisfying, as you see your work take shape, especially when you know you'll soon be using or gifting something you made all by yourself.
How Can I Personalize My Lemon Coin Purse?
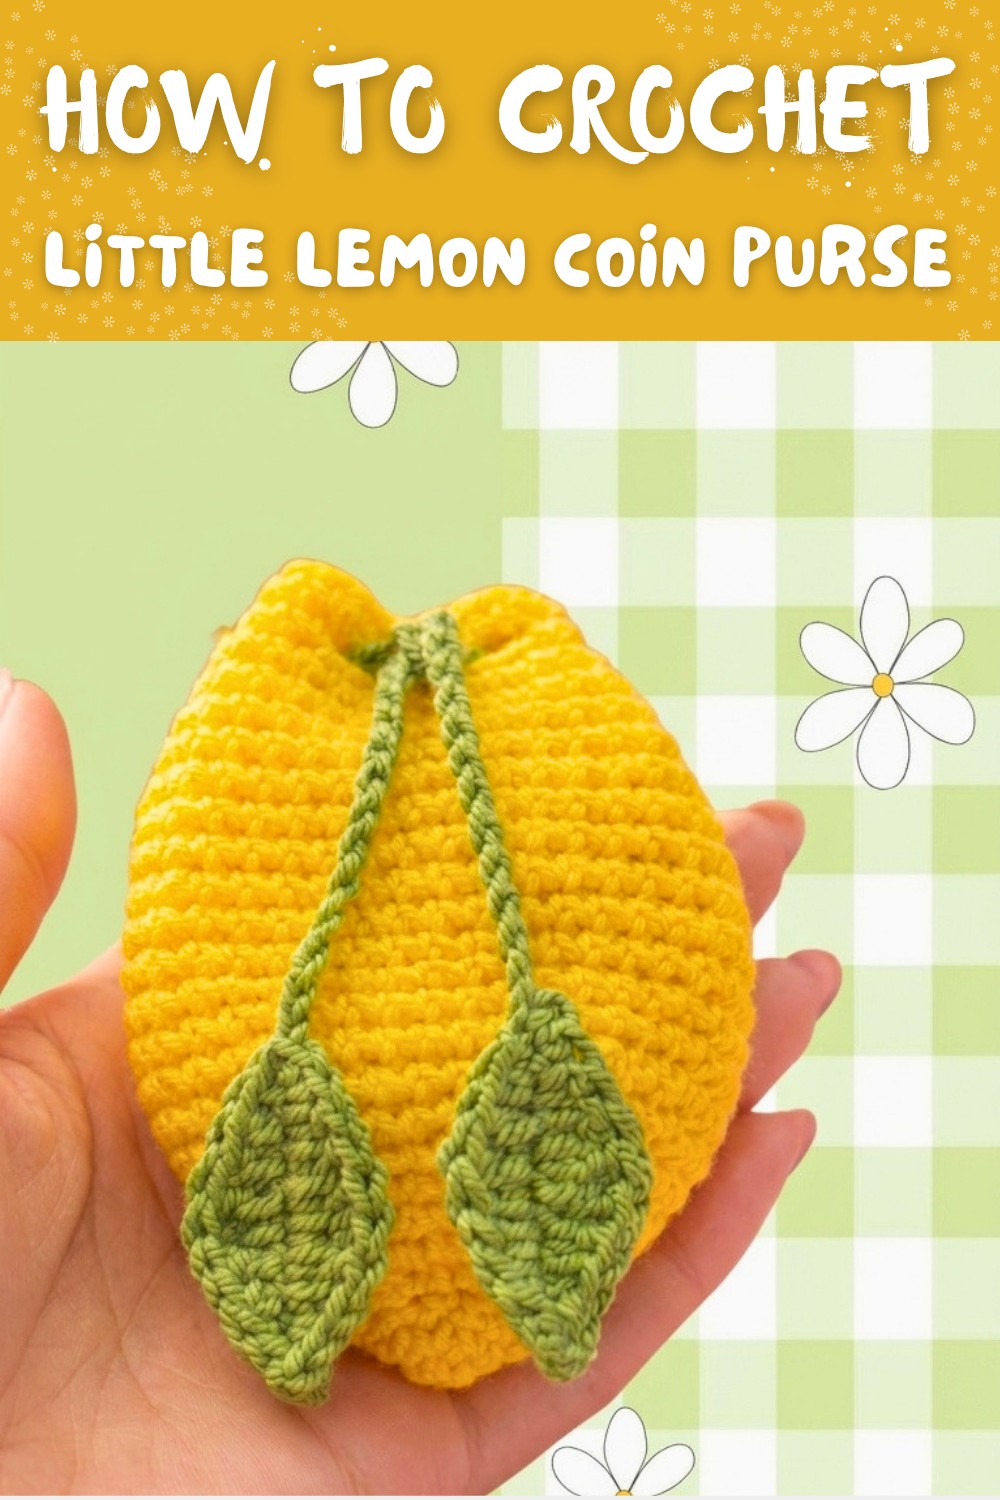
The beauty of the lemon coin purse lies in its vibrant yellow color, which brings instant sunshine to your day. Crocheted mainly with the single crochet stitch, it offers a steady texture that is great for beginners and provides a strong, lasting structure. The white border adds a realistic zest, and attaching the cute green leaf and a matching zipper brings the little lemon to life. With a few thoughtful changes, such as switching colors or adjusting the size, this pattern can easily become a variety of other creative items.
Other things you can crochet from this pattern include:
- Fruit-themed purses like lime, orange, or grapefruit by changing the yarn color.
- A slice-shaped makeup pouch with a longer zipper.
- Fun fruity keychain charms for backpacks or purses.
- Small headphone or charging cable holders.
- An adorable coin pouch for kids' play money.
- A festive garland or set of coasters by leaving the pouch open and flat.

Some small bumps might appear along the way, such as uneven edges or a bit of trouble fitting the zipper. These can be solved by watching your tension and double-checking your stitches at the end of each row. If the zipper feels fiddly, you can carefully use pins to hold things in place as you sew. And, if your lemon doesn't feel plump enough, a tiny bit of stuffing before finishing it up can give it that perfect, rounded shape.
By the end, your lemon purse should be a handy 3 to 4 inches wide, just right for holding coins or tiny treasures. With each step, your skills and confidence grow, and as you finish your bright, happy coin purse, you'll have a handmade accessory that truly sparkles with your unique touch.
When working on this project, remember these essentials:
- Start with the right length for your base chain so both sides of your lemon align perfectly.
- Keep each row's stitch count accurate to avoid an uneven or wavy edge.
- Attach your zipper securely to prevent your treasures from slipping out.
- Make sure to sew the leaf on tightly, making the purse sturdy for everyday use.
Crochet Lemon Pouch Pattern
Materials Needed
- Yellow yarn (main body)
- Green yarn (leaf and drawstring)
- Matching crochet hook
- Yarn/tapestry needle
- Stitch marker (or a piece of contrasting yarn)
- Scissors
Lemon Body
Round 1: Magic Ring
- Make a magic ring with yellow yarn.
- Work 5 single crochet (sc) into the ring. Pull tight to close.
You are starting with a small closed circle for the lemon's tip. The magic ring is good for closing the end without a hole.
Round 2: (1 sc, 1 inc)
- Repeat around: 1 single crochet in next stitch, 2 single crochet (increase) in the next stitch-repeat this sequence all the way around.
- You'll have 8 stitches after this round.
- Place a stitch marker in the first stitch to mark the start.
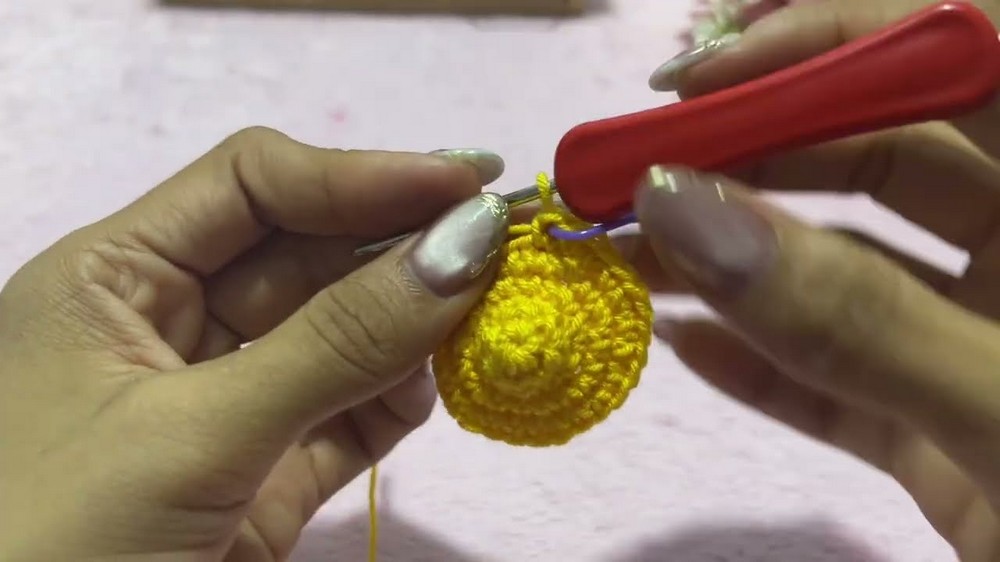
You grow your circle slowly so the pouch takes on a nice tip at one end-like a lemon tip! The marker helps you always find the beginning of the round.
Round 3: Plain Round
- Single crochet in each stitch around (8 stitches).

You simply go around once with single crochet, no increases this time, for a gentle slope.
Round 4: Increase Round
- 2 single crochet (sc) in each stitch around (increase in every stitch) = 16 stitches.
This round makes your lemon pouch bigger, quickly expanding the size.
Round 5: (1 sc, 1 inc)
- Repeat around: 1 single crochet, 2 single crochet in next (increase) to end. (24 stitches)
The lemon gets even wider, keeping the increase gentle and round.
Round 6: (2 sc, 1 inc)
- Repeat around: 2 single crochet, 2 single crochet in next (increase) to end.
Gives more width; your pouch really starts to look like the body of a lemon.
Round 7: Plain Round
- Single crochet in each stitch around.
No increases, just to give height and evenness to the pouch.
Round 8: (3 sc, 1 inc)
- Repeat around: 3 single crochet, 2 single crochet in next (increase) to end of round.
Increasing less frequently gives your pouch a gentle curve upwards. The shape gets more lemon-like!
Round 9: Plain Round
- Single crochet in each stitch around.
Continue working evenly to build height; the pouch gets deeper.
Round 10: (4 sc, 1 inc)
- Repeat around: 4 single crochet, 2 single crochet in next (increase) to end of round.
This adds just enough width as your pouch nears its full size.
Rounds 11-22: Plain Rounds
- Work single crochet in each stitch around for each round.
- Do this for a total of 12 rounds (or keep going for a deeper lemon pouch!).
These rounds build up the body of the lemon and make a nice deep pouch for holding little things. The increases are done; now you're just making it taller.
Drawstring Holes
Round 23: Make Openings for Drawstring
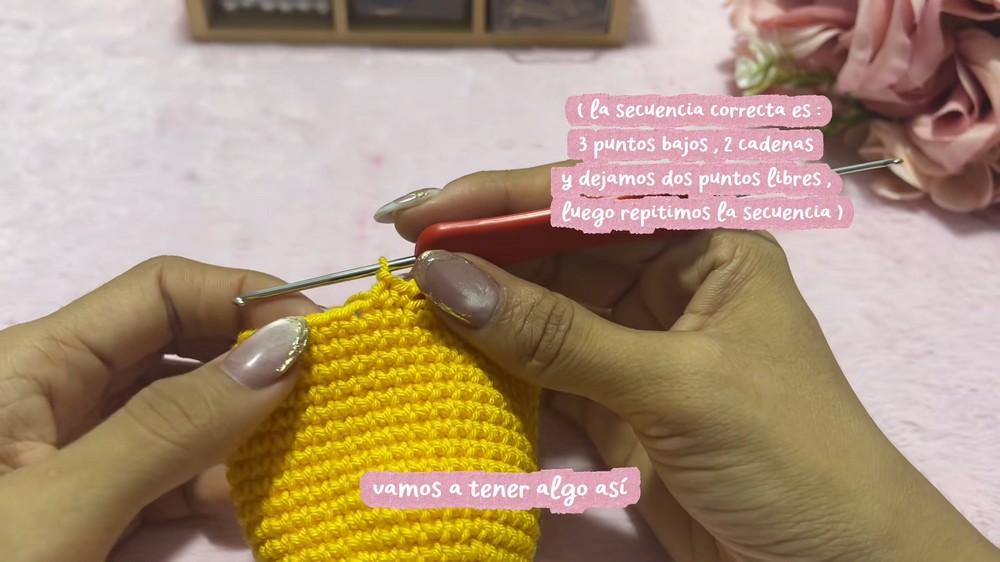
- Single crochet in next 3 stitches, chain 2, skip 2 stitches, single crochet in next 3 stitches-repeat this pattern around.
- You will have little chain gaps all around the edge.

You are making holes at the top of the pouch for your drawstring (the green leafy string) to go through so you can open and close the pouch.
Round 24: Reinforce the Top Edge
- Single crochet in each stitch AND in each chain-2 space (work 2 single crochet in every chain-2 space).
This round fixes the edge and gives strength to the gaps for the drawstring. After this, join with a slip stitch and finish off your yellow yarn.
Finishing the Lemon Body
- Weave in all your ends carefully with a tapestry or yarn needle.
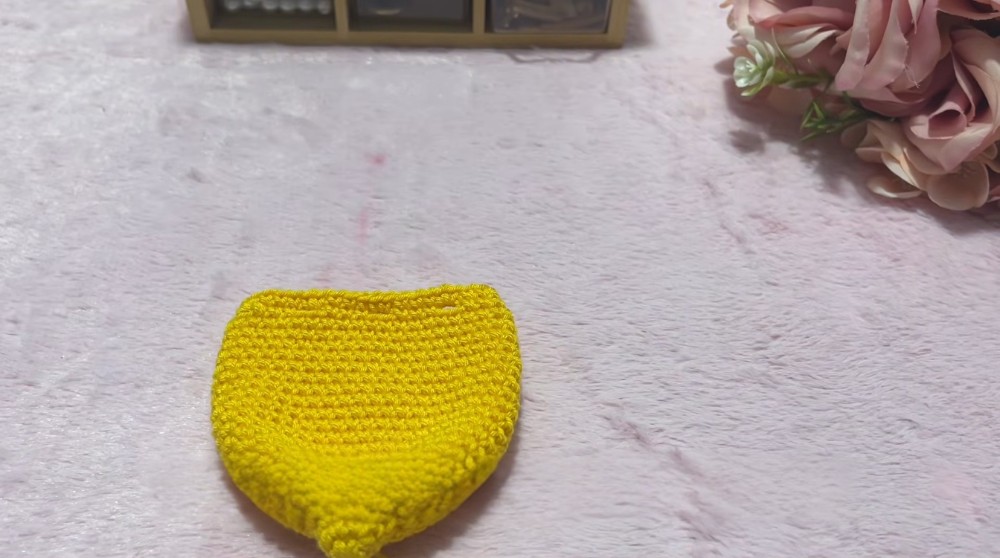
- Your lemon body is now finished.

You now have the pouch shape ready. The opening at the top is for adding your leaf and drawstring.
Lemon Leaf & Drawstring
Step 1: Make the First Leaf
- With green yarn, chain 10.
- In the 3rd chain from the hook, make 1 single crochet (sc).
- In the next chain, make 1 half double crochet (hdc).
- Next chain: 1 half double crochet (hdc).
- Next: 1 double crochet (dc).
- Next: 1 treble crochet (tr).
- Next: 1 double crochet (dc).
- Next: 1 double crochet (dc).
- Next: 1 half double crochet (hdc).
- In the final chain: 1 single crochet (sc).
- Slip stitch into the end to round the tip.
You are building up stitches gradually to make a leaf shape, with the biggest stitches in the middle and smaller ones at the ends.
Step 2: Continue along the Other Side for Leaf Symmetry
- Chain 1, slip stitch into the same stitch.
- On the other side of the chain (down the "spine" of the leaf):
- 1 single crochet
- 1 half double crochet
- 1 double crochet
- 1 treble crochet
- 1 double crochet
- 1 double crochet
- 1 half double crochet
- 1 single crochet
- Slip stitch to starting point.
You now have a complete double-sided leaf! It looks like a real lemon leaf, pointy at one end and wider in the middle.
Step 3: Begin Drawstring
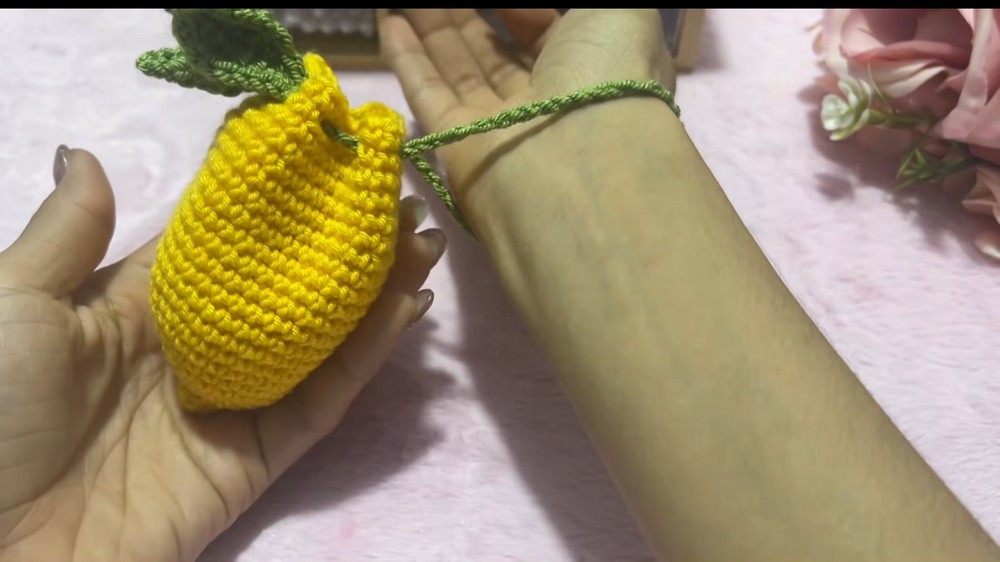
- After completing the leaf, chain 60 (for a long drawstring that can wrap around the pouch).
- Leave a long tail (about 2 meters/6 feet) after cutting (this is used for sewing and as pull cord).
The chains make the drawstring so you can cinch your pouch closed; the leaf is the decorative pull at the end!
Step 4: Attach the Drawstring
- Thread the end of the drawstring onto a tapestry needle.
- Starting on one side of your pouch, thread the green drawstring in and out through the holes you made in round 23.
- Go all the way around: in one hole and out the next, until you've made a full circle.
This step lets you open and close your pouch by pulling the cord. The leaf will dangle near the opening for a cute look.
Step 5: Make the Second Leaf
- Use the other end of your green yarn and repeat the leaf instructions on the other end of the chain.
- Tie off, weave in ends.
Now your pouch has two leaves-one at each end of the drawstring-making it look even more like a lemon and easier to grab and open/close.
Your Lemon Pouch is Finished!
- Pull the drawstring to close the pouch, hiding coins or trinkets inside.
- You can open and close the pouch easily by pulling the leaves.
- It's perfect for coins, jewelry, or small gifts, and the leaf tabs make it extra adorable.