
Free Pattern for a Crochet Shell Coin Purse That’s So Chic
A pretty shell purse brings delightful handmade vibes to life with this free crochet shell coin purse pattern, offering simple yet stylish storage for your daily essentials.
Sunny days are perfect for relaxing and trying something fun, like making a crochet shell coin purse. This easy and free crochet pattern is designed to help you create a beautiful and functional accessory that anyone can use. Imagine holding a cute coin purse that you made yourself. The rounded shell like design makes it elegant, and the ribbed edge detail adds a stylish touch. It's the perfect size for storing coins, small bills, or even tiny treasures. Thanks to its softness, lightweight feel, and eye catching design, it fits easily into your pocket or bag and is a handy companion wherever you go.
Fashion Lovers' Favorite Free Crochet Shell Coin Purse Pattern
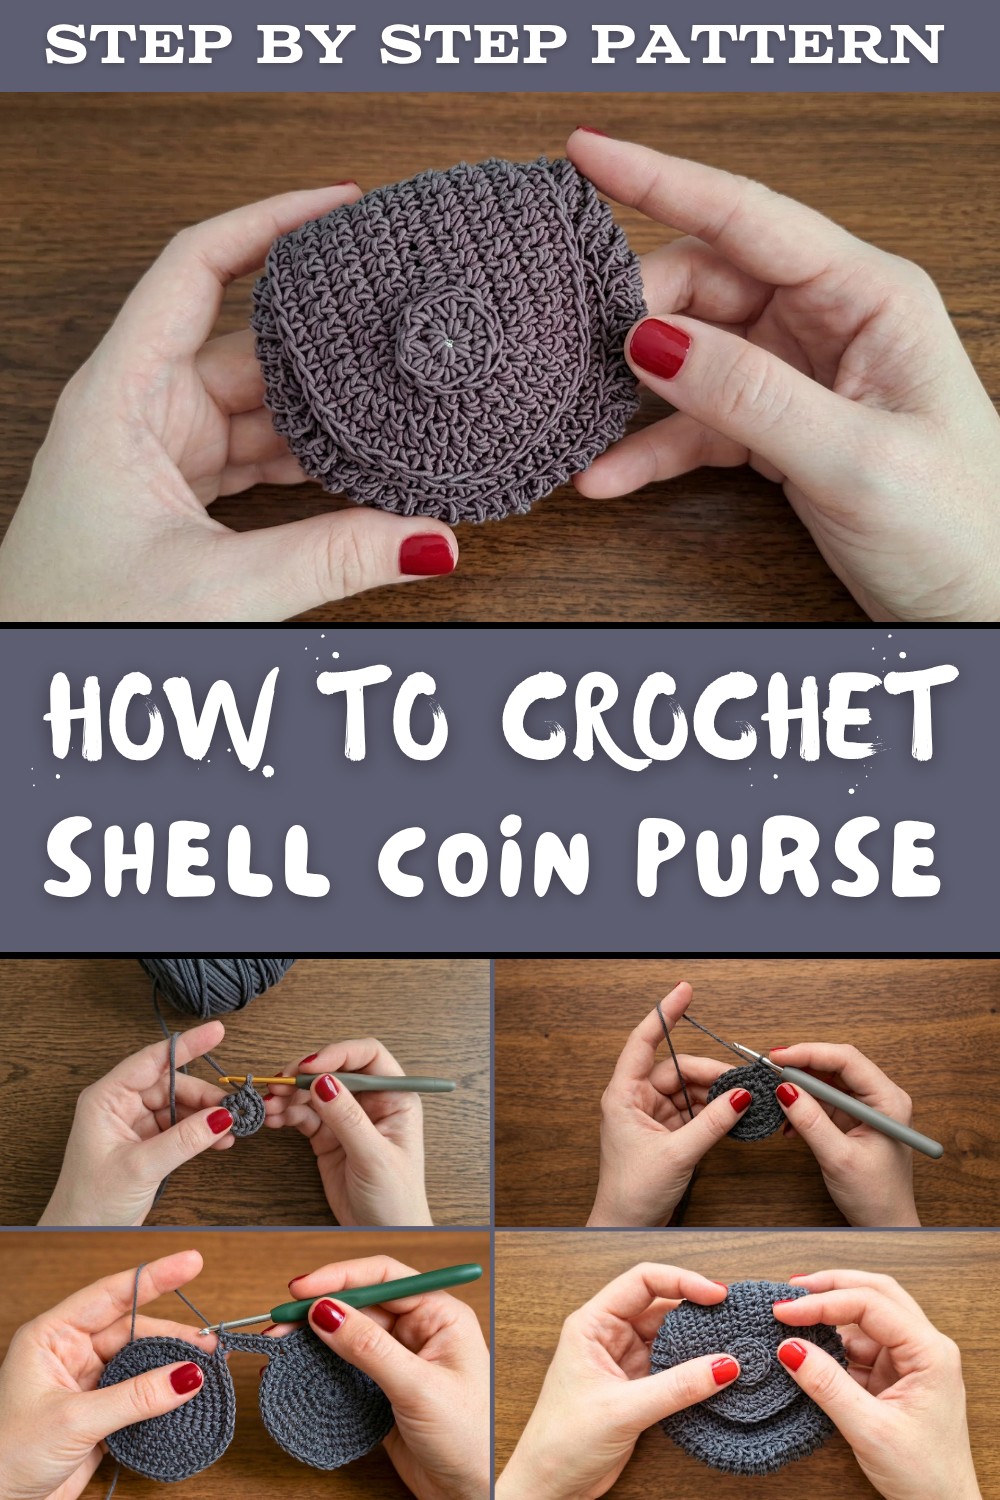
What makes this purse even more exciting is its versatility. You can use bright, cheerful colors to match your mood or create subtle shades for a more classic look. Adding unique details like buttons or embroidery can make it even more personal and special. Plus, this purse would make a thoughtful handmade gift for a loved one.
The pattern is easy to follow and uses simple crochet techniques like single crochet, magic rings, and back loop stitches, ensuring that even beginners can confidently create it. The process is quick and enjoyable, and you'll feel proud holding your finished piece. It's a small project loaded with creativity and functionality.

Crochet Shell Coin Purse Pattern
Finished Size
- Approximately: Perfectly sized to hold coins, small bills, or other small items.
- Customizable: You can adjust the size by increasing the number of stitches or rounds as described in the customization section.
Materials Needed
- Yarn:
- Weight: #4 (medium weight yarn).
- Example: Yarn purchased locally (Hangar Market).
- Quantity: About 45-50 grams (small project).
- Hook Size:
- 3.25 mm crochet hook (adjust hook size if needed to achieve the correct gauge).
- Additional Tools:
- Scissors.
- Yarn needle for weaving in ends.
- Lighter (optional): To seal and prevent yarn ends from fraying.
- Stitch marker (optional): Useful to mark the first stitch when working in spirals.
Gauge
- Gauge Swatch: Not critical for this project, but for alignment:
- 5 single crochet stitches = 1 inch.
- 5 rows of single crochet = 1 inch.
- Adjust hook size if needed to meet the pattern's gauge.
Pattern Instructions
Special Techniques Used
- Magic Ring: To start a tight circle.
- Working in Spirals: Continuous rounds without joining each round with a slip stitch. A stitch marker is recommended to track the start of each round.
- Back Loop Only (BLO): This technique is used in sections of the ribbed join.
Step by Step Instructions
Base Circular Bottom (Make 2 Pieces)
- Round 1:
- Make a magic ring.
- Chain 1.
- Work 6 single crochet (sc) into the ring.
- Tighten the ring.
- [6 sc]
- Round 2:
- Work 2 sc in each stitch around.
- [12 sc]
- Round 3:
- Increase pattern: 1 sc in first stitch, 2 sc in next stitch. Repeat around.
- [18 sc]
- Round 4:
- Increase pattern: 1 sc in each of the next 2 stitches, 2 sc in the next stitch. Repeat around.
- [24 sc]
- Round 5:
- Increase pattern: 1 sc in each of the next 3 stitches, 2 sc in the next stitch. Repeat around.
- [30 sc]
- Round 6:
- Increase pattern: 1 sc in each of the next 4 stitches, 2 sc in the next stitch. Repeat around.
- [36 sc]
- Round 7:
- Increase pattern: 1 sc in each of the next 5 stitches, 2 sc in the next stitch. Repeat around.
- [42 sc]
- Round 8:
- Increase pattern: 1 sc in each of the next 6 stitches, 2 sc in the next stitch. Repeat around.
- [48 sc]


- Repeat the steps above to create two identical circular pieces.
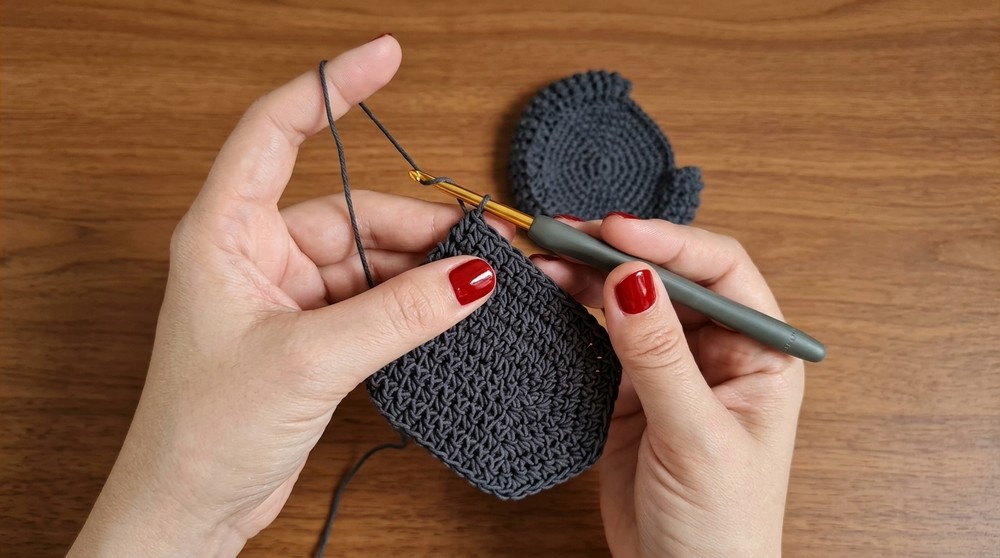
Joining the Two Circular Pieces Ribbed Edge
- Do not fasten off the second circular piece.
- Start the Ribbing:
- Chain 6.
- Slip stitch into the next stitch on the circular base.
- Make the Ribbed Section:
- Chain 1, turn.
- Work 6 single crochets in the back loop only (BLO) across the ribbing.
- Slip stitch into the front loop of the next stitch on the circular base.
- Repeat the process:
- Chain 1, turn, and work 6 BLO sc back across the ribbing.
- Continue this ribbing all the way around the edge of the two circles.
- Leave an Opening:
- Leave about 12 unworked stitches as the opening for the coin purse.

Flap (Optional)
- Foundation Chain: Chain 8 (or more for a longer flap) + 1 chain for turning.
- Row 1:
- Single crochet in the second chain from hook.
- Continue single crocheting across. In the last stitch, work 3 single crochets.
- Rotate to the opposite side of the foundation chain.
- Work 1 single crochet into each stitch across.
- Row 2:
- Chain 1, turn.
- Work 1 sc across until the center point (the 3 single crochets from the previous row).
- Work 2 sc into each of the center 3 stitches (increases).
- Continue single crochet across the row.
- Row 3 & Beyond:
- Repeat Row 2's pattern of increases at the center point, expanding the rounded part of the flap.
- Stop when the flap reaches the desired size.
- Finishing the Flap:
- Chain 1 and leave a long tail for attaching the flap.
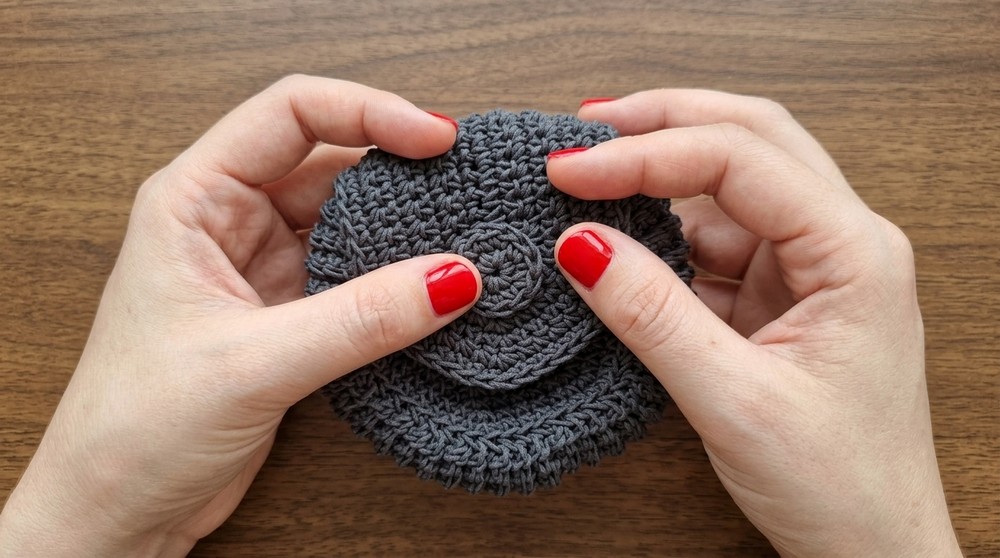
- Use the long tail to secure the flap to the back of the coin purse near the opening.

Customization Ideas
- Colors: Use multicolored, gradient, or solid yarns to match your personal style.
- Pattern: Add decorative stitches, embroidery, or appliques to personalize the purse.
- Size: Adjust the size of the circle and flap by working additional rounds or increasing/decreasing initial chains.
- Closure: Add a button, snap, or zipper to secure the opening of the purse.
Tips for Success
- Mark Stitches: Use stitch markers to track the start of rounds when working in spirals.
- Tight Stitches: Keep your stitches tight for a dense and sturdy fabric.
- Practice Spiral Work: Ensure smooth transitions between rounds for a seamless look.

Final Look and Remarks
The completed shell coin purse features a structured circular body with a ribbed edge and optional flap for added functionality and style. It's lightweight, portable, and perfect for storing coins or other small essentials. This project is a great gift idea and an excellent way to practice circular crochet techniques.