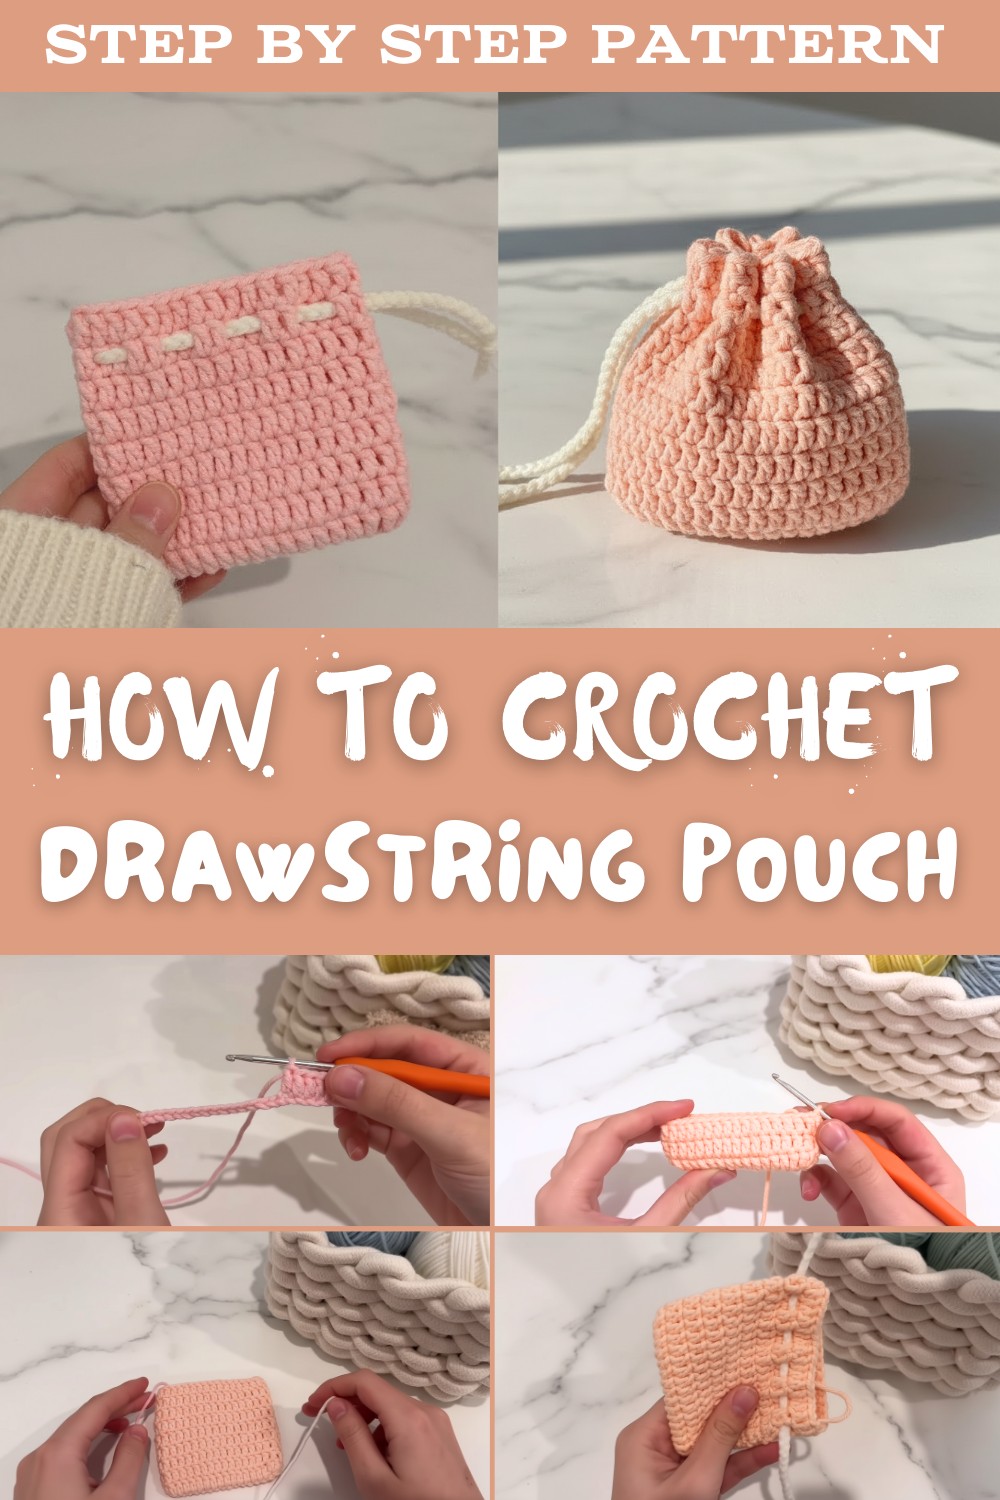
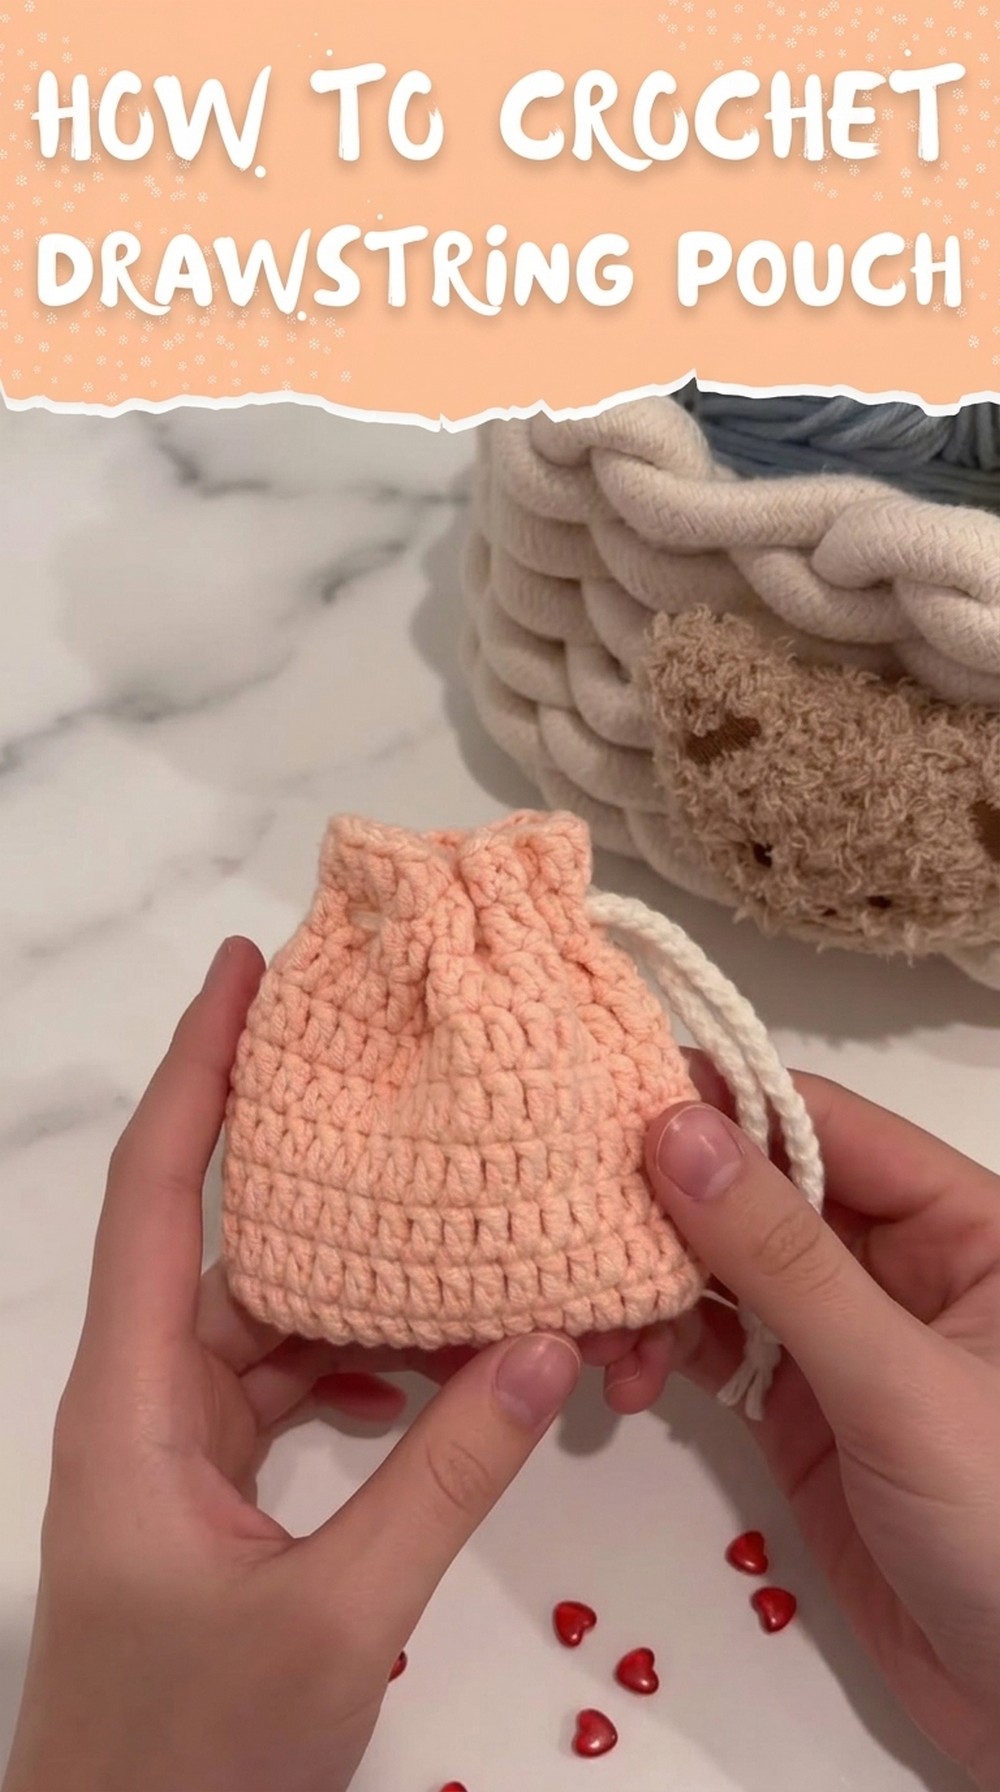
Cute FREE Crochet Drawstring Bag Pattern for All Essentials
Organize in style with this FREE crochet drawstring pouch pattern, ideal for holding jewelry, makeup, coins, and tiny must-haves while keeping everything neat and chic.
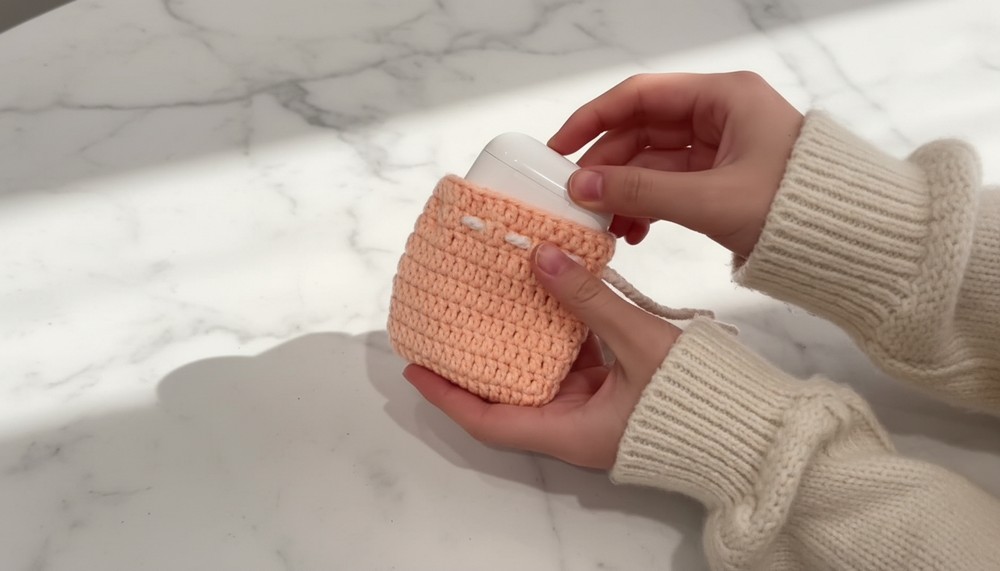
Needing a quick yet stylish way to organize small essentials like jewelry, makeup, or loose change while traveling or at home. A drawstring pouch is just the solution-both charming and functional! With a free crochet drawstring pouch pattern, you can craft a compact storage accessory that's perfect for staying organized with flair.
FREE Crochet Drawstring Pouch Pattern for Tiny Treasures
This versatile pouch is not just about practicality; the handmade aesthetics make it a thoughtful gift or a chic addition to your own everyday routine. Style it by choosing colors or yarn textures that match your personality, making it blend effortlessly with your decor or wardrobe. Whether slipping it into a handbag or using it as a decorative piece, this pouch delivers a touch of elegance and purpose. Plus, it's eco-friendly, reusable, and fun to make, letting your creativity shine in every stitch.
Crochet Pattern for a Drawstring Pouch
Materials List
- Yarn:
- 5-ply milk cotton yarn (or a medium-weight yarn).
- Use different colors if preferred (e.g., peach colour for the pouch body and white for the drawstring).
- Hook Size:
- 3 mm crochet hook (or a size suitable for your yarn).
- Notions:
- Darning needle for weaving ends.
- Stitch markers for marking key stitches.
- Scissors.
Skill Level
Beginner to Intermediate.
Key Abbreviations (US Terminology)
- ch: chain.
- dc: double crochet.
- sl st: slip stitch.
- st: stitch.
- y/o: yarn over.
- rep: repeat.
Special Notes
- Customizable Dimensions:
- Adjust the foundation chain for pouch width and number of rounds for pouch height.
- Mark Beginning Stitches:
- Use a stitch marker to avoid mistakes in rounds and ensure proper spacing.
- Invisible Ties:
- Embed tails into stitches while crocheting to save time hiding loose ends later.
Pattern Instructions
Step 1: Create a Slip Knot
- Grab the yarn tail with your right hand.
- Wrap the yarn around two left-hand fingers to create a loop.
- Pull the yarn tail through the loop with your thumb and index finger to create a slip knot.
- Tighten the loop onto your crochet hook by pulling the yarn tail until snug.
Step 2: Foundation Chain
- Chain the desired width:
- Yarn over (y/o) and pull through the loop on your hook to form a chain. Each chain creates a "V."
- Example: For a small pouch, chain 21 sts (adjust as needed for your preferred width).
- Add 2 extra chains:
- These chains will give height for the first row of double crochet stitches (dc).
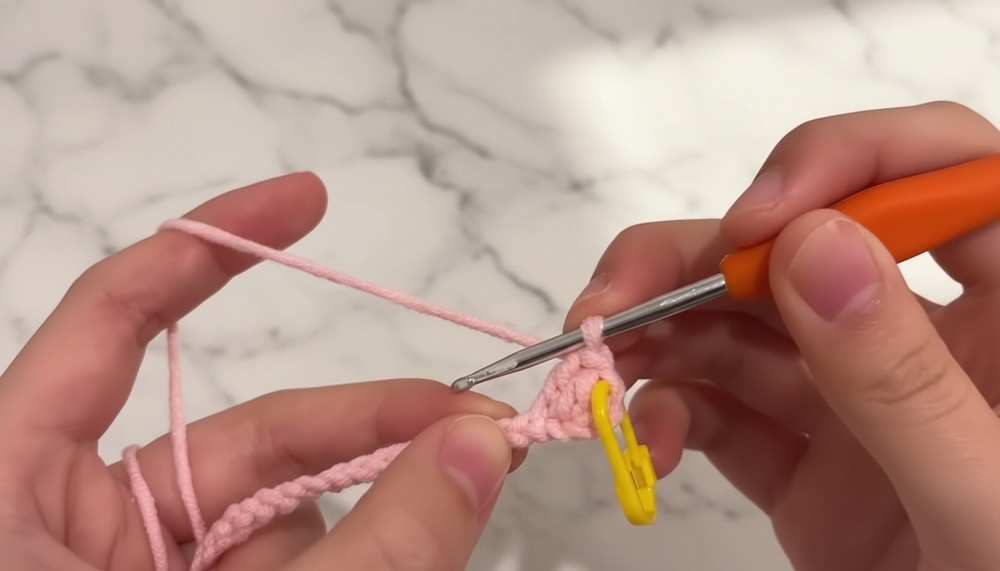
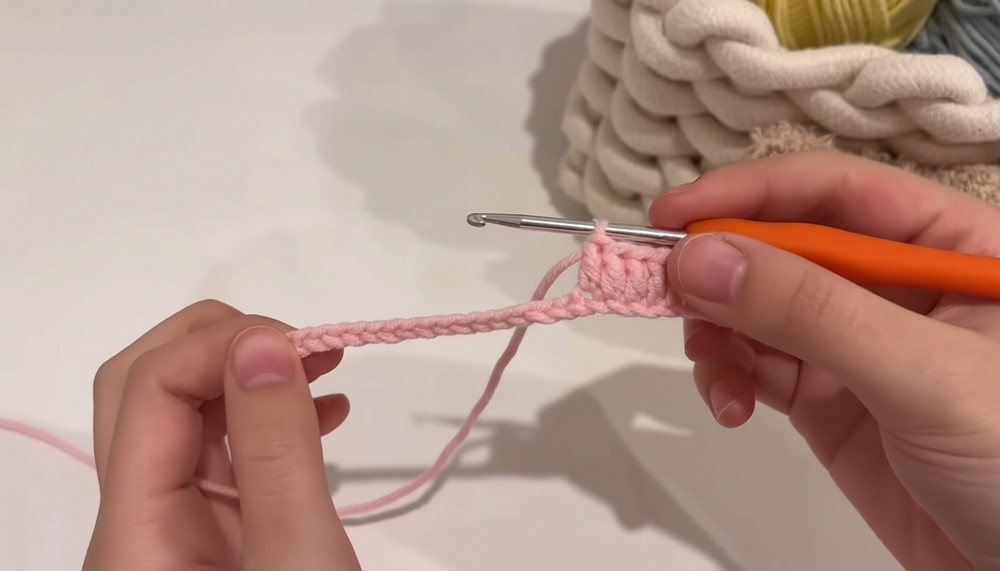
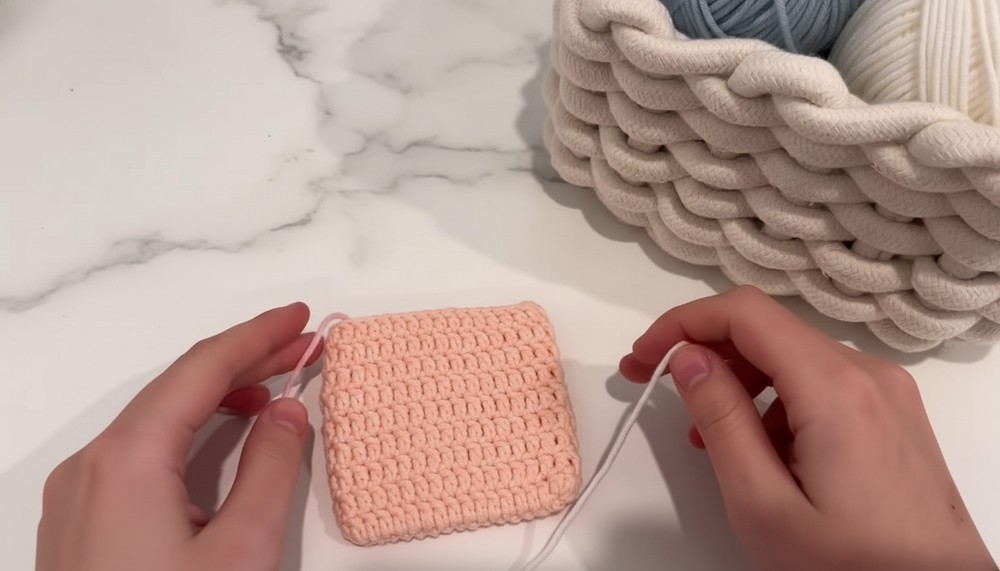
Step 3: Round 1
Create the Base & Start Working in the Round
- Work into the third chain from the hook:
- Yarn over, insert the hook into the third chain, and complete a dc.
- This serves as the first dc of your round.
- Place a stitch marker in this dc for reference.
- Continue across the foundation chain:
- Place 1 dc in each chain across the foundation.
- Example: For 21 foundation chains, complete 21 dc.
- Turn at the end:
- Work 3 dc into the last chain to form a curve for turning onto the other side of the chain.
- Work into the opposite side of the foundation chain:
- Continue placing 1 dc into each chain on the opposite side (22-42 dc total, depending on your chain count).
- Join the round with a slip stitch:
- Insert your hook into the top of the first dc (marked with a stitch marker), yarn over, and pull through both loops to close the round.
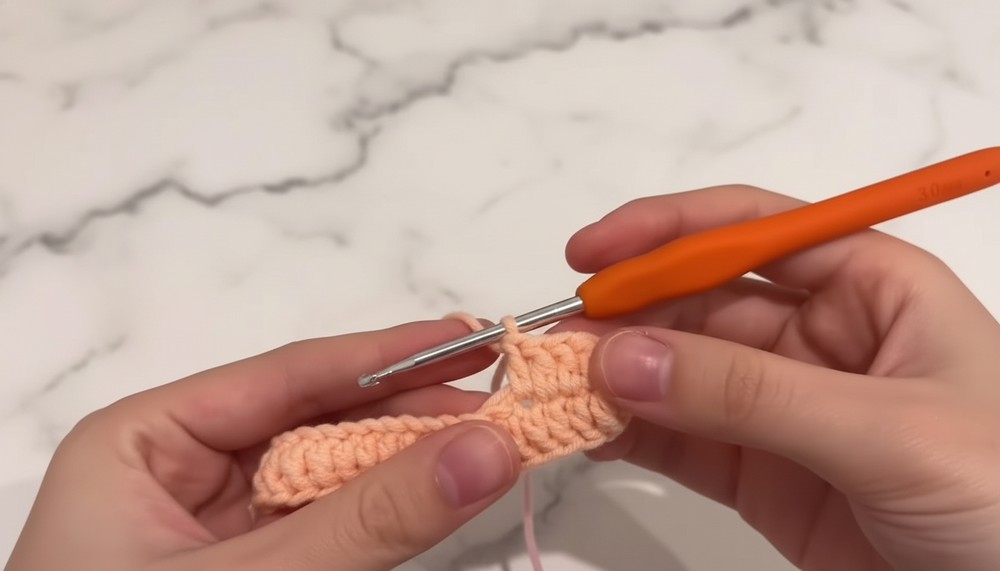
Step 4: Round 2 (Repeat Pattern)
- Chain 2 at the start of the round:
- This provides height for the round (does not count as a stitch).
- Work in rounds:
- Place 1 dc into each stitch around, going through both loops of the V.
- Join the round:
- Use a slip stitch to connect the last st to the first dc in the round.
- Mark your stitches:
- Use stitch markers on the first dc of every row.
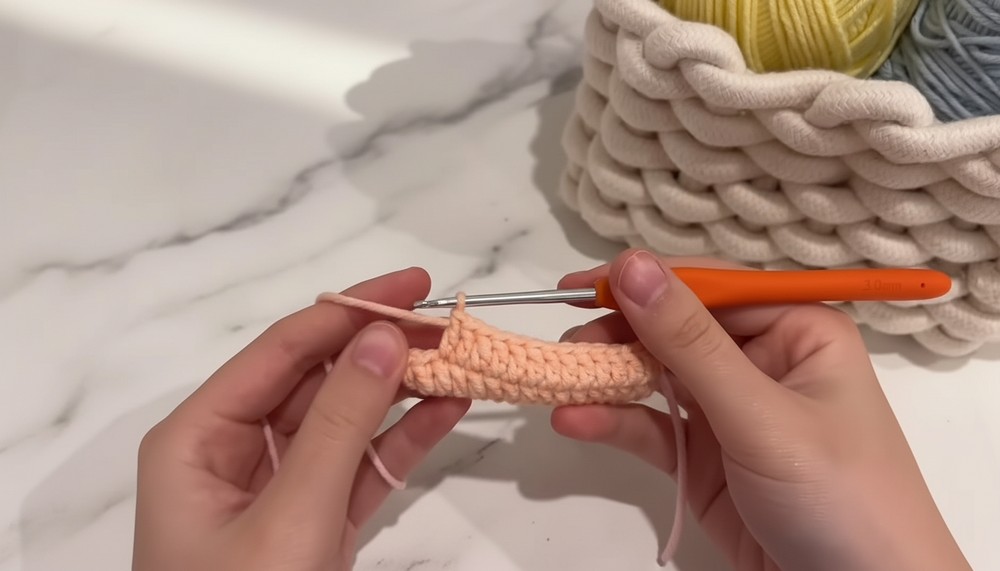
Step 5: Repeat Rounds
- Continue working in rounds:
- Repeat Round 2 for the desired height of your pouch.
- Example: For a tall pouch, work 10-15 rounds (depending on your preference).
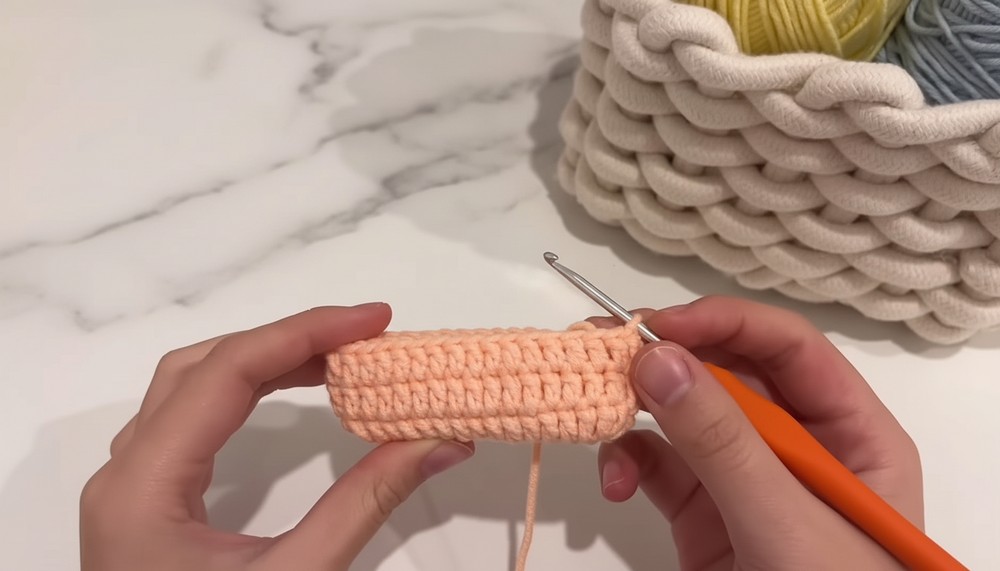
- Consistency Tips:
- Measure as you crochet. Ensure the middle seams remain aligned after each round.
Step 6: Final Round
- Stop working when your pouch has reached the desired length.
- Slip stitch to close:
- Insert your hook into the first stitch of the round, yarn over, and pull through both loops for a sl st.
- Fasten off:
- Chain 1, pull up a large loop, cut the yarn, and pull the loop tight to secure.
Step 7: Create the Drawstring
- Switch to contrasting yarn (e.g., white):
- Create a slip knot and attach the yarn to the hook.
- Chain desired length:
- Crochet a long chain to wrap around the pouch. Example: Chain 80-100 sts, or more if needed for your pouch size.
- Fasten off:
- Pull the final loop tight and cut off the yarn.
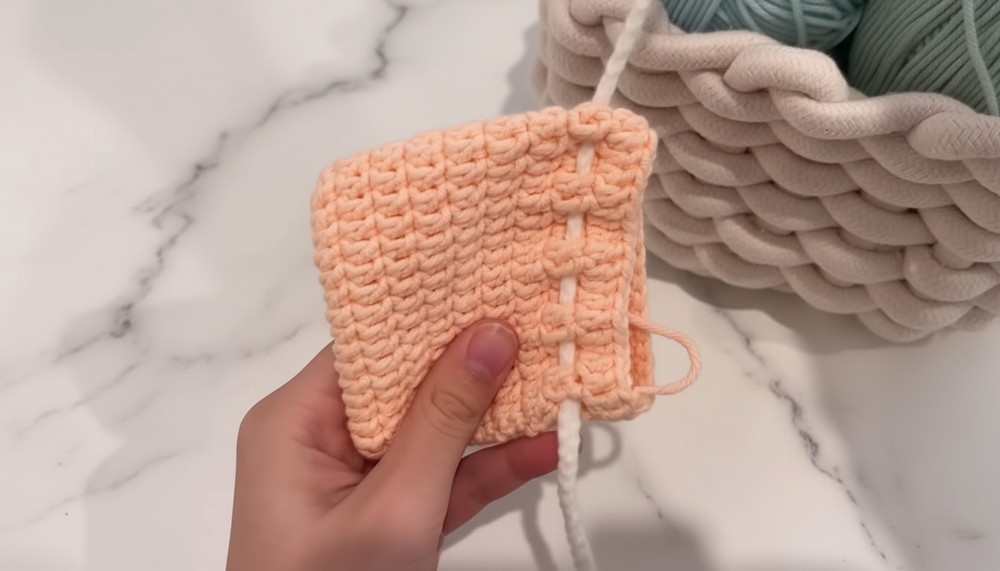
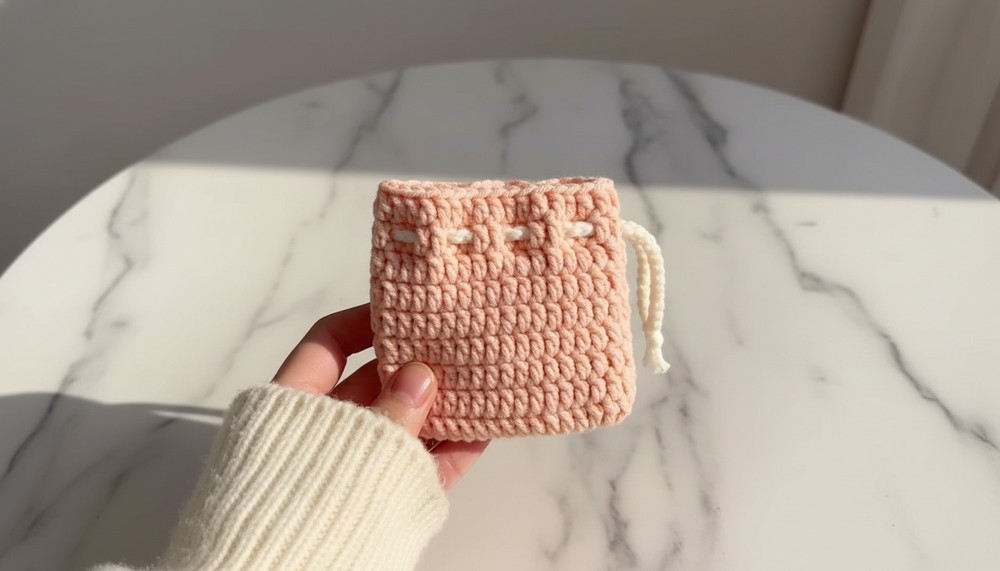
Step 8: Thread the Drawstring
- Thread your needle with the drawstring.
- Insert the string into stitches:
- Choose a middle row near the top of your pouch.
- Weave the chain over 2 stitches, then under 2 stitches. Repeat the pattern around the pouch opening.
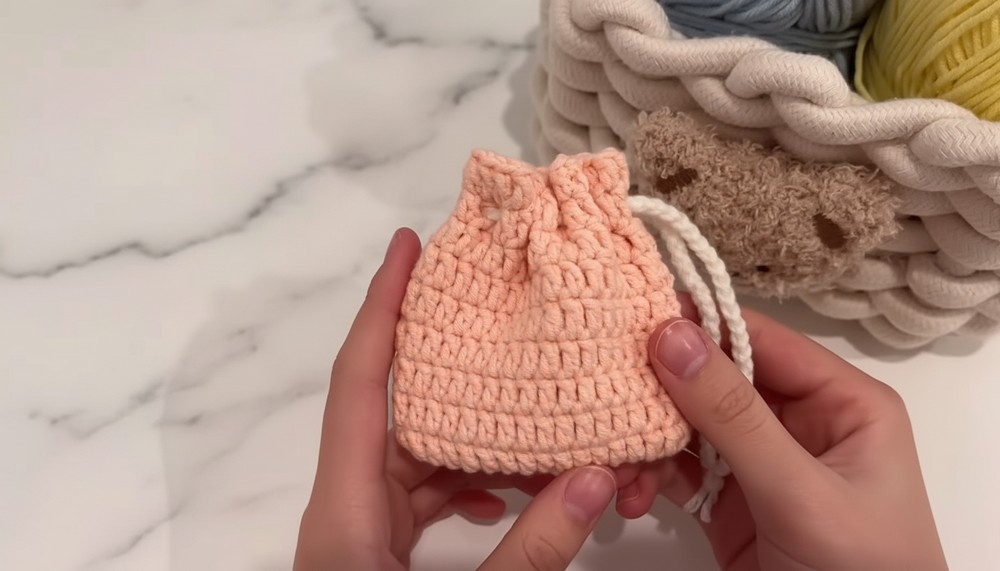
- Pull ends through:
- Ensure an even length of drawstring pulls through each side.
- Tie both ends of the drawstring in a knot or a bow.
Step 9: Hide Loose Yarn Tails
- Use a darning needle to weave in all yarn tails:
- Insert the needle into loops on the inside of the pouch to hide them.
- Avoid pulling the tails through to the outside of the pouch.
Pattern Highlights with Key Rounds and Stitches
- Foundation Chain: Chain 21 + 2 height chains (or desired width for customization).
- Round 1: Work 1 dc into each chain, completing 3 dc in the last chain.
- Round 2 & Onwards: Continue with dc into each stitch, working in both loops of the V.
- Last Round: Fasten off, and embellish with a drawstring.
Conclusion
You've now completed your customizable crochet drawstring pouch! This handy little pouch is versatile, great for carrying small items, and an excellent introduction to beginner-friendly crochet techniques like foundation chains, double crochet, slip stitches, and weaving ends. The project allows for endless creativity, as you can switch colors and stitch patterns for added uniqueness.
Take pride in your work, and consider creating these in batches as gifts or items to sell!
Pattern Corrections
- Keep Even Stitch Counts: Regularly count your stitches at each round to avoid uneven or misshaped results.
- Chain Tightness: Avoid chaining too tightly; keep a loose tension to ensure the drawstring fits smoothly in the stitches.
Tips for Success
- Block Your Pouch: Lightly steam block the finished pouch for a polished, even shape.
- Reinforce the Bottom: For additional durability, consider working with single crochet (sc) instead of dc for the first round.
- Customize the Drawstring: Add beads or small charms for a decorative touch on both ends of the drawstring.