
Free Crochet Bucket Hat Pattern to Brighten Your Wardrobe
Boost warm weather fashion with a Free Crochet Bucket Hat Pattern featuring a stylish look perfect for sunny days outdoor and casual outings.
A comfortable hat that protects you from the sun while adding a stylish flair to your look is a wonderful accessory for any season. This type of hat offers excellent shade, helping to keep you cool during outdoor activities such as gardening, beach visits, or casual walks. Its breathable design ensures comfort without overheating, making it practical as well as fashionable. What makes this hat truly special is how easy it is to personalize, allowing you to choose colors and yarn types that match your style perfectly.
Crochet a Trendy Bucket Hat with This Free Pattern
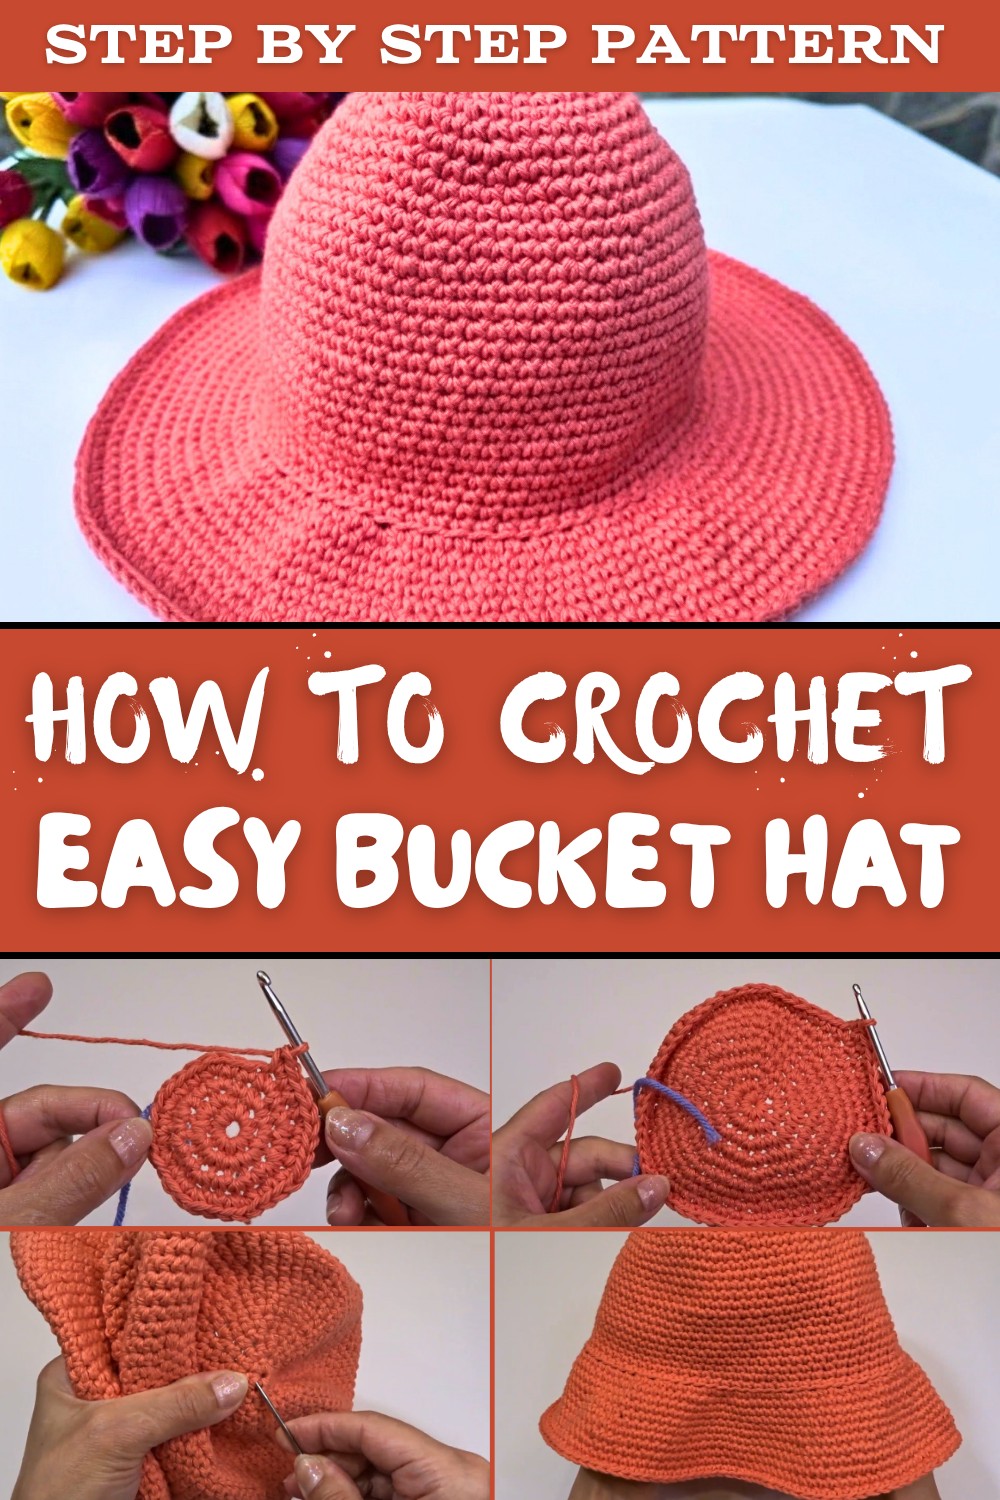
Using a simple Crochet Bucket Hat pattern allows anyone to make such a versatile piece with straightforward steps and basic stitches. The pattern provides clear guidance, making it accessible to beginners as well as enjoyable for experienced stitchers looking to make a quick and satisfying project. One of the benefits is the ability to adjust size and style, adding to its flexibility. This means you can make hats for yourself, friends, or family, each one unique and tailored.
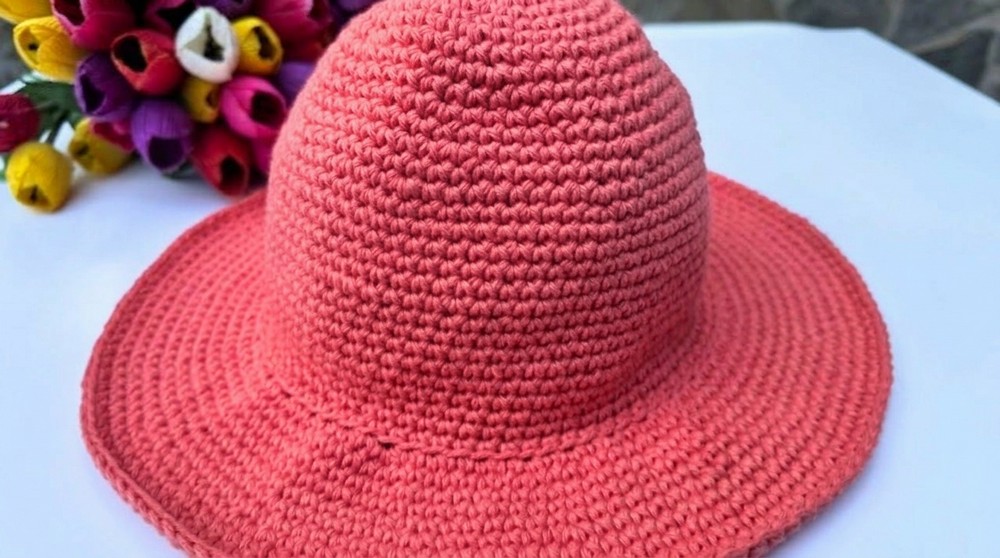
The hat's beauty lies in its timeless shape and charming texture, which enhances any outfit with a handmade touch that stands out. It's also a thoughtful and delightful gift idea that shows care and attention. Beyond its aesthetic appeal, it holds up well to wear and washing, making it practical for everyday use. The hat's brim offers gentle shading while keeping the overall fit lightweight and comfortable.
This pattern brings the advantage of combining function with fashion, giving you an accessory that is protective, attractive, and durable. Its simplicity paired with style makes it a favorite choice for those seeking a hands-on project that results in a useful and beautiful item.
Simple and Easy Crochet Bucket Hat Guide
Create a stylish and comfortable bucket hat with this beginner-friendly crochet pattern. Easy to customize in size and perfect for any season!
Preparation and Essential Tips
- Basic skills used include Magic Ring, Single Crochet (sc), Slip Stitch (sl st), and Increase (inc).
- Suggested yarn: Medium weight (worsted/number 4) 100% cotton yarn, approx. 125g.
- Hook recommendation: 4 mm (US G) for a 21-inch circumference hat. Adjust hook size for different sizing.
- Prepare a stitch marker (or scrap yarn) to mark round beginnings.
- Scissors and yarn needle needed for finishing.
- Know how to work in joined rounds and do increases.
- Maintain consistent tension for best fit.
Key Information and Pattern Highlights
- Constructed in joined rounds working from the crown downward.
- Magic ring start creates a neat, tightly closed center.
- Stitch marker placement ensures accurate round tracking.
- Rounds include increases for crown expansion, followed by even rounds for body build.
- Brim is shaped with back loop stitches and strategically placed increases.
- Ends with slip stitches and weaving in yarn tails on the wrong side.
Overview of the Creation Process
- Start with a magic ring and work increases to create a flat circular crown.
- Continue with steady single crochet rounds to build hat sides to desired height.
- Optionally add an extra increase round for larger circumference.
- Crochet the brim using back loop only stitches and increase rounds for flare.
- Finish by weaving in ends and blocking if desired.

Level of Difficulty
Perfect for beginners with basic crochet knowledge, especially those familiar with crocheting in the round.
Final Measurements
- Approximately 21 inches (53 cm) in head circumference using 4 mm hook.
- Brim width roughly 3 inches (7.5 cm), adjustable by adding or skipping brim rounds.
Required Supplies
- Medium weight worsted cotton yarn, suggested ~125g.
- 4 mm crochet hook (US G).
- Stitch marker or scrap yarn.
- Scissors.
- Yarn or tapestry needle.
Size Reference Table
| Feature | Approximate Size |
|---|---|
| Hat circumference | 21 inches (53 cm) |
| Crown diameter | About 7 inches (18 cm) |
| Height of sides | Approximately 4.5 inches (11.5 cm) |
| Brim width | Around 3 inches (7.5 cm) |
Stitching Tension Details
- Gauge is approximate; tight stitches ensure hat holds shape.
- Around 14 single crochets and 16 rows equals 4 inches (10 cm).
Abbreviations in Use
- ch = chain
- sc = single crochet
- sl st = slip stitch
- inc = increase (2 sc in same st)
- st(s) = stitch(es)
Special Techniques Demystified
Magic Ring:
Creates an adjustable loop starting point for crocheting in rounds, tightenable to close the center hole.
Increase (inc):
Two single crochets made into one stitch to add stitches for shaping.
Detailed Stitch-by-Stitch Instructions
Shaping the Crown
Round 1:
- Make a Magic Ring, ch 1, 8 sc in ring.
- Tighten ring tail.
- Place stitch marker at first sc.
- 8 stitches

Round 2:
- Ch 1, inc in every stitch (2 sc in each).
- 16 stitches
Round 3:
- Ch 1.
- 1 sc, inc - repeat around.
- 24 stitches
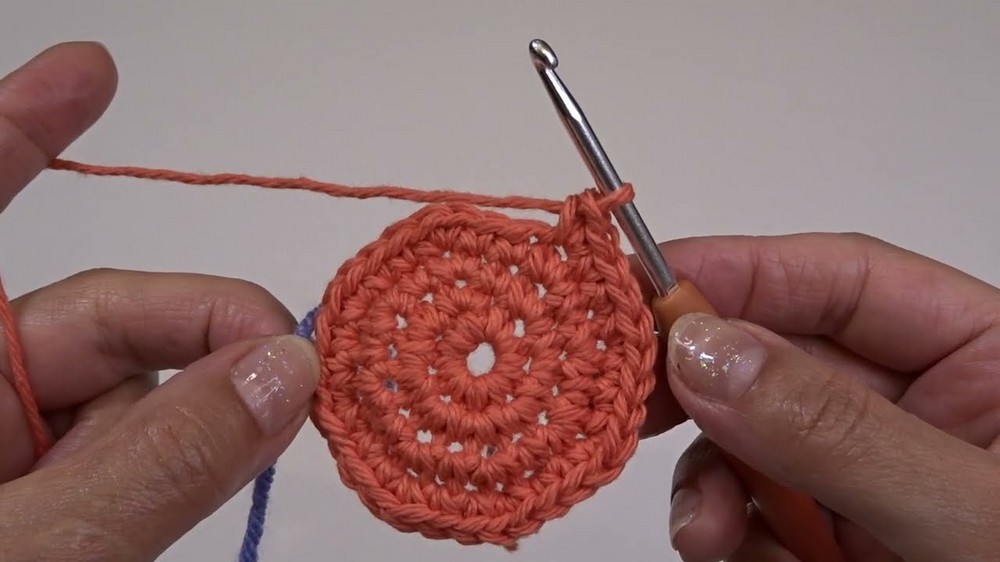
Round 4:
- Ch 1.
- 1 sc in next 2 sts, inc - repeat around.
- 32 stitches
Round 5:
- Ch 1.
- 1 sc in next 3 sts, inc - repeat around.
- 40 stitches
Round 6:
- Ch 1.
- Sc in all stitches.
- 40 stitches
Round 7:
- Ch 1.
- 1 sc in next 4 sts, inc - repeat around.
- 48 stitches
Round 8:
- Ch 1.
- Sc all stitches.
- 48 stitches
Round 9:
- Ch 1.
- 1 sc in next 5 sts, inc - repeat around.
- 56 stitches
Round 10:
- Ch 1.
- Sc all stitches.
- 56 stitches
Round 11:
- Ch 1.
- 1 sc in next 6 sts, inc - repeat around.
- 64 stitches
Round 12:
- Ch 1.
- Sc all stitches.
- 64 stitches
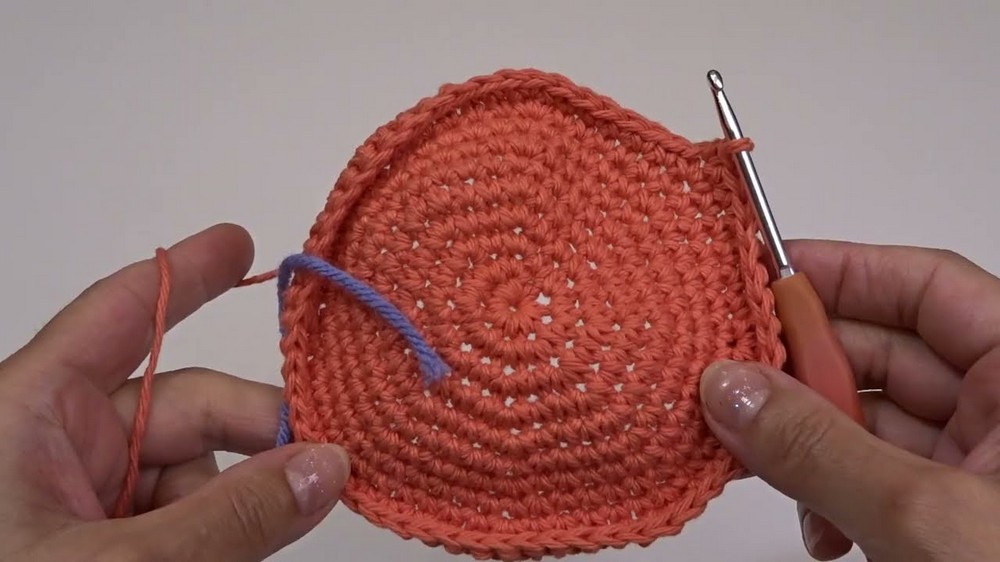
Round 13:
- Ch 1.
- 1 sc in next 7 sts, inc - repeat around.
- 72 stitches
Round 14:
- Ch 1.
- Sc all stitches.
- 72 stitches
Round 15:
- Ch 1.
- 1 sc in next 8 sts, inc - repeat around.
- 80 stitches
Optional Extra Round:
- Ch 1.
- 1 sc in next 9 sts, inc - repeat around.
- 88 stitches
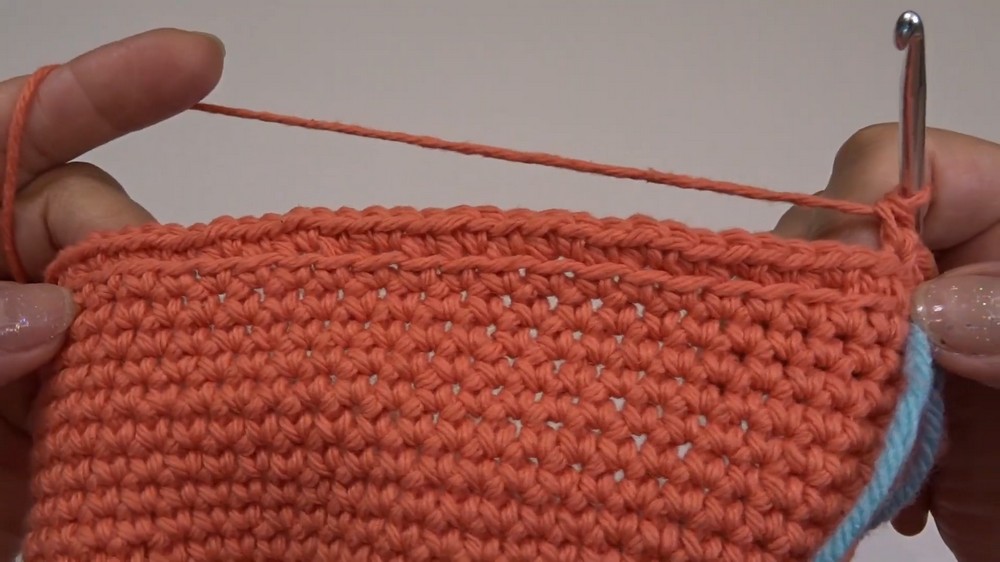
Building the Body (Rounds 16-30)
- Ch 1.
- Sc each stitch around for 15 rounds.
- Maintain stitch count of 80 or 88 stitches depending on size selected.
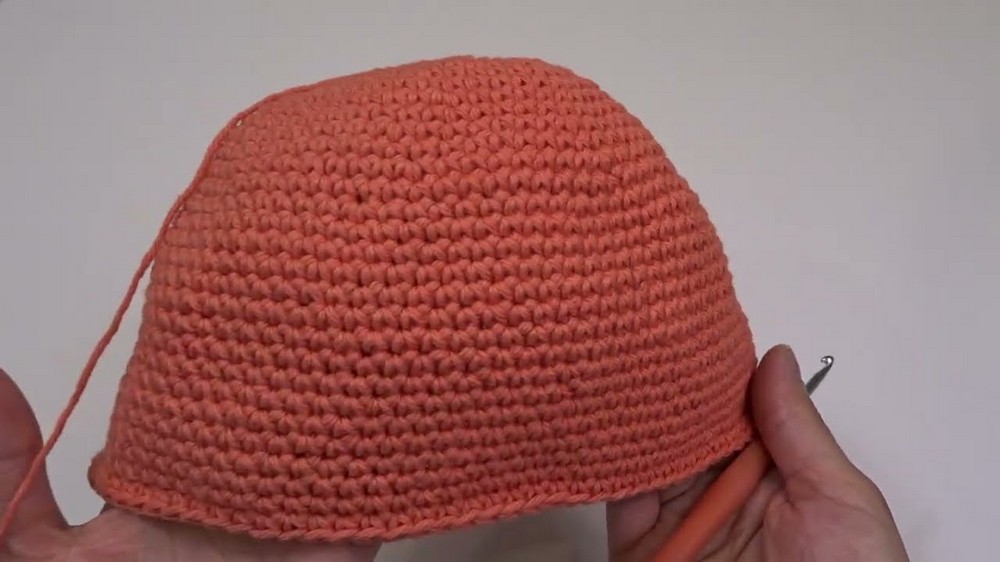
Forming the Brim
Round 1:
- Ch 1.
- Work 1 sc in back loop only (BLO) of each stitch.
- 1 sc BLO, then 2 sc BLO in next stitch - repeat for brim expansion.
Rounds 2-6:
- Ch 1.
- Sc in both loops of every stitch.
- Even rounds with no increases.
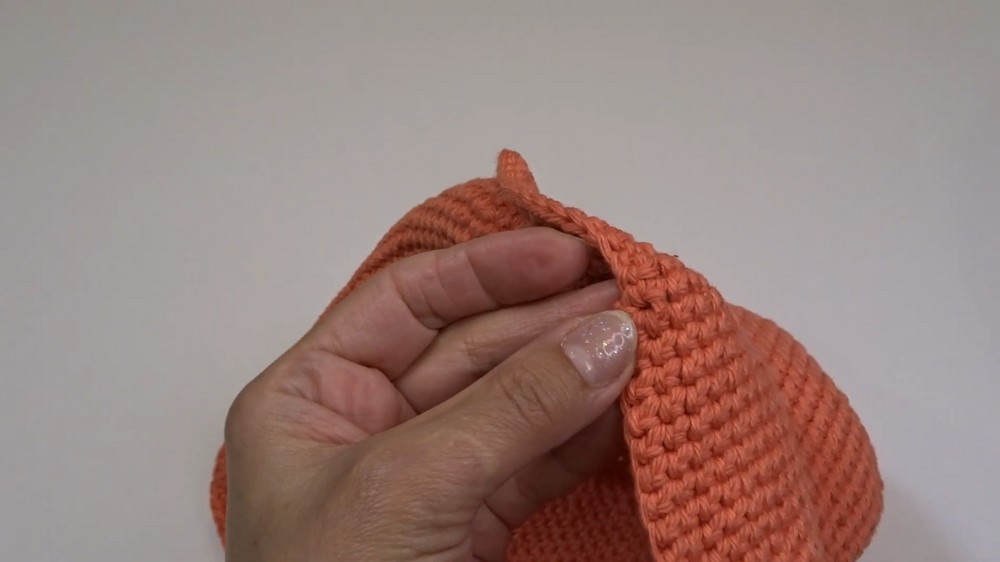
Round 7:
- Ch 1.
- 1 sc in next 6 sts, inc - repeat.
- Adds gentle flare to brim.
Rounds 8-12:
- Ch 1.
- Sc all stitches to desired brim width.

Simple Explanation for Beginners
Start from the top center of the hat using a magic ring. Increase every round carefully to grow the circle flat. Once you reach your head circumference, stop increasing and continue with straight rounds for the sides. The brim is made last with special stitches that flare the edge for style and function.
Finishing and Detail Work
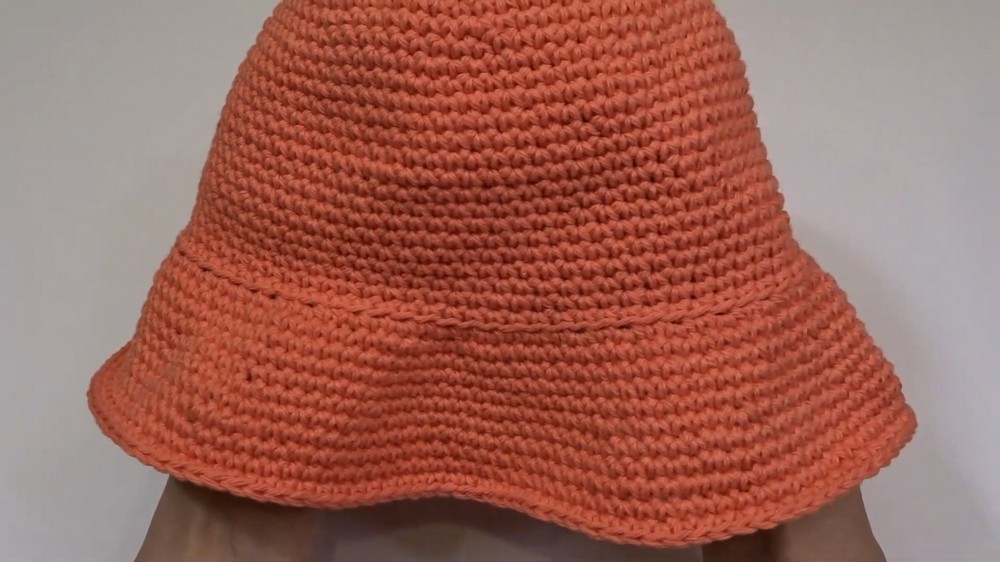
- Complete final round by slip stitching to first stitch.
- Fasten off and pull tight to close loop.
- Weave in loose yarn tails on wrong side with yarn needle neatly.
- Optional: Block the hat to shape and soften fabric.
Helpful Tips and Fixes
- Hat is too tight/small? Use larger hook or add optional increase round.
- Uneven rounds? Use stitch marker to count and mark round beginning.
- Gap at center? Pull tighter on magic ring before starting Round 1.
- Floppy brim? Add extra rows or more increases to stiffen.
Further Project Inspirations
- Try different yarn colors to create striped or patterned hats.
- Use this pattern to create larger or smaller bucket hats by modifying rounds.
- Embellish with pompoms, appliques, or crochet flowers.
- Combine with matching scarves or bags using single crochet fabric.