
Free Crochet Baby Purse Pattern That’s Adorable and Easy to Use
Delight little ones with this free crochet baby purse pattern and make a cute tiny bag perfect for playtime dress up and sweet everyday fun.
If you are looking for a sweet, personalized, and handy crochet project for yourself or someone special, this Baby Purse Pattern is the perfect choice. It is designed to be easy, even for beginners. You'll love how quickly and beautifully this adorable purse comes together with just a little time and effort. This crochet baby purse is not just cute-it's also practical. With its neat size and thoughtful design, it's great for holding small treasures or accessories. Whether it's for a child to carry their little goodies or a charming gift idea for someone special, this project combines utility with charm. The purse is lightweight yet sturdy, thanks to the high quality nautical polyester yarn used. This material not only adds a touch of shine but also ensures the purse is durable and long lasting.
Cheerful Free Crochet Baby Purse Pattern Perfect for Any Little One
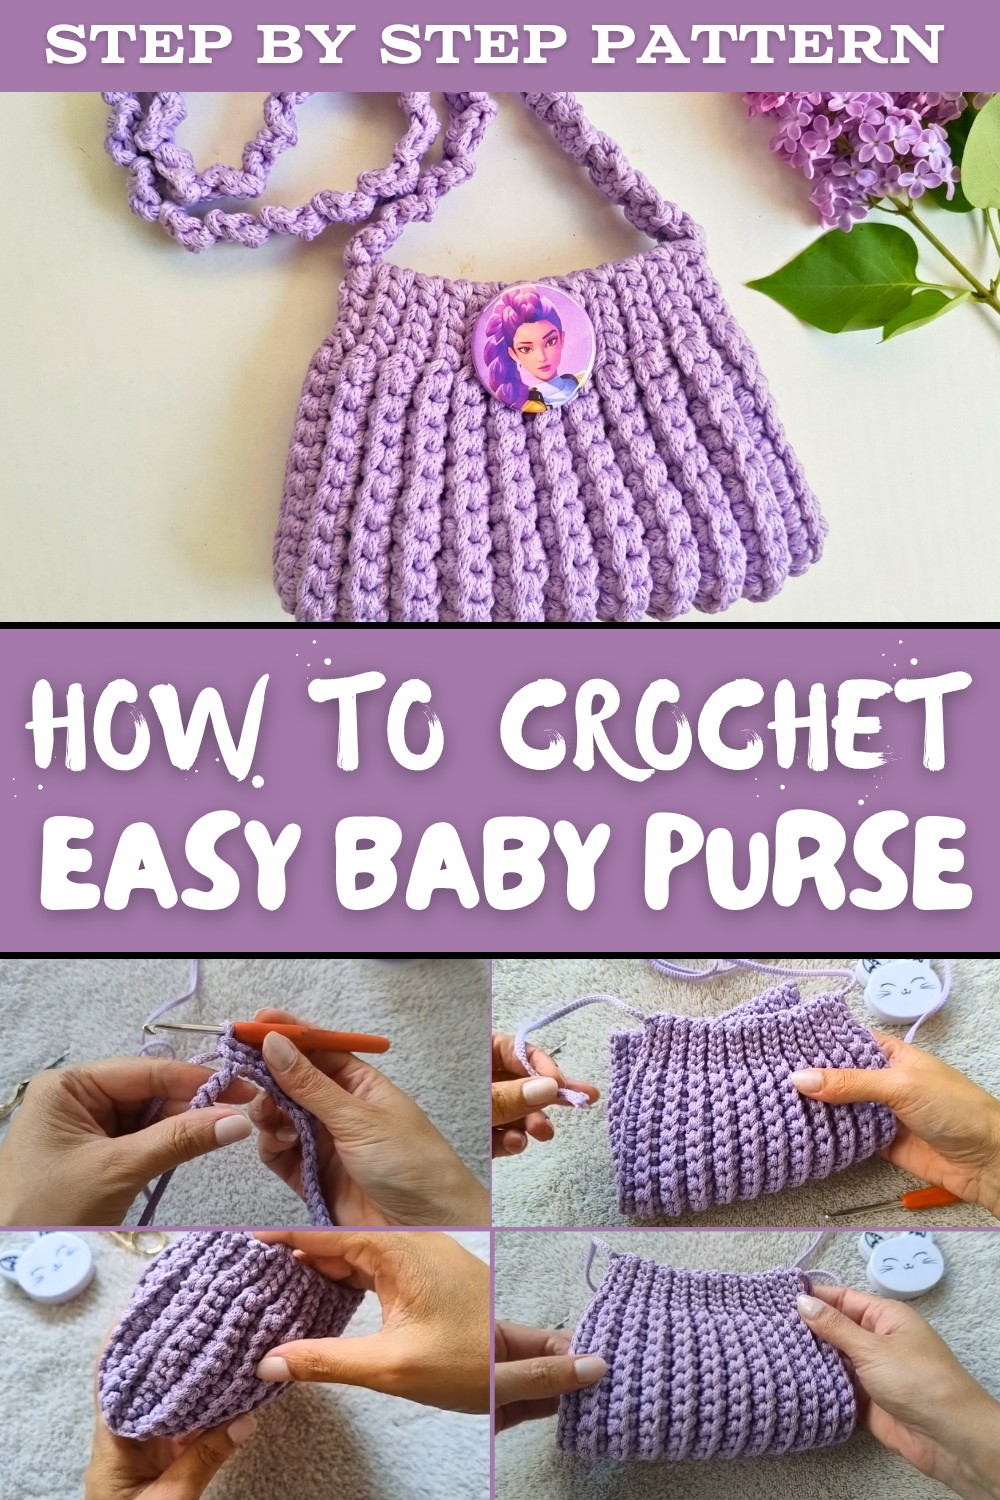
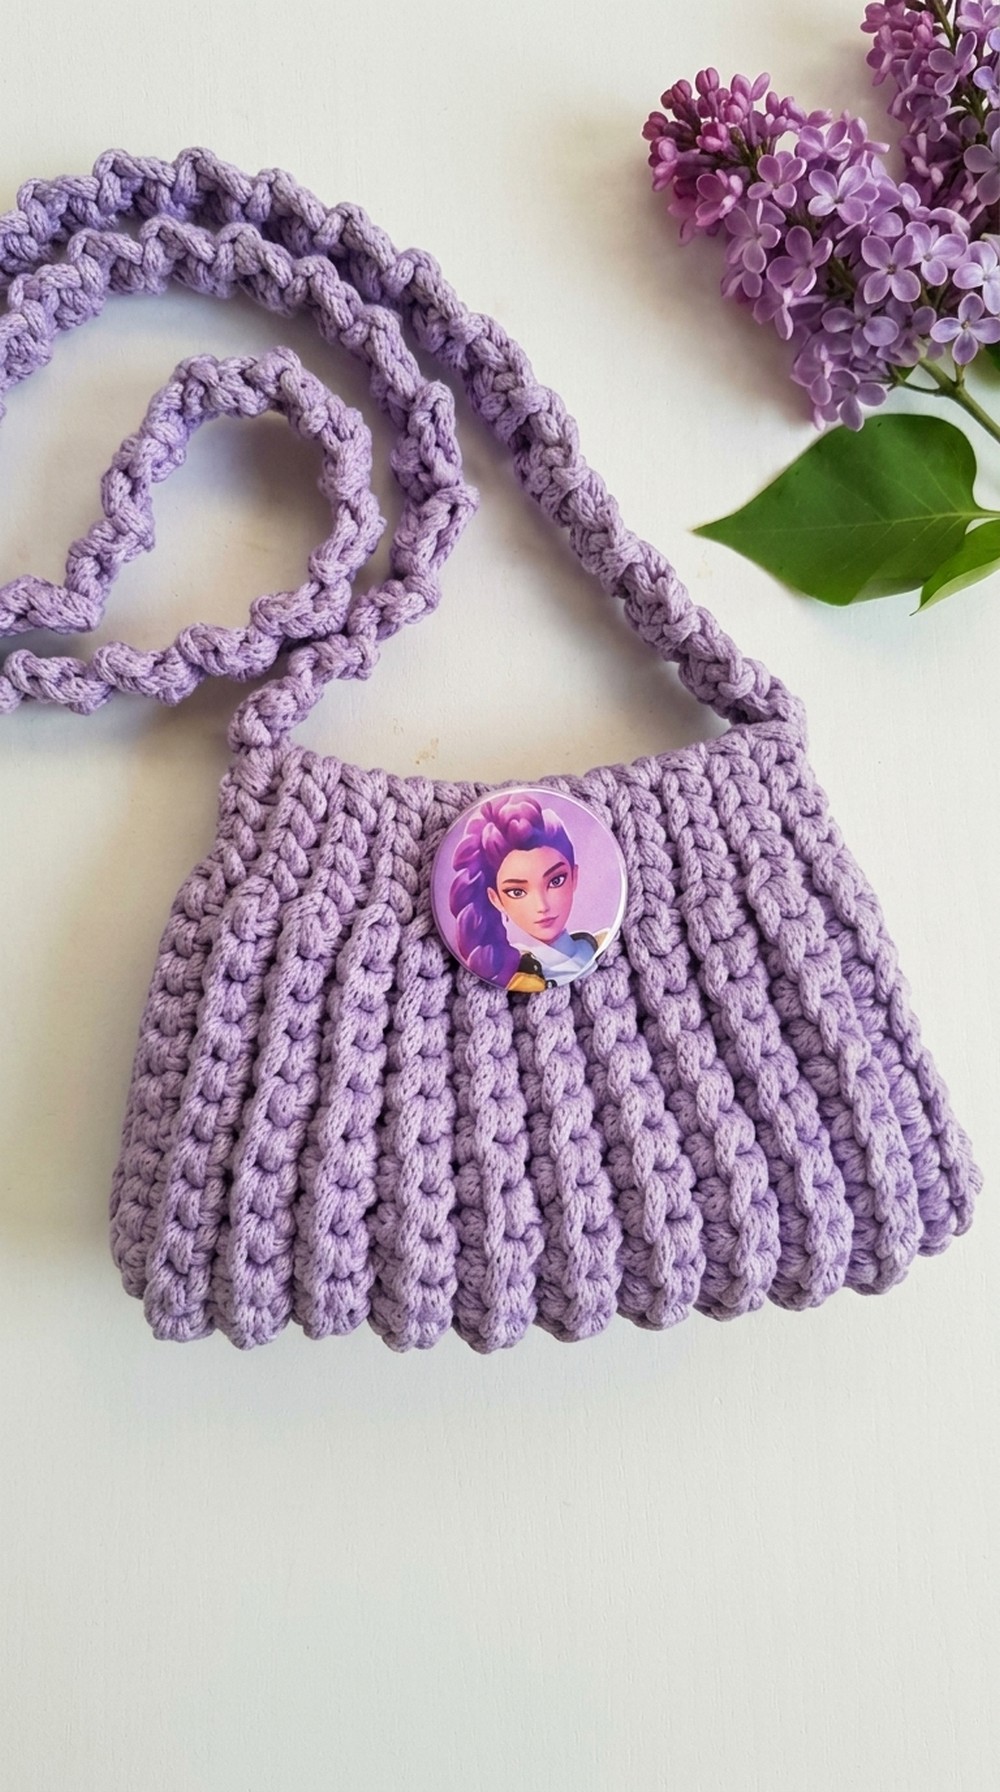
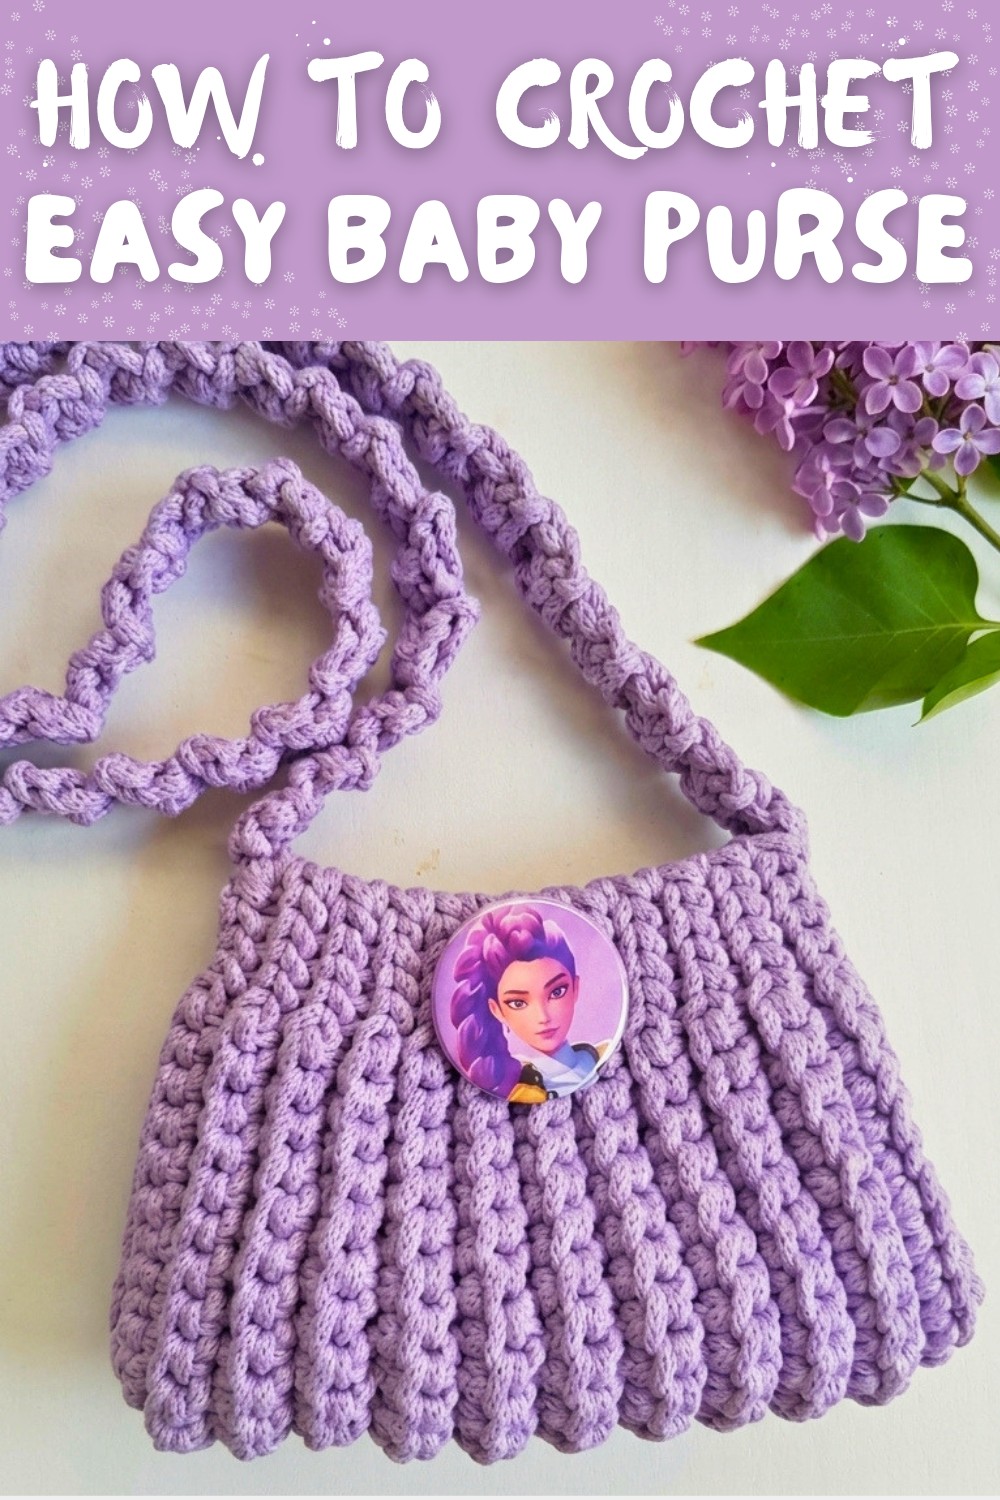
The design features a soft, flexible body with a neat fold over flap. To make it unique, you can add a magnetic button closure for extra style and convenience. Additionally, you can personalize it with pins, buttons, or K pop themed decorations for a trendy look. The slender, stylish strap makes it easy to carry and perfect for kids, especially those aged 7-8 years.
One of the standout features of this pattern is its easy customization. You can adjust the size and strap length to fit any child or purpose. The step by step process is incredibly simple and keeps your stitches looking polished. It's an affordable project that uses just 130g of yarn. This purse isn't just a bag; it's a blend of creativity, joy, and function. Try it today and experience the satisfaction of making something special.

Crochet Baby Purse Pattern
Project Overview
- Skill Level: Beginner to intermediate.
- Finished Dimensions:
- Width: ~17 cm.
- Height: ~11 cm.
- Strap Length: ~80 cm (suitable for ages 7-8; can be adjusted).
- Customization: Easily adjustable by increasing or decreasing chains and rows.
Materials Needed
- Yarn:
- Type: Fio Náutico - a durable, 100% polyester yarn.
- Amount: Approximately 130 grams.
- Color: The instructor recommends shade 6750 from Círculo, but you can choose any color(s) based on your theme.
- Crochet Hook:
- Size: 4.5 mm hook.
- Closure:
- Magnetic button for the bag flap.
- Decorations:
- Optional themed buttons or pins related to K pop.
- Additional Tools:
- Tapestry needle for sewing and finishing seams.
- Scissors for cutting yarn ends.
- A lighter (optional) for tidying loose threads.
- Measuring Tools:
- Ruler or tape measure to ensure size accuracy.
Step by Step Instructions
1. Bag Base
Foundation Chains
- Leave an 8-10 cm yarn tail for sewing later.
- Using your 4.5 mm hook, crochet 33 chains for the base foundation.
Row 1: Establish the pattern
- Turn your work.
- Work into the back loops of the chain to create a neat edge.
- Starting in the second chain from the hook:
- Slip Stitch (SS) in the first 5 back loops.
- Single Crochet (SC) in the next 22 back loops.
- Finish the row with 5 Slip Stitches.
Row 2 and Beyond
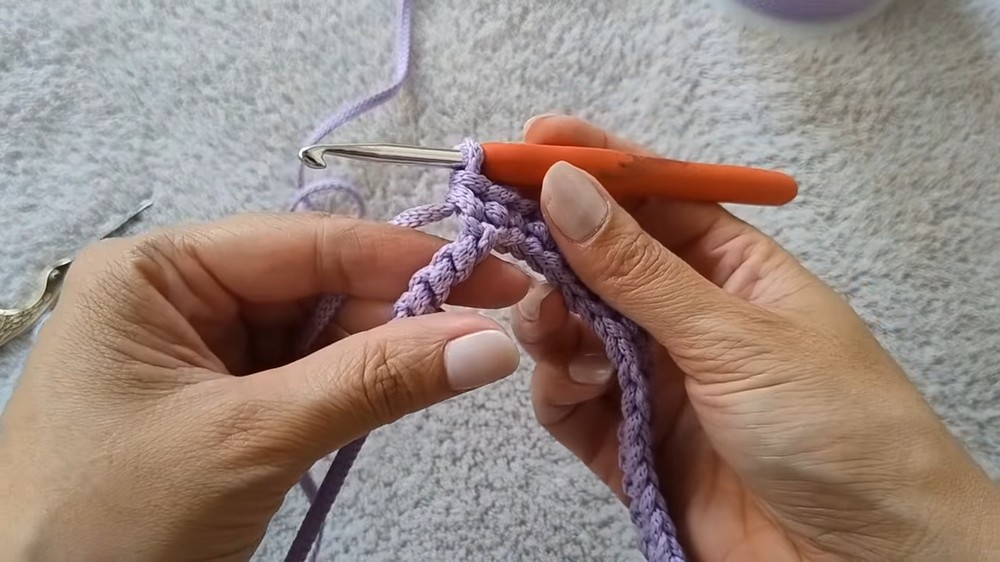
- Chain 1 at the start of each row, then turn the work.
- Crochet into the back loops only for subsequent rows.
- Repeat the sequence:
- Slip Stitch into the first 5 loops.
- Single Crochet into the following 22 loops.
- Complete with 5 Slip Stitches.

Continue repeating this pattern until the height of the bag (approximately 11 cm) is achieved. Use a ruler or measuring tape to ensure accuracy.
Customization Tips
- To make the bag taller or shorter:
- Add more rows (for added height).
- Adjust the total foundational chains (for added width).
2. Finishing the Base
Final Row
- End the last row with Slip Stitches to ensure the edges remain neat.
- Cut the yarn, leaving about 8-10 cm for sewing the edges later.
Prepare for Sewing
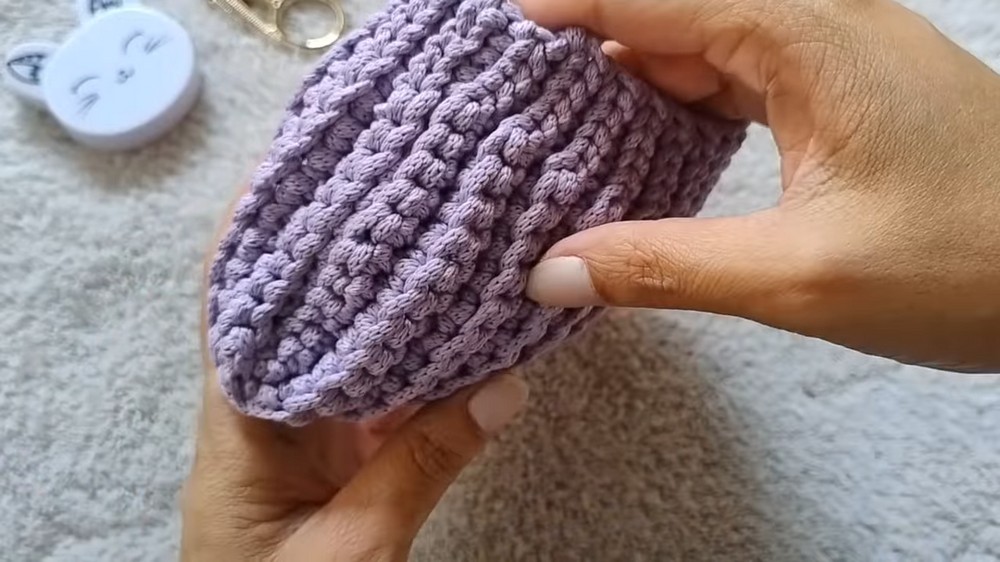
- Fold the crocheted rectangular piece in half. The shorter edges will form the top opening, while the longer folded edges will form the width of the bag.
Sew the Edges
- Thread the tapestry needle with the yarn tail left earlier.
- Use a simple whip stitch to join both sides of the bag securely.
- Avoid over tightening the stitches to maintain the bag's shape.
- Once sewn, weave in any loose yarn ends into the seam. For polyester yarn, optionally secure and seal the ends with a lighter.
3. Adding the Closure
Magnetic Button Installation
- Select the appropriate inner flap placement for the magnetic button.
- Position the two halves of the button so that they align when closed.
- Sew each half securely to its respective location using small, neat stitches.

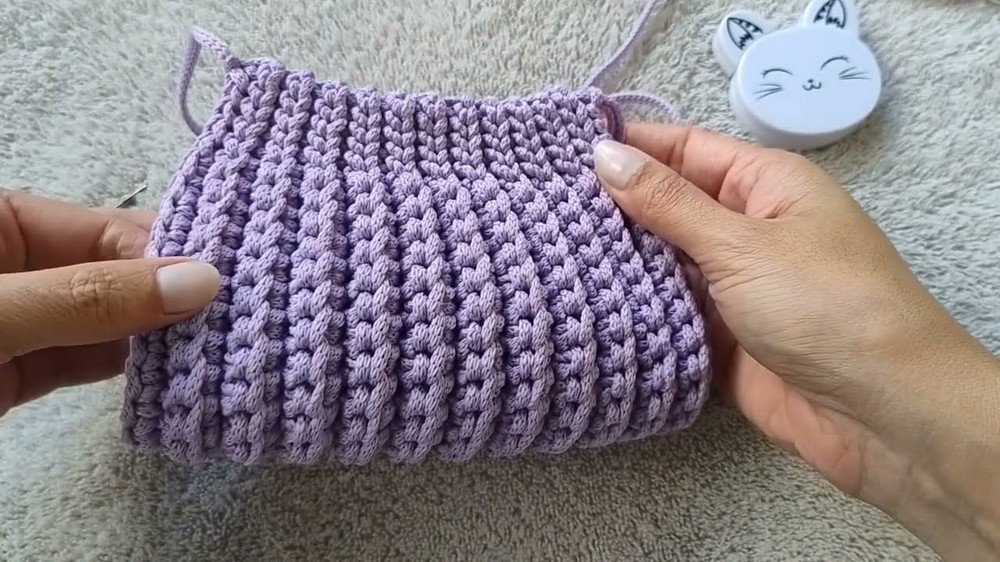
Ensure the button closes smoothly without gaps. Adjust placement if necessary.
4. Personalization
Optional Decorative Bottom Pins
- Choose pins or buttons with K-pop designs to fit the theme.
- Attach them to the front of the bag securely. These can be swapped out based on personal preference, allowing versatility in the design.
5. Creating the Strap
Attach Yarn to the Side
- Use the tapestry needle to secure the yarn on one side seam of the bag.
Crochet the Strap
- Begin by working Single Crochets (SC) in rows:
- Insert the hook into the side seam and crochet 2 rows of Single Crochet stitches for a sturdy starting base.
- Chain 1, turn the work, and continue working into the back loops only. This technique ensures that the strap remains uniform and durable.
- Repeat the rows until the strap measures 80 cm, or your preferred length.
Attach the Strap
- Sew the other end of the strap securely to the opposite side seam of the bag using your tapestry needle.

6. Final Assembly
Turn the Bag
- Once all the sewing is complete, turn the bag inside out to hide visible seams. Ensure edges look neat, and the structure is well formed.
Test the Magnetic Closure
- Open and close the magnetic button to confirm it works smoothly and aligns perfectly.
Final Decorative Touches
- Add any remaining buttons or pins for personalized flair. The K pop theme can be tailored to favorite groups or members to delight the intended user.

Tips for Success and Maintenance
- Tension Control:
- Maintain consistent tension throughout the rows to prevent uneven edges and ensure the bag keeps its shape.
- Customization Options:
- Experiment with different yarn colors or textures to suit unique themes.
- Adjust strap length based on the age or height of the person intended to use the bag.
- Using Accessories:
- Opt for sturdy closures and decorations to ensure the bag remains safe and practical.
- Proper Finishing:
- Tidy yarn ends using a tapestry needle to weave them into existing stitches.
- For polyester yarn, lightly melt the ends with a lighter for durability.
- Selling the Bag:
- Highlight its affordability, quick production time, and trendy K-pop design as unique selling points.
- Offer customization (like personalized pins or colors) to attract customers.
Final Words
This crochet bag is a quick, creative, and fun project to make for children or fans of K-pop culture. Its thematic appeal gives it a fashionable edge, while its simplicity makes it accessible to both beginners and seasoned crocheters alike. With customizable dimensions, design accents, and affordability, this project is excellent for both personal use and as a commercial product.
Whether it's for a gift or a stylish addition to a young fan's wardrobe, this bag is guaranteed to be a crowd pleaser. The steps provided in this pattern ensure accuracy and confidence throughout, allowing you to crochet an item that's both beautiful and functional. Follow the instructions closely, and let your crochet hook bring this delightful design to life.