
Free Crochet Drawstring Bag Pattern That’s Practical and Pretty
Learn how to make a cute and handy crochet drawstring bag with this free pattern that is perfect for carrying your small treasures every day.
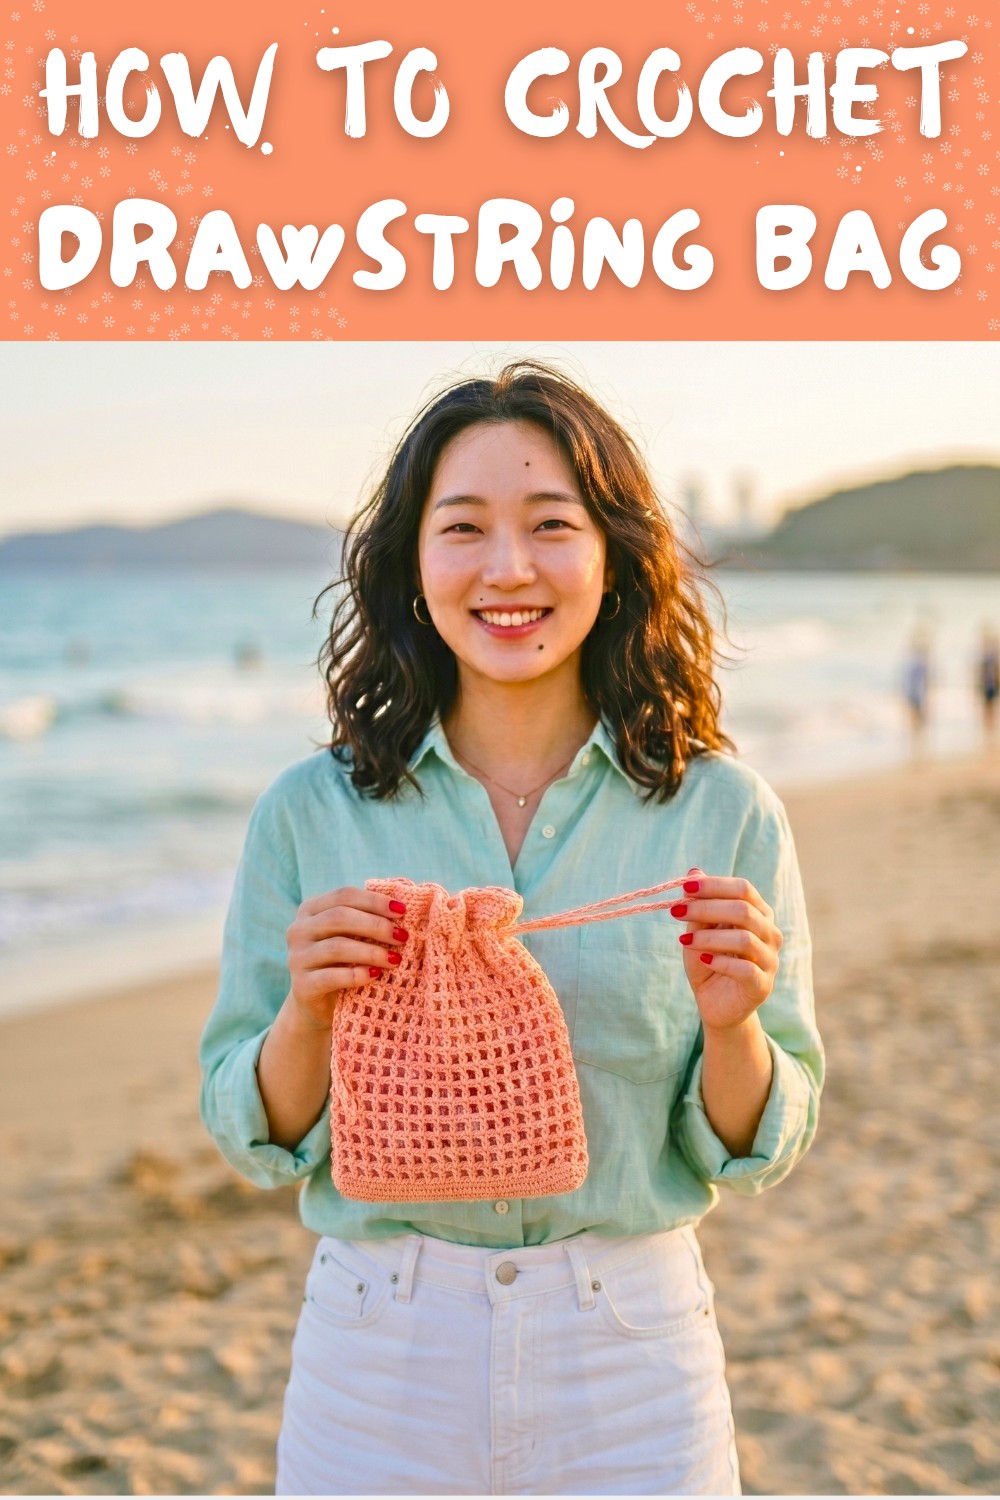
Add a touch of creativity and handy storage to your daily outfit by making this spectacular woven pouch today. Imagine carrying your own handmade bag that not only looks adorable but is super practical too. This free crochet drawstring bag pattern is perfect for everyone who want to explore the joy of crocheting while creating something truly special. It's not just a pouch, it's your very own treasure keeper for colorful marbles, secret candy treats, or little essentials.
Perfect Free Crochet Drawstring Bag Pattern for Daily Use
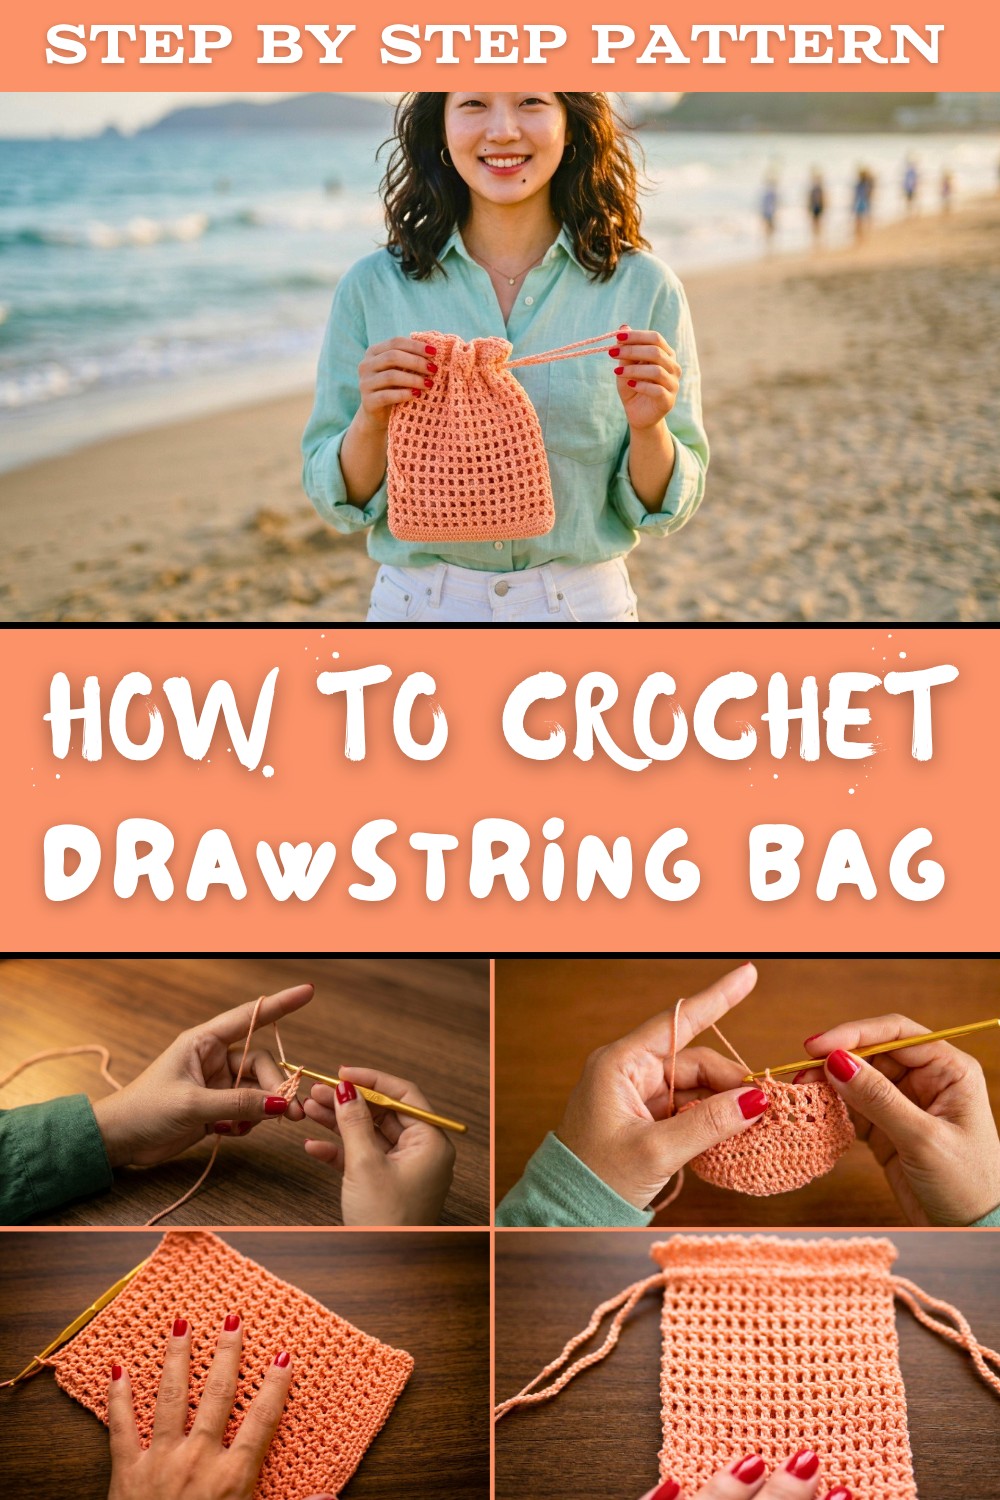
This cheerful crochet bag has a smooth, textured stitch pattern and features two long woven cords that slide easily through the top edge, giving it a playful yet classic look. Its highlight is the self locking sliding top that keeps your belongings secure, so you won't lose your tiny treasures during active play or school breaks. Plus, it's lightweight, durable, and easy to carry wherever you go.
The best part is it uses bright and affordable cotton thread along with a simple hook tool, letting you practice basic loops without spending extra money. Crochet this amazing handmade prize as a birthday gift, a useful carry pouch for school, or a fun project to express your unique style. Grab your tools and start crocheting your beautiful yarn pouch today-it's time to turn creativity into smiles.
Crochet Drawstring Bag Pattern
Materials Required:
- Yarn: Nilon thread (Size D27) - Approximately 50 grams.
- Hook: Crochet hook with a suitable size for the yarn type.
- Scissors: To cut the yarn.
- Tapestry Needle: For weaving in yarn ends.
- Measuring Tape: To check the bag dimensions (optional).
Abbreviations Used:
- DC: Double Crochet
- SC: Single Crochet
- SlSt: Slip Stitch
- Ch: Chain
Step by Step Pattern Instructions:
Base of the Bag:
- Slip Knot and Foundation Chains:
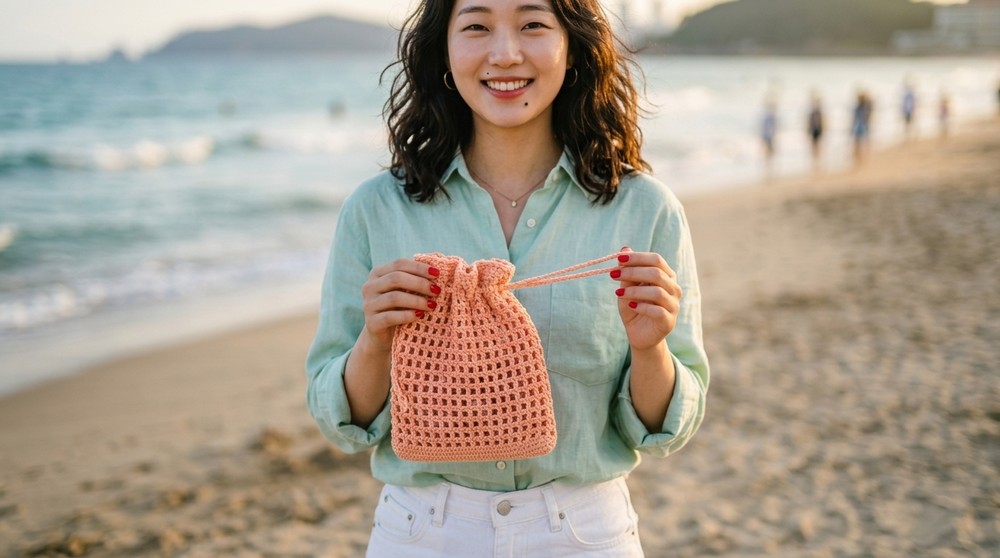
Start by making a slip knot and creating 35 chains. Ensure the chains are even and not too tight. - Turning Chains:
After the 35 chains, create 3 additional chains. These will act as the turning chains. - Double Crochet on Foundation Chain:
- Take yarn over and insert the hook into the 35th chain (the last chain from the initial row).
- Make 2 DCs into the same space, forming the rounded corner of the base.
- Continue the Row:
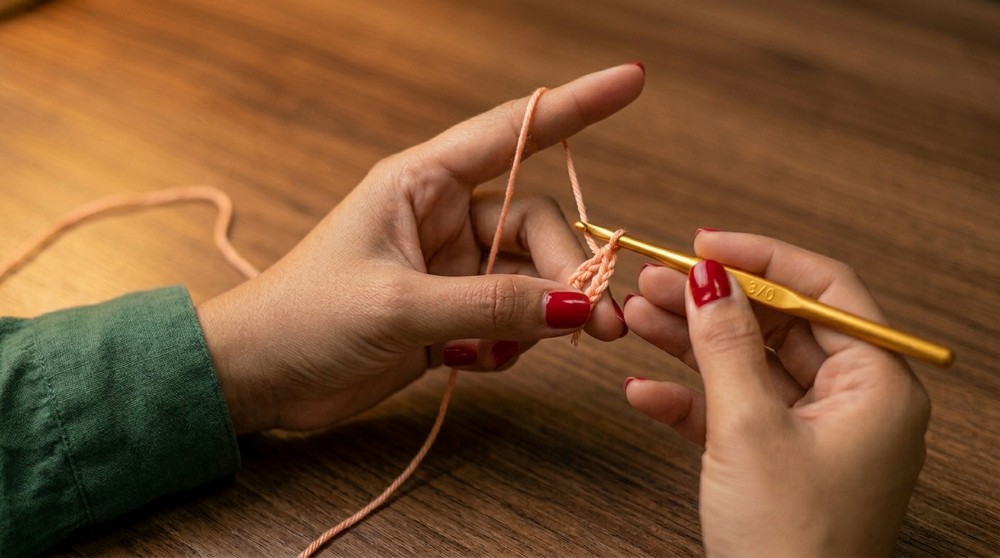
- Work 1 DC in each chain across the row.
- When you reach the last chain (end of the row), make 3 DCs in the same stitch to form the opposite corner.
- Returning Along the Base:
- Turn your work and begin making 1 DC in each chain on the other side of the foundation chain.
- End of Base Row:
- At the end, SlSt into the turning chains (3rd chain) to secure the row and close the foundation base.
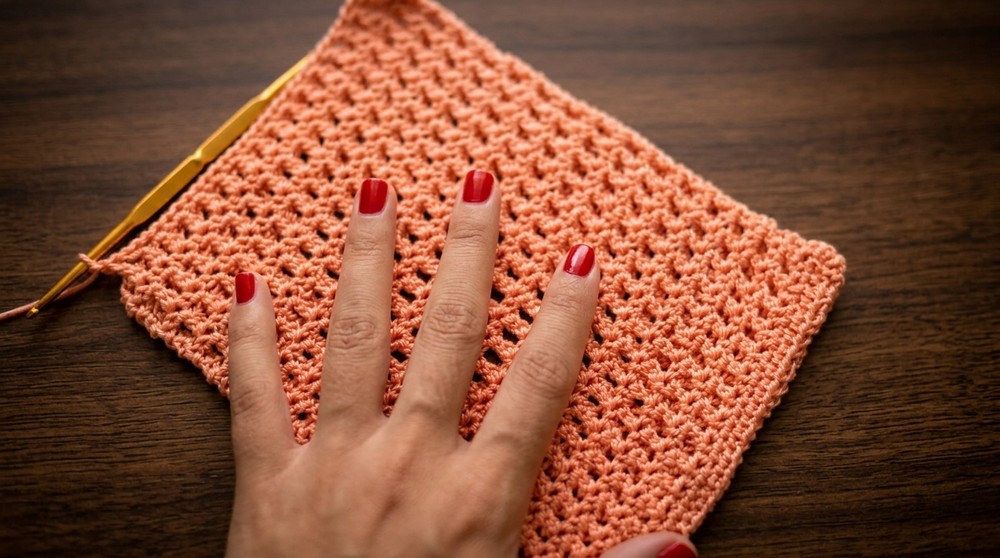
Main Pattern (Checkered Design):
- Start the Motif:
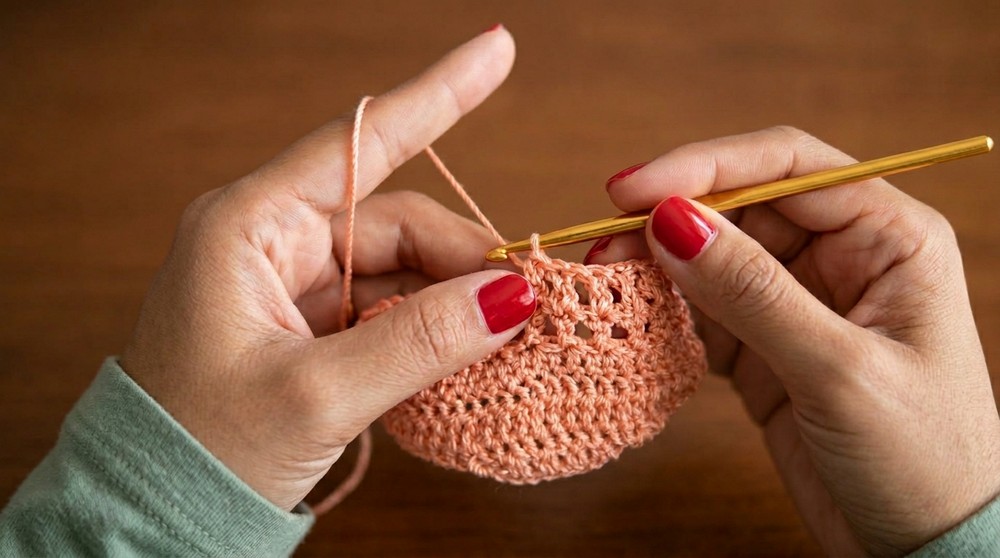
Chain 4 at the beginning of the row to start the new motif. - Skip Stitch and DC:
- Yarn over, skip one stitch, and make 1 DC into the next stitch.
- Chain 1, skip one stitch again, and make 1 DC into the following stitch.
Repeat this pattern (DC, chain, skip stitch) till the end of the row.
- Close the Row:
Slip Stitch into the 3rd chain of the initial chain to secure the motif row. - Repeat the Pattern:
For the subsequent rows:- Begin with 4 chains, continue making DCs above existing DCs from the previous row, separated by 1 chain.
- Repeat till the desired height is achieved.
Tip: Check the alignment of motifs. Each DC must stack above the DC from the row below.
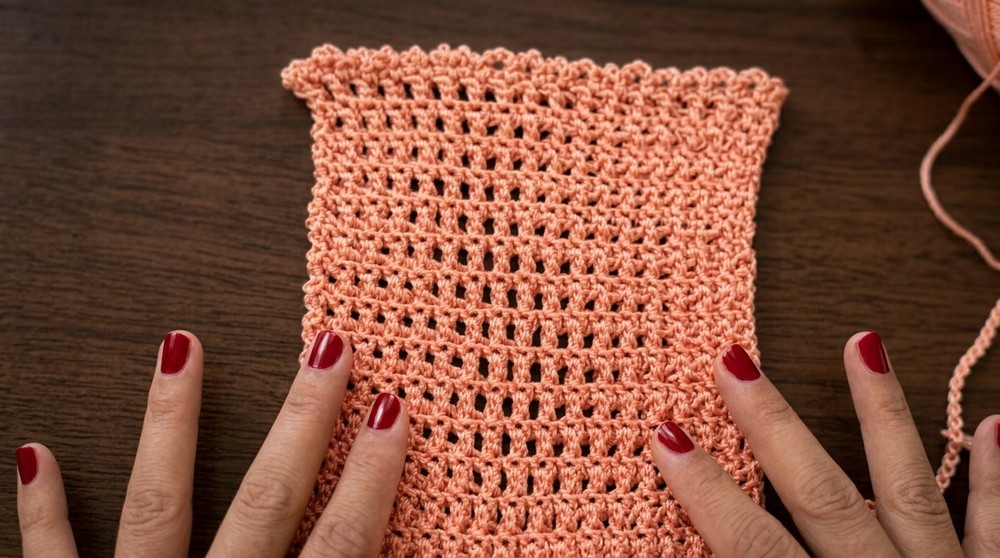
Finishing the Body:
- Once the desired height of the bag is reached (approximately 17 cm, or adjust to preference), close the final row with a Slip Stitch.
- Closure Pattern:
- Begin with 3 chains.
- Insert SC into the gap between two DCs (created by the chain spaces).
- Repeat by making 3 chains followed by SC in the next gap between DCs.
- Work around the row to create a delicate edge detailing.
- Slip Stitch into the starting chain space and fasten off.
Handles or Drawstring:
- Create the Drawstring:
- Crochet 70 foundation chains (or adjust length as needed).
- Repeat twice for two drawstrings.
- Insert the Drawstrings:
- Thread the drawstrings through the second row of gaps from the top of the bag.
- Weave the strings alternately into the chain gaps until you complete the threading.
- Repeat the process for the opposite side for symmetry.
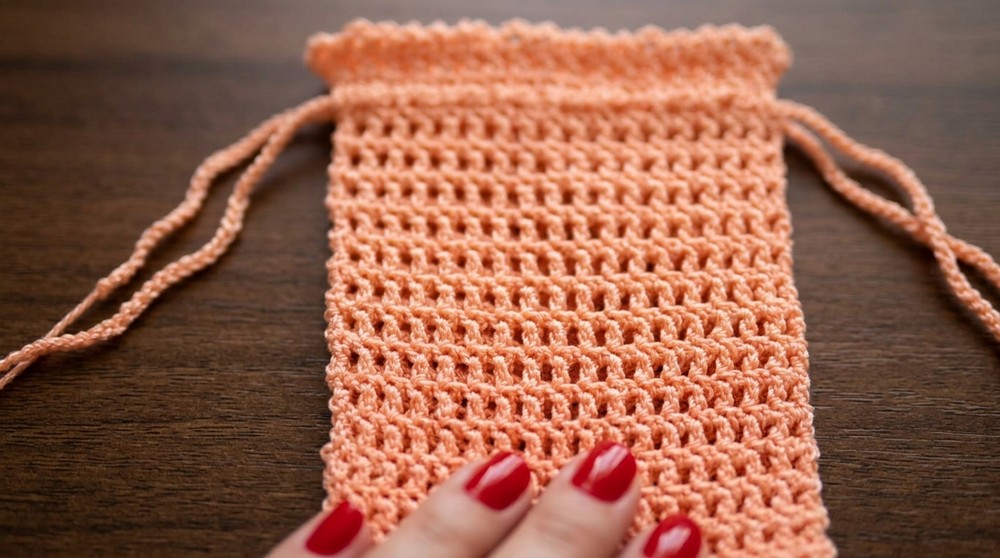
Final Touches:
- Secure Yarn Ends:
Use a tapestry needle to weave in all loose ends for a professional finish. - Check Shape:
Adjust stitches and ensure the bag's alignment; check handles' placement. - Steam Block (Optional):
Lightly steam the bag for a polished look and to maintain the shape.
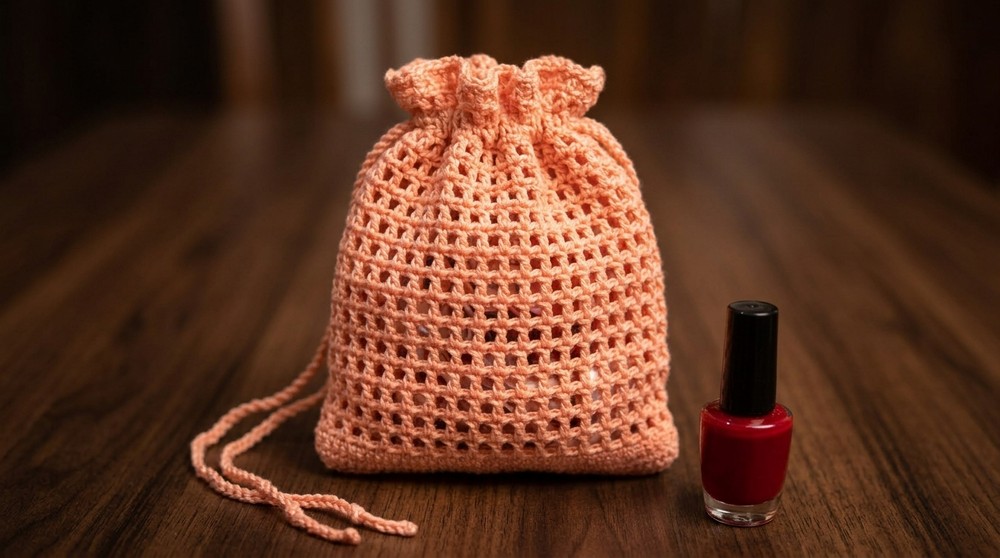
Tips to Maintain the Pattern:
- Keep Even Tension: Ensure consistent tension while crocheting for uniform stitches.
- Avoid Overstretching Yarn: This can weaken the structure of the bag.
- Wash Carefully: Hand wash the bag in a mild detergent and lay flat to dry.
- Store Properly: Keep your bag in a cool, dry place to maintain its condition.
Suggestions:
- Color Variations: Try using color changing yarn or alternating colors for more dynamic checkered designs.
- Size Adjustments: Adjust the initial chain count and height to customize the bag's size.
- Add Linings: Stitch a fabric lining to the inside for added durability and elegance.
Final Words:
This beautiful checkered crochet bag is a versatile, functional, and stylish accessory suitable for everyday use, makeup storage, or small essentials. It makes a thoughtful handmade gift and a practical project for crocheters of any skill level.