
Crochet Pouch Bag Pattern – Free Step-by-Step
Organize daily essentials using a Free Crochet Pouch Bag Pattern that offers a practical pouch suitable for home travel and everyday needs.
There was a time when a small, delicate bag was treasured for its charm and practicality. This compact companion is perfect for keeping coins, keys, or tiny essentials close and safe throughout the day. Using simple stitches and yarn, anyone can turn a few loops into a lovely, sturdy pouch that suits personal style and needs. Following a crochet pouch bag pattern guides you clearly through each step, making the process smooth and enjoyable even for a beginner. This pattern shows how to build the pouch carefully, ensuring it holds its shape and looks neat when finished.
Free Pattern: Crochet Pouch Bag for All Skill Levels
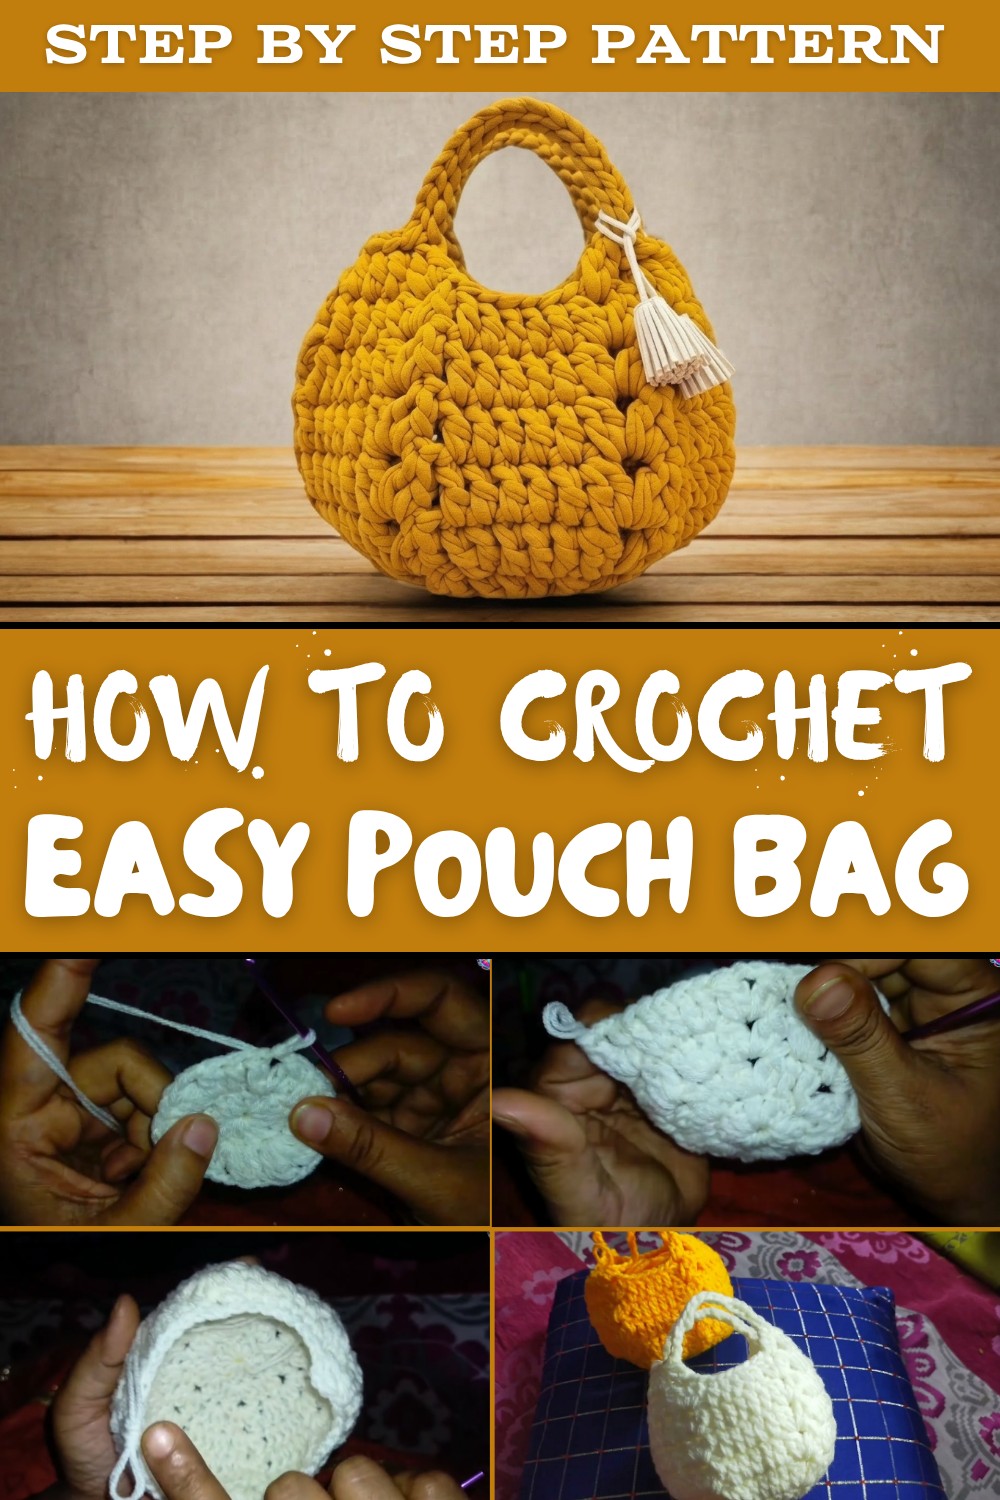
This bag not only serves daily purposes but also carries a special meaning when given as a gift, reflecting thoughtfulness and care. Choosing a favorite color and adding unique touches allows the pouch to become one of a kind. Many also find satisfaction in offering such a pouch to others, whether selling at local markets or sharing with friends, combining creativity with usefulness.
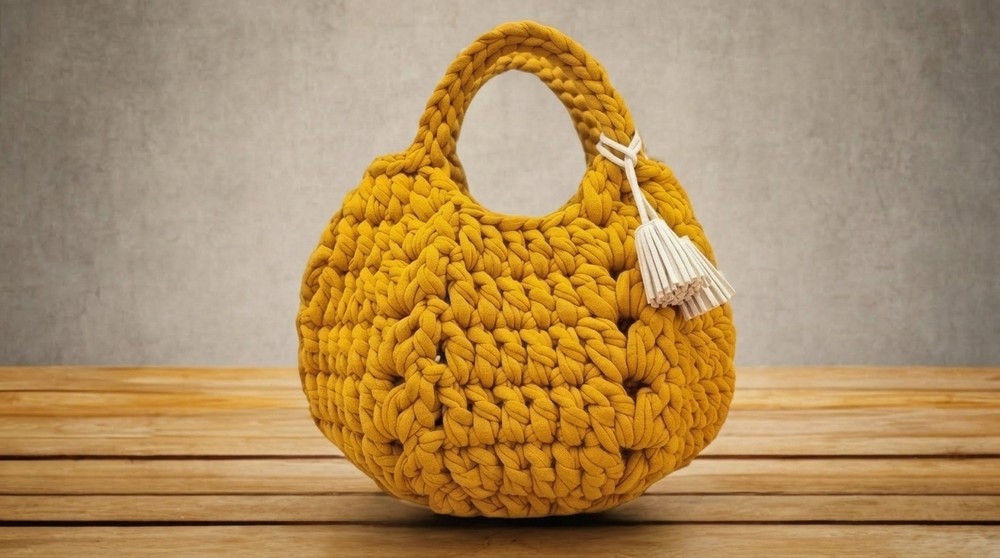
The simple repetition of stitches calms the mind and makes making the bag a peaceful escape from daily routines. Stitch by stitch, patience turns yarn into something practical and beautiful. Such a pouch blends style with function in a way that makes everyday tasks a little easier and more joyful. The crochet pouch bag pattern acts as a friendly companion on this path, encouraging and supporting every step until the charming pouch is complete and ready to brighten someone's day.
Crochet Circular Lace Purse - Complete Pattern
Welcome to this beautifully detailed crochet pattern to make an adorable circular lace purse! This pattern is beginner-friendly and walks you through each round step-by-step for a charming and delicate design that's perfect for gifting or personal use.
Before You Start
- Use a 3.0 mm crochet hook for precise stitch size and texture.
- Suitable yarn/thread: use fine crochet thread or lightweight/lace wool.
- If your yarn is fine, consider doubling your thread for added thickness and sturdiness.
- Maintain a relaxed tension to allow lace effect while keeping structure.
- Familiarize yourself with basic stitch terminology: chain (ch), double crochet (dc).
- Keep stitch counts consistent for proper circular growth.
- Have stitch markers ready to mark round beginnings and ends, if needed.
- This project consists of several rounds joined continuously in the round.
- Prepare scissors and yarn needle for finishing tasks.
- A measuring tape is helpful for ensuring size accuracy.

Pattern Notes
- Worked in the round, beginning from a small loop.
- Uses chain stitches to create lace gaps and double crochet stitches for body.
- Stitch counts increase in successive rounds to form an expanding circular motif.
- Joining rounds is done with slip stitches.
- "Three loops together" indicates crocheting multiple stitches into a single stitch space, then closing those stitches together to shape petals/leaves.
- Common repeats involve chain gaps and grouped double crochets.
- Pattern uses standard US crochet terminology.
- The handle is reinforced by weaving additional chains around the crocheted base.
- Final rounds reduce stitch counts for handle shaping.
- Pattern includes a special leaf motif formed by combining triple crochet stitches.
How This Crochet Pattern Is Made
- Begin by creating a foundation ring with chain stitches.
- Work the first round by making 12 double crochets into the ring.
- Successively increase rounds by introducing chain gaps and grouping double crochets into "leaf" motifs.
- Alternate stitch groupings: 3, 5, and then a combination of these to form a delicate lattice pattern.
- Shape the purse body with multiple rounds.
- Construct the handle by adding chains and reinforcing with extra rows.
- Finish with rounds that reduce stitches to form a handle opening.
- Strengthen the handle with chain reinforcement and secure weaving.
Skill Level
Beginner to Intermediate
Finished Size
Approximately 10 inches (25cm) in diameter (estimate based on thread thickness and hook size).
Materials
- Crochet thread or fine wool, doubled for thickness if desired
- 3.0 mm crochet hook
- Yarn needle
- Scissors
- Stitch markers (optional)
Gauge
- Not critical; gauge impacts purse diameter.
- Approximately 12 double crochets per 4 inches in tightness.
Stitch Abbreviations (US Terms)
| Abbreviation | Meaning |
|---|---|
| ch | chain |
| dc | double crochet |
| sl st | slip stitch |
| st(s) | stitch(es) |
| sk | skip |
| tog | together (worked together) |
Special Stitches
3 Double Crochet Together (3-dc tog):
Yarn over, insert hook into stitch, yarn over, pull through (3 loops on hook). Yarn over, pull through 2 loops (2 loops remain on hook). Repeat twice more in the next two stitches or chains (7 loops total). Yarn over and pull through all loops on hook to complete stitch.
Chain Gap:
Creating space in lace by chaining multiple stitches (e.g., ch 2) without additional stitches in the chain space, forming an open pattern.
Crochet Pattern Instructions
Part 1: Foundation Ring and Round 1
- Step 1: Make a slipknot. Chain 4.
- Step 2: Join with a sl st into the first chain to form a ring.
- Step 3: Chain 3 (counts as first dc).
- Step 4: Work 11 double crochets inside the ring. (Total 12 dc including ch-3)
- Step 5: Pull the ring tightly to close hole.
- Step 6: Join with a slip stitch to top of chain 3.
Explanation:
You created a small loop and crocheted 12 double crochets around it forming the base circle.
Part 2: Round 2
- Step 1: Chain 2 (counts as first stitch).
- Step 2: Dc once in next chain space
- Step 3: In the next chain space, dc twice.
- Step 4: Then dc once in next chain space.
- Step 5: Repeat this pattern around: dc once, dc twice, dc once, inserting chains/gaps as indicated in original instructions (with chain gaps of 2 stitches).
- Step 6: Join with sl st to top of initial chain 2.
Explanation:
You are increasing stitch count by making double crochets and creating 2-chain gaps to form a delicate lacework.
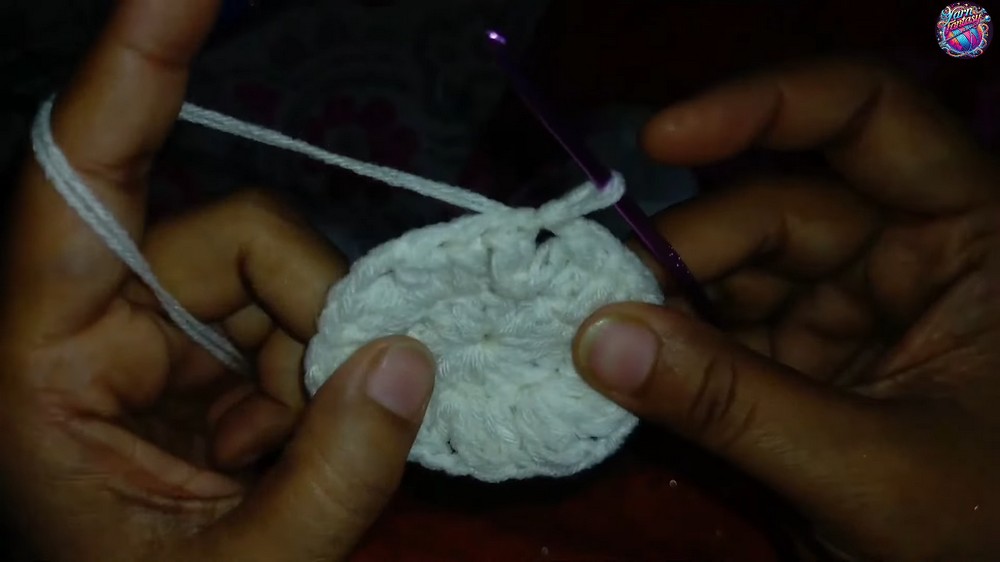
Part 3: Round 3
- Chain 1, then chain 2.
- Dc 3 times into the prior round's stitches (3 dc cluster).
- Chain 2 (gap).
- Repeat sets of 3 dc clusters separated by chain gaps around the circle.
- Groups of three loops are crocheted together as leaf motifs.
- Join with sl st to starting point.
Explanation:
This round adds cluster groups and chain gaps, forming leaf-like shapes.
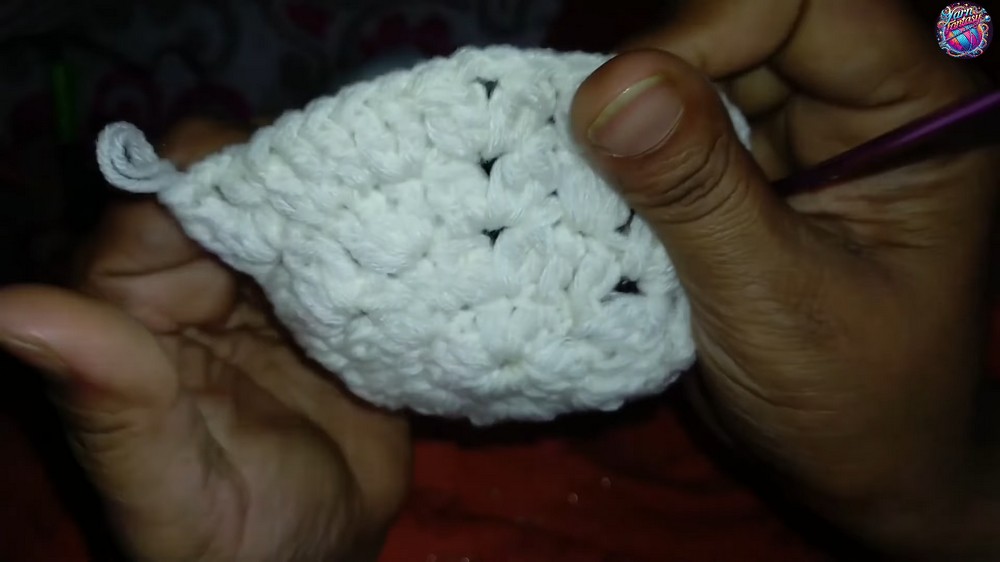
Part 4: Round 4
- Chain 2 to start.
- Alternate between double crocheting twice, once, and again twice into chains of prior rounds.
- Form sets of five double crochets in groups.
- Add chain gaps between groups.
- Join with sl st.
Explanation:
In this round, you introduce bigger groups of 5 double crochets to expand the body of the purse.

Part 5: Round 5
- Chain 2.
- Dc 5 times into the chain spaces of last round to enlarge pattern.
- Crochet groups of 3 dc together as leaf motifs between chain gaps.
- Join end of round.
Explanation:
Round 5 creates a larger, airy pattern by working five double crochet groups accented with leaves.

Part 6: Round 6
- Repeat Round 5 pattern for consistency.
- Work double crochet groups of five and 3 dc loops together forming lace repetition.
- Chain gaps maintain open structure.
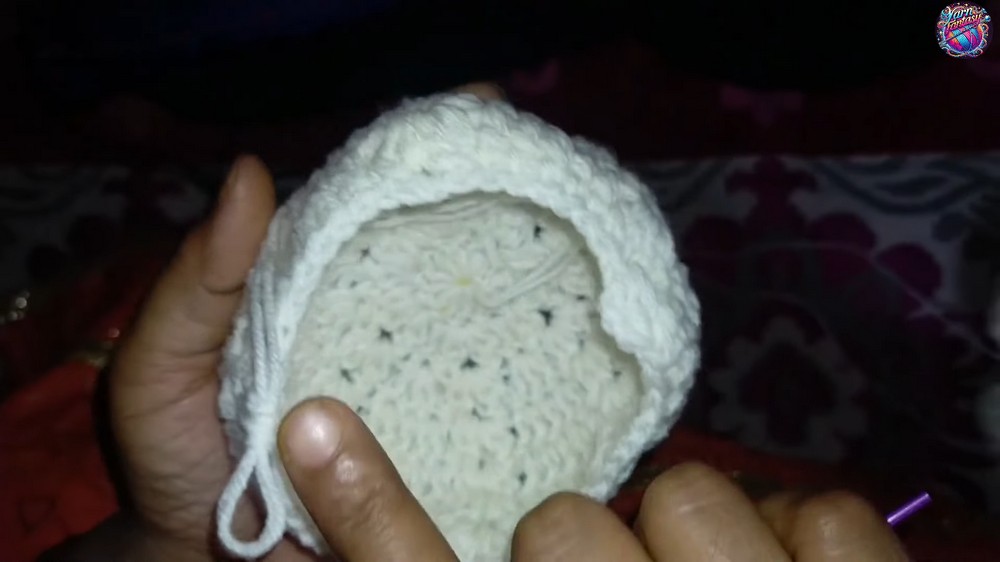
Part 7: Round 7 (Handle Formation Begins)
- Chain 2 to start.
- Begin reducing stitches by crocheting smaller groups, joining 3 loops together to shape a handle opening.
- Chain gaps remain to provide flexibility.
- Double crochet 5 times into chain spaces as earlier rounds to maintain pattern flow.
- Join at end carefully.
Explanation:
This round starts shaping the handle by decreasing stitches on opposite sides.
Part 8: Round 8
- Crochet as Round 7 to continue handle shaping.
- Double crochet as indicated in previous rounds (groups of 5 and 3 loops).
- Ensure handle opening forms clearly.
Part 9: Round 9 (Handle Creation)
- Chain 20 stitches in the center to form the handle length.
- Continue double crocheting groups of 3 and 5 on both sides of handle.
- Join ends meticulously to keep handle secure.
Part 10: Round 10 (Supporting Handle)
- Work ½ chains on opposite side of handle base.
- Reinforce handle by crocheting along the chains to strengthen.
- Secure handle by weaving chain back through stitches.
- Finish and cut yarn.
Simplified Explanation for Beginners:
- Start with a ring and 12 double crochets.
- Build rounds with increasing stitches grouped into clusters and chain spaces to create a lace effect.
- After several rounds, shape and create a handle with a long chain backed by sturdy stitch reinforcement.
- Join each round with slip stitches and keep count for smooth expansion.
Assembly and Finishing
- Weave in all loose ends carefully with a yarn needle.
- Pull tightly to close any gaps.
- Reinforce handle by weaving returned chains through existing loops.
- Block the purse gently if needed to smooth and set stitches.
- Allow to dry completely before use.
- Optionally add a lining for enhanced durability.

Troubleshooting Guide
- Problem: Hole too large in center ring.
Solution: Pull the initial ring tighter before starting Round 1. - Problem: Uneven lace pattern.
Solution: Count your stitches carefully each round and use stitch markers. - Problem: Handle too loose or floppy.
Solution: Reinforce handle chains by weaving yarn through and adding extra rows of single crochet. - Problem: Difficulty joining rounds.
Solution: Join with slip stitch directly on top chain of starting stitch to ensure smooth connection.
Creative Uses
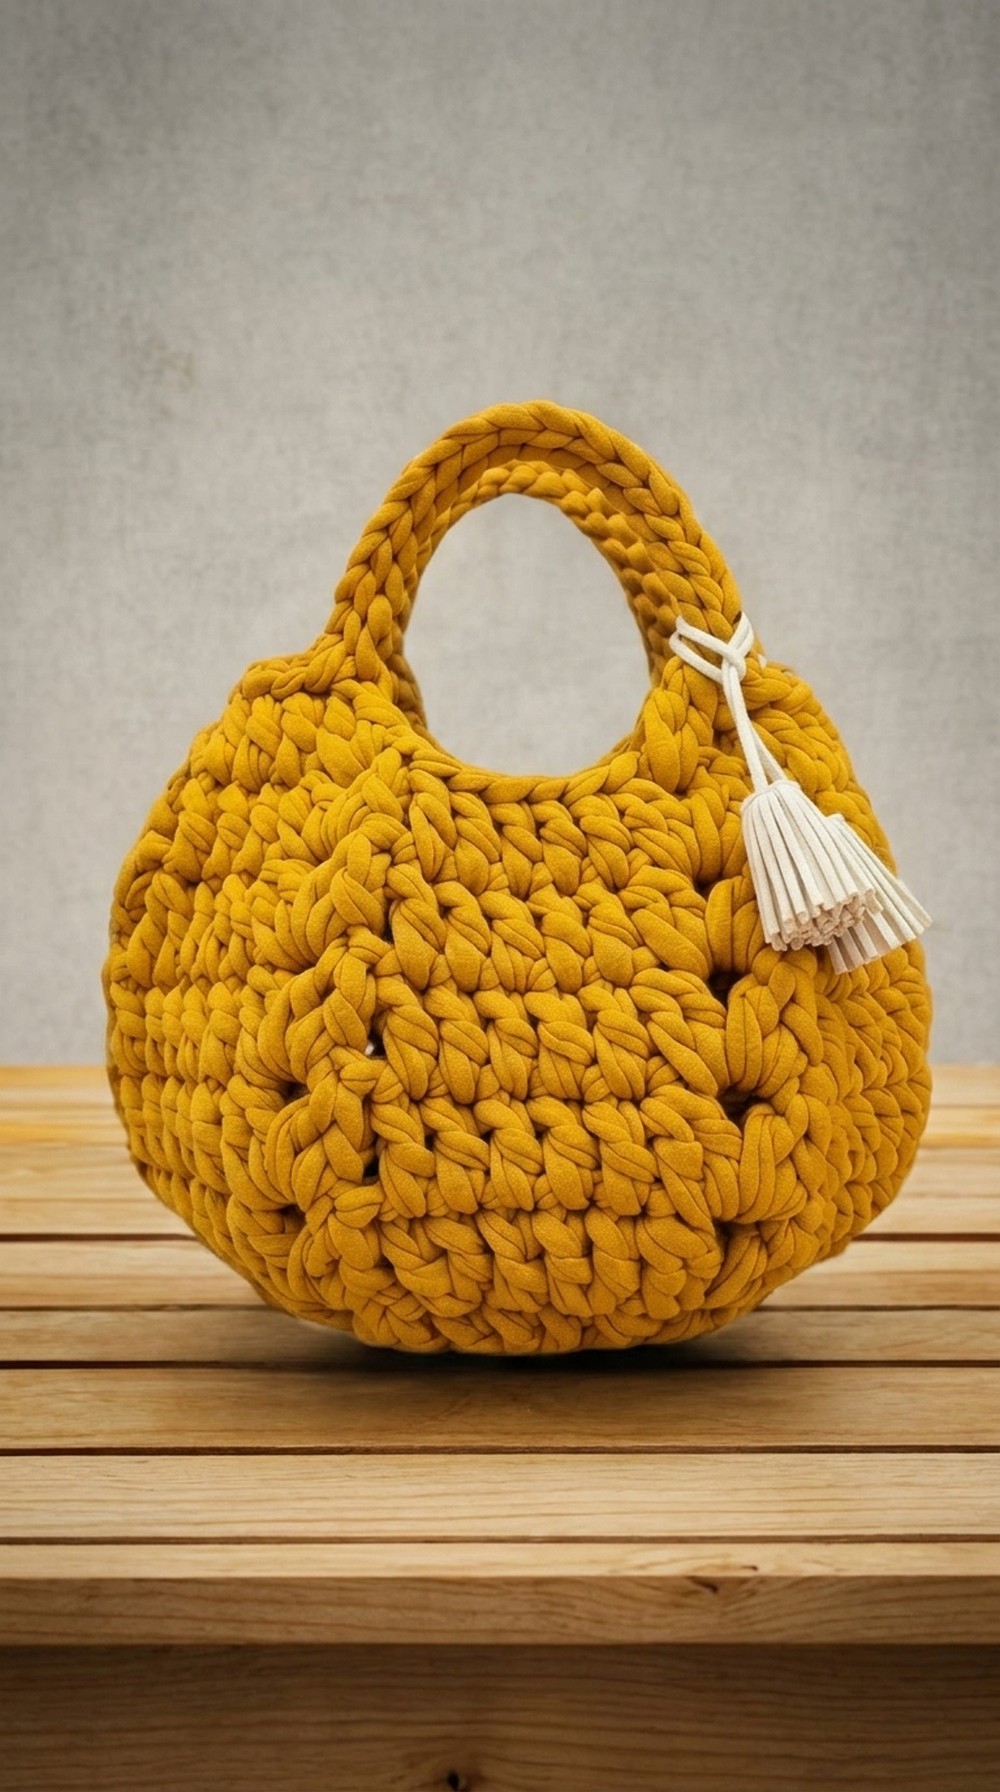
- Adapt pattern to make matching lace coasters or table mats.
- Use as a stylish summer clutch or party bag.
- Create smaller versions as coin pouches or child's purse.
- Scale larger for market bag or beach tote.
- Use similar stitch clusters for shawls or scarves.
- Decorate with beads or buttons for festive looks.