
Beautiful Flower Vase Pouch with This Free Pattern
Beautify every home space with free crochet flower vase pouch pattern that gives lovely colors and texture while providing sweet vibes daily.
Tiny items stay safe and sound when a small bag with a long string hangs from your neck to keep your hands free. This handy pocket sits close to your body and opens wide to hold your coins or a few pretty stones you find on a walk. A crochet flower vase pouch pattern helps you build a sturdy little sack that looks like a tall bud and carries your tiny treasures everywhere you go. It works well for a trip to the market or for keeping a small bunch of blossoms tucked away while you visit a friend.
Easy Crochet Flower Vase Pouch Pattern - Free and Fun
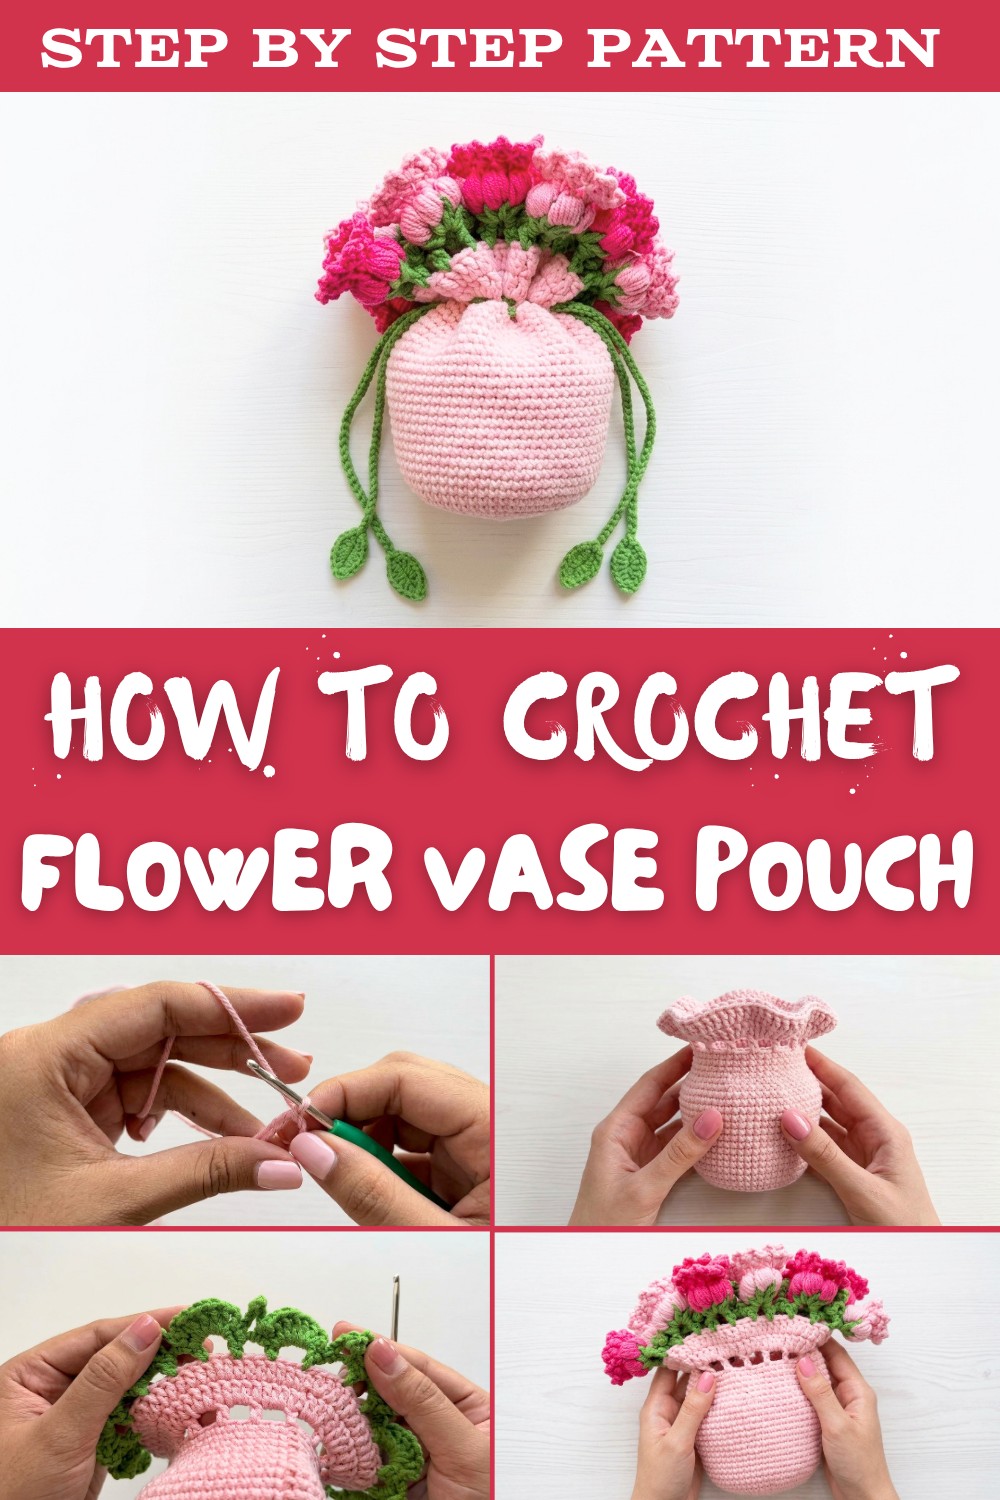
The thick loops of yarn act like a strong wall that keeps your things from falling out on the ground. This special item is great because it feels very light to wear but stays very tough even if you use it every single day. A helpful feature is that the deep shape fits narrow things perfectly so they do not rattle around. This single bag can change a plain outfit into something very smart and useful. It stays strong for a long time and keeps your small goods very neat.
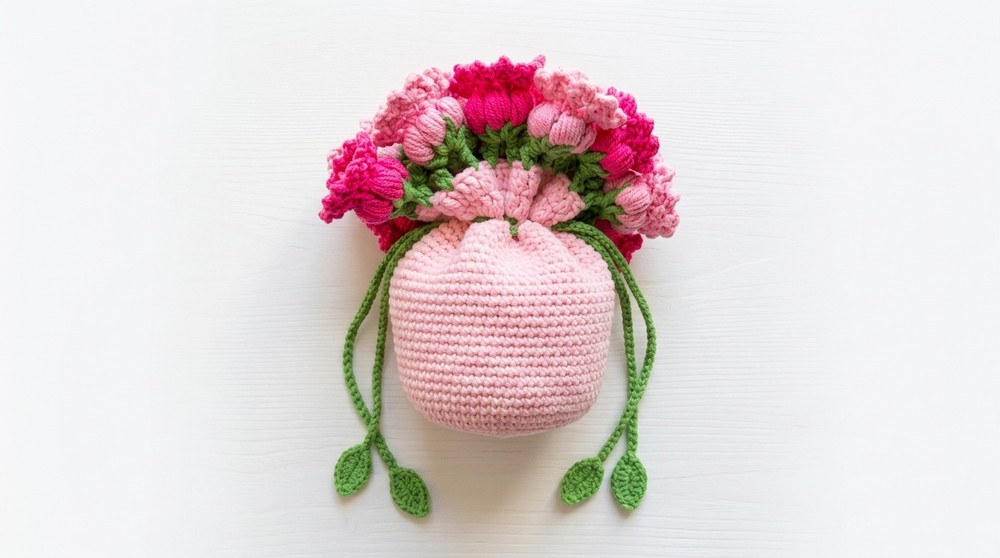
Flower Vase Pouch Crochet Pattern
Skill Level
Intermediate
(Basic crochet, working in the round, simple increases/decreases, and decorative flower/leaf embellishments.)
Materials
- Yarn:
- Main pouch color: Medium weight (Milk Cotton or similar)
- Accent colors: Green (vase detail, drawstring leaves), Shauking and Pink colors for flower motifs
- Hook: 3.0 mm crochet hook
- Notions: Stitch marker, yarn needle, scissors
Key Abbreviations (US Terms)
- ch: chain
- sl st: slip stitch
- sc: single crochet
- hdc: half double crochet
- dc: double crochet
- inc: increase (2 stitches in same stitch)
- dec: decrease (single crochet two stitches together)
- st: stitch
- BLO: back loop only
- sp: space
- […]: repeat instructions within brackets as indicated
Special Techniques
- Magic Ring/Circle (for seamless round start)
- Increases and Decreases (adding and reducing stitch counts for shaping)
- Decorative flower and leaf motifs
- Crocheting in Back Loop Only (BLO)
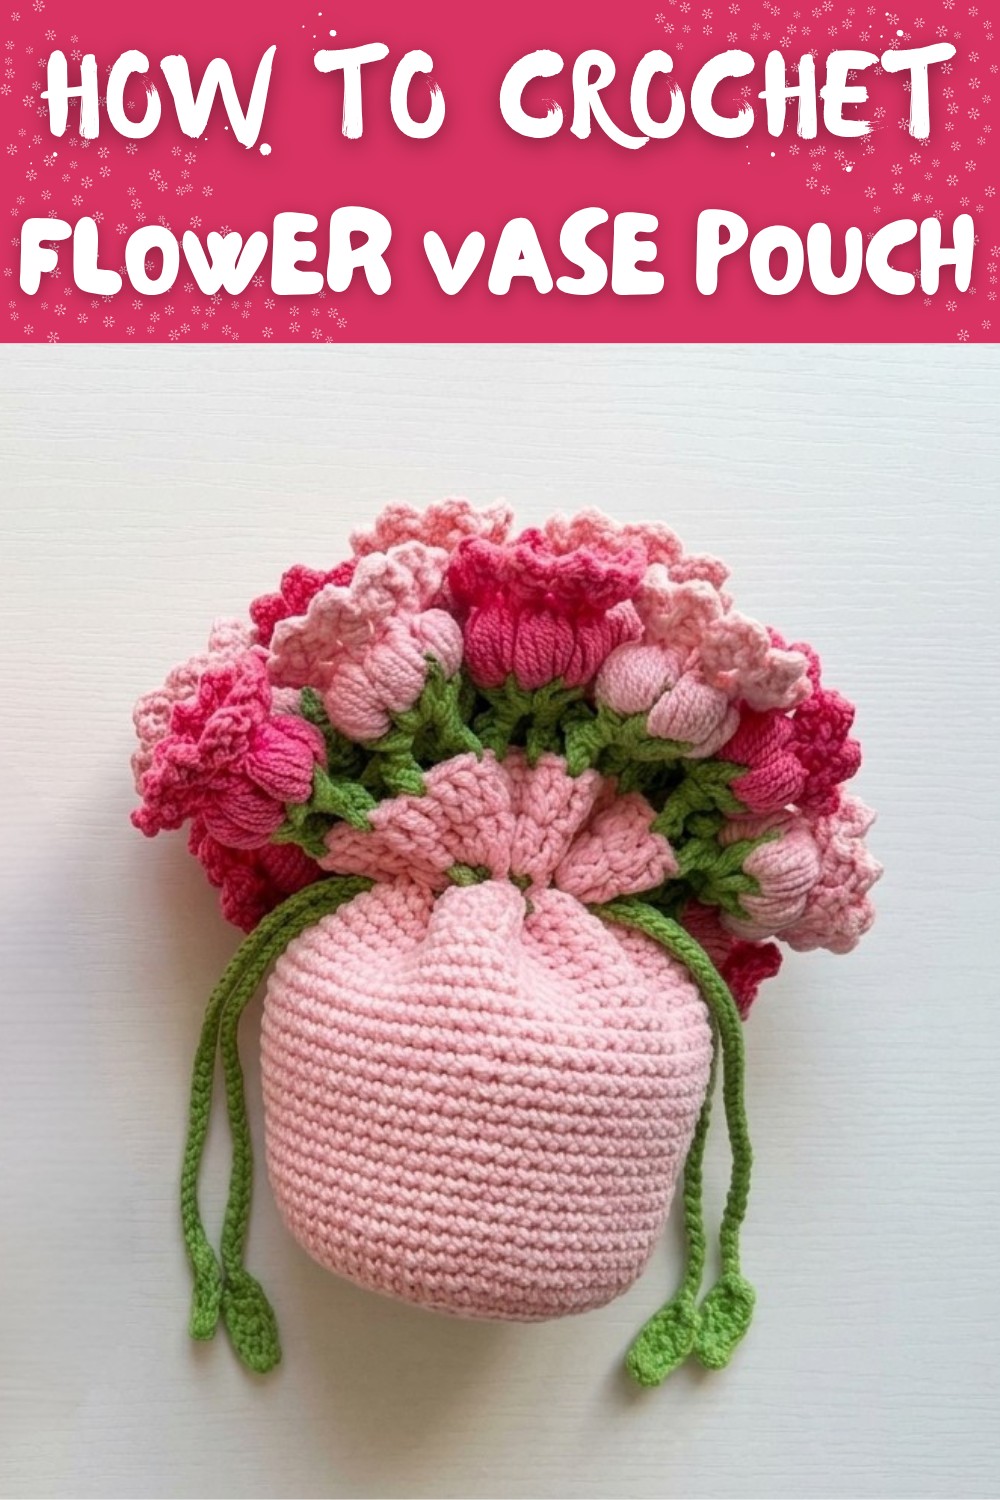
Pattern Instructions
PART 1: BODY OF THE POUCH
Base and Main Body
- Start the Base:
- Make a magic ring.
- Work 8 sc into the ring. Mark the first stitch.
- Pull tail tight to close.
- Round 2:
- [2 sc in each st] around (8 inc) - 16 sts.
- Join with sl st to first st. Ch 1.
- Round 3:
- [1 sc in next st, 2 sc in next st] x8 (1 sc, inc) around - 24 sts.
- Join with sl st, ch 1.
- Round 4:
- [1 sc, inc, 1 sc] x8 (1 sc, inc, 1 sc) around - 32 sts.
- Join with sl st, ch 1.
- Round 5:
- [3 sc, inc] x8 - 40 sts.
- Join with sl st, ch 1.
- Round 6:
- [2 sc, inc, 2 sc] x8 - 48 sts.
- Join with sl st, ch 1.
- Round 7:
- BLO - sc in each st around (48 sts).
- Join with sl st, ch 1.
- Round 8:
- [5 sc, inc] x8 - 56 sts.
- Join with sl st, ch 1.
- Rounds 9-13:
- 1 sc in each st around (56 sts per round).
- Join with sl st, ch 1.
- Round 14:
- [13 sc, inc] x4 - 60 sts.
- Join with sl st, ch 1.
- Rounds 15-17:
- 1 sc in each st around (60 sts per round).
- Join with sl st, ch 1.
- Round 18:
- [14 sc, inc] x4 - 64 sts.
- Join with sl st, ch 1.
- Rounds 19-21:
- 1 sc in each st around (64 sts per round).
- Join with sl st, ch 1.

Begin Shaping Vase Opening
- Round 22:
- [6 sc, dec] x8 - 56 sts.
- Join with sl st, ch 1.
- Round 23:
- Sc in each st around (56 sts).
- Join with sl st, ch 1.
- Round 24:
- [5 sc, dec] x8 - 48 sts.
- Join with sl st, ch 1.
- Rounds 25-27:
- Sc in each st around (48 sts per round).
- Join with sl st, ch 1.

Create Outer Rim with Loops
- Round 28:
- Ch 4, skip 2 sts, dc in next st, ch 2,
- Repeat from * to * around (15×), ending with sl st in 2nd ch of starting ch-4. (16 loops)
- Round 29:
- Ch 2, dc in same sp, [3 dc in each ch-2 sp, dc in top of dc from previous round] x16.
- Sl st to first st, ch 2.
- Round 30:
- [7 dc, 2 dc in next st] x8 - 72 dc total; increases evenly spaced.
- Sl st to first st, fasten off, weave in tail neatly.
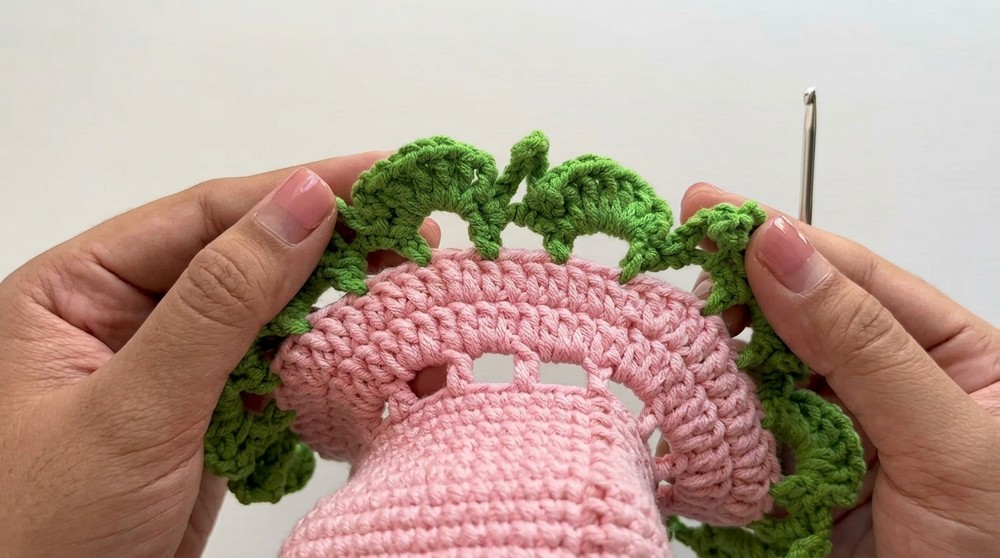
PART 2: GREEN VASE DECORATION (Lily of the Valley Version)
Attach green yarn to base of opening.
- Green Vase Loops - Round 1:
- Sc in starting st.
- [Ch 5, skip 2 sts, sc in next st] to end - 24 loops. (Slip st to first sc, ch 1.)
- Green Vase Decoration - Round 2:
Alternate in each loop:- (In 1st loop): [sc, ch 3, (dc, ch 1) 4×, dc, ch 3, sc] (forms petal cluster)
- (In next loop): [sc, ch 7, sl st in 4th ch from hook, ch 3, sc] (forms stylized leaf)
- Repeat - around, alternating petal and leaf motifs.
- Sl st at end, fasten off, weave ends.
PART 3: FLOWER MOTIFS (Lily of the Valley Flowers)
- Attach Shauking /pink color yarn to any dc in round 2 of vase motif:
- [Ch 3, make 6 loops (yarn over, insert, pull up a loop; repeat and hold all on hook),
yo, pull through all loops, ch 1] - makes puff flower. - Make total of 6 puff flowers evenly spaced between dc clusters.
- Sl st to join, fasten off, weave in ends.
- [Ch 3, make 6 loops (yarn over, insert, pull up a loop; repeat and hold all on hook),

PART 4: GREEN VASE DECORATION (Rose Version)
Attach green yarn to rim after finishing the body.
- Round 1:
- Sc in starting st.
- [Ch 4, skip 2 sts, sc in next st] x24. (Slip st to first sc, ch 1.)
- Round 2:
- [Sc in loop, ch 4, sl st in 2nd ch from hook, ch 3, sc in same loop] in each loop around.
- Sl st to first sc, fasten off.
PART 5: ROSE FLOWERS
- For each pair of sc between green "triangles":
- Attach rose color yarn in first of the pair.
- Ch 12.
- Starting in 4th ch from hook, work [3 dc in each ch] to last ch (forms spiral).
- Ch 3, sl st in same last ch.
- Roll into a rose shape, sew or sl st base to hold.
- Secure with sl st into second of the two sc.
- Fasten off, weave in ends.
- Repeat for a total of 12 roses, evenly spaced.
PART 6: DRAWSTRING WITH LEAVES
Make two drawstrings:
- Leaf - Start:
- With green yarn, ch 6.
- In 2nd ch from hook: sc.
- In next ch: hdc.
- In next ch: dc.
- In next ch: hdc.
- In next ch: sc.
- Sl st in last ch.
- Ch 75 for cord.
- Repeat leaf on other side:
- Ch 6; repeat above pattern for leaf.
- Fasten off, weave in ends.
- Make 2 such drawstrings.
- Thread drawstrings:
- Weave each through spaces at the top rim, starting from opposite sides to allow pouch to close securely.

Finishing
- Block (optional): Lightly block the finished pouch to help shape.
- Check seams and edges for loose ends; weave in all securely.
- Attach flowers and details securely, ensure no yarn ends are visible inside the pouch.
Tips & Suggestions
- Adjust Length/Height: Repeat more or fewer rounds before starting vase shaping to change pouch height.
- Color Play: Mix and match flower or leaf colors for variety.
- Customization: Use as a small gift bag, organizer, or decorative piece. Add beads in flower centers for a striking effect.
- Even Stitching: Keep your stitch tension even, especially for decorative rounds, for best results.
- Secure Closures: Ensure drawstrings are woven to meet and cross at sides for smooth closing.
Final Words
Congratulations! Your Flower Vase Pouch is now ready for use or display. This versatile and decorative pouch is perfect for holding small crochet supplies, trinkets, or even as a charming handmade gift bag. With its three-dimensional flowers, leaves, and sturdy construction, it is both functional and beautiful.