
Free Crochet Strawberry Holiday Bag Pattern to Sweeten Any Try
Turn your outings into pure joy with this cute crochet strawberry bag pattern, designed to bring smiles and a splash of color to your day.
A cheerful little companion is here to make your outings brighter and sweeter. This free crochet strawberry holiday bag pattern is the perfect way to add some charm to your everyday looks. You can use it for holidays, special occasions, or simply as a lovely accessory to match dresses and outfits. It's a reversible design that gives you two looks in one, making it even more unique and useful.
Free Crochet Strawberry Holiday Bag Pattern With Flair
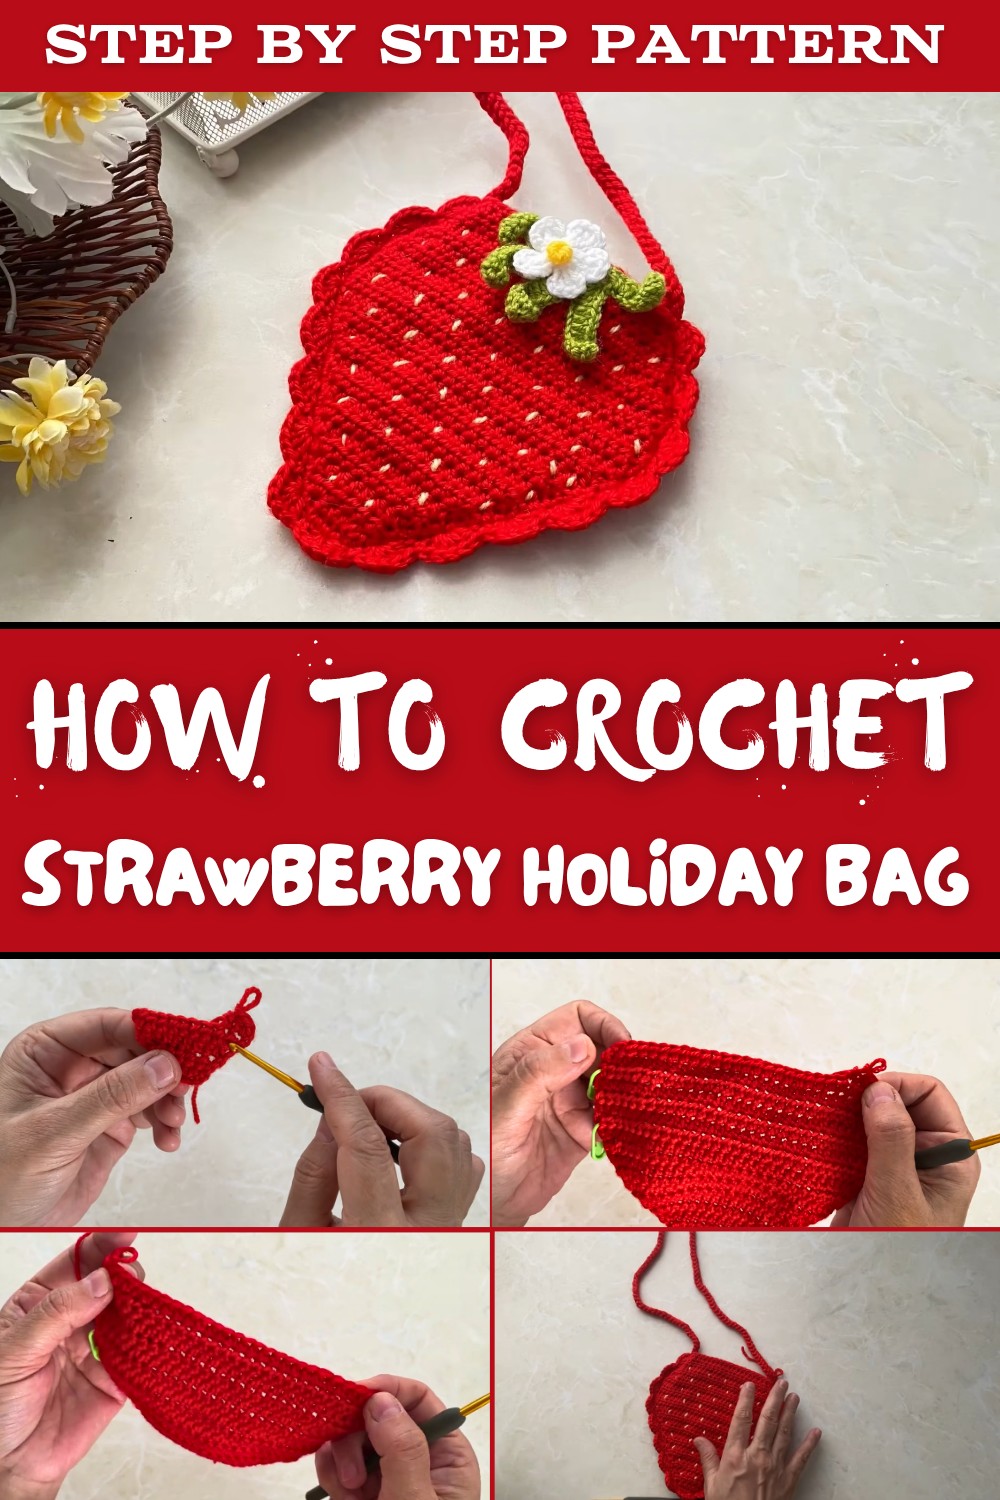
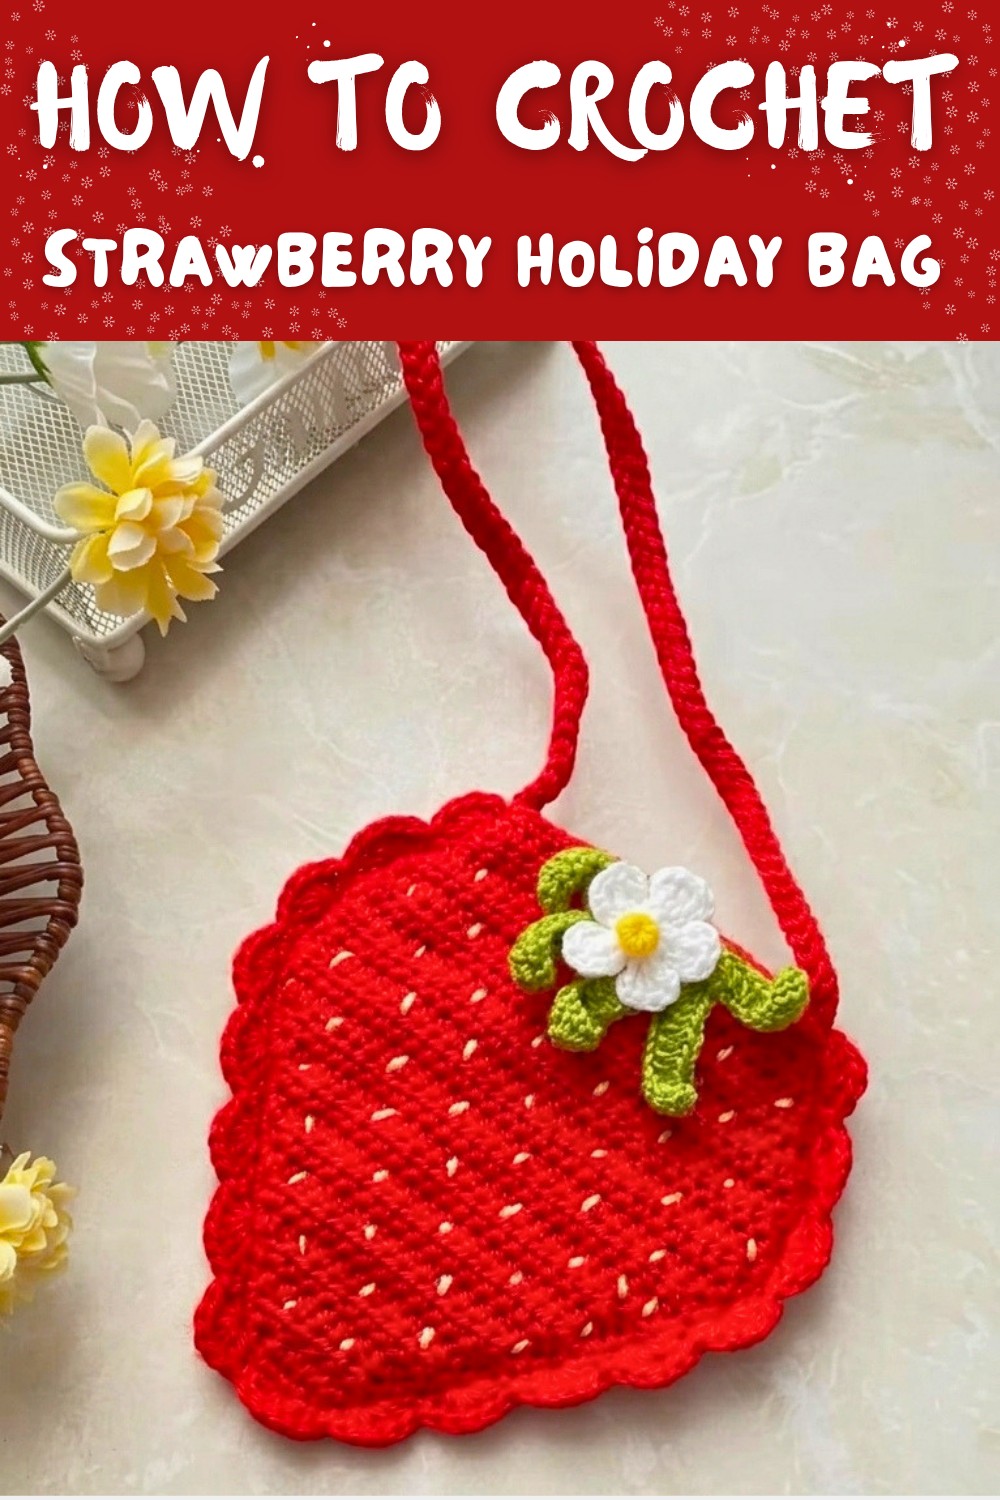
This bag is made using red yarn for the body, which resembles a ripe strawberry, green yarn for the leaf section, and a little white yarn for a delicate flower. You can also add yellow buds to create tiny dots that look like strawberry seeds. Everything comes together to create a design that is playful and cheerful. The bag has soft, neat stitches, making it lightweight to carry and comfortable to use.
You can adjust the size easily by increasing or reducing the rows depending on the child it's for. The strap length can also be customized to fit perfectly on a child's shoulder. You don't need any fancy tools - just yarn, a crochet hook, and a needle for sewing.
The edge has scalloped patterns that look fancy yet simple, and the handmade flower sewn onto the bag adds a magical touch. You can even place flowers on both sides for an extra polished look.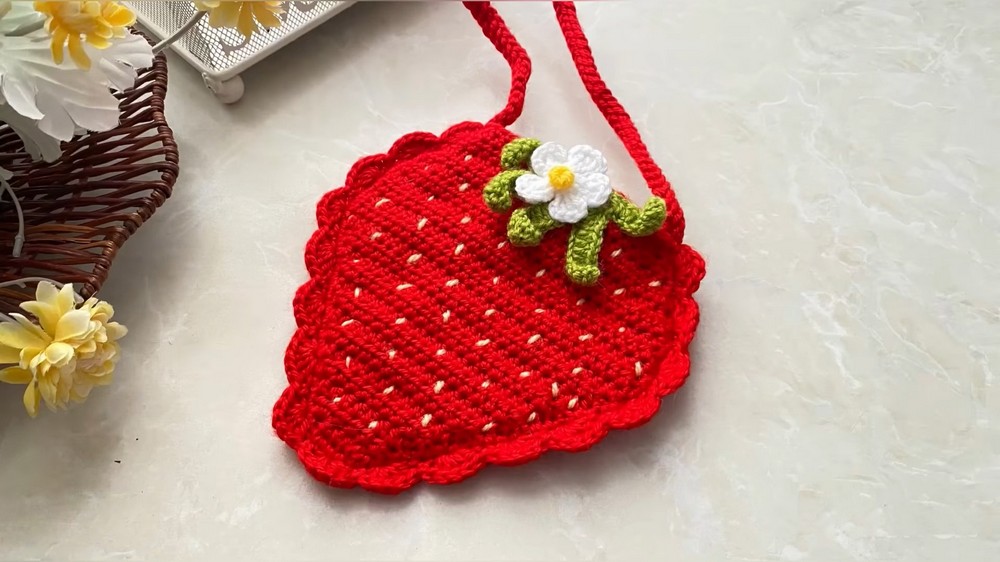
This strawberry holiday bag is not just a useful item but also a creative project you will enjoy making. It's a lovely way to add color, charm, and a handmade touch to any outfit. Perfect for gifting or keeping as a personal treasure, it's something everyone will adore.
Crochet Strawberry Holiday Bag Pattern
Materials Required
- Yarn:
- Red yarn: For the main body of the bag (or pink for a lighter strawberry).
- Green yarn: For the leaves.
- White yarn: For flower petals.
- Yellow yarn: For flower buds/seeds.
- Crochet Hook:
- Size 5 hook (3 mm) - Recommended for a soft and flexible bag.
- Additional Necessities:
- Needle: For sewing and attaching details.
- Scissors: To trim excess yarn.
Special Techniques
- Half Double Crochet (hdc):
- Yarn over, insert the hook into the stitch, pull through, yarn over again, and pull through all three loops on the hook.
- Double Crochet (dc):
- Yarn over, insert the hook, pull through, yarn over again, pull through two loops, then yarn over and pull through the remaining two loops.
- Single Crochet (sc):
- Insert the hook into the stitch, yarn over, pull through two loops.
- Magic Ring:
- Used to create a circular base or foundation.
- Decreases (hdc two stitches together):
- Insert hook into the first stitch, yarn over, insert into the second stitch, yarn over, pull through all loops on the hook.
- Slip Stitch (sl st):
- Insert the hook into the stitch, yarn over, and pull through all loops.
Pattern Instructions
Step 1: Start the Bag Base
- Begin by making 7 chains using red yarn.
- Skip one or two chains and make 5 half double crochets (hdc) across the chain.
- At the end, make one chain and turn your work.
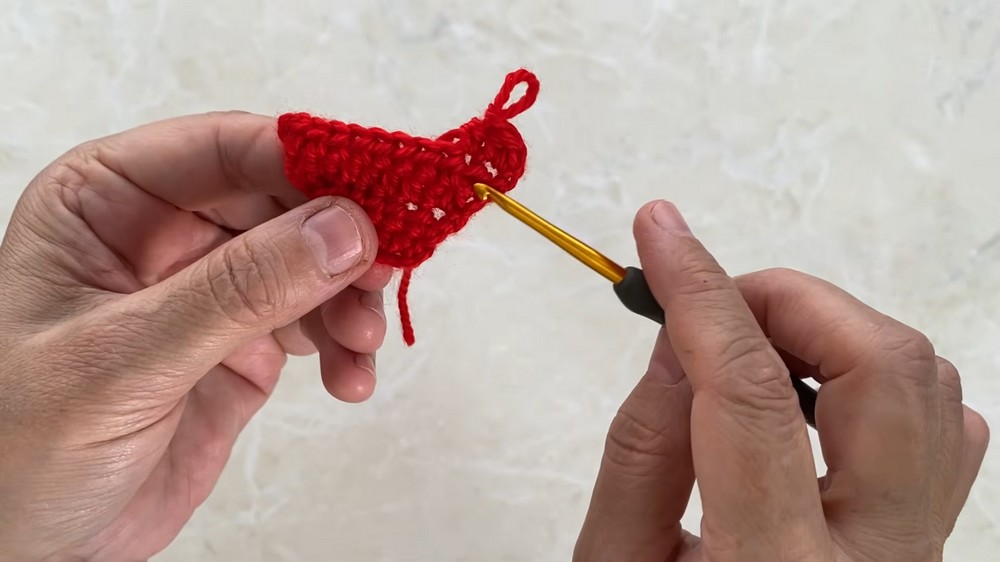
Step 2: Begin Row Increases
- Make 2 half double crochets into the first stitch of the row.
- Work 1 hdc into the middle stitches.
- At the end of the row, make 2 hdc into the last stitch.
- One chain is made after each row, followed by turning your work.
- Repeat this process, increasing two stitches at the beginning and end of each row for 13 rows.
Step 3: Finalize the Bag Size
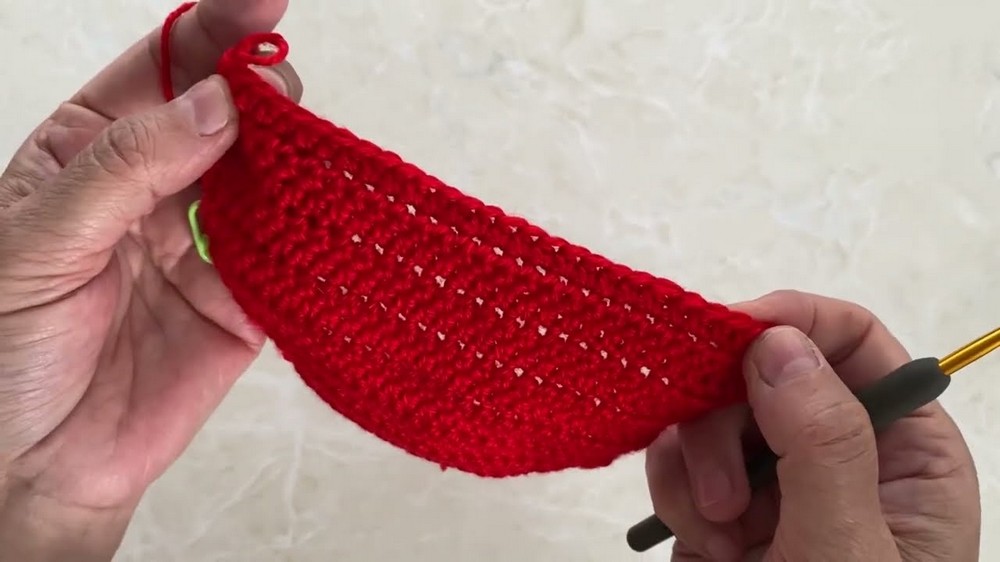
- After 13 rows, check the stitch count. You should have 29 half double crochets in one row.
- If you want a larger bag, you may continue increasing rows to reach 31, 33, or 35 stitches.
- For smaller bags, reduce rows, and stop increasing earlier.
Step 4: Straight Rows Without Increases
- Continue making rows of 29 hdc stitches without increasing or decreasing.
- Add a marker at the last row to keep track.
- Make 5 rows of 29 stitches.
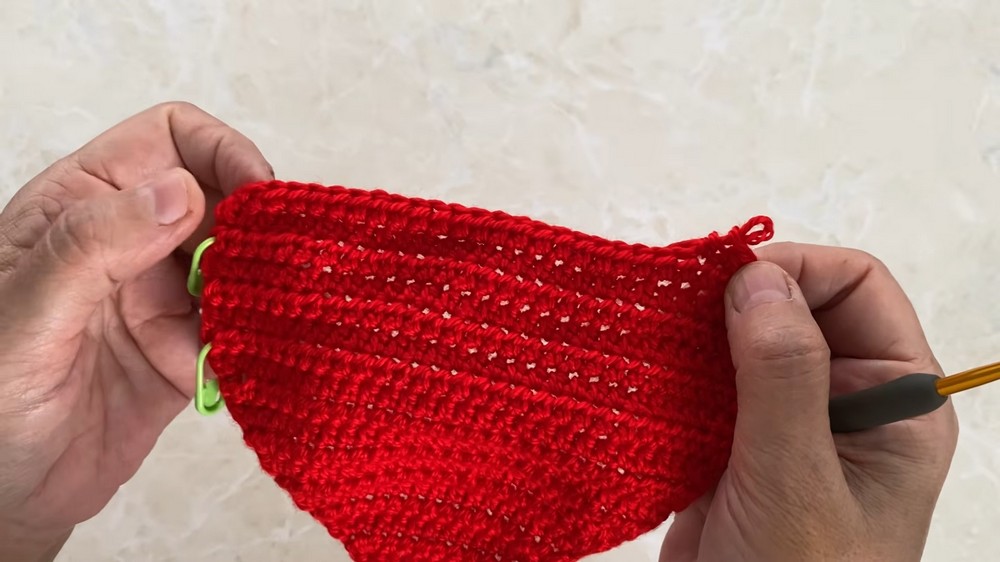
Step 5: Begin Decreasing Rows
- At the start of the next row, crochet two stitches together using the hdc decrease method.
- Work hdc through all other stitches until the final two stitches, and decrease again.
- Repeat this pattern for 5 rows, reducing stitches at the beginning and end of each row.
- After 5 rows, you will have 19 stitches remaining.
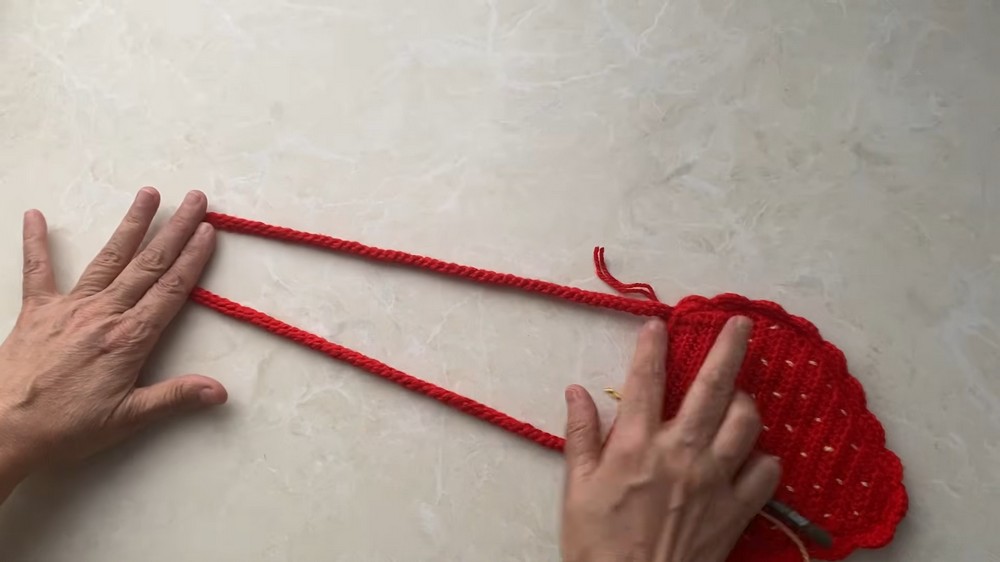
Step 6: Create the Second Bag Piece
- Make a second bag piece exactly like the first one following the same instructions:
- Start with chains.
- Complete 13 increasing rows.
- Add 5 straight rows.
- End with the 5 decreasing rows.
- Ensure the size and stitch count are identical.
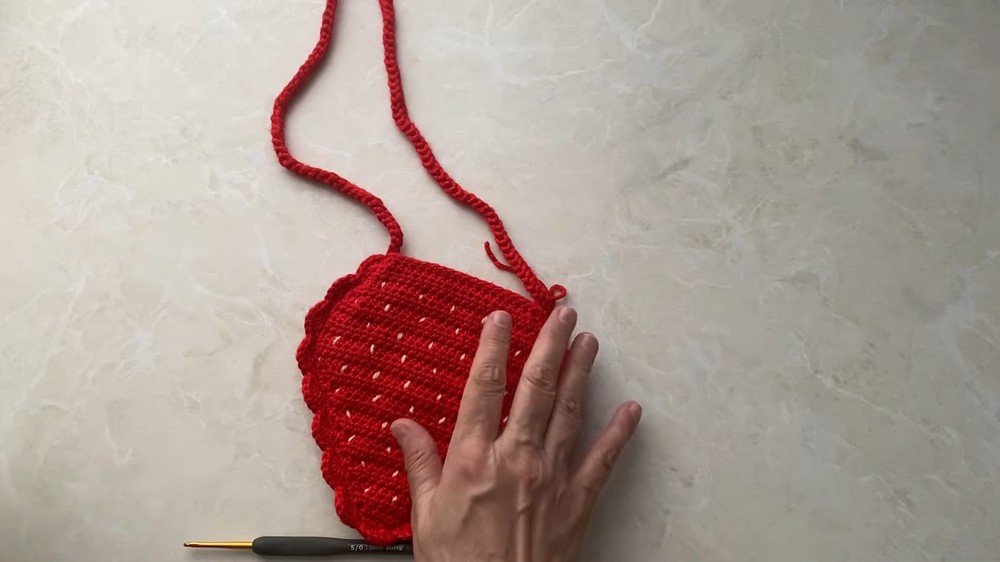
Step 7: Join the Two Bag Pieces
- Place the two bag pieces together, aligning them so they match perfectly.
- Begin joining the edges using single crochet (sc):
- Insert the hook through both pieces and sc evenly around the edges.
- Ensure you do not skip rows or stitches to achieve a smooth edge.
- Complete joining around the edges to form the bag structure.
Step 8: Add Decorative Patterns
- Around the edges of the bag, add patterns by following this method:
- After a single crochet edge, yarn over, skip one stitch, and make 5 double crochet stitches.
- Skip two stitches and make 1 single crochet stitch.
- Continue this pattern all the way around the bag's edge.
- This creates a beautiful scalloped decorative border.
Step 9: Create the Cord Strap
- Use double stranded yarn for added strength.
- Attach the yarn and chain stitches to your preferred strap length: approximately 32 cm for a small child.
- Attach the strap to both ends of the bag using slip stitches for a secure hold.
Step 10: Add Strawberry Details
- Using yellow yarn, create seed like details (strawberry dots) on the red bag body.
- Using a needle, make small buds evenly spaced across the bag.
- Bud spacing can be adjusted to preference.
Step 11: Make Green Leaves
- Begin with green yarn and make 6 chains, joined into a ring with a slip stitch.
- Create 18 double crochet stitches into the ring.
- Extend leaf sections:
- Chain 12, add 8 double crochets along the chains, and finish with a single crochet.
- Repeat for 5 leaves, attached to the same ring.
- Sew the leaf design onto the bag's top center using a needle and thread.
Step 12: Crochet White Flower
- Use a magic ring with white yarn.
- Make 3 chains and form petals:
- Create 3 double crochet stitches, 3 chains, and join with a single crochet.
- Repeat for 5 petals.
- For the yellow bud center: Wrap yellow yarn around a needle multiple times (about 12), secure, and attach to the center of the flower.
- Sew the flower onto the green leaf section to complete the strawberry appearance.
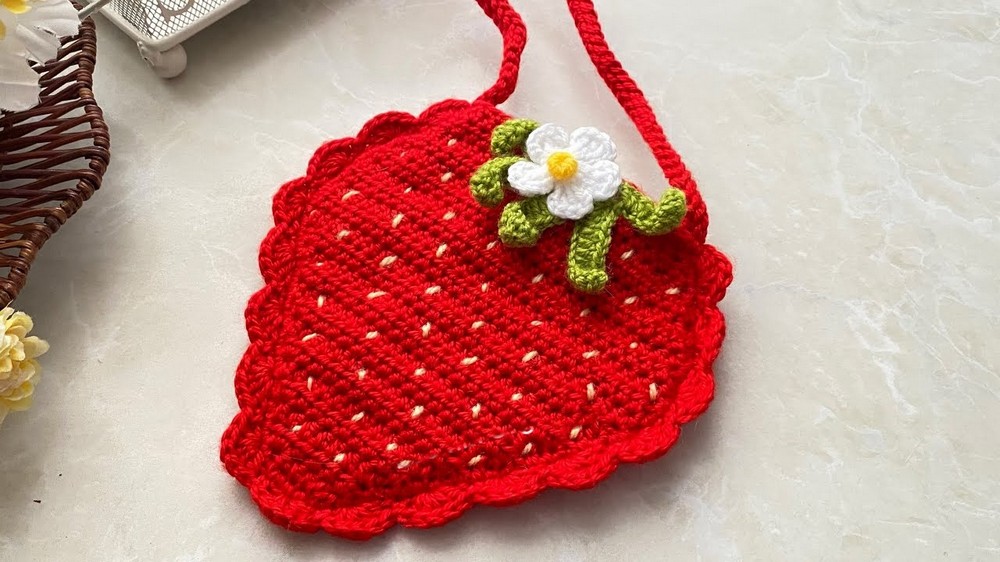
Finishing Touches
- Once all details are in place, ensure the yarn ends are trimmed and secured on the wrong side.
- Reinforce the strap attachment with slip stitches or sew for durability.
- Optional: Add buttons or snaps to close the bag, depending on user preference.
Final Words
Your strawberry patterned children's bag is now complete. It's beautifully crocheted, reversible, and ideal for little girls. The vibrant red, green leaves, and decorative flower make this bag unique and attractive. Whether you use it as a holiday accessory or a lovely addition to a child's outfit, this handmade creation is sure to bring a smile.
Tips for Success
- Adjust the bag size by increasing or decreasing rows. Measure frequently if making for a specific child.
- Use soft yarn for the best results, ensuring a comfortable, child-friendly bag.
- Get creative with your decoration spacing, adding more strawberry seeds or playing with petal designs for the flower.
- Practice neat stitches to achieve a polished finish, especially on the edges and straps.
This delightful strawberry-patterned crochet bag combines creativity, charm, and functionality.