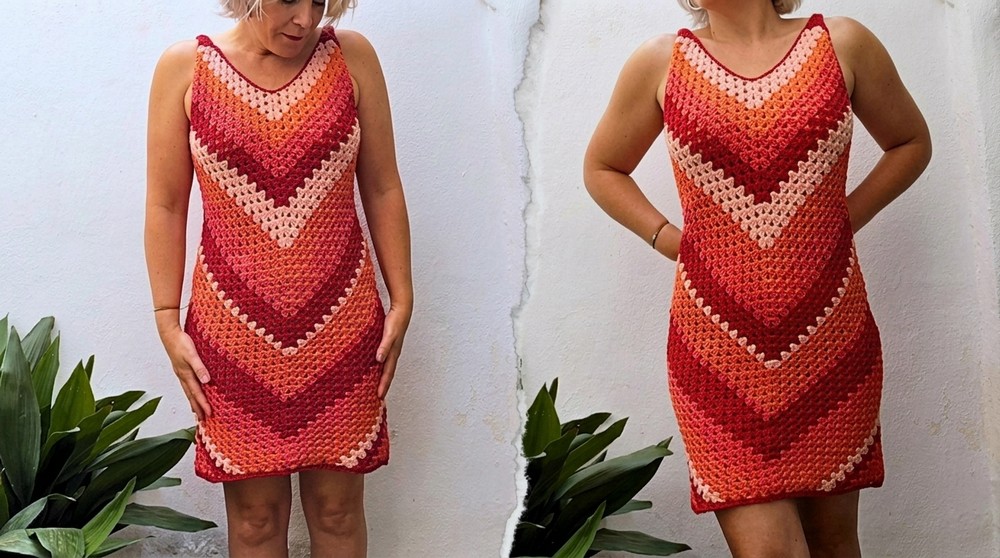
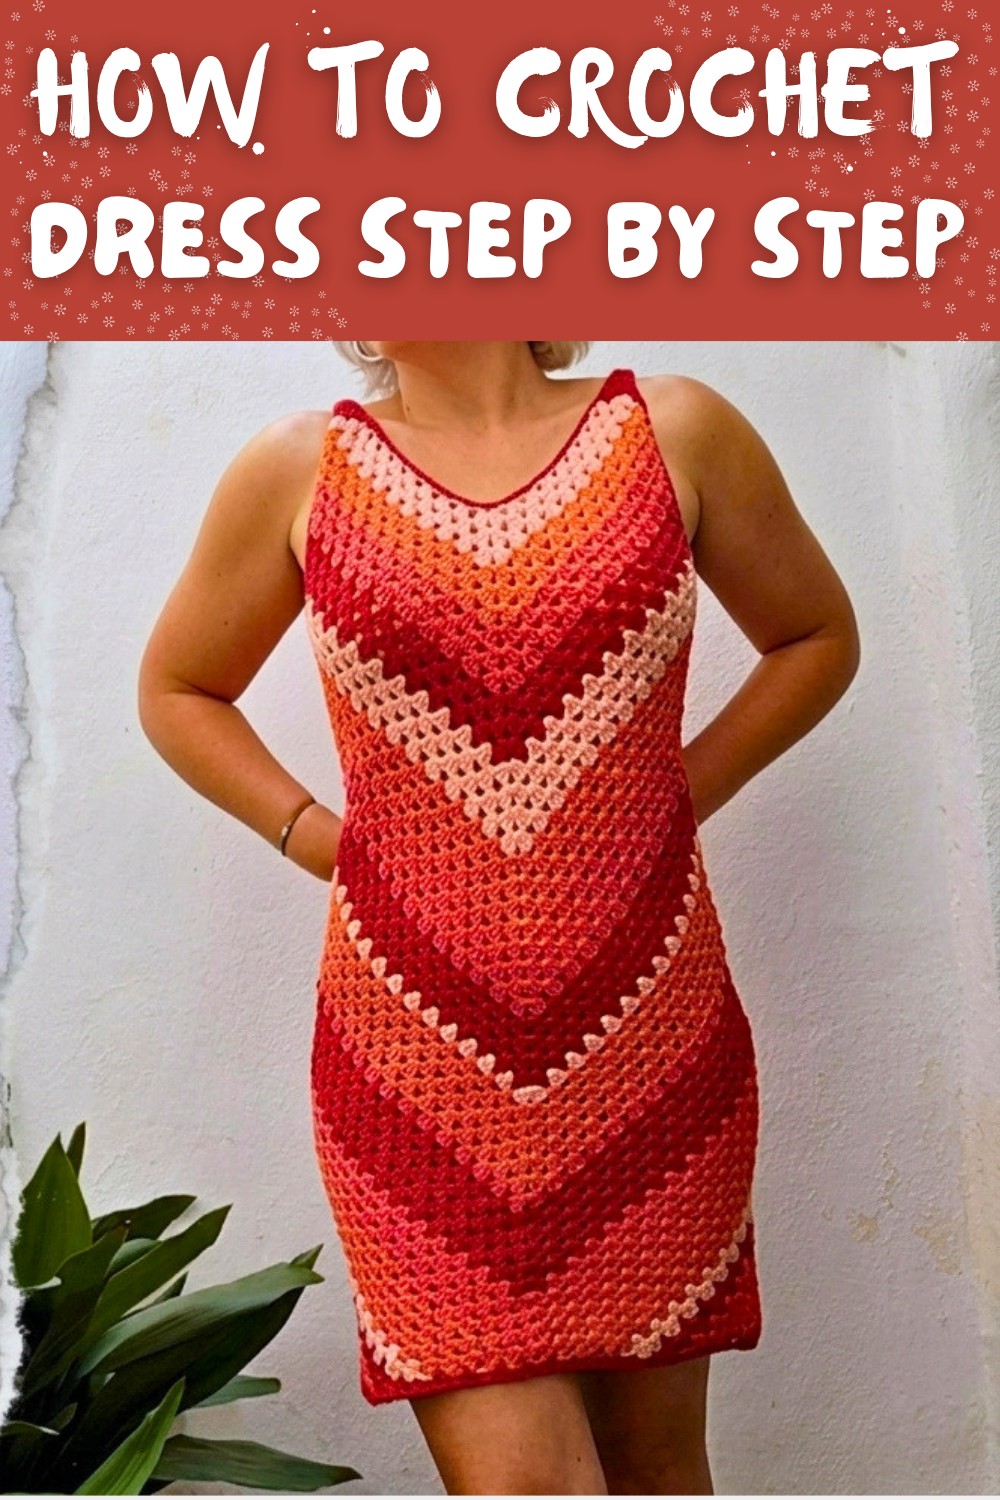
Free Crochet Dress Pattern That’s Ready for Any Season
A beautiful handmade dress can start with this free crochet dress pattern creating a stylish outfit perfect for sunny days and special moments.
Crochet is not just a hobby; it's a way to create beautiful Wardrobe Collection. A crochet dress pattern lets you make amazing handmade dresses that look stunning. With this pattern, you can crochet a V neck dress using the classic granny stitch, which is known for its timeless and elegant design. Just a few skeins of yarn, some basic tools like a crochet hook, scissors, a measuring tape, and stitch markers are all you need to get started.
Free Crochet Dress Pattern Perfect for Stylish Looks

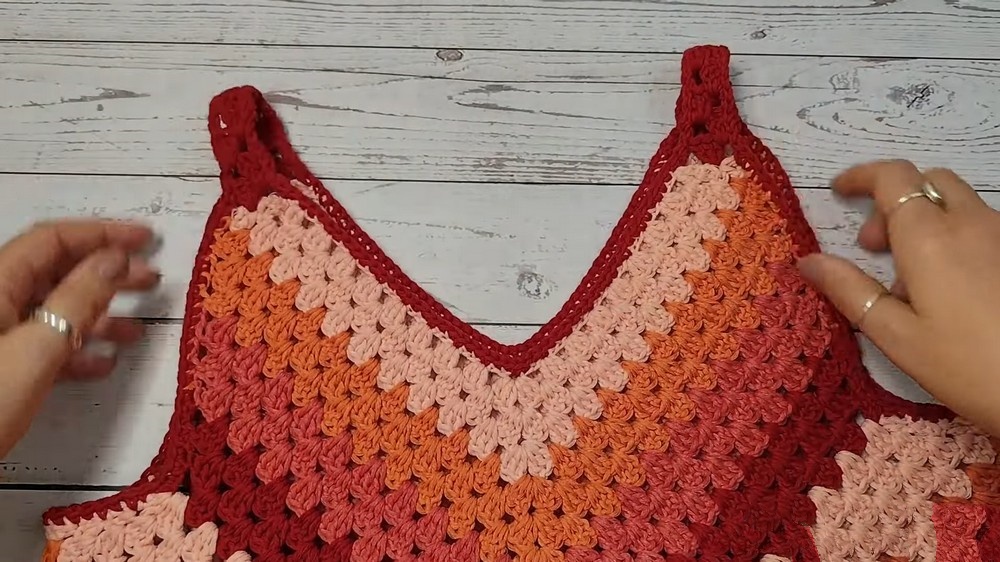
This crochet dress pattern has many standout features. The dress comes with an elegant V neckline, which is perfect for giving you a stylish and modern look. It is flexible and can be customized for any size, from small to extra large. You can choose your favorite colors or even combine multiple shades to create a unique dress that reflects your personality. If you want an outfit that works for casual days, special events, or even summer outings, this is your go to pattern.
One amazing feature of this pattern is its comfortable fit. The granny stitch creates a stretchy and breathable fabric, making it ideal to wear anywhere. The dress can also be modified to different lengths, whether you want it short or long. The instructions make it fun to crochet and easier to learn techniques like crocheting granny groups, forming the V neckline, and creating straps.
Whether you're making the dress for yourself or as a gift, this pattern is practical, creative, and incredibly satisfying to complete. Start making your free crochet dress today and enjoy the joy of handmade fashion.
Step by Step Pattern: Crochet Dress with V Neck and Zigzag Finish
Skill Level: Intermediate
Finished Size: Medium (can be adjusted for other sizes)
Crochet Stitches Used:
- Chain (ch)
- Slip Stitch (sl st)
- Single Crochet (sc)
- Double Crochet (dc)
- Special Stitch (3 dc together): Crochet 3 double crochets partially, leaving the final loop on the hook, and then pull a loop through all loops.
Materials Required:
- Yarn: 100% cotton, 180 to 190 m per 100g (7 skeins for a medium size in two colors). You can choose the colors and thickness that suit your preferences.
- Hook Size: 3.5 mm crochet hook (or size to achieve the given gauge).
- Notions: Yarn needle, stitch markers, scissors.
- Measuring Tape: To ensure accurate measurements for your size.
Special Notes on Pattern:
- The granny stitch is the primary stitch used to create this dress. It consists of groups of three double crochets worked into the same stitch or space.
- The pattern is meant for a size medium. You can adjust the sizing by adding or subtracting granny stitch sections or rows where mentioned.
- The yarn used has a slight stretch, so the fit will naturally adapt to the body's shape. Adjust the width and length as necessary for the desired fit.
Instructions
1. Take Measurements
Start by measuring your bust circumference:
- Wrap the measuring tape around the fullest part of your chest. Ensure it's snug but not too tight.
- For a medium, the bust measurement is 95 cm (this corresponds to approx. 47.5 cm front and back).

Plan for the dress to have an easy fit by adding or subtracting width from the pattern to suit your size.
2. Create the V Neckline
Step 1:
Begin by making a foundation chain that is a multiple of 6. Using Color A (Yarn A):
- For the size medium, chain 48. Add one more chain (for a total of 49 chains).
Step 2:
Divide the chains into two halves and mark the center chain with a stitch marker. (In this case, 24 chains on either side, with the 25th serving as the center point.)

3. Work the First Rows (V Neck Front Panel)
Row 1:
- Ch 3 (counts as the first dc), skip 3 chains, and in the fourth chain, work 3 dc (granny group).
- Skip 2 chains, and in the next chain, work 3 dc. Repeat from * to the marked center stitch.
- At the center stitch: Work (3 dc, ch 2, 3 dc). This creates the V point of the neckline. Remove the stitch marker after completing the center.
- Continue working 3 dc groups across, skipping 2 chains between each group. End with 1 dc in the final stitch.

Row 2:
- Turn your work and ch 3 (counts as 1 dc). Work 2 dc into the same stitch as the ch 3 (this forms 1 granny group).
- Work granny stitches in the spaces between the groups from the previous row.
- At the V point: Work (3 dc, ch 2, 3 dc) into the ch 2 space from the previous row.
- Continue across the opposite side, ending the row with 3 dc in the last stitch.
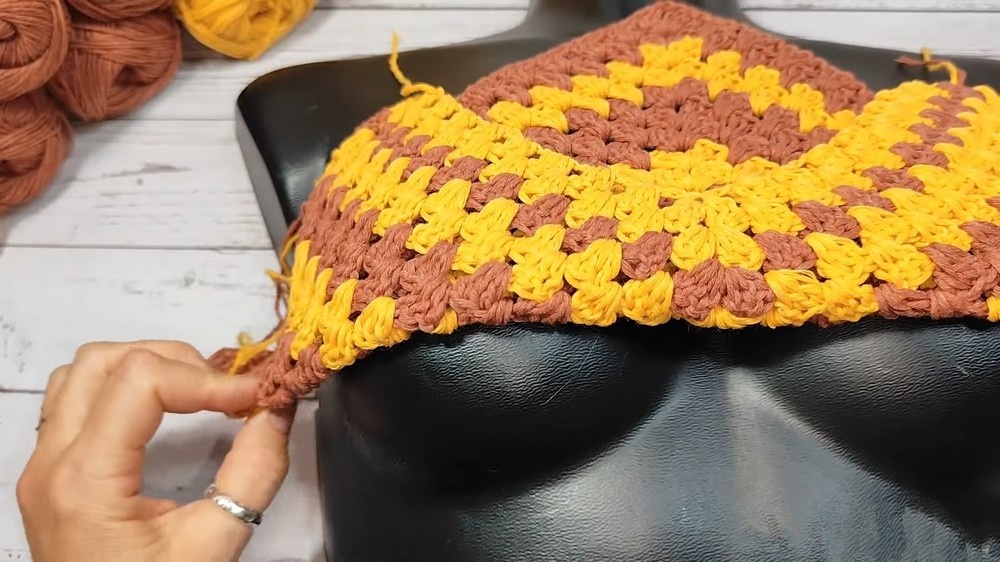
Rows 3 to 9:
Repeat Row 2 until your panels reach a total of nine rows. For smaller sizes, you may only need to work 3 to 6 rows instead of nine. For larger sizes, you may need to increase the number of rows accordingly.
4. Create the Armhole and Complete Top
Rows 10 to 13 (Adding Armhole Shaping):
From the 10th row onward, we begin shaping the armhole. Here is how to alter the first and last granny groups for armhole shaping:
- Ch 3, dc in the first stitch (so it forms 2 dc together at the start of the row).
- Continue working granny groups in the spaces between groups until reaching the V point.
- At the V point: Work as before (3 dc, ch 2, 3 dc).
- At the end of the row: Work a granny group before reaching the last dc of the row, and finish with 2 dc worked together into the top of the turning chain from the row below.
Repeat this pattern until the armhole shaping is complete.
Back Panel:
Work another identical piece for the back of the dress. Follow all instructions for the front, including V neck shaping and armhole adjustments.
5. Join the Panels to Form the Top
- Place both panels together with the right sides facing each other. Using slip stitches, join them together along the sides from the bottom of the armhole opening downward.
- For the shoulder straps, join the two panels securely with slip stitches or sew them together using a yarn needle.

6. Adding the Skirt and Lower Zigzag Design
Once the top portion is joined, create the dress's body in rounds:
Round 1:
- Join the yarn to the bottom edge of the joined panels with a sl st.
- Ch 3 (counts as a dc), and work granny groups in each space around the dress.
- In the "peaks" (center points of the V from the top pieces), work (3 dc, ch 2, 3 dc). Continue working in the round.
Special Zigzag Join:
- At the sides where the panels join, create 3 dc together in the space between the panels to close the gap and shape the zigzag design.
Rounds 2-44 (or desired length):
- Continue working granny groups in the spaces from the previous round. In the peaks created by the ch 2 spaces, always work (3 dc, ch 2, 3 dc).
- Continue the side zigzag design, working 3 dc together between the two panels on each side.
Finishing the Hemline:
- For a straight hem, work the final row without creating V points or zigzags. Simply work granny groups (3 dc each) into the spaces of the row below. Finish the row with a sl st, fasten off, and weave in the ends securely.
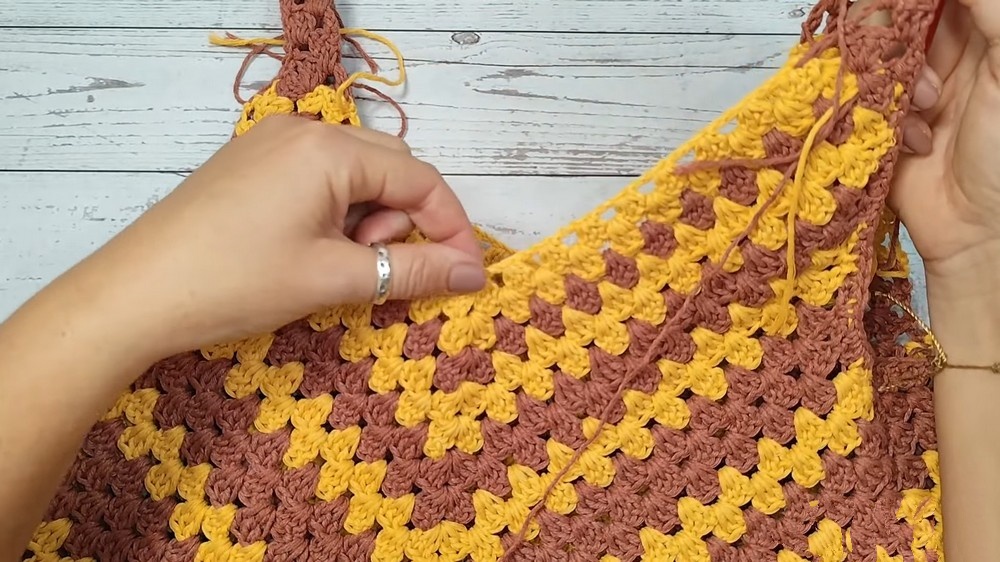
7. Add Straps and Edging
Straps:
- Decide on the strap placement and attach yarn to one of the top corners.
- Ch 3 to begin the first row, and work granny groups into the edge of the neckline/tiranta area for support.
- Repeat this process, working up to 6 rows per strap.
- Attach the straps securely to the back panel using slip stitches or sewing.
Edging:
To give the neckline, armholes, and hem a polished finish:
- Work with a contrasting color (Color B) or the same color as your dress.
- Starting from one corner, work a row of sc around the edge of the neckline, armholes, and dress hemline. Be careful to space the stitches evenly and not pull them too tightly.
Finishing the Pattern:
- Weave in all loose ends and trim excess yarn.
- Lightly block the dress to relax the stitches and improve the drape.
- If desired, sew in a lining for extra comfort and modesty.
Final Words and Tips for Maintaining the Pattern:
- Washing Tips: Since the dress is made of cotton, hand wash or use the gentle cycle in cold water. Lay flat to dry to maintain the shape.
- Customization:
- Adjust the width of the straps or create wider ones for a more secure fit.
- Add decorative elements like tassels or beads at the hemline for extra embellishment.
- To create a slimmer or looser fit, adjust the initial foundation chain or number of rows/rounds accordingly.
- Future Adjustments: Keep the dress pattern for reference but remember it's versatile. You can adapt this granny stitch to create tops, skirts, or even boleros.