
Free Crochet Snowflake Flower Keychain Pattern For Winter Bags
Carry a little winter beauty with this Free Crochet Snowflake Flower Keychain Pattern and make a cute handmade charm for keys bags or gifts.
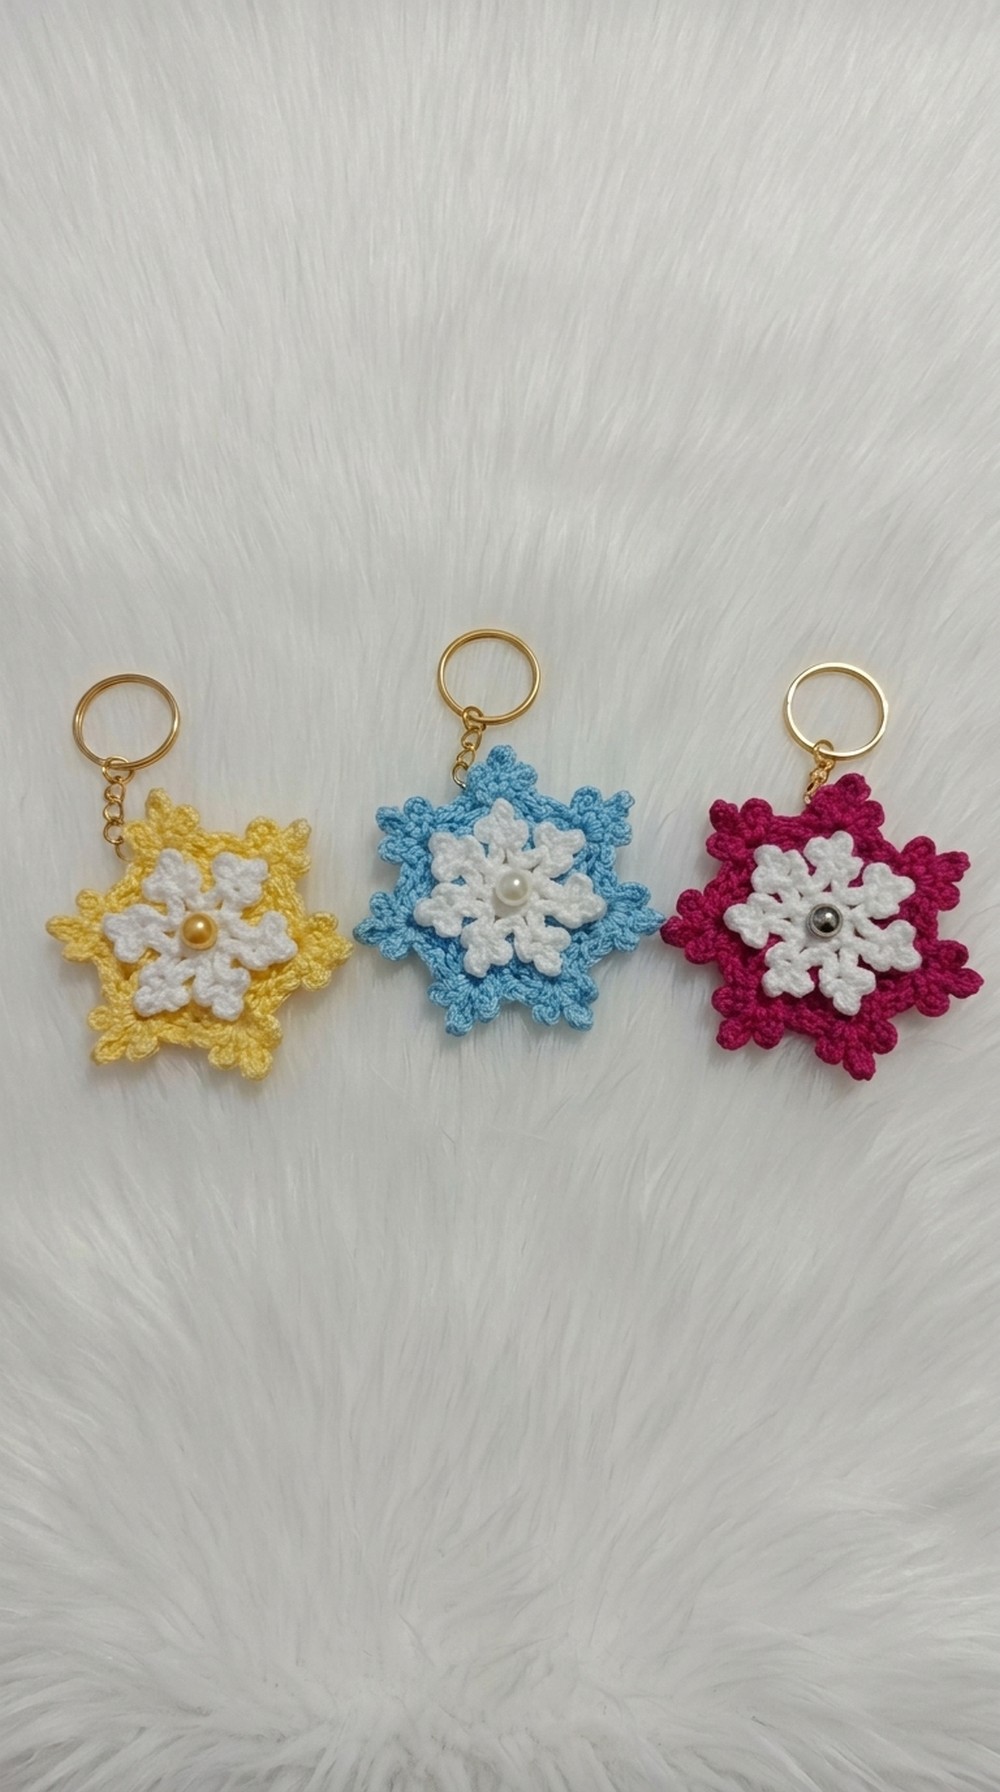
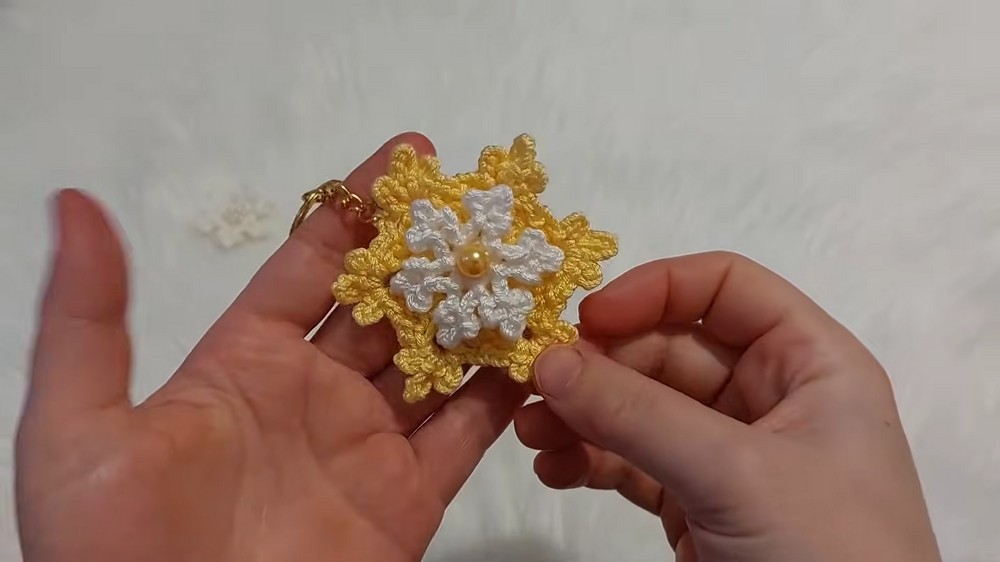
Small in size but packed with charm, this snowflake flower keychain is the kind of project that has everyone doing a double take. A delicate mix of snowflake and floral whimsy, it's not just another crochet piece-it's a little burst of beauty you can carry everywhere. From its soft, layered petals to the vibrant pop of color in the center, this design strikes the perfect balance between playful and classy. The keychain features two layers of flowers, with a soft white base and a bright yellow center. These colors bring out the stunning snowflake like details, while the addition of small pearls makes it even more eye catching. You can personalize the pattern by trying out different colors or adding your own creative touches.
Free Crochet Snowflake Flower Keychain Pattern for Holiday Favors
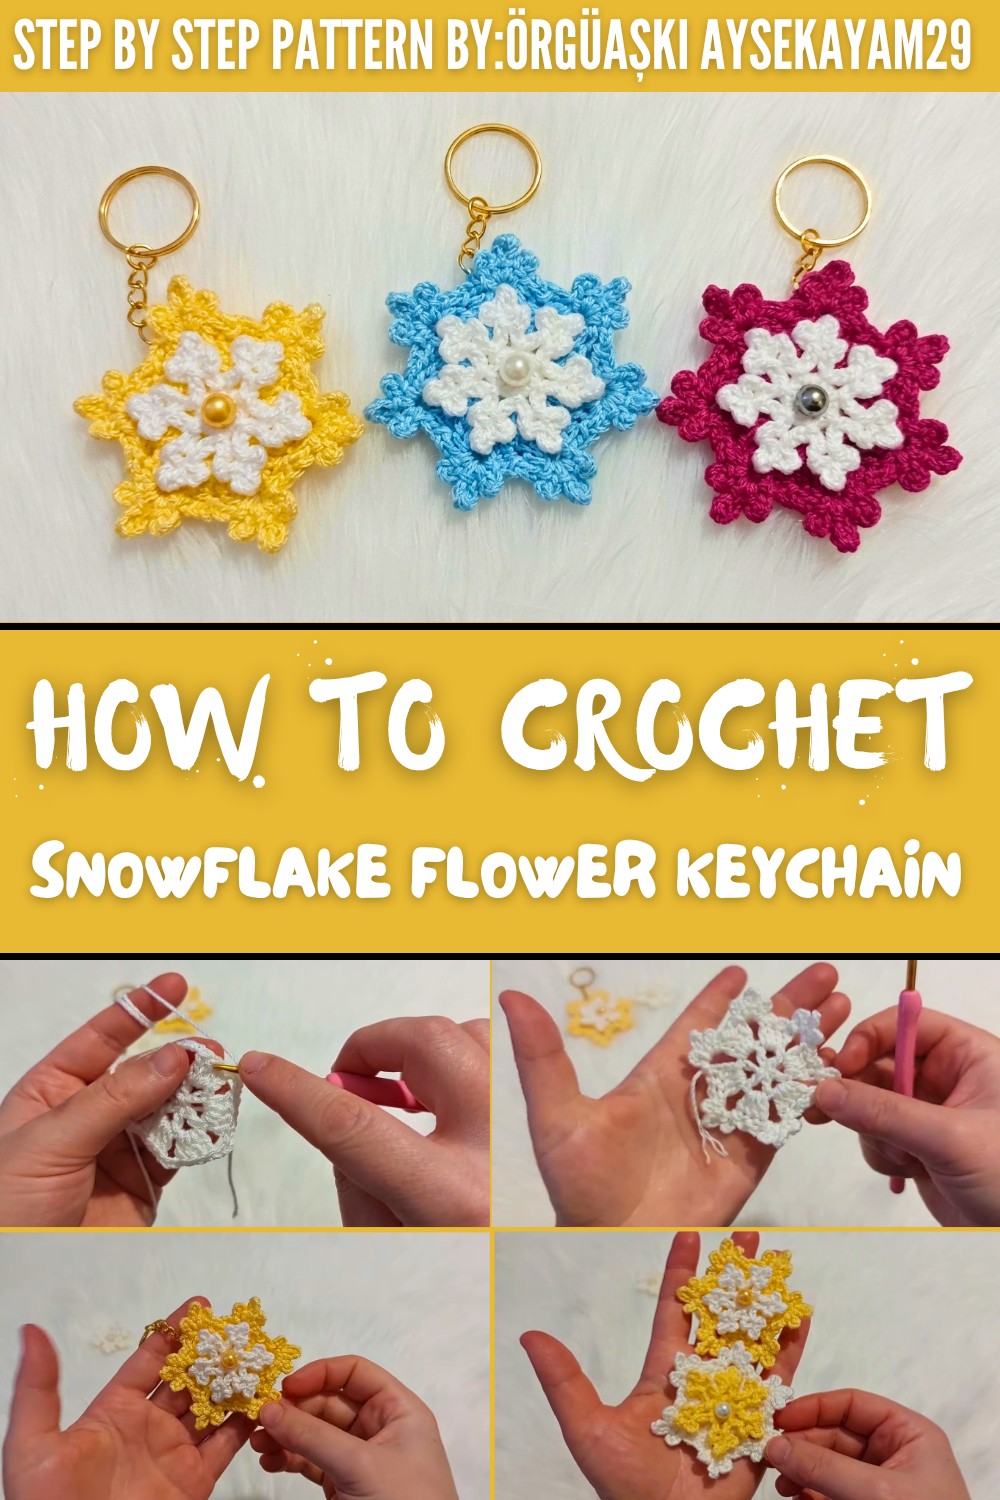
This snowflake flower is not just a keychain. It can also be used as a decoration for baby clothes, such as sweaters, cardigans, or ballet flats, and is great for adding a pop of color to other crochet projects. You can make single layer or multi layer designs, depending on how big or small you want the flower to be. It is perfect for cheering up any space or item with its stylish and colorful design.
All you need are some simple materials-a 2.5 mm crochet hook, some yarn (like diamond thread), and your creativity. The easy step by step instructions will guide you through creating magical snowflake flowers, starting with a magic ring and building layers with simple crochet stitches like chains, double crochets, and slip stitches.
This pattern is perfect for those who love making their own handmade gifts or want a fun and relaxing DIY project. Enjoy crocheting this snowflake flower and adding joy and beauty to your world.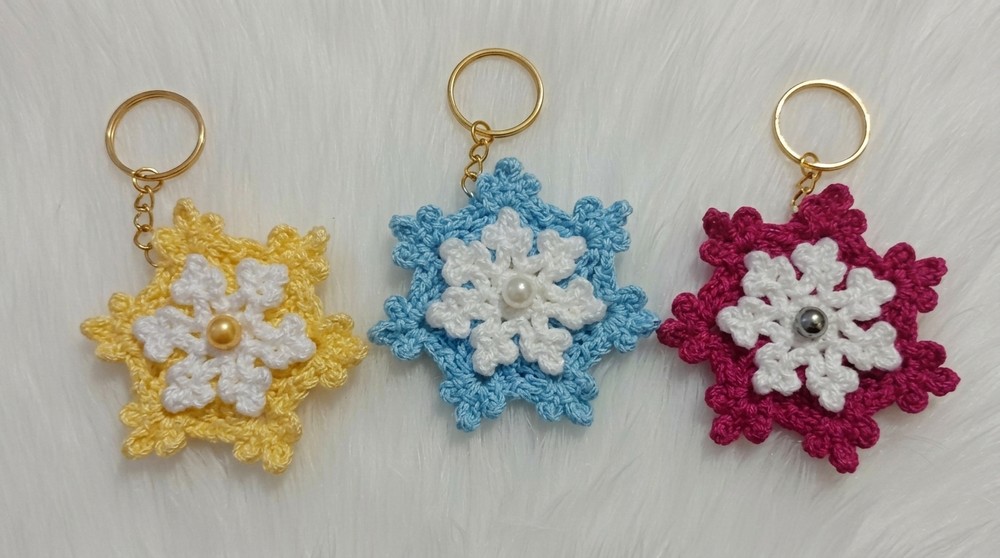
Detailed Crochet Pattern: Snowflake Flower
Materials Required
- Yarn:
- Two contrasting colors-for example, white for the base flower and yellow for the top flower.
- Fine yarn (Pırlanta Yarn, or any lightweight yarn suitable for delicate crochet).
- Crochet Hook:
- 2.5 mm hook (adjust hook size based on yarn thickness).
- Accessories:
- Pearls or beads (optional, for embellishment).
- Keychain rings or brooch bases (optional, depending on usage).
- Tapestry Needle:
- For attaching the layers and sewing beads.
- Scissors:
- For trimming yarn neatly.
Gauge
Gauge is flexible for this small, decorative project. Consistency in tension ensures tidy and proportional flowers.
Finished Size
- Large flower (base layer): Approximately 6 cm in diameter.
- Small flower (top layer): Approximately 2.5-3 cm in diameter.
Customization Ideas
- Color Variations:
- Use bold or pastel colors for seasonal decorations, or match colors to specific themes.
- Layer Customization:
- Add more layers for extra fullness or leave the design single layered for a minimalist look.
- Applications:
- Attach the finished piece to baby clothes or blankets, make a keychain, use as a brooch, or combine multiple flowers for large projects like garlands.
Pattern Instructions
Large Flower: Base Flower
- Foundation Round:
- Start with a magic ring.
- Chain 5.
- Work 1 double crochet (dc) into the ring.
- Chain 2 and work another dc into the ring.
- Repeat the sequence (chain 2, dc) 5 more times to form a total of 6 chain spaces.
- Tighten the magic ring.
- Closing the Round:
- Slip stitch (sl st) into the 3rd chain of the starting chain 5.
- At this stage, you will have 6 chain spaces forming the petals' base.
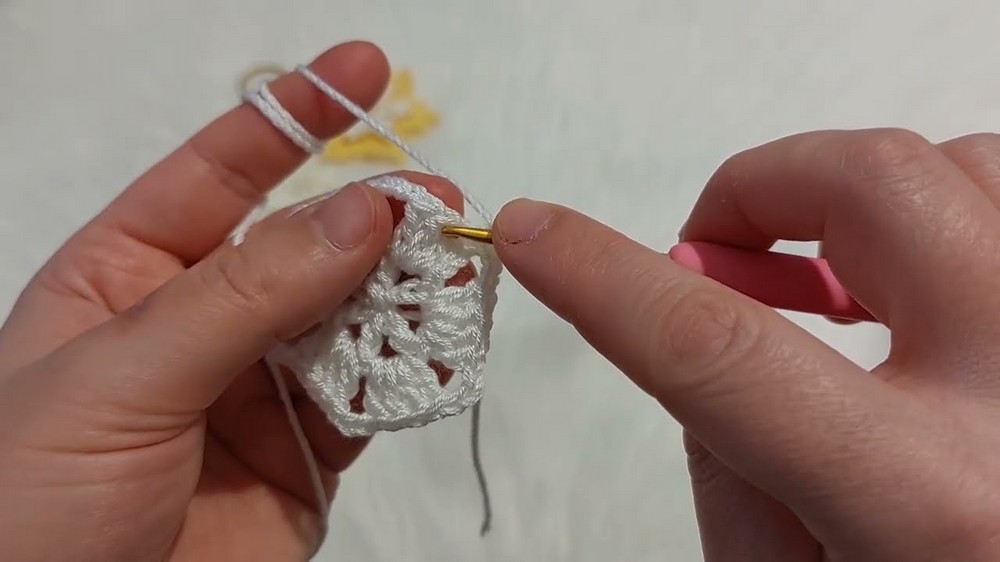
- Building Petals (Round 2):
- Chain 3, then work 3 dc into the first chain space (the chain 3 counts as one dc).
- Chain 3 and move to the next chain space. Work 4 dc into the space.
- Repeat this sequence (4 dc, chain 3) for all remaining chain spaces.
- Snowflake Points (Round 3):
- Move to the 2nd dc of the first petal with a slip stitch (sl st).
- For the snowflake effect:
- Chain 5. Sl st into the same stitch to secure.
- Chain 7. Sl st into the same stitch.
- Chain 5. Sl st into the same stitch.
- Move to the 2nd dc of the next petal with a slip stitch and repeat the sequence (Chain 5, Chain 7, Chain 5).
- Continue for all petals until all snowflake points are completed.
- Finishing the Large Flower:
- To finish, cut yarn and weave in the ends neatly to secure.
- The large flower is now complete.
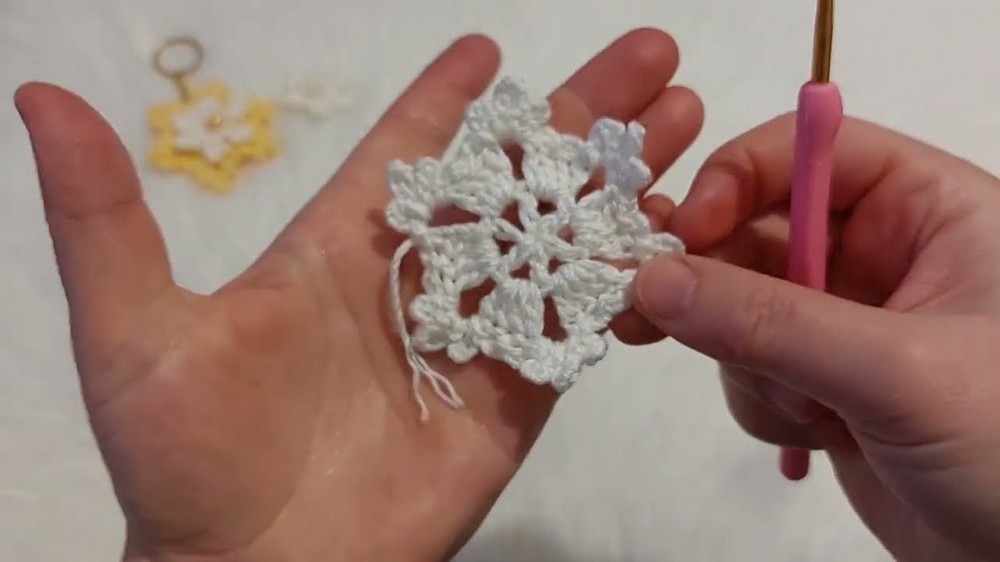
Small Flower: Top Layer
- Foundation Round:
- Start with a magic ring using your contrasting color (e.g., yellow).
- Chain 1. Work 6 single crochet (sc) into the ring. Tighten the ring to close.
- Join with a slip stitch (sl st) into the first sc.
- Building Petals:
- Create petals for each single crochet stitch as follows:
- Chain 5. Sl st into the 3rd chain from the hook to form the first loop of the petal.
- Chain 3. Sl st into the bottom of the petal (the center).
- Move to the next sc stitch with a slip stitch.
- Repeat the petal creation process for all 6 single crochets, creating 6 petals in total.
- Create petals for each single crochet stitch as follows:
- Joining Petals:
- Use a slip stitch to secure each petal's center before moving to the next.

- Finishing the Small Flower:
- Cut the yarn, leaving a tail long enough to attach the small flower to the large flower.
- Weave in remaining ends securely.
Assembly
- Positioning:
- Lay the small flower on top of the large flower.
- Align the petals of the small flower symmetrically over the snowflake points of the large flower.
- Sewing:
- Thread a needle with matching yarn (e.g., white or yellow).
- Use small, tight stitches to securely attach the small flower to the large flower at the center.
- If using embellishments, sew a bead or pearl in the center while attaching the layers.
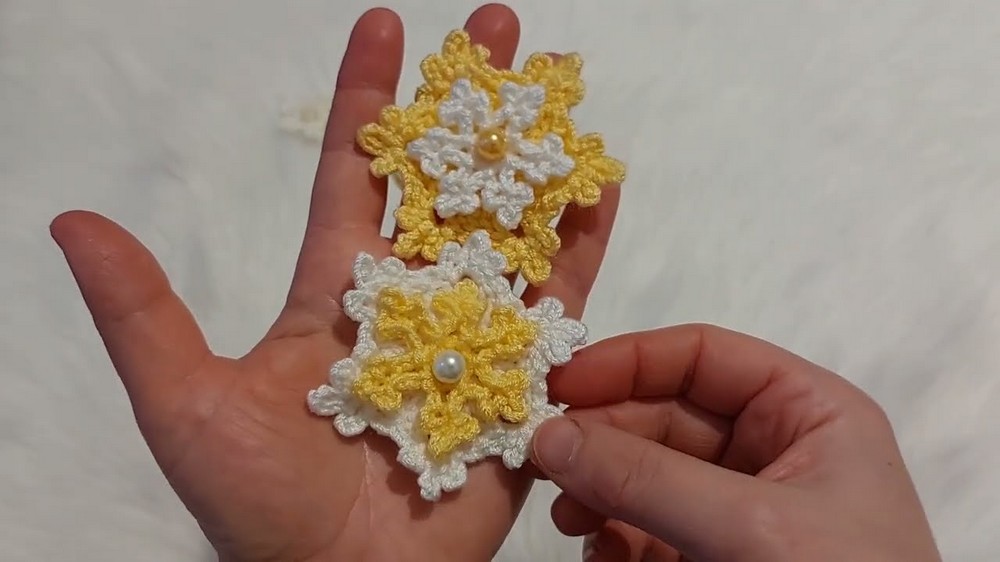
- Optional Keychain or Brooch Attachment:
- If making a keychain, sew a keyring to the back of the flower using sturdy yarn.
- If making a brooch, attach a brooch base pin. Ensure all additions are stable.
Special Techniques
- Magic Ring:
- The magic ring forms the foundation for both flower layers. Ensure it is pulled tightly to close gaps and maintain a clean starting point.
- Puff Style Petals:
- Creating fluffy petals involves loose tension when working chain loops. Avoid pulling them too tight to achieve a soft, curved effect.
- Symmetry:
- Carefully align petals and snowflake points during assembly for a professional, balanced finish.

Tips for Success
- Tension Control:
- Use consistent tension to keep petals and snowflake points symmetrical.
- Blocking:
- After assembling the flower, gently block it by steaming or pinning it into shape, especially if using fine yarn.
- Decorative Customization:
- Experiment with colors, bead designs, and layering options to create unique versions of the snowflake flower.
- Practice:
- If new to slip stitches and magic rings, practice separately before starting the project.
Conclusion
The " Crochet Snowflake Flower Keychain" pattern offers an elegant way to elevate your crochet projects with intricate snowflake flowers. With their layered design, delicate petals, and charming snowflake points, these flowers are versatile and aesthetically pleasing.
Use them to decorate baby clothes, scarves, blankets, or make them into accessories like keychains and brooches. The customizable color combinations, beadwork options, and layering possibilities ensure that each flower can be made to suit personal preferences.
Thank you for following this detailed pattern. I hope you enjoy creating your snowflake flowers and experimenting with your own embellishments and designs.