
Free Crochet Granny Stitch Sweater Pattern to Style Your Wardrobe
Stay cozy and stylish with this Free Crochet Granny Stitch Sweater Pattern, offering the perfect balance of warmth, texture, and versatility for everyday wear.
A sweater that combines practicality and charm is always a go-to option for chilly days. The Free Crochet Granny Stitch Sweater Pattern offers a textured yet breathable design, built upon the classic granny stitch technique. This sweater is perfect for layering during cooler seasons or wearing as a standalone piece when the weather transitions.
Free Crochet Granny Stitch Sweater Pattern for Cozy Vibes
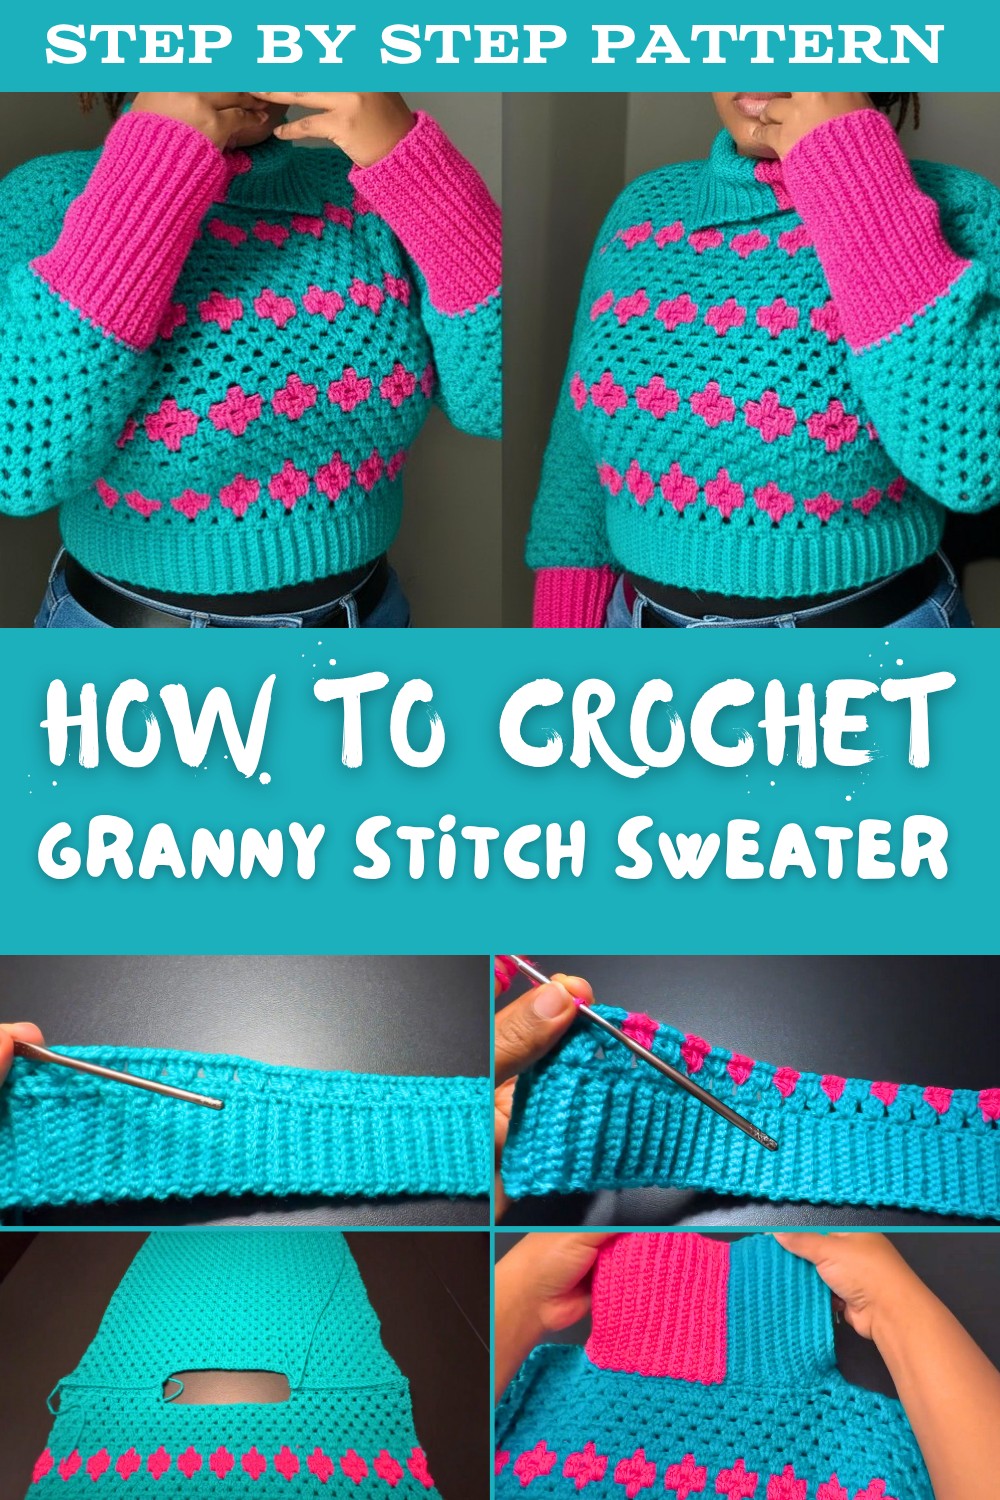
Ideal for day-to-day wear, it pairs beautifully with jeans, leggings, or skirts, making it incredibly versatile for casual outings or cozy evenings. Customize it with different color combinations to match your wardrobe and express your style. The process of completing the sweater is both calming and rewarding, providing not only a clothing item but also a sense of accomplishment. This project is perfect for anyone seeking comfort, creativity, and a timeless addition to their closet.
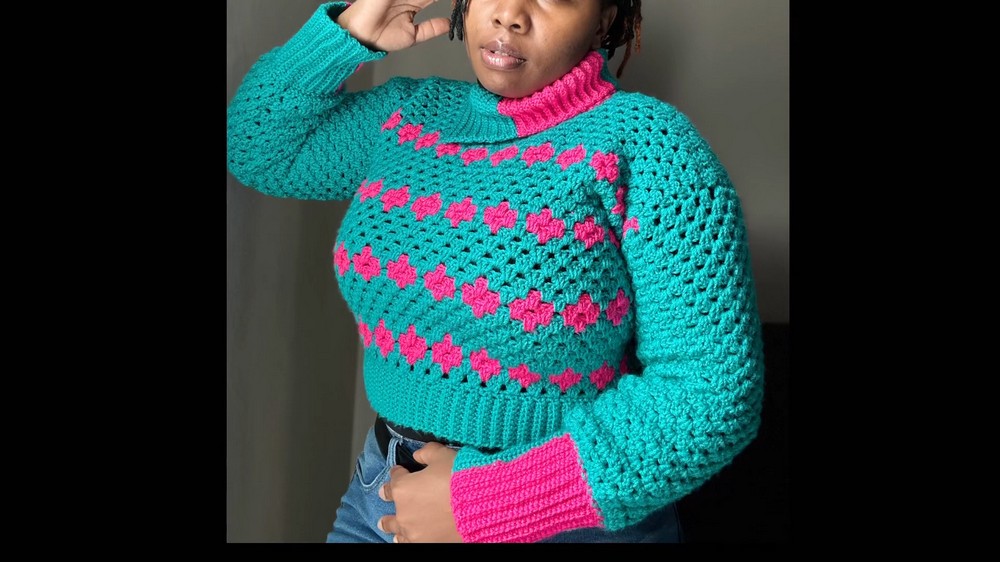
Crochet Pattern for Cropped Sweater
Materials Needed
- Yarn:
- Approximately 3.5 skeins of yarn (170g each).
- Choose two contrasting colors: Color A (main body) and Color B (for accents/designs).
- Ensure the yarn is worsted/medium weight for the best results.
- Crochet Hooks:
- 4.25 mm hook for ribbing.
- 5 mm hook for the main body and sleeves.
- Notions:
- Stitch markers (at least 4).
- Darning needle for weaving ends and joining panels/sleeves.
- Tape measure for accurate measurements.
- Scissors to trim tails.
Gauge
- No specific gauge provided, but ensure a consistent tension throughout for optimal fit and drape. Adjust hook size to make your sweater measurements accurate.
Finished Measurements
- Sweater body width (panel): Approximately 17 inches wide.
- Sleeve length: Approximately 16 inches long.
- Neckline ribbing length: Approximately 72 rows (adjustable).
- Total body length: Approximately 14 inches long (can customize).
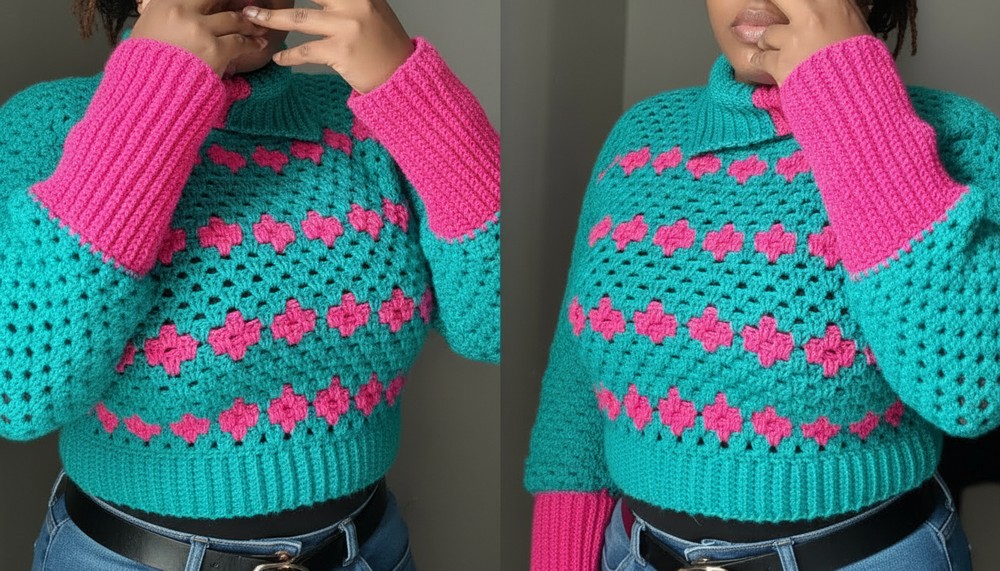
Tips & Suggestions
- Customization: You can adjust panel size, sleeve length, and ribbing width as desired. For children or oversized styles, add more rows to panels or use thicker yarn.
- Color Alternations: The alternating diamond pattern is optional. For a simplified sweater, use solid colors throughout or experiment with gradient yarns.
- Joining Panels: Be meticulous while aligning panels and seams for a neat polished finish.
- Work Neatly: Always weave in ends securely and block the finished sweater for professional-looking results.
Pattern Instructions
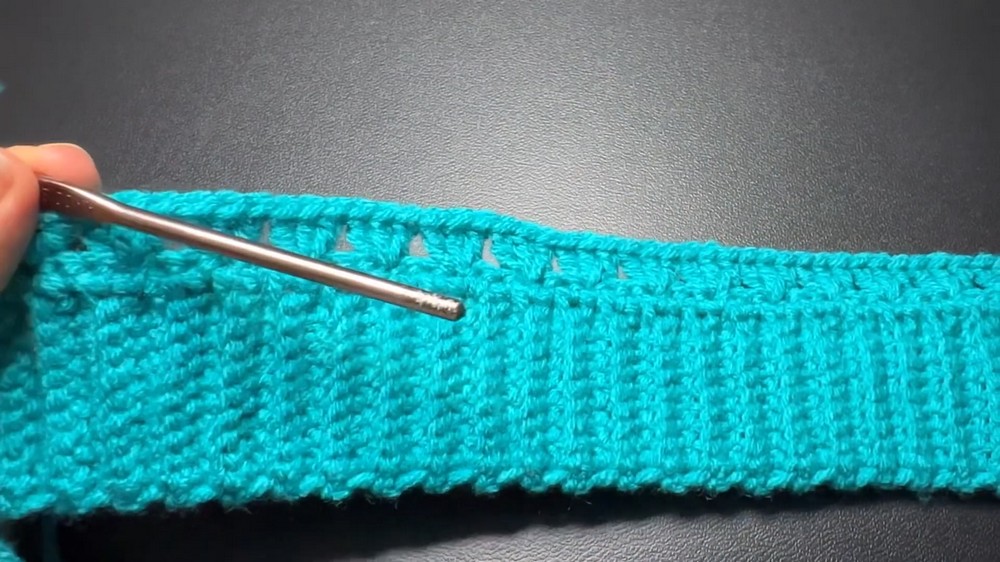
Step 1: Bottom Ribbing
- Setup:
- Use a 4.25 mm hook and make a slip knot.
- Chain 11 for a ribbing width of approximately 2 inches (add more chains for wider ribbing).
- Row 1 (Foundation row):
- Skip the first chain, work single crochet (sc) into the second chain and each chain across. (Total: 10 sc.)
- Row 2:
- Chain 1, turn your work.
- Work single crochet, but only in the back loop of each stitch for the ribbing effect.
- In the last stitch, insert the hook through both loops and complete a regular single crochet for sturdier edges.
- Repeat Row 2:
- Continue working back-loop single crochets for a total of 76 rows. This will measure approximately 17 inches wide.

Step 2: Body Rows
- Row 1 (Single Crochet Foundation Row):
- Change to the 5 mm hook.
- Work single crochet evenly across one edge of the ribbing:
- Place a single crochet at the top of each ridge and between ridges, for a total of 76 stitches.
- Row 2 - Granny Clusters:
- Chain 3 (counts as the first double crochet).
- Skip 2 stitches, create a cluster in the next stitch (3 double crochets worked into the same stitch).
- Continue: Skip 2 stitches, create a cluster. Repeat to the end.
- Finish the row with a double crochet in the last stitch. (Total: Approximately 24 granny clusters.)
- Row 3 - Alternating Colors with Diamond Pattern:
- Attach Color B to switch design.
- Turn your work, chain 3, then alternate between Color A and Color B while creating granny clusters:
- Before completing the last pull-through of the final double crochet in the cluster, drop the working color and switch yarn for the next cluster.
- Continuing Rows:
- For each row with alternating colors, ensure the colors follow the diamond-spacing pattern across the panels.
- Alternate between 5 rows of solid color and alternating diamond pattern rows.
- Complete Panel:
- Continue the granny cluster rows until you have 34 rows (or 14 inches long). Ensure symmetry for front and back panels.


Step 3: Joining Panels
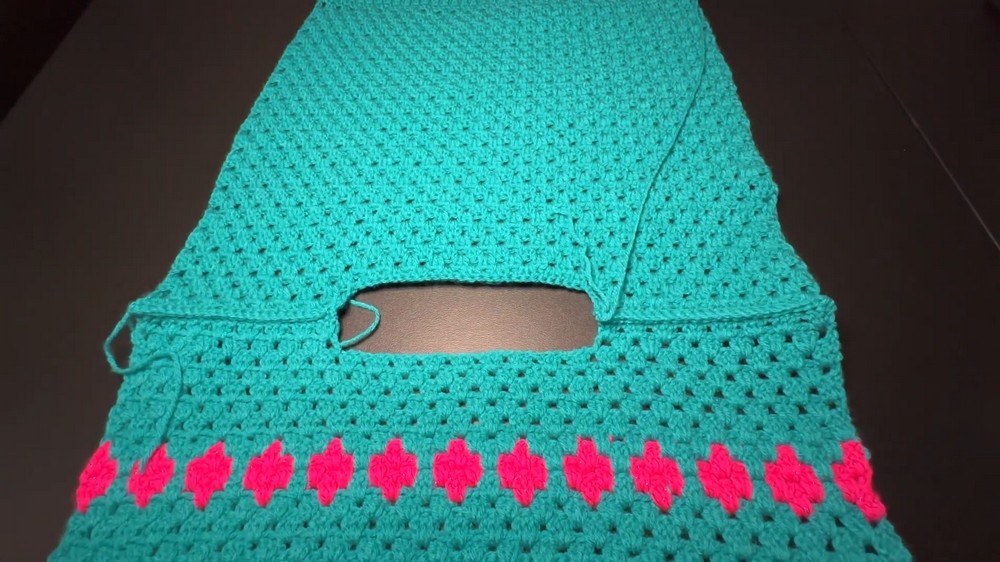
- Place the panels on a flat surface: Align edges carefully and mark shoulder seams (approximately 6 inches on either side). Leave a 7.5-inch neckline gap.
- Shoulder Joining:
- Use a darning needle or hook to make slip stitches or single crochet to join the shoulders together.

Step 4: Sleeves
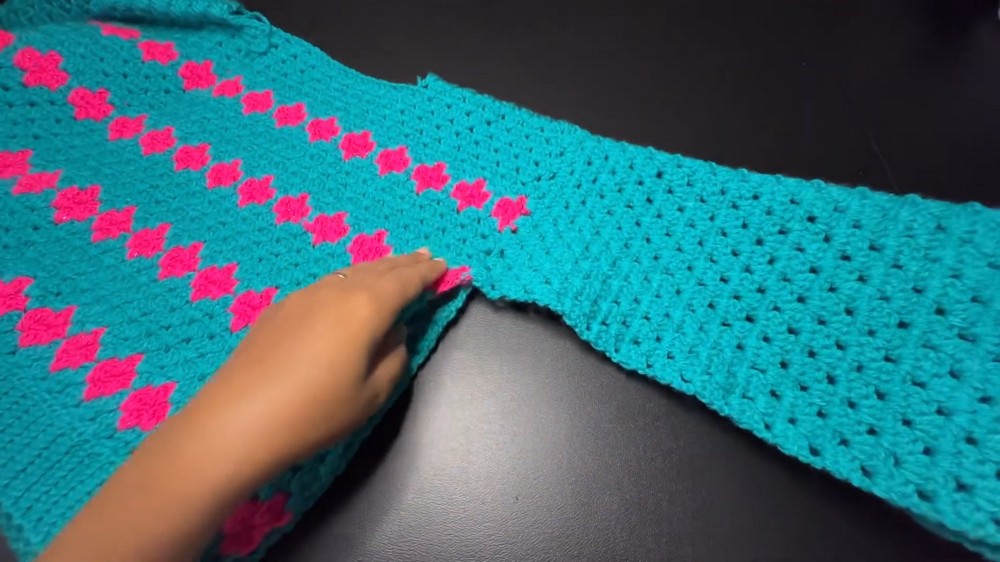
- Mark sleeve opening: Measure approximately 15 inches from the shoulder seam on each side. This marks the sleeve opening.
- Attach yarn:
- Begin at one marker and work granny clusters evenly along the sleeve opening, skipping spaces as necessary to ensure neat alignment.
- Rows:
- Continue working granny cluster rows until the sleeve measures approximately 16 inches long (or your desired sleeve length).
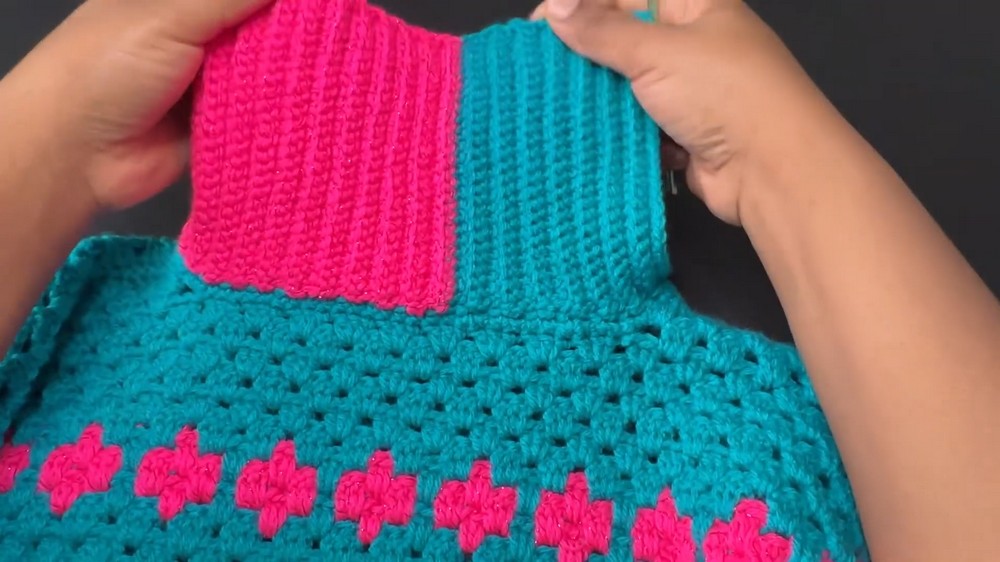
- Ribbing:
- Switch to the 4.25 mm hook and create a ribbed cuff using the single crochet back-loop technique:
- Chain 21 for a ribbing length of 5 inches. Work back-loop single crochets in rows, slip-stitching at the edges of the sleeve as you progress.
- Switch to the 4.25 mm hook and create a ribbed cuff using the single crochet back-loop technique:
Step 5: Neckline Ribbing
- Attach yarn at the shoulder seam and work a single crochet row evenly around the neckline.
- Use the 4.25 mm hook to repeat the same ribbing technique as the sleeves:
- Chain 25 for the neckline ribbing length (adjustable).
- Work single crochet in the back loops, slip stitching at each neckline edge as you progress.
- Work 72 rows (or your preferred neckline length). Optionally leave the neckline open or join with whip stitches for a closed neckline.
Finishing
- Weaving in Ends: Use a darning needle to weave in all loose yarn tails neatly.
- Blocking:
- If necessary, lightly steam or wet block the sweater to smooth out stitches and achieve an even shape.
- Customization Options: Add buttons, embroidery, or applique for personalized flair.
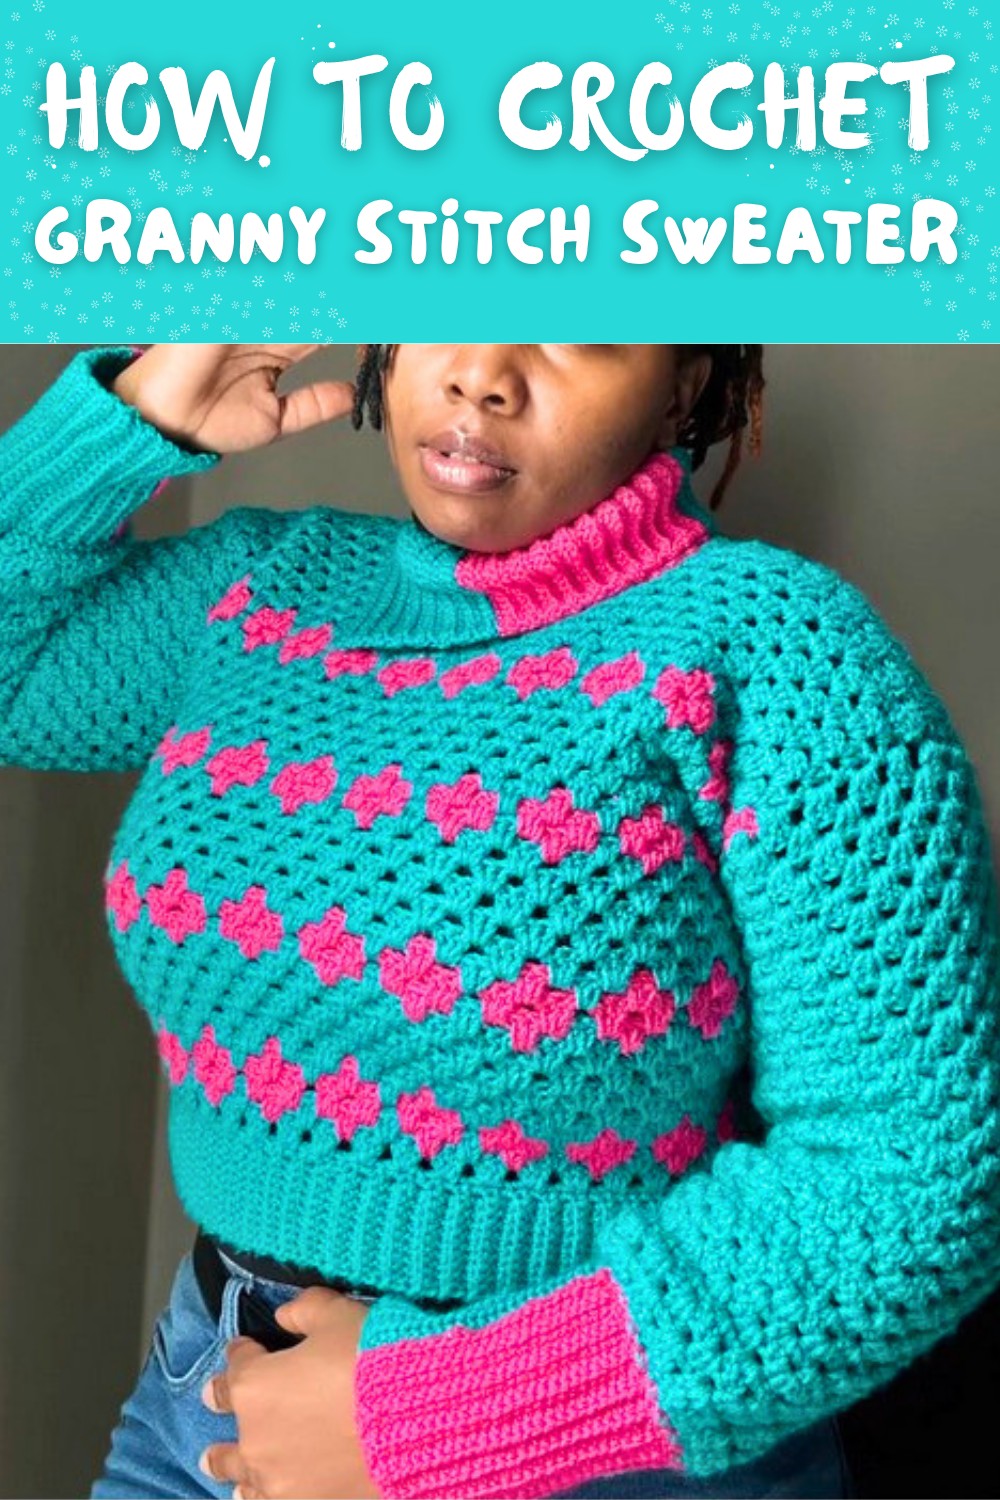
Final Words
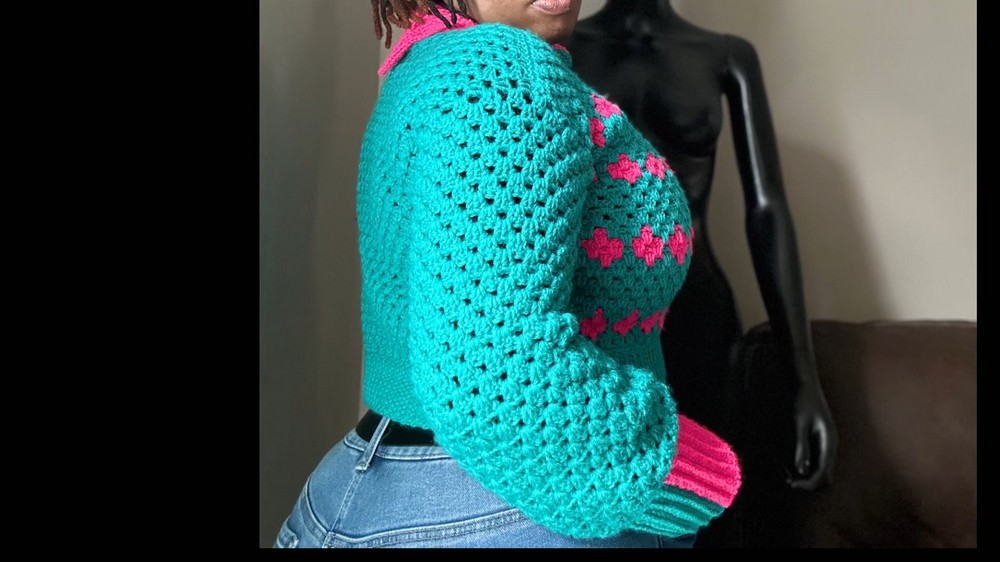
This cropped sweater is a versatile and customizable project suitable for intermediate crocheters. With alternating designs, refined ribbing details, and unique colorwork, this piece is both stylish and fun to make.
Tips to Maintain the Pattern:
- Ensure consistent tension throughout to achieve clean and precise diamond patterns.
- Experiment with yarns to create unique textures or color gradients.
- Use stitch markers liberally to keep rows and openings aligned properly.