
Beautiful Crochet Round Hot Pad Free Pattern For Kitchen Décor
Try this free crochet round hot pad pattern that uses simple stitches to help you add color and protect your kitchen surfaces with comfort and style.
This written pattern is based on the original YouTube tutorial by The Thread, and full credit goes to the creator for sharing this wonderful design. The project is a Crochet Round Hot Pad that is both practical and attractive, perfect for protecting your table or countertop from hot pots and pans. The finished hot pad typically measures around 8 inches in diameter, making it a handy size for everyday kitchen use.
Cute Crochet Round Hot Pad Free Pattern For A Handmade Kitchen
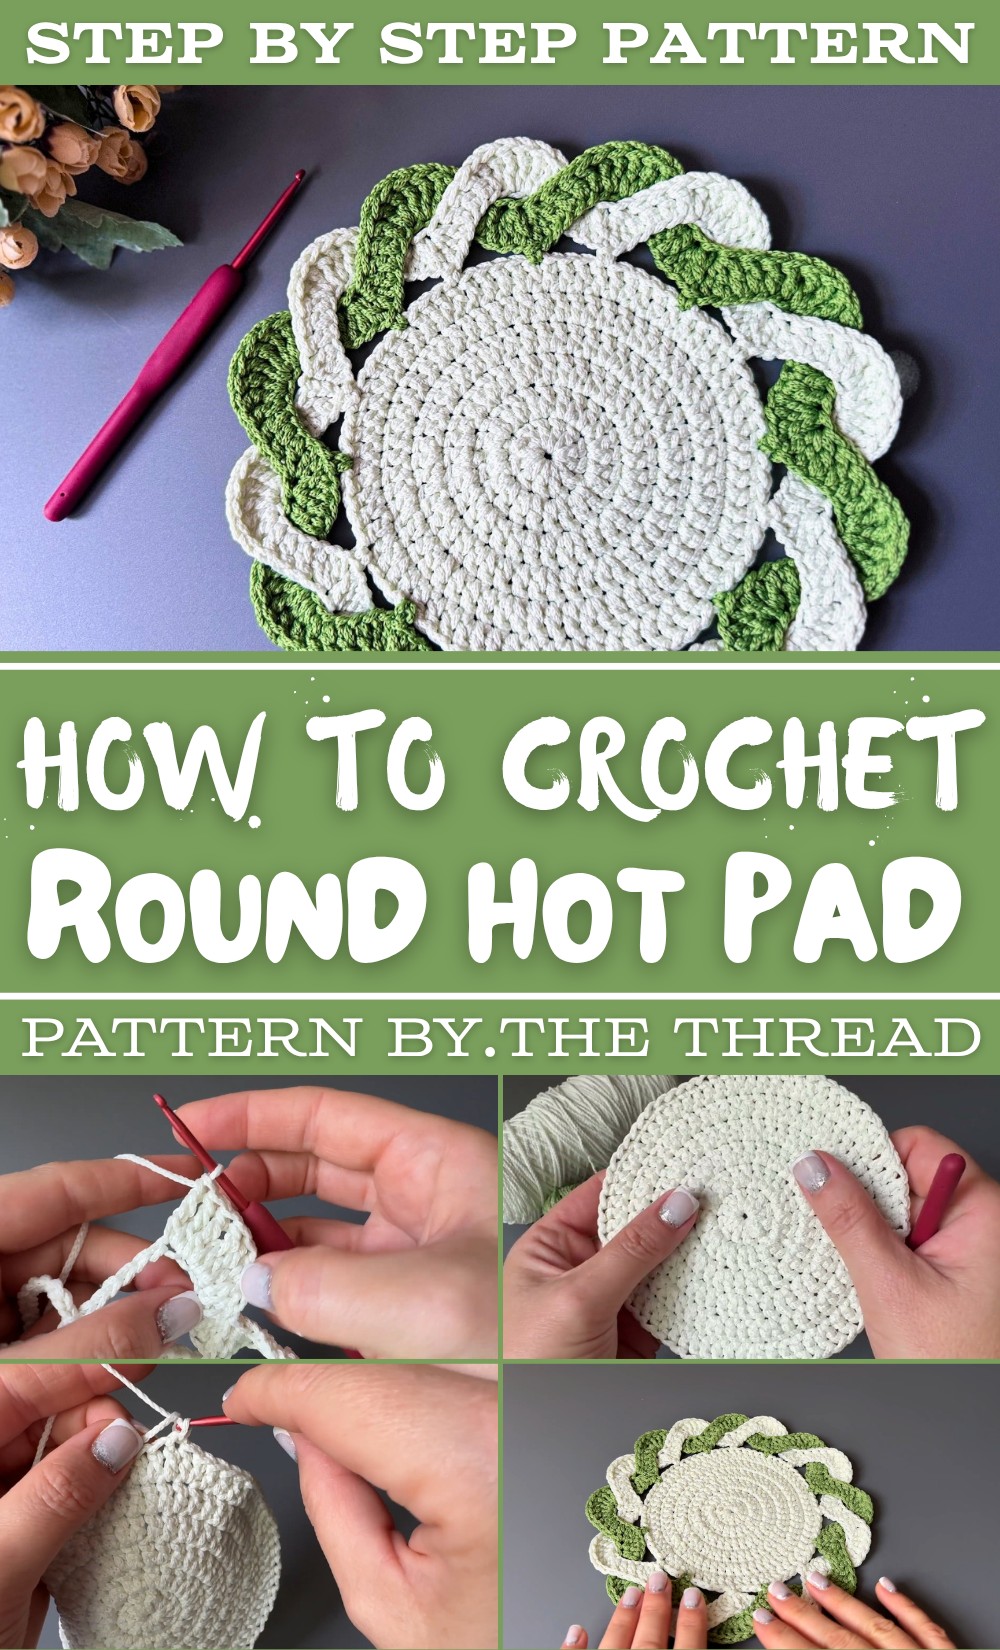
The coaster features a simple round shape with a textured stitch pattern that adds a bit of charm and extra thickness for heat resistance. It is made using basic crochet stitches, so it's suitable for beginners and those who want a quick, satisfying project. For materials, you will need cotton yarn because it can handle heat well and is easy to clean, along with an appropriate-sized crochet hook matching the yarn weight. Making this round hot pad involves working in rounds, starting from the center and gradually increasing stitches to keep the shape flat.
This crochet round hot pad is very versatile. It can be used to protect surfaces from hot dishes, as a trivet for serving pots, or even as a decorative piece on your kitchen table or countertop. It also works well as a small mat for cups or teapots.
This project helps develop important crochet skills like working in the round and increasing stitches, making it a great choice for beginners. With its usefulness and simple design, this crochet round hot pad makes a lovely addition to any home or a thoughtful handmade gift.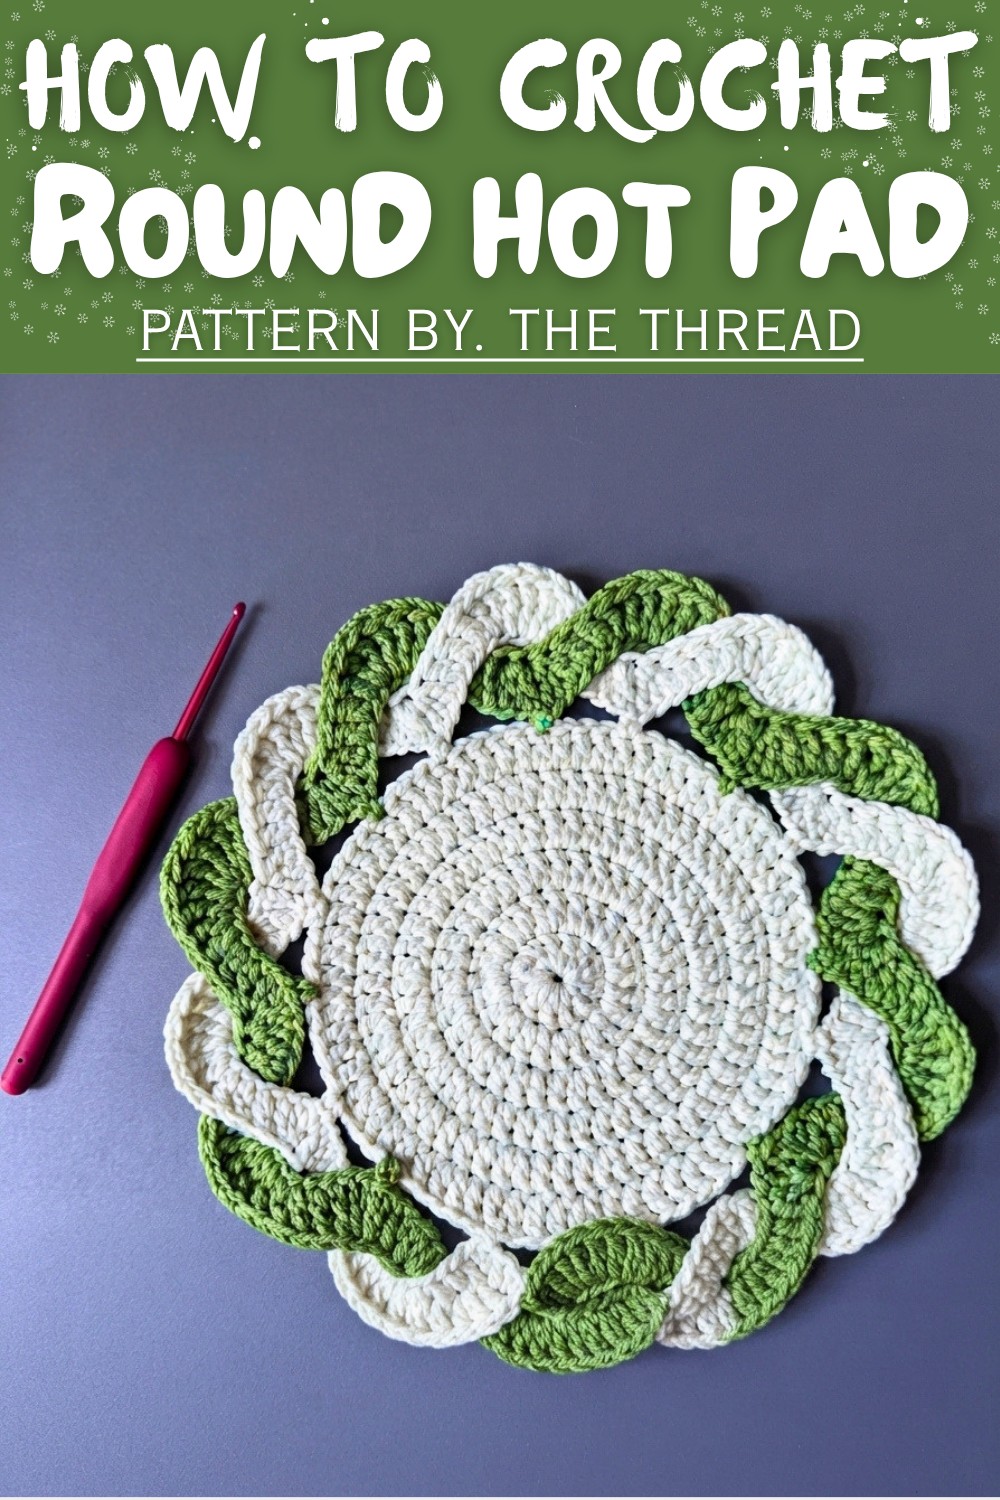
Decorative Crochet Border with Interwoven Arches
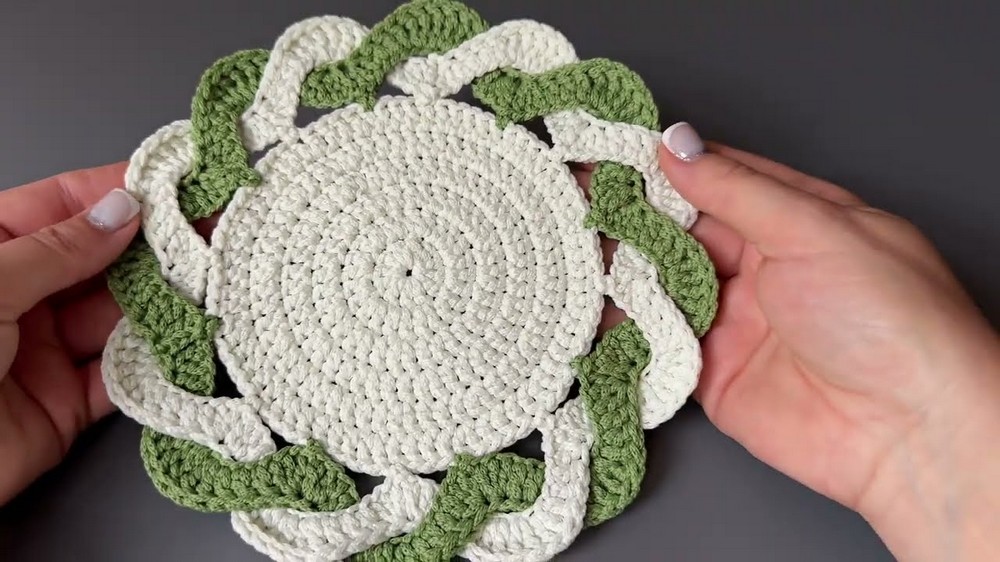
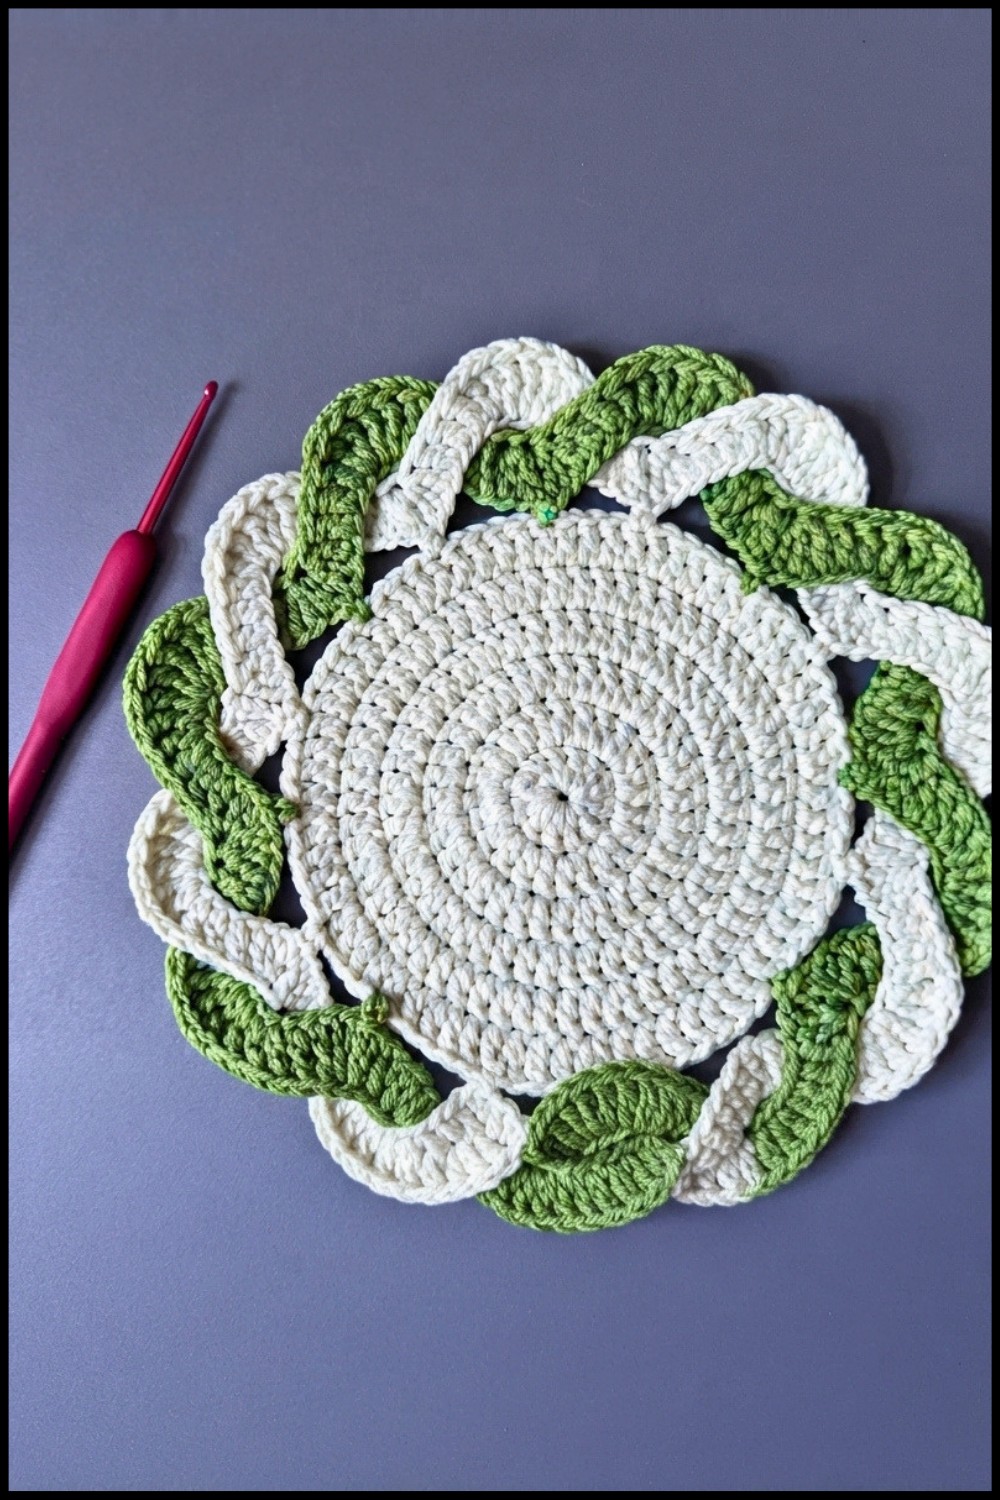
This project is designed to create a double-arched decorative border ideal for coasters, napkins, rugs, and various round-based projects. The layered arches add a dimensional, interwoven accent-a look that combines structure and intricate detail suited for both classic and modern settings. The method employs a counted double crochet base, calculated for symmetry, and features mirrored arches in two colors for a striking, professional finish.
Pattern Basic Points
Key Elements:
- Circular base foundation, adaptable to different sizes.
- Two-color arched and scalloped border for dimension and contrast.
- Perfectly spaced arches based on stitch count for symmetry.
- Stitch rhythm pairing double and treble crochet for soft, pronounced arches.
Applications:
- Edging for coasters, placemats, table runners, napkins.
- Framing medium and large-scale crochet rugs.
- Crafting standalone decorative rounds or patches.
Structural Features:
- Arches worked in two rounds/layers, each color forming its own set.
- Second-color arches are interwoven with the first for a woven appearance.
- Borders are shaped to create visual harmony around any circular base.
Special Notes
- Adjust base stitch count (final row of base circle) to evenly space arches-sample uses 72 double crochets and 8 arches for clean spacing (every 9th stitch for arches); modify arithmetic for other diameters if needed.
- Ensure tension remains consistent across arches for a uniform scalloped edge.
- Arches in the second color are actively woven through the first row for a layered visual effect-work slowly and ensure correct orientation when joining.
- Project is best blocked or steamed after completion to help arches lay flat and edges smooth.
Skill Level
Intermediate
The pattern involves accurate stitch counting, color changes, and working into chain arcs. Crocheters should be comfortable with hands-on shaping, maintaining even tension, and following multiple steps in round-based work.
Materials
- Yarn/Cord: Two colors (e.g., Color A for first arches, Color B for the interwoven layer). Caramel Baby 2mm cord recommended for defined structure.
- Base color
- Contrasting/second border color
- Crochet Hook: 3.5mm
- Scissors
- Tapestry Needle: For weaving in ends
- Blocking surface and pins or a steamer (for finishing)
Measurements, Gauge & Stitch Pattern
Finished Size:
Border fits a round base of approx. 12-15 cm (5-6") diameter; size can be adjusted by increasing or decreasing the base rows.
Gauge:
Not critical for border work, but for sample dimensions:
- Base round of 72 dc fits 8 arches evenly (9 stitches per arch).
- Adjust multiples for more or fewer arches (e.g., 6 arches: 6 ×12 = 72 stitches; 9 arches: 9 × 8 = 72 stitches).
Stitch Pattern:
- Standard double crochet (dc) for base
- Varied arch stitches using ch, dc, and tr grouped into pronounced scallops
Stitch Abbreviations
- ch: chain
- sc: single crochet
- dc: double crochet
- tr: treble crochet
- sl st: slip stitch
- st(s): stitch(es)
Special Stitches
- 2 tr in next st: Work two treble crochets into the same stitch.
- 3 dc together (dc3tog): [Yarn over, insert into next st, pull up loop, yarn over, draw through two] ×3, then yarn over and draw through all loops on hook.
Pattern Instructions
Preparation: Circular Base
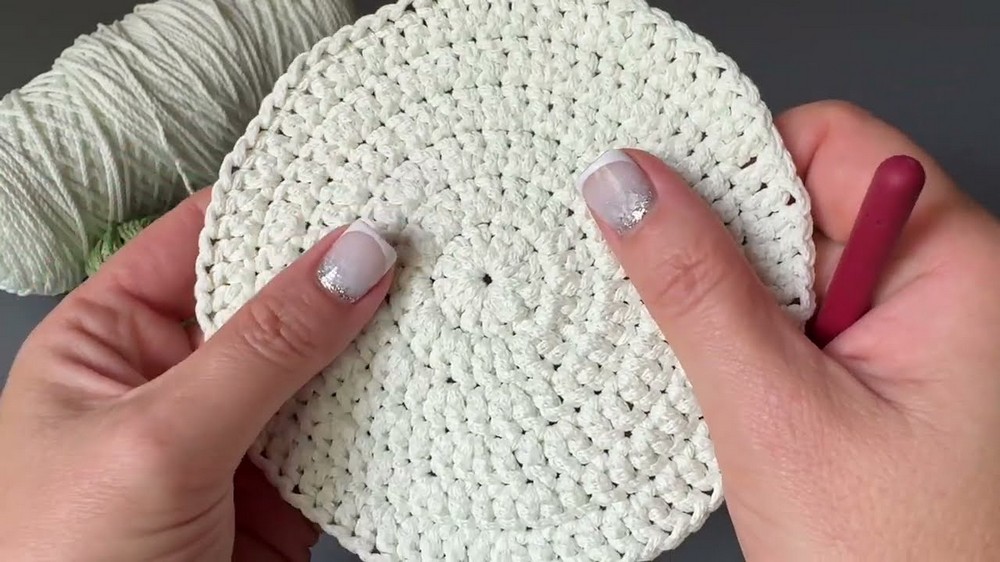
- Work an even circular base of your choice (e.g., 6 rounds of double crochet).
- Complete the last round with a multiple of 8 (such as 72 dc) for 8 arches.
- Fasten off, weave in the end.
Round 1: First Color Arches (Color A)
- Attach Color A in any stitch with a slip knot and sl st.
- Arches are spaced evenly around the circle; in this case, every 9th stitch (if base is 72 dc):
- Ch 15
- Sk 8 sts, then sc in the next (9th) st to anchor arch.
- Repeat: Ch 15, sk 8, sc in next st-continue until you have 8 arches around the circle.
- Join with sl st to the base of the first arch. Do not fasten off.
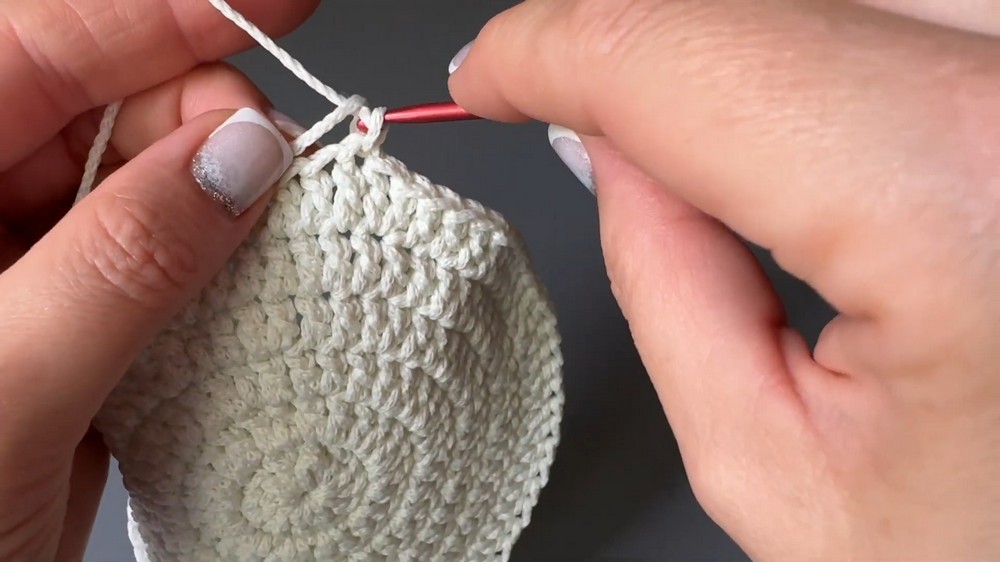
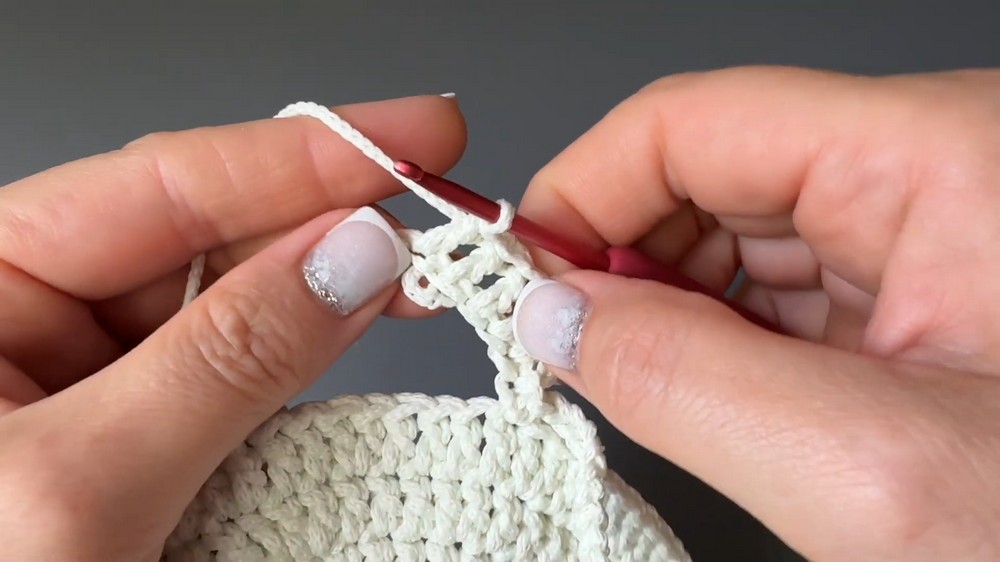
Round 2: First Color Arch Details
- Begin detail in the first arch (work into the 15 chains of the arch):
- Ch 3 (counts as dc)
- 3 dc, one in each of next 3 ch
- In the next 3 ch: 2 tr in each (total 6 tr over 3 ch)
- 3 dc, one in each of next 3 ch
- In the last 3 ch: dc3tog (work 3 dc together as one to close the edge)
- Repeat the above sequence for each of the 8 arches:
- (3 dc, 2 tr in each of next 3 ch, 3 dc, dc3tog)
- Sl st to top of first ch-3 to close round.
Round 3: Interwoven Second Color Arches (Color B)
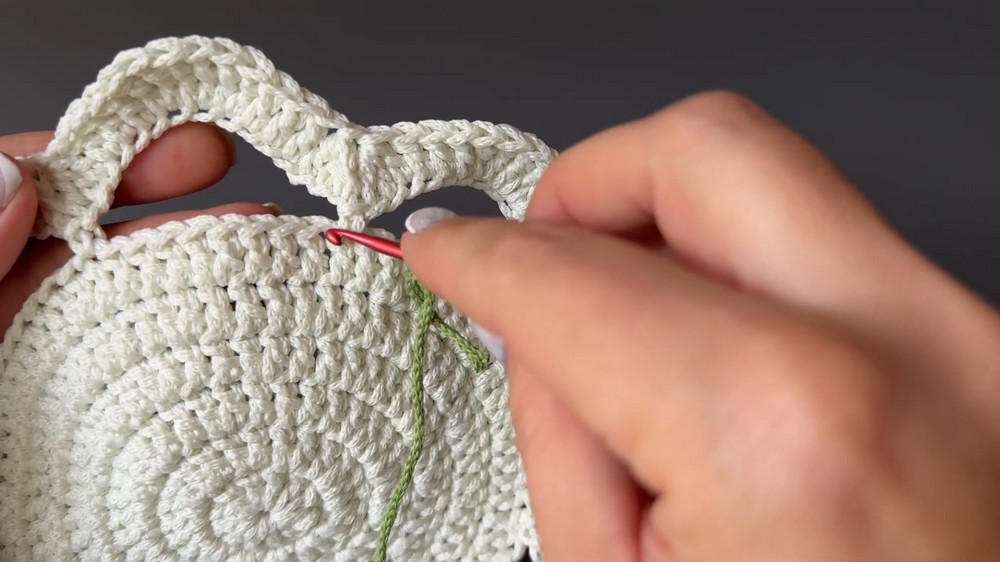
- Join Color B with a sl st at the midpoint between two first-color arches (at the base, between arches).
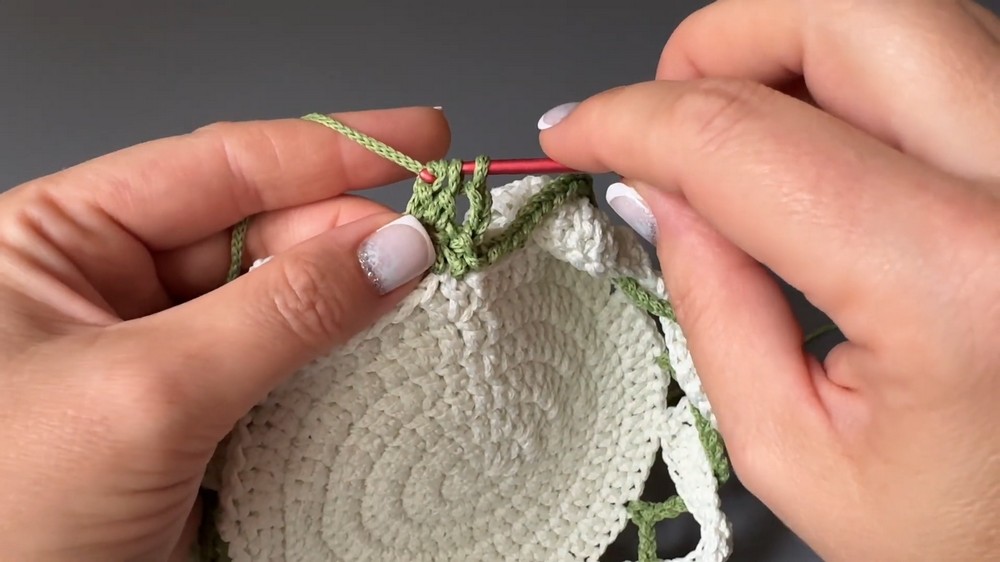
- Ch 15, then pass hook and cord through (under) the first color's arch, alternating in front/behind as needed for a woven look.
- Anchor with sc to the base every 4th or 5th stitch on the base (aim for twice as many arches as first color if desired, or offset for a staggered effect).
- Continue: Ch 15, pass through the arches, anchor with sc in base around.
- Complete one full round, interlocking the new arches with the previous color's arches. Join with sl st to the start of round.
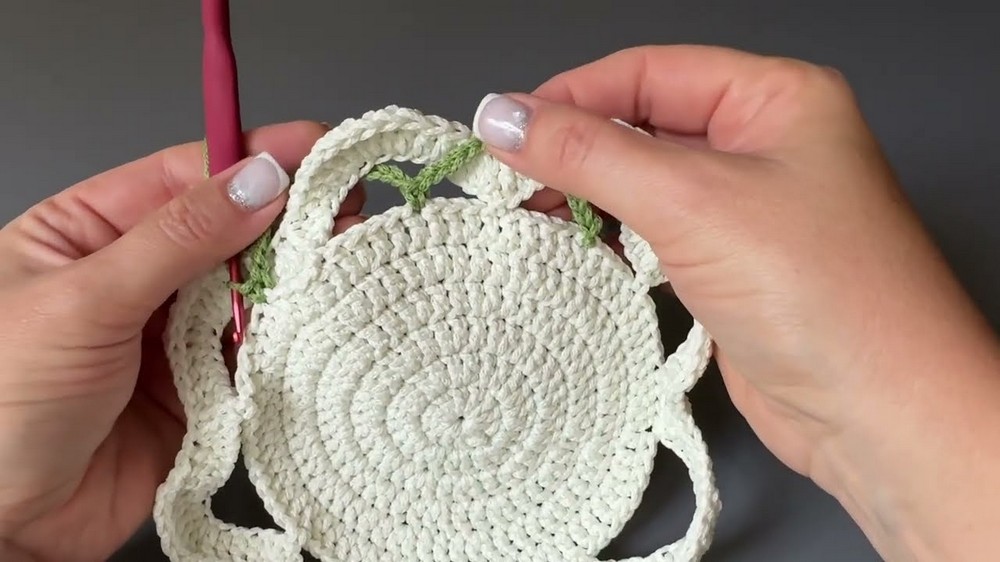
Round 4: Second Color Arch Details
- Into each second-color arch (repeat for each):
- Ch 3
- 3 dc, one in each of next 3 ch
- In the next 3 ch: 2 tr in each (total 6 tr over 3 ch)
- 3 dc
- In the last 3 ch: dc3tog
- Repeat in every arch, mirroring the first color's detail round.
Finishing Touches
- Fasten off all yarn.
- With a tapestry needle, weave in all loose ends securely on the wrong side.
- Block or steam work so that arches lay flat and each scallop is well defined.
Assembly & Finished Size
- The border is ready for immediate use around coasters, napkins, or as an accent on larger round pieces.
- For larger projects, increase base diameter and arch counts accordingly, always ensuring symmetry.
- Securing and steaming/blocking will give sharp, consistent edges and a professional appearance.
Conclusion
This double-arched border elevates simple circular bases with rhythmic structure, refined symmetry, and bold use of color layering. Its dimensional arches capture both light and shadow for a sculptural effect, while the interwoven design makes it visually distinct and engaging. Through careful stitch calculation, tension, and deliberate placement, the pattern ensures even, lasting results adaptable to various projects from the smallest coaster to the most generous rug. Choose color combinations to match your aesthetic, and enjoy the process of layering crochet for multidimensional results.