
Simple Crochet Tunisian Napkin Free Pattern with Easy-to-Follow Steps
Find a charming Crochet Tunisian Napkins with simple steps that add a cozy, handmade touch to your dining table and brighten up any meal setting.
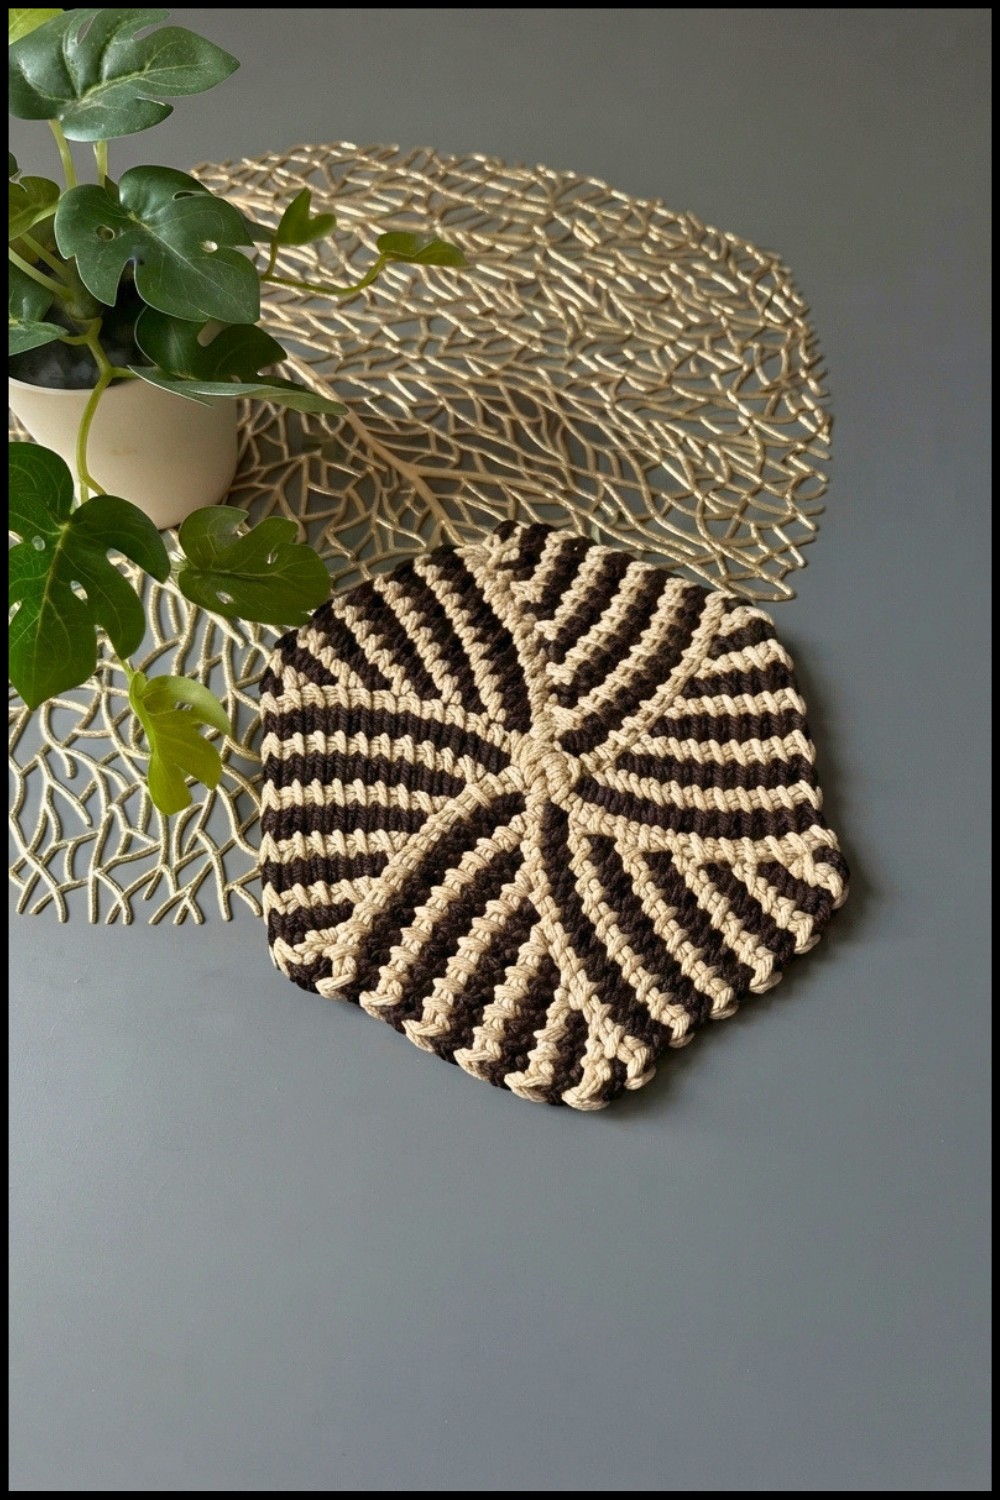
This project is a handmade napkin made using Tunisian crochet, a technique that combines elements of crochet and knitting. The Crochet Tunisian Napkin has a soft and sturdy feel, making it suitable for everyday use or special occasions. It measures about the size of a regular napkin, so it is easy to fold and store.
Mini Crochet Tunisian Napkin Free Pattern for Dining Tables
Pattern Credit:
This pattern is based on the original YouTube tutorial by The thread. Full thanks go to the creator for the clear instructions and design. Please visit their channel to watch the full tutorial and support their work.
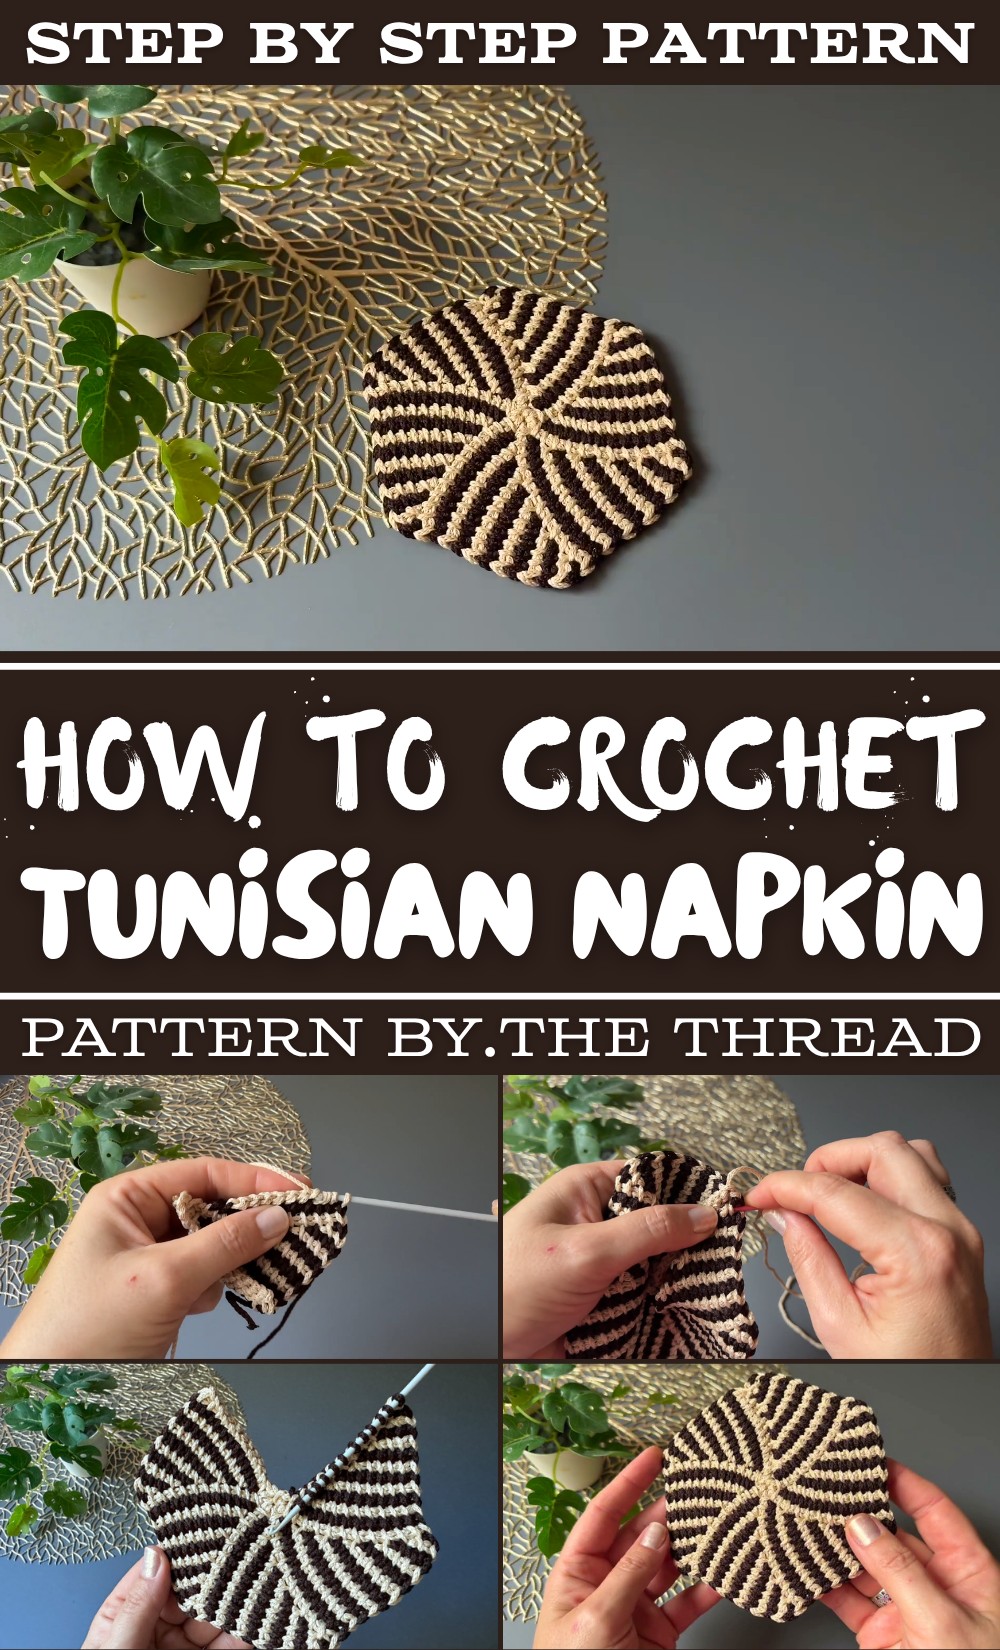
The napkin is useful in many ways. It can be used during meals to keep hands and faces clean, as a small placemat under cups or bowls, or as a decorative item on your table. It can also serve as a gift for friends and family who appreciate handmade items
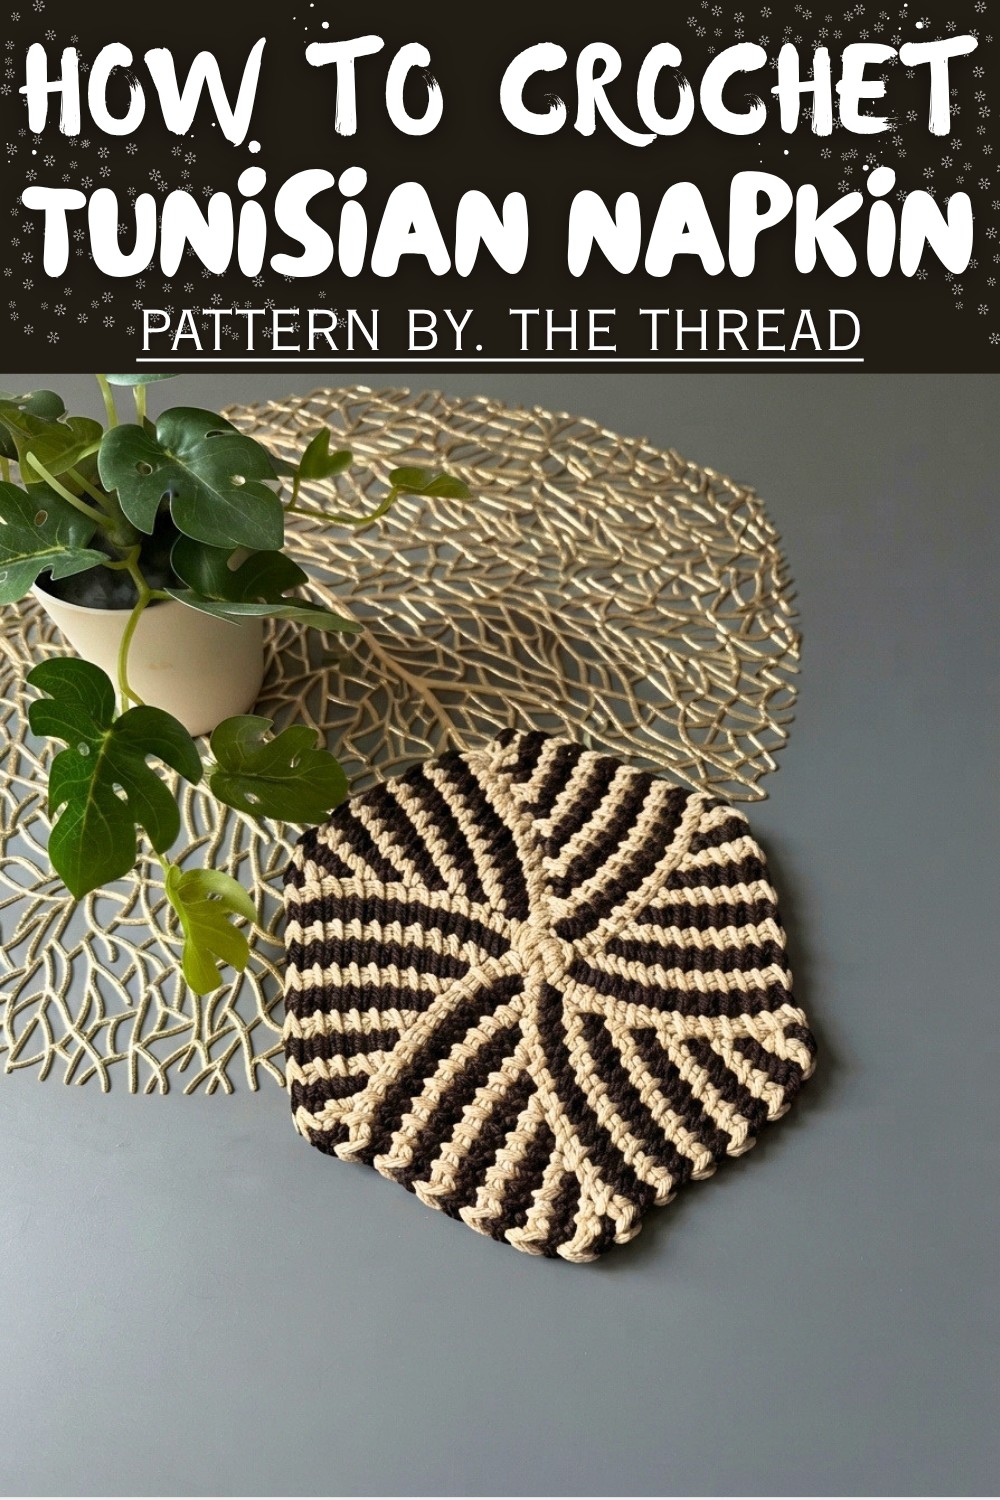
Working on this napkin is a good way to try out Tunisian crochet without too much difficulty. It results in a useful item that adds a touch of warmth to any meal. Whether you wish to use it at home or give it as a gift, this napkin is a practical and attractive choice.
Two-Color Tunisian Crochet Napkin / Hot Pad Pattern
In this pattern, we will knit a stunning round napkin or hot stand using the Tunisian crochet technique, with a beautiful two-color effect. Using just a simple hook and two shades of cord or yarn, you will be able to craft a practical and decorative item for your home. The project is very accessible, even to those with only a regular hook. Let's begin our journey into two-color Tunisian crochet!
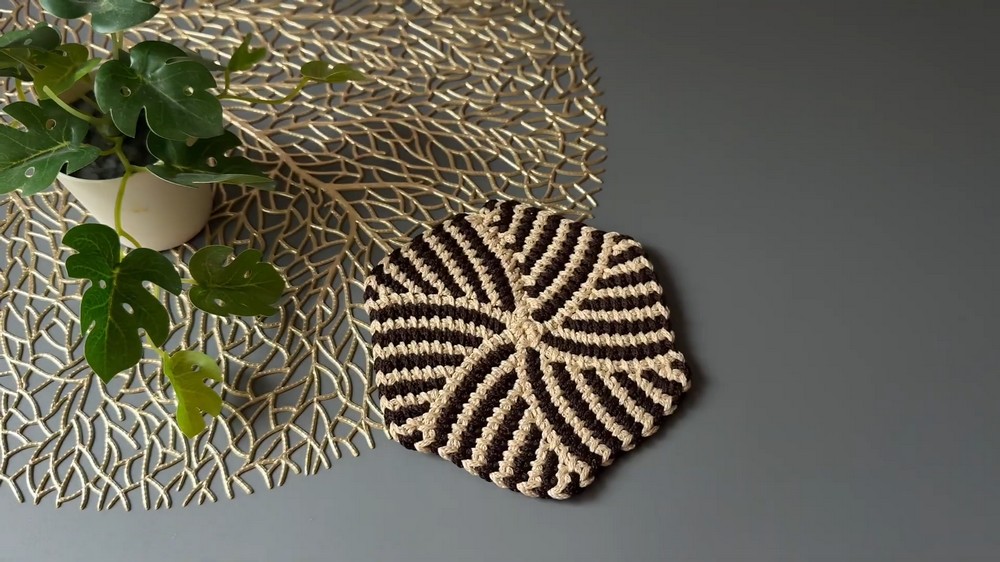
Quick Overview Of Pattern
- Worked in the Round: Begin with a small circle and build radiating "petals" or "wedges" using Tunisian crochet rows.
- Two-Color Technique: Alternate between two yarn colors in every row, creating a bold stripe effect.
- Growing Petals: Each petal is worked with decreasing stitches for a pointed finish.
- Simple Joining: Wedges are worked one at a time and sewn together at the end.
- Customizable Size: Adjust by increasing the number of starting chains for larger napkins, or making more/less wedges.
Notes
- Hook Selection: A special Tunisian hook is ideal, but for this napkin's small size, a basic crochet hook (without a thick handle) works well.
- Color Changes: Always bring the unused color to the side as described, switching yarns at the end of the return/pass row.
- Yarn: Polyester cord is shown for a modern, firm, and heat-resistant finish. However, any suitable yarn or cord of similar thickness will work.
- Decreasing Rows: Each row of the petal moves with one less stitch, giving a natural, petal-like taper.
- Neat Finish: Consider adding a decorative border once the napkin is assembled for a finished look.
Skill Level
Adventurous Beginner/Intermediate
- Must be comfortable with basic crochet stitches.
- Familiarity with color changing and simple seaming is helpful.
- No prior Tunisian crochet experience required, as all steps are explained.
Materials
- Yarn: 2 mm polyester cord in two contrasting colors (Color A and Color B, e.g., light and dark shades). Caramel Baby Cord brand is used in the video.
- Hook: 3 mm Tunisian crochet hook, or a regular crochet hook (without a thick handle).
- Plastic/yarn sewing needle: For final assembly.
- Scissors.
Measurements / Sizing
- Finished Size: The example napkin measures approximately 13 cm (about 5 inches) across.
- Adjustable: To make a larger or smaller napkin, increase or decrease the number of initial chains and/or wedges.
- Shape: Completed piece is round with distinct "petal" segments/stripes.
Gauge (and Stitch Pattern if applicable)
- Gauge: Not critical for this project. For reference, with 2mm cord and 3mm hook, sample wedge rows/stripes measure about 13 cm across when sewn together.
- Tunisian Simple Stitch: Each stitch row is cast on (forward pass, adding loops to the hook), then worked off in a reverse pass, closing with yarn overs.
Stitch Abbreviations
| Abbreviation | Description |
|---|---|
| ch | chain |
| sl st | slip stitch |
| lp(s) | loop(s) |
| st(s) | stitch(es) |
| rep | repeat |
| sc | single crochet (for optional border) |
Special Stitches
- Tunisian Simple Stitch (Tss): Insert hook under front vertical bar of stitch, yarn over, pull up a loop, leave loop on hook.
- Return Pass (Tunisian): For each color change, yarn over and pull through two loops repeatedly until only two loops remain, then drop working color, pick up next color, and finish the last two loops.
Crochet Pattern
Step 1: Center Ring
- With Color A (light), make a slip knot.
- Ch 5.
- Form a ring by joining to the first ch with a sl st.
Step 2: Casting On the First Petal
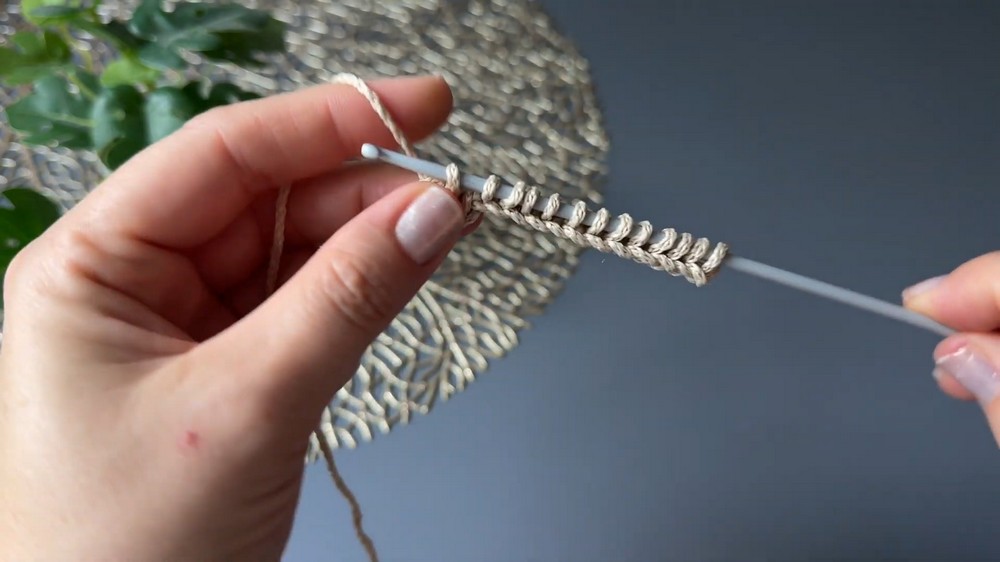
- With Color A, ch 12 (for a dense wedge; adjust for larger napkin if desired).
- Do not turn; instead, skip the first ch from the hook, and begin picking up loops:
- Insert hook into next ch, yarn over, pull up a loop; continue in each chain until you have 12 loops on the hook.
- For the 13th loop, insert the hook into the center ring, yarn over, and pull up a loop. There are now 13 loops on the hook.
Step 3: Return Pass (First Row)
- Step 3.1: With color A, yarn over, pull through one loop (for edge stability).
- Step 3.2: Yarn over, pull through two loops. Repeat yarn over, pull through two until only two loops remain on the hook.
- Now, stop with 2 loops left and switch to Color B (dark).
- Hold left-over (unused) color A to the right.
- With color B, yarn over, pull through both loops-completing color change and return pass.
Step 4: Second Row (and Following Rows)
- Forward Pass: With color B, pick up loops as before:
- For each stitch, insert the hook under the front vertical bar of the previous row, yarn over, pull up a loop. Continue until one stitch remains at the edge.
- For the last "double" stitch at the edge (from the return pass), pick up only the second of the two bars-leave the very edge stitch unworked. With each row, number of loops on the hook decreases by one.
- Last loop is again picked up from the ring.
- Return Pass:
- With color B, yarn over, pull through two, repeat until 2 loops stay, change to color A, yarn over, pull through two.
- Repeat steps above for each subsequent row (petal). The number of loops decreases by one each row, forming the wedge shape.
- Continue until only 2 loops remain (one edge stitch, one ring stitch), then complete final return pass using color A.
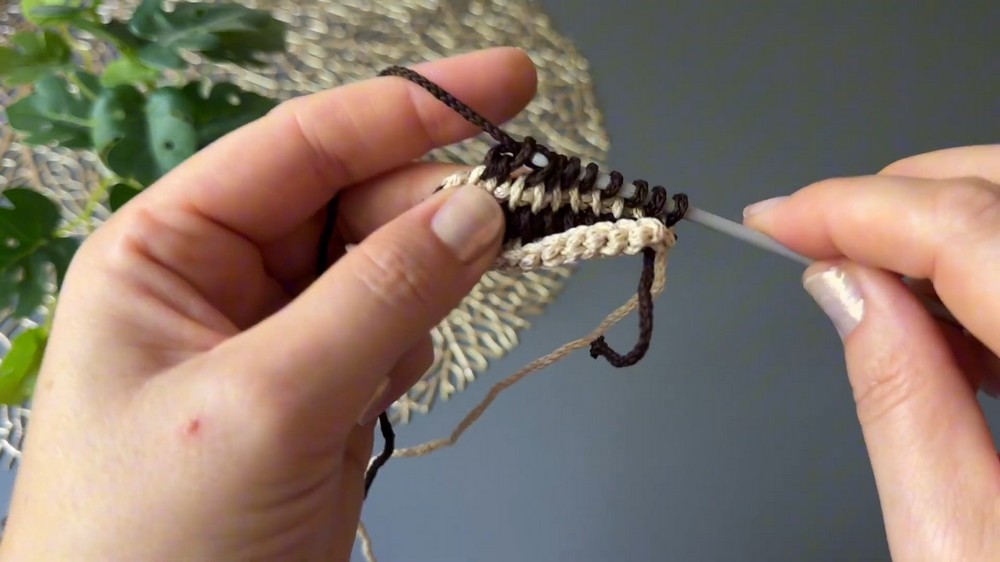
Step 5: Next Petal
- To begin a new petal, repeat Step 2. With color A, pick up 12 loops (one in each existing edge stitch of the previous petal), plus the 13th loop in the center ring.
- Work the return pass, always changing color with the last two loops as before.
- Continue as established, following the wedge decrease for each new petal.
- Each petal consists of 12 rows, ending when 2 loops are left.
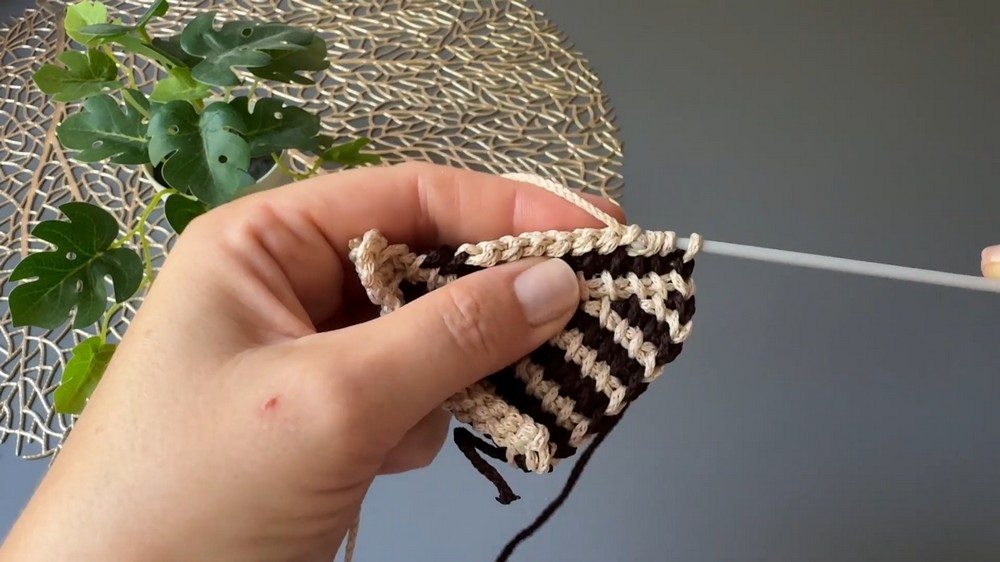
Step 6: Continue Petals/Wedges
- Repeat the process to make 6 petals in total (for a hexagonal flower motif).
- Always follow the same pick-up/decrease/bind-off/color-change sequence for each petal.
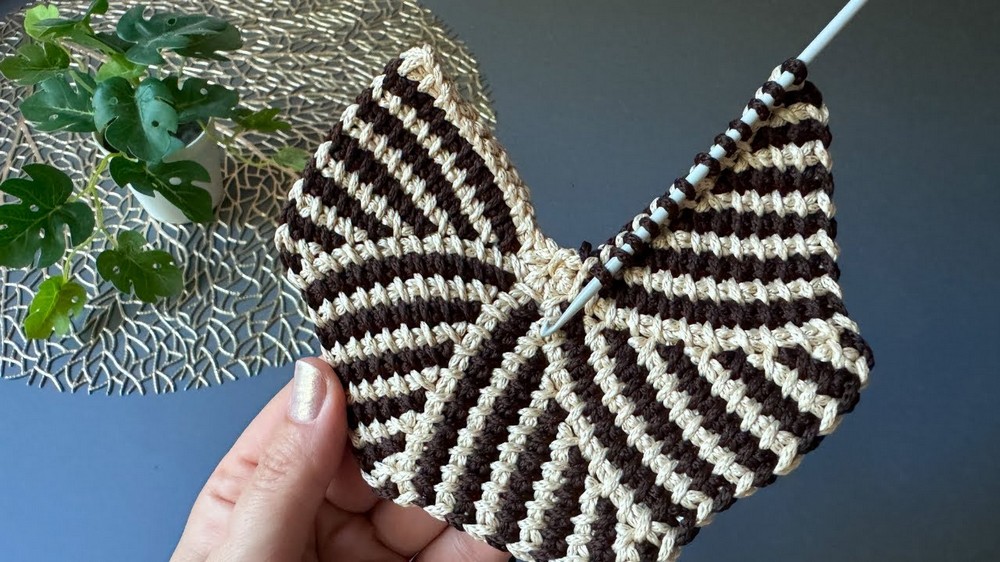
Step 7: Joining the Last Petal
- At the end of the sixth petal, leave the final color A (light shade) yarn tail long for sewing.
- Using a large plastic/yarn needle, fold the motif so the last and first petal edges meet.
- Sew together along the edge (petal seam), matching rows and picking up only the outer loops for a nearly invisible join.
- Continue until you reach the center circle, securing firmly and weaving in all ends.
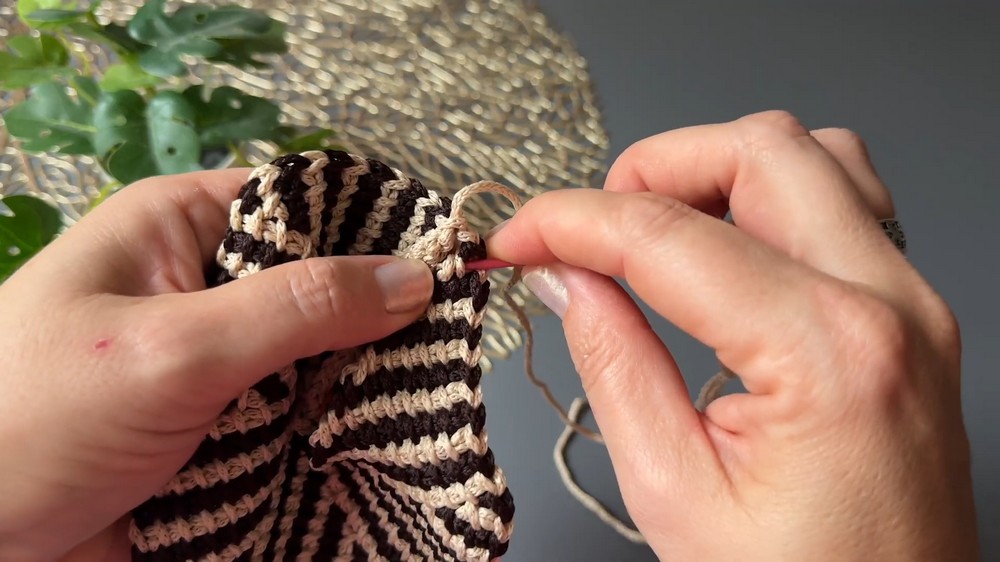
Assembly & Finished Size
- After joining, block your napkin lightly if desired.
- Result is a neat, six-wedge, two-color napkin or hot pad about 13 cm across.
- If you wish, add a decorative border: Attach yarn at any outer petal, ch 1, sc around evenly, making a border in one round. (Binding options are referenced in the original video.)
Conclusion
You have completed a striking and practical round napkin or hot stand using Tunisian crochet and color work techniques. This project is a great way to practice the basics of Tunisian crochet, experiment with color changes, and create a unique, custom item for your home. Feel free to play with color sequences, add more petals for bigger motifs, or adjust the pattern for coasters, placemats, or floral table accents.