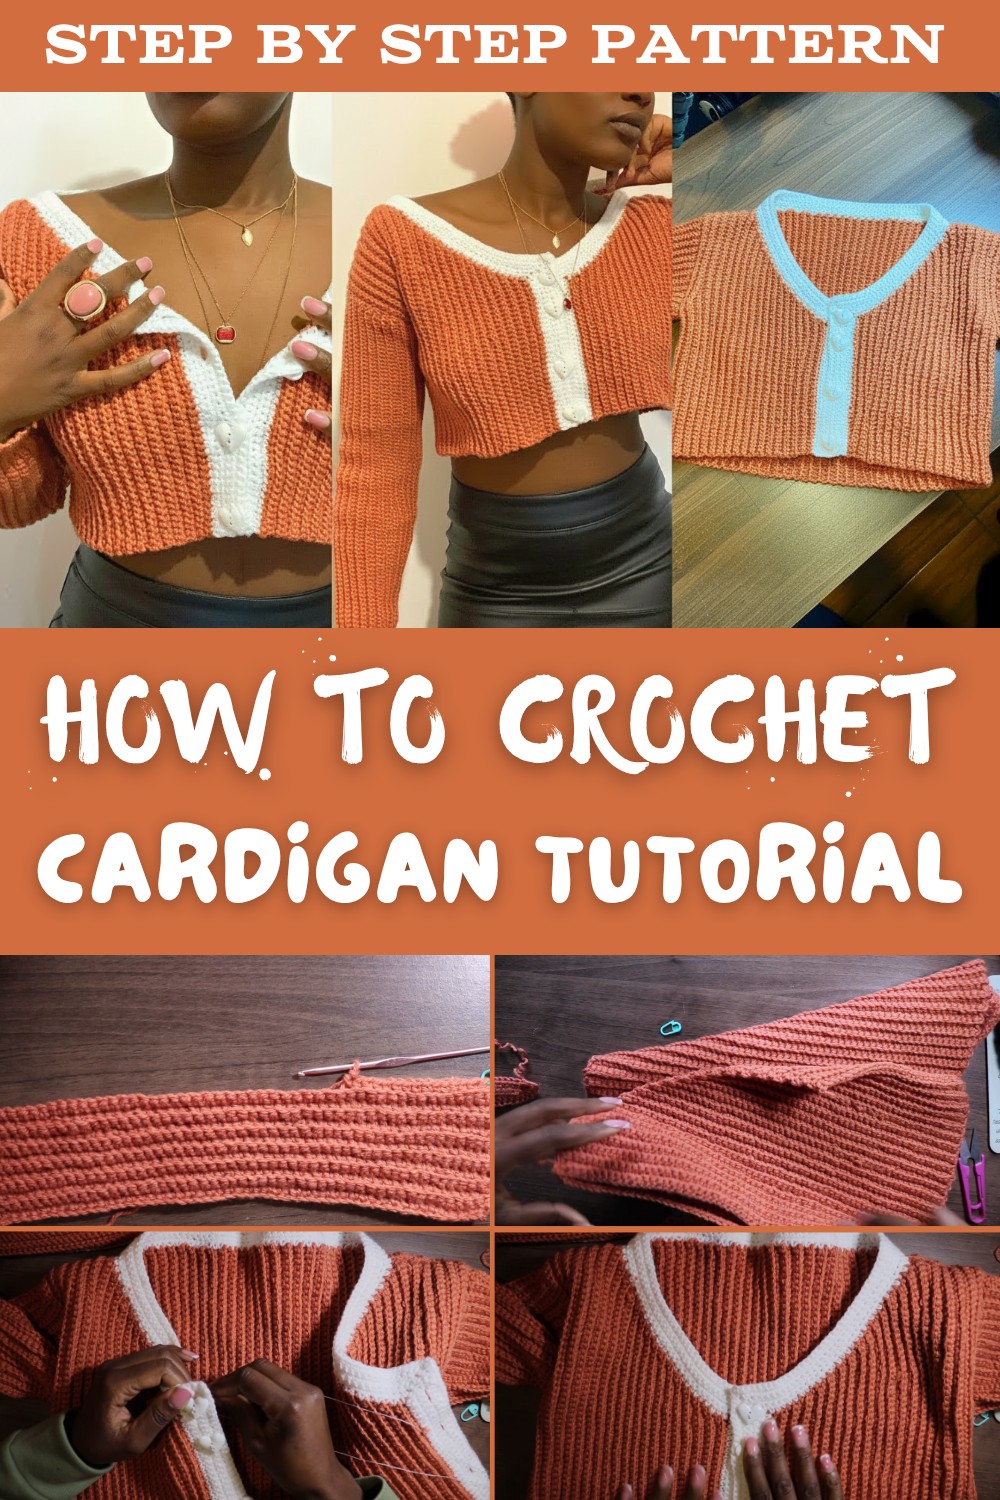
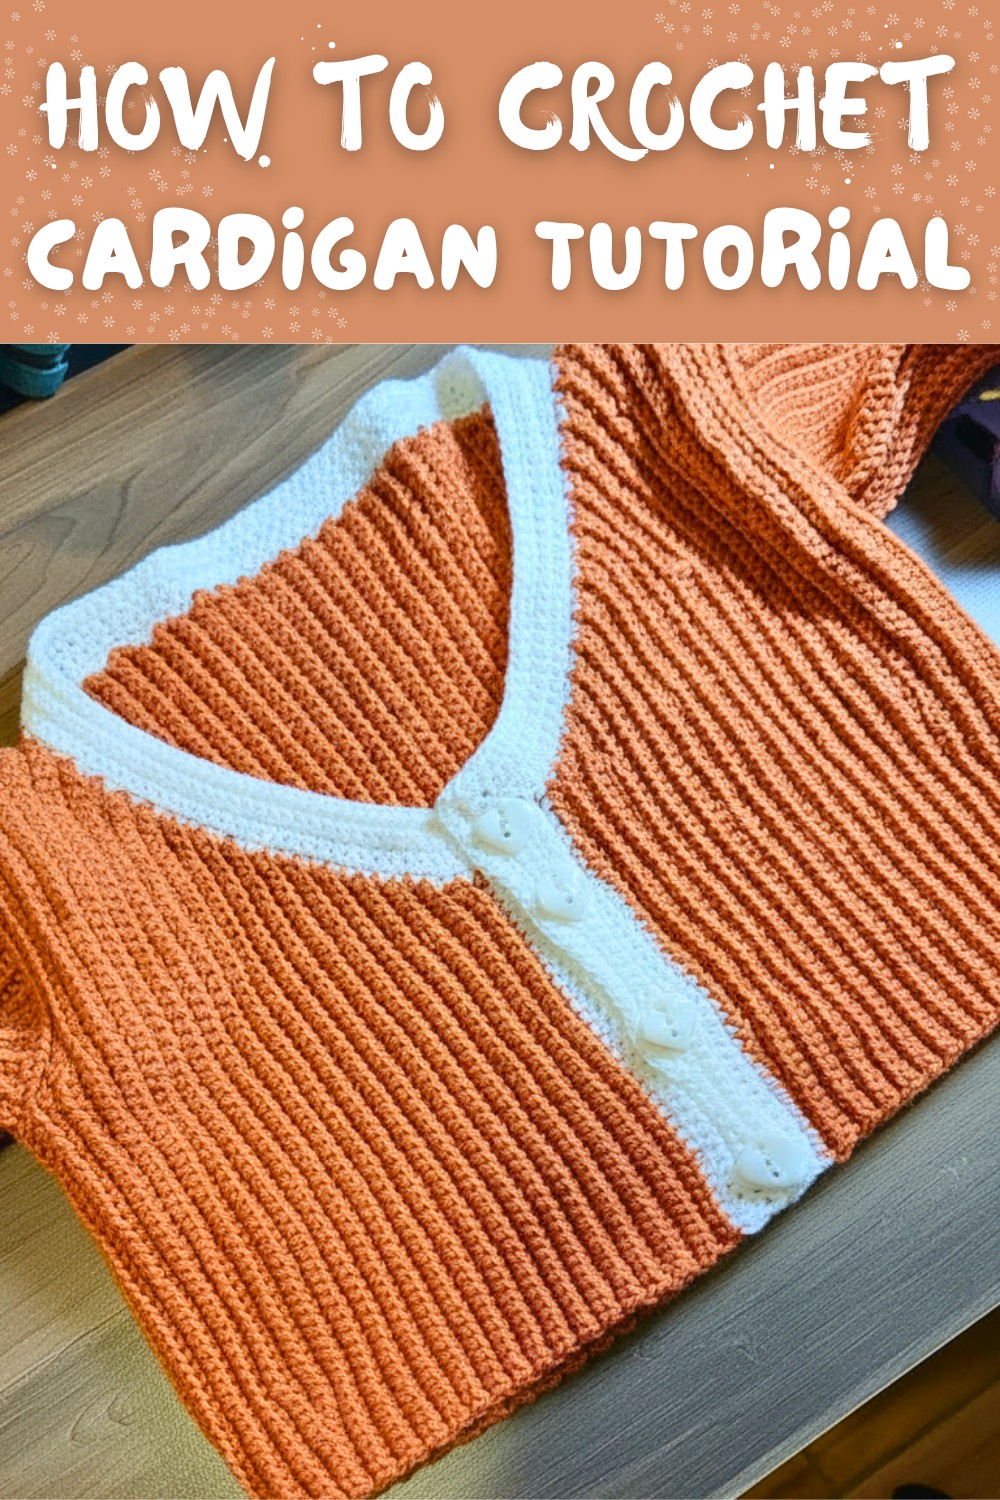
Free Crochet Cardigan Pattern That Turn Heads
Hook your next favorite crochet cardigan with unique textures, cozy charm, and customizable details perfect for expressing your personal style effortlessly.
Ever wondered how cozy meets creative genius? A crochet cardigan pattern isn't just another project, it's your chance to crochet wearable magic. Wrapping yourself in a cardigan that you stitched together, glowing with personality and bursting with your favorite colors.
Crochet Cardigan Free Pattern for a Cozy Glow-Up
From quirky granny stitches to chic textures, the options are endless, and don't even get us started on the fun of adding playful pockets or funky buttons. It's like designing your own hug! Each stitch brings a rhythmic sense of calm, and before you know it, you've conjured up a masterpiece that's equal parts practical and stunning.
Classic Crochet Cardigan Pattern
Skill Level
Intermediate to Advanced - Familiarity with single crochet, slip stitch, chaining, and finishing techniques is required.
Finished Size
This pattern is sized for a medium (US Women's Size 8-10). Adjustments can be made for smaller or larger sizes by modifying the number of chains or rows.
Gauge
16 sc and 12 rows = 4 x 4 inches with a 3.5 mm crochet hook and double knit yarn.
Materials
- Yarn:
- Double Knit Yarn (DK weight, #3): Recommended for lighter, flexible cardigan.
- Total: Approx. 6-8 skeins, color of choice.
- Hook:
- 3.5 mm crochet hook.
- Scissors.
- Tapestry Needle:
- For weaving in ends and sewing parts together.
- Buttons:
- Approximately 4 buttons (adjustable based on personal preference).
- Stitch Markers: (Optional)
- Useful for marking rows or important sections such as pattern decreases or joining points.
Abbreviations (US Terminology)
| Abbreviation | Meaning |
|---|---|
| ch | Chain |
| sc | Single Crochet |
| dec | Decrease |
| sl st | Slip Stitch |
| BLO | Back Loop Only |
| rep | Repeat |
Special Notes
- Decreases:
- Decrease by single crocheting together two stitches to maintain straight edges and achieve desired shape.
- Custom Fit:
- Modify the length or width by adding or subtracting rows and chains.
- Counting Rows:
- Keep track of rows using stitch markers or counting to avoid misalignment.
Pattern Instructions
Part 1: Back Panel
Step 1 - Foundation Chain:
- Chain 60 loosely (or adjust for fit).
Row 1:
- Starting in the 2nd chain from the hook, sc across. (60 sc)
- Ch 1, turn your work.
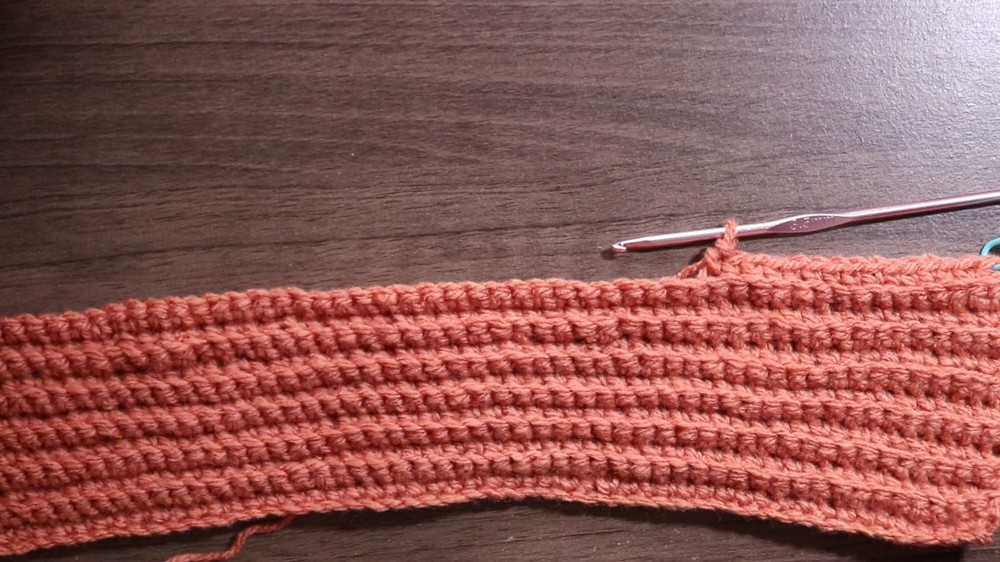
Row 2 and beyond (Up to 76 Rows):
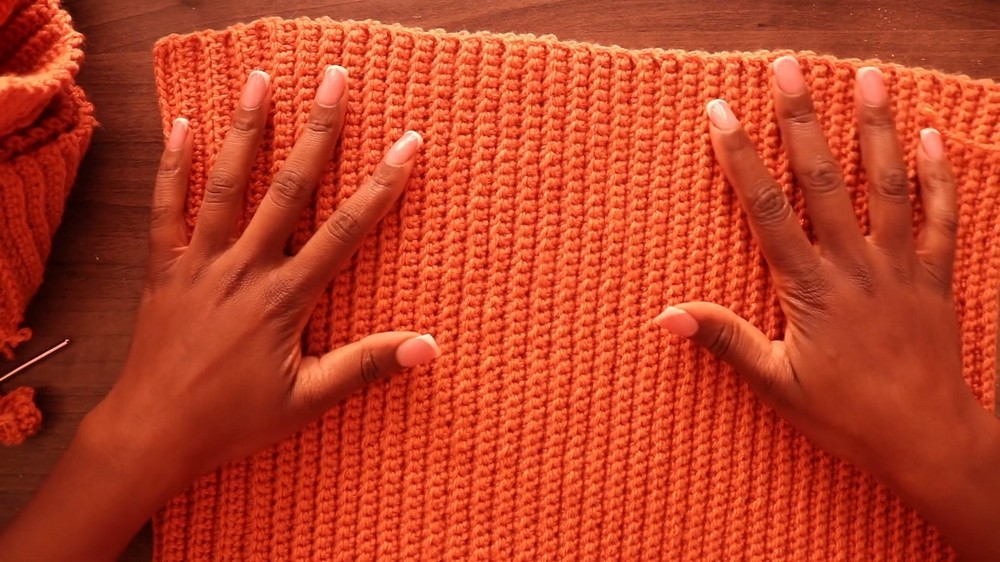
- Working in BLO, sc across each row.
- At the end of each row, ch 1, turn your work.
Note: For a medium size, complete 76 rows. Adjust the number of rows based on shoulder width to ensure proper length.
Part 2: Front Panels (Make 2)
Foundation for Each Front Panel:
- Chain 60 (adjust as necessary for correct front panel width).
Row 1:
- Starting in the 2nd chain from the hook, sc across. (60 sc)
- Ch 1, turn work.
Rows 2-12 (Initial Panel Rows):
- Working in BLO, sc evenly across.
- Ch 1, turn after each row.
Rows 13-40 (Decreasing Rows for Neckline):
- Dec in the first stitch, sc across the remaining stitches.
- Ch 1, turn your work.
- Repeat until 14 stitches remain at the top.
Note: Adjust "dec" rows at the neckline to ensure it matches the body's main panel.
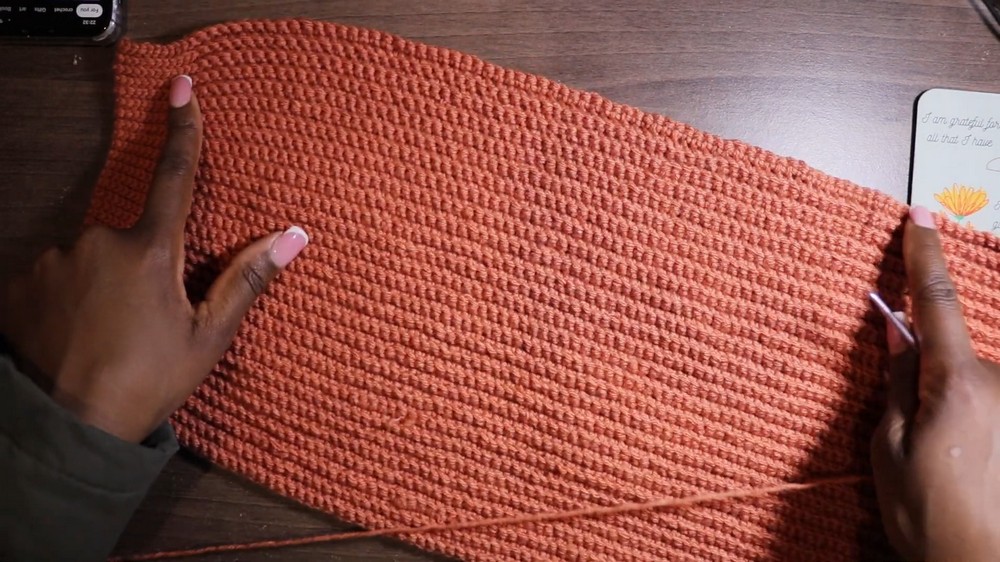
Part 3: Sleeves (Make 2)
Foundation Chain:
- Chain 76 for the base of the sleeve.
Row 1:
- Sc in each chain across.
- Ch 1, turn work.
Rows 2-55 (Sleeve Length):
- Sc in each stitch, working inside the BLO for texture.
- At the end of each row, ch 1, turn your work.
Note: Length can be adjusted by adding or subtracting rows to achieve the desired sleeve length. Alter width by increasing foundation chains.
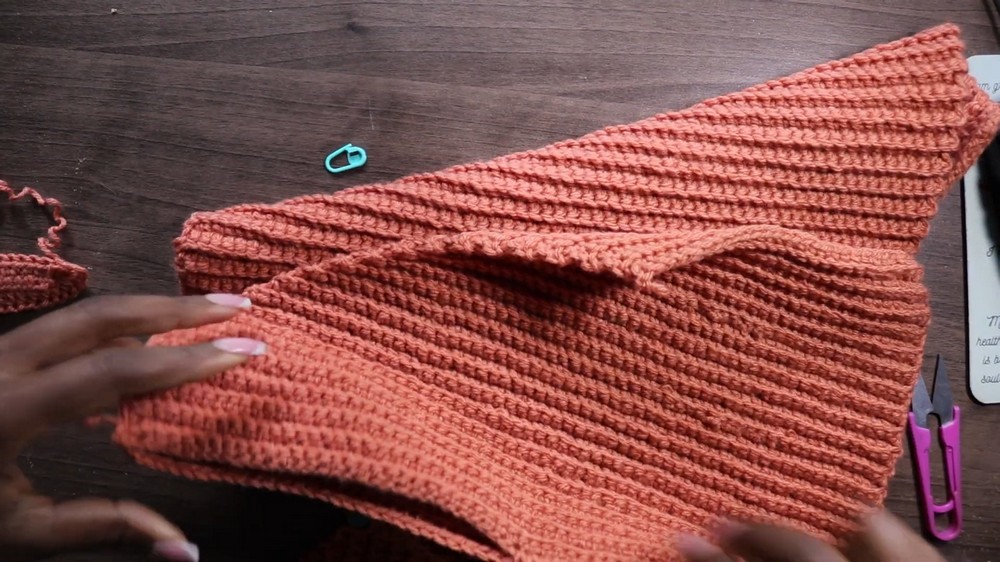
Part 4: Assembly and Finishing
Assembling Panels
- Place front panels on top of the back panel, ensuring alignment at the top seams.
- Use sc to seam the shoulders together.
Adding Sleeves
- Attach sleeves to the armhole opening, aligning the center of the sleeve to the Shoulder seam.
- Sc the sleeve edges to the armhole and secure with even tension.
Side Seams
- Align edges of front and back panels to sew the side seams and underarm with sc or sl st.
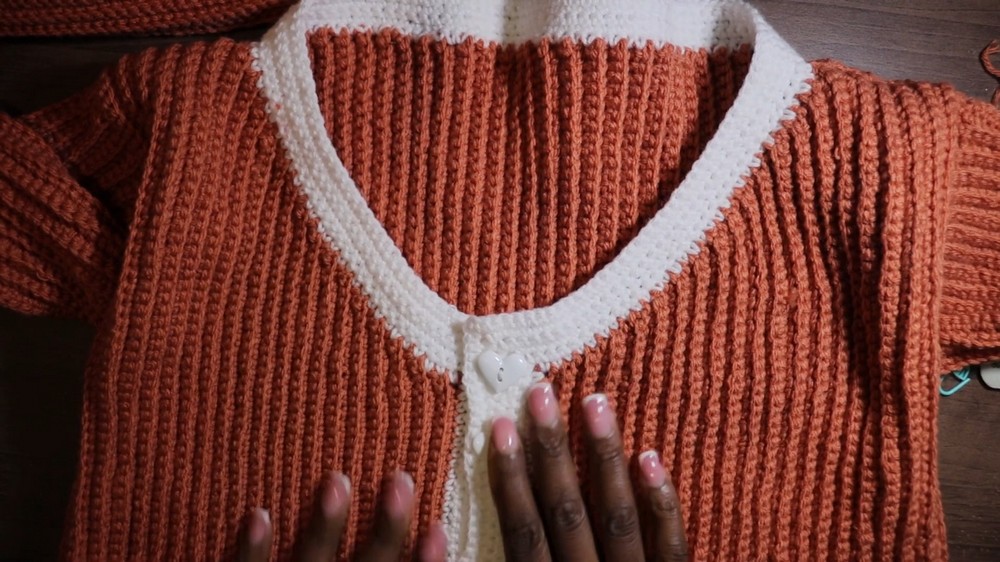
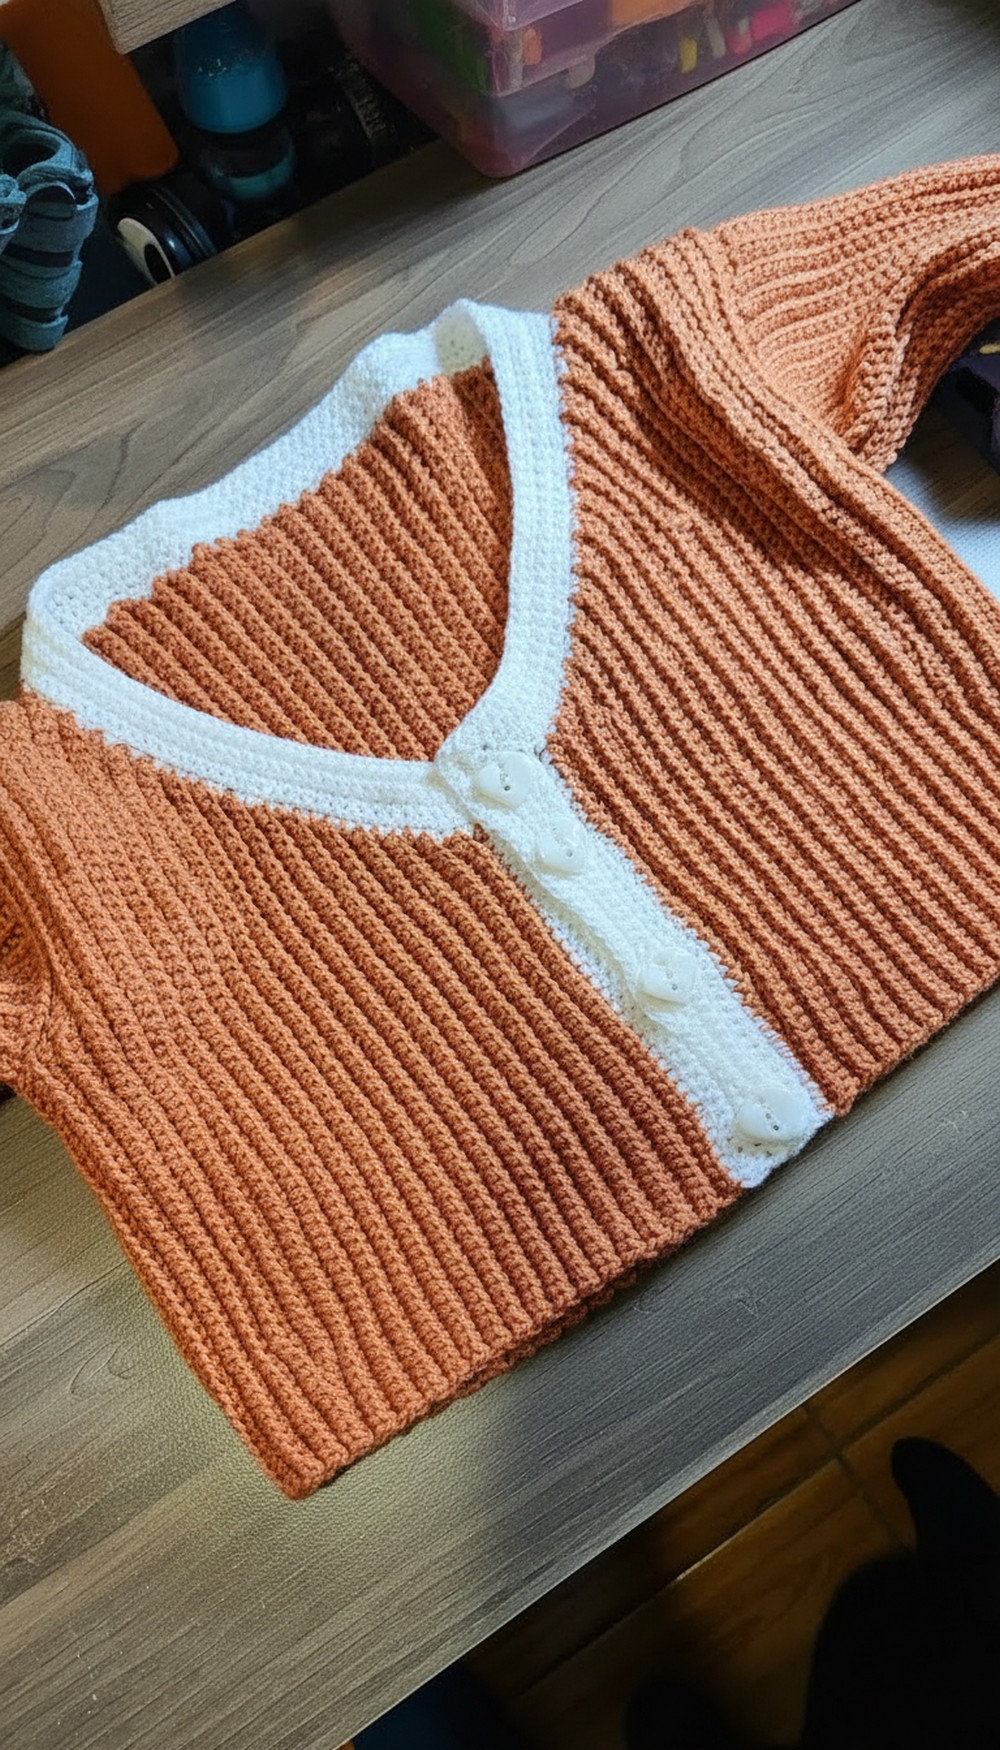
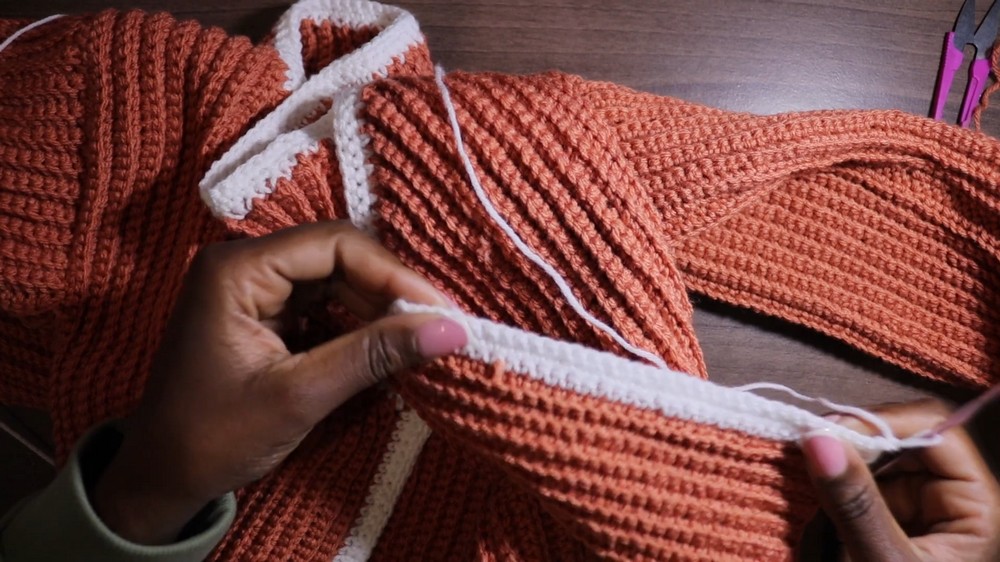
Edging and Button Band
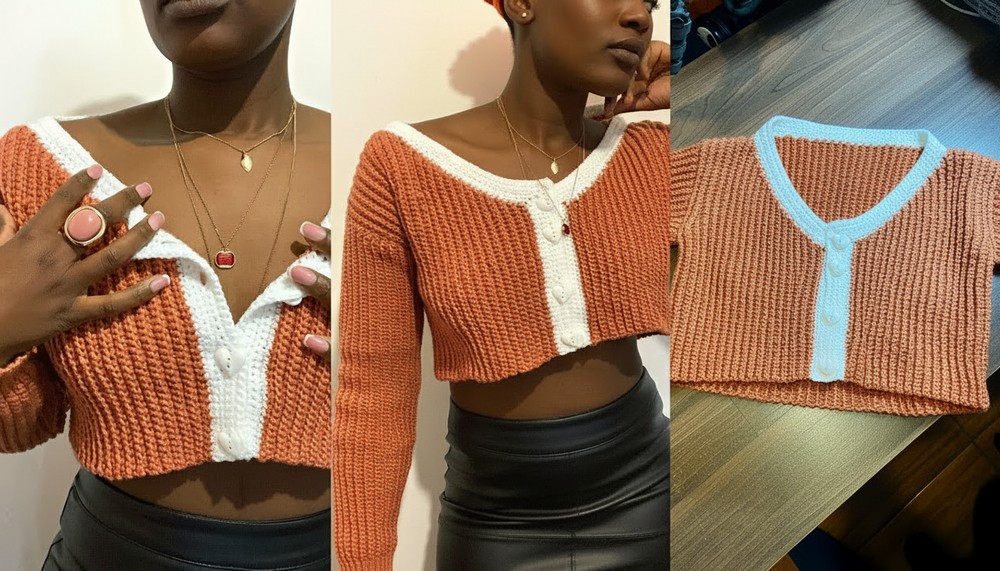
- Attach yarn along the bottom edge and sc up along the opening, around the neckline, and back down.
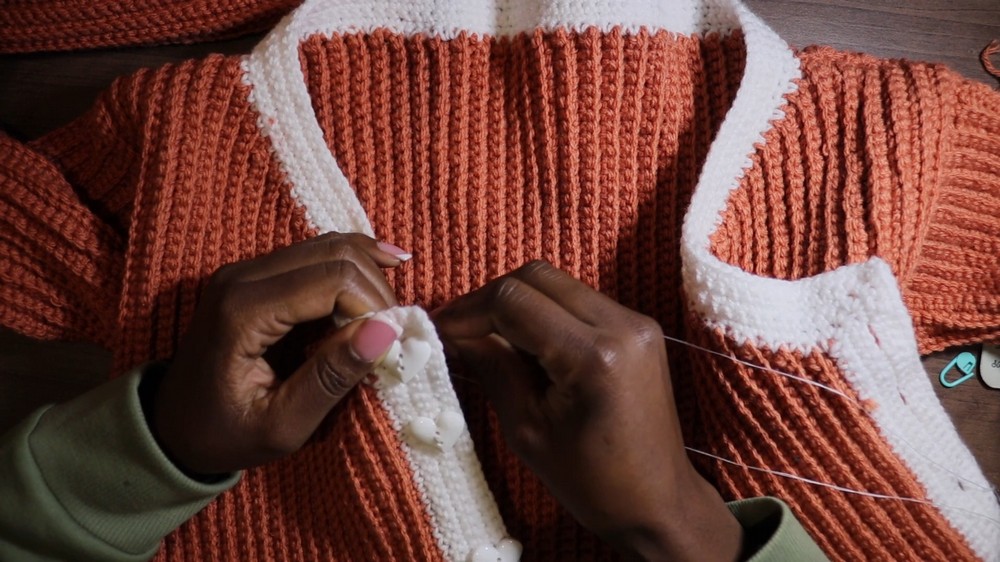
- Chain and Size Buttonholes: On one side create ch 3-4 spaces for buttonholes, spacing evenly.
- Buttons: Sew buttons on the opposite panel, ensuring alignment with buttonholes.
Conclusion
Congratulations on completing your classic crochet cardigan! This cozy garment offers a perfect blend of style and comfort, with tailored customization options to fit any personal needs. Wear it layered over winter outfits, or add another element by experimenting with accent yarn colors and textures.
Pattern Correction and Tips
- Button Overlap: Ensure enough overlap on the button band for proper closure. Buttonhole placement should be slightly tighter than button diameter to prevent slipping.
- Sewing Seams: Pay attention to maintaining even stitches and tight seams to prevent gaping.
- Blocking: Block the finished cardigan using steam or wet techniques for polished edges and perfect shape definition.